Home>Home and Garden>How To Hang Canvas On Wall
Home and Garden
How To Hang Canvas On Wall
Published: March 4, 2024
Learn how to hang canvas on your wall with our easy step-by-step guide. Elevate your home decor with these simple home and garden tips.
(Many of the links in this article redirect to a specific reviewed product. Your purchase of these products through affiliate links helps to generate commission for Noodls.com, at no extra cost. Learn more)
Table of Contents
Introduction
Hanging a canvas on the wall is a simple yet effective way to add a touch of personality and style to any living space. Whether you're looking to showcase a cherished piece of art, a family portrait, or a stunning photograph, properly hanging a canvas can elevate the ambiance of a room and draw attention to the focal point. The process of hanging a canvas may seem daunting at first, but with the right tools and a clear understanding of the steps involved, it can be a rewarding and enjoyable task.
In this comprehensive guide, we will walk you through the step-by-step process of hanging a canvas on your wall, ensuring that it is securely and aesthetically displayed. From gathering the necessary materials to measuring and marking the wall, installing hanging hardware, and finally hanging and adjusting the canvas, each step is crucial to achieving a professional and polished look. By following these instructions, you can confidently transform your wall into a captivating gallery that reflects your unique taste and style.
Whether you're a seasoned DIY enthusiast or a novice looking to embark on your first home decor project, this guide is designed to provide you with the knowledge and confidence to successfully hang a canvas on your wall. With a few simple tools, a dash of creativity, and a willingness to dive into the world of home decor, you can bring your walls to life and create a visually stunning display that will be the envy of your guests. So, roll up your sleeves, gather your materials, and let's embark on this exciting journey to elevate your living space with a beautifully hung canvas.
Read more: How To Hang Skateboard On Wall
Step 1: Gather Materials
Before embarking on the process of hanging a canvas on your wall, it's essential to gather the necessary materials to ensure a smooth and successful execution. Here's a comprehensive list of items you'll need:
-
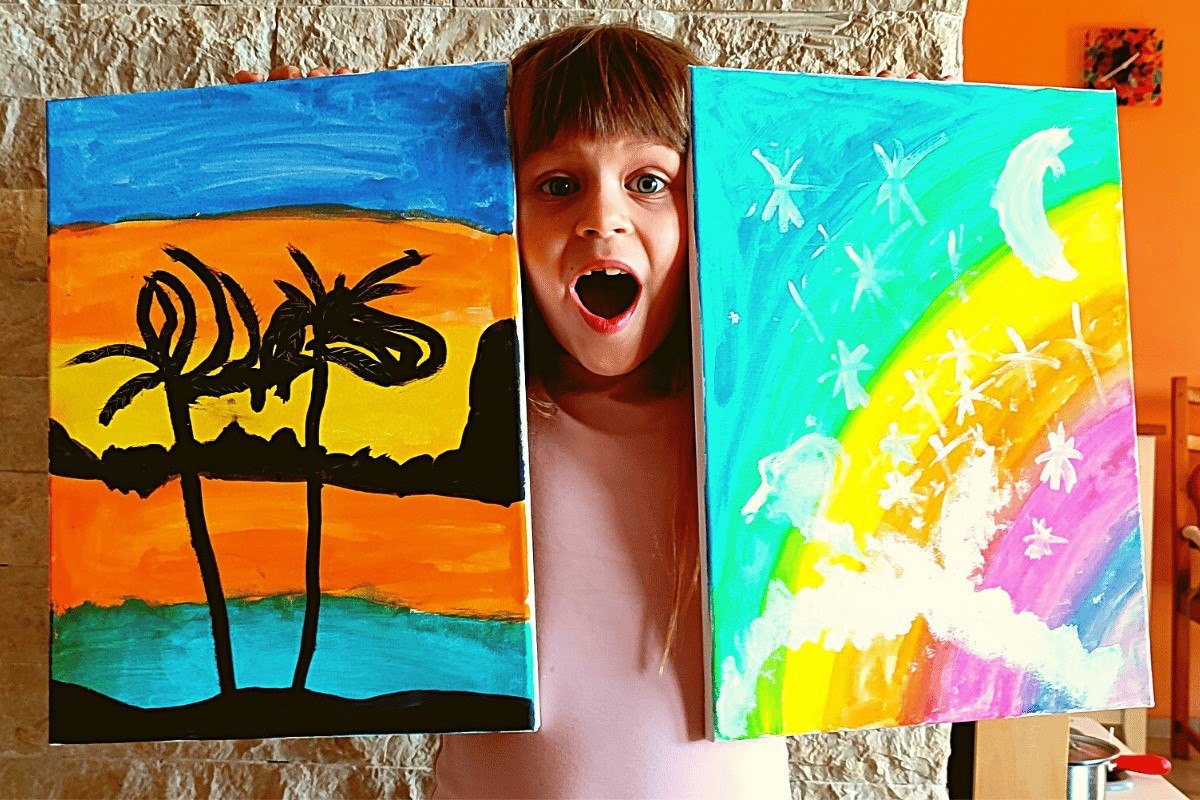
Canvas: Select the canvas or artwork you wish to hang. Ensure it is appropriately sized for the wall space and complements the room's decor.
-
Measuring Tape: A reliable measuring tape is crucial for accurately determining the dimensions of the canvas and identifying the desired placement on the wall.
-
Pencil: A sharpened pencil will be used for marking the wall and indicating the precise points for hanging hardware.
-
Level: A small spirit level is essential for ensuring that the canvas hangs perfectly straight once it's on the wall.
-
Hanging Hardware: Depending on the weight and size of the canvas, you may need appropriate hanging hardware such as picture hooks, wall anchors, or a French cleat system.
-
Hammer or Drill: A hammer is suitable for driving nails or picture hooks into the wall, while a drill may be necessary for installing wall anchors or heavier hanging hardware.
-
Screwdriver: If your chosen hanging hardware requires screws, a screwdriver will be needed for secure installation.
-
Wall Protectors: Consider using adhesive wall protectors to prevent damage to the wall and ensure the canvas hangs securely.
-
Step Stool or Ladder: Depending on the height at which you plan to hang the canvas, a step stool or ladder may be necessary to reach the desired location safely.
-
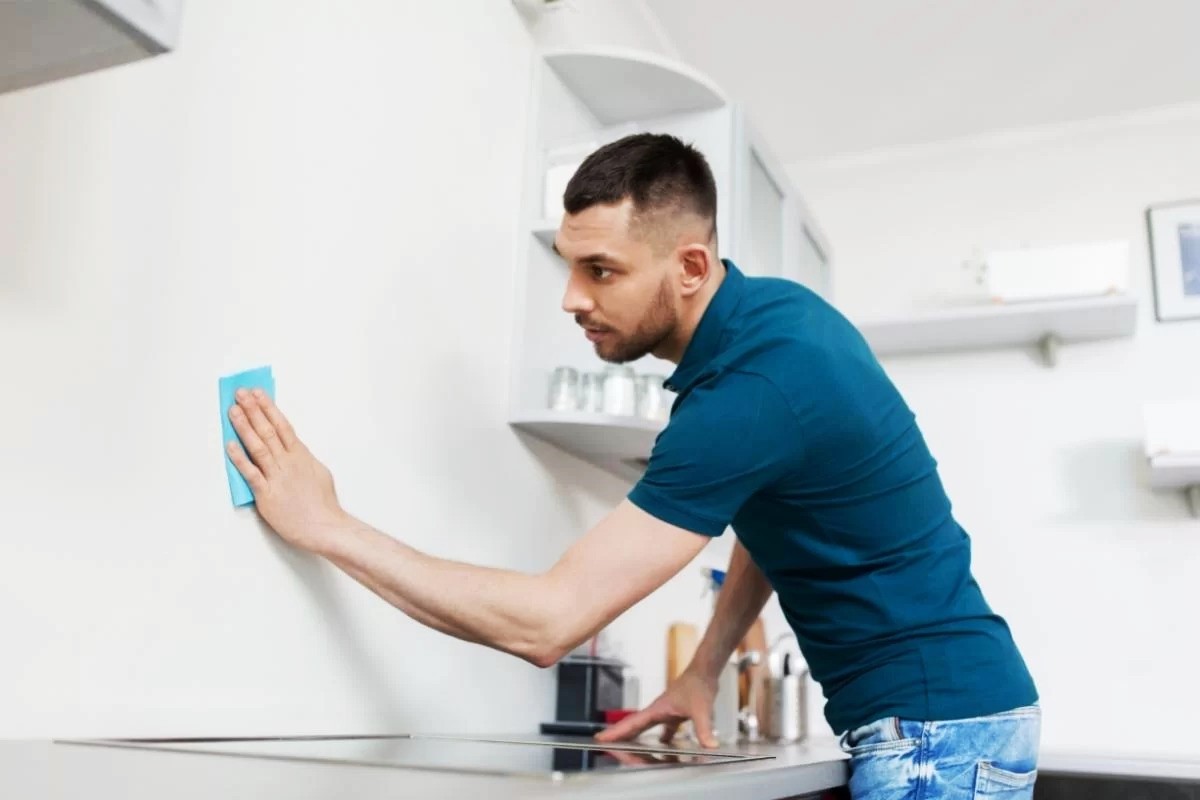
Cleaning Cloth: Before hanging the canvas, it's advisable to wipe down the wall to ensure a clean surface for installation.
By gathering these materials, you'll be well-prepared to proceed with the subsequent steps of measuring, marking, and hanging the canvas. With the right tools at your disposal, you can approach the task with confidence, knowing that you have everything you need to create a stunning display that enhances the aesthetic appeal of your living space.
Step 2: Measure and Mark
Once you have gathered all the necessary materials, the next crucial step in hanging a canvas on your wall is to accurately measure and mark the designated placement. This step is essential for ensuring that the canvas is positioned precisely and aligns with your aesthetic vision for the room. Here's a detailed guide on how to measure and mark the wall for hanging your canvas:
-
Select the Placement: Begin by determining the ideal placement for your canvas. Consider factors such as the room's layout, existing decor, and the visual impact you wish to achieve. Once you've identified the location, visualize how the canvas will interact with the surrounding elements, such as furniture and lighting.
-
Measure the Wall Space: Use a measuring tape to determine the dimensions of the wall space where you intend to hang the canvas. Take precise measurements to ensure that the canvas will fit proportionally within the chosen area. Consider the height at which you want the canvas to be positioned, keeping in mind eye-level viewing and any surrounding design elements.
-
Mark the Wall: With a pencil, lightly mark the top center point of where the canvas will be positioned. If you are hanging multiple canvases as part of a gallery wall, consider creating a mock layout on the floor to visualize the arrangement before marking the wall. Once you have a clear vision, mark the top center point and the desired placement of each canvas on the wall.
-
Measure for Balance: If you are hanging multiple canvases or creating a gallery wall, ensure that the spacing between each piece is consistent and visually balanced. Use the measuring tape to maintain uniform distances between the canvases, creating a harmonious and aesthetically pleasing arrangement.
-
Double-Check the Measurements: Before proceeding to the next step, double-check all measurements and markings to confirm that they align with your vision for the display. Take a step back and visually assess the marked points to ensure they complement the room's overall aesthetic and design.
By meticulously measuring and marking the wall, you lay the foundation for a visually striking and well-balanced canvas display. This step sets the stage for the subsequent installation of hanging hardware and the final placement of the canvas, ensuring that it seamlessly integrates with the room's decor and becomes a captivating focal point.
Step 3: Install Hanging Hardware
With the wall meticulously measured and marked, the next pivotal step in hanging a canvas is to install the appropriate hanging hardware. The choice of hanging hardware depends on factors such as the weight of the canvas, the wall surface, and the desired aesthetic presentation. Here's a detailed guide on how to install hanging hardware for your canvas:
-
Select the Appropriate Hardware: Assess the weight and size of the canvas to determine the most suitable hanging hardware. For lighter canvases, traditional picture hooks or adhesive hooks may suffice, while heavier pieces may require wall anchors, a French cleat system, or D-rings with wire.
-
Positioning the Hardware: Refer to the marked points on the wall to guide the placement of the hanging hardware. For a single canvas, ensure that the hardware is positioned at the top center point. If you are hanging multiple canvases as part of a gallery wall, follow the marked placements for each piece.
-
Use a Level: Before installing the hardware, use a small spirit level to ensure that the placement is straight and aligned with the wall. This step is crucial for achieving a balanced and visually appealing display.
-
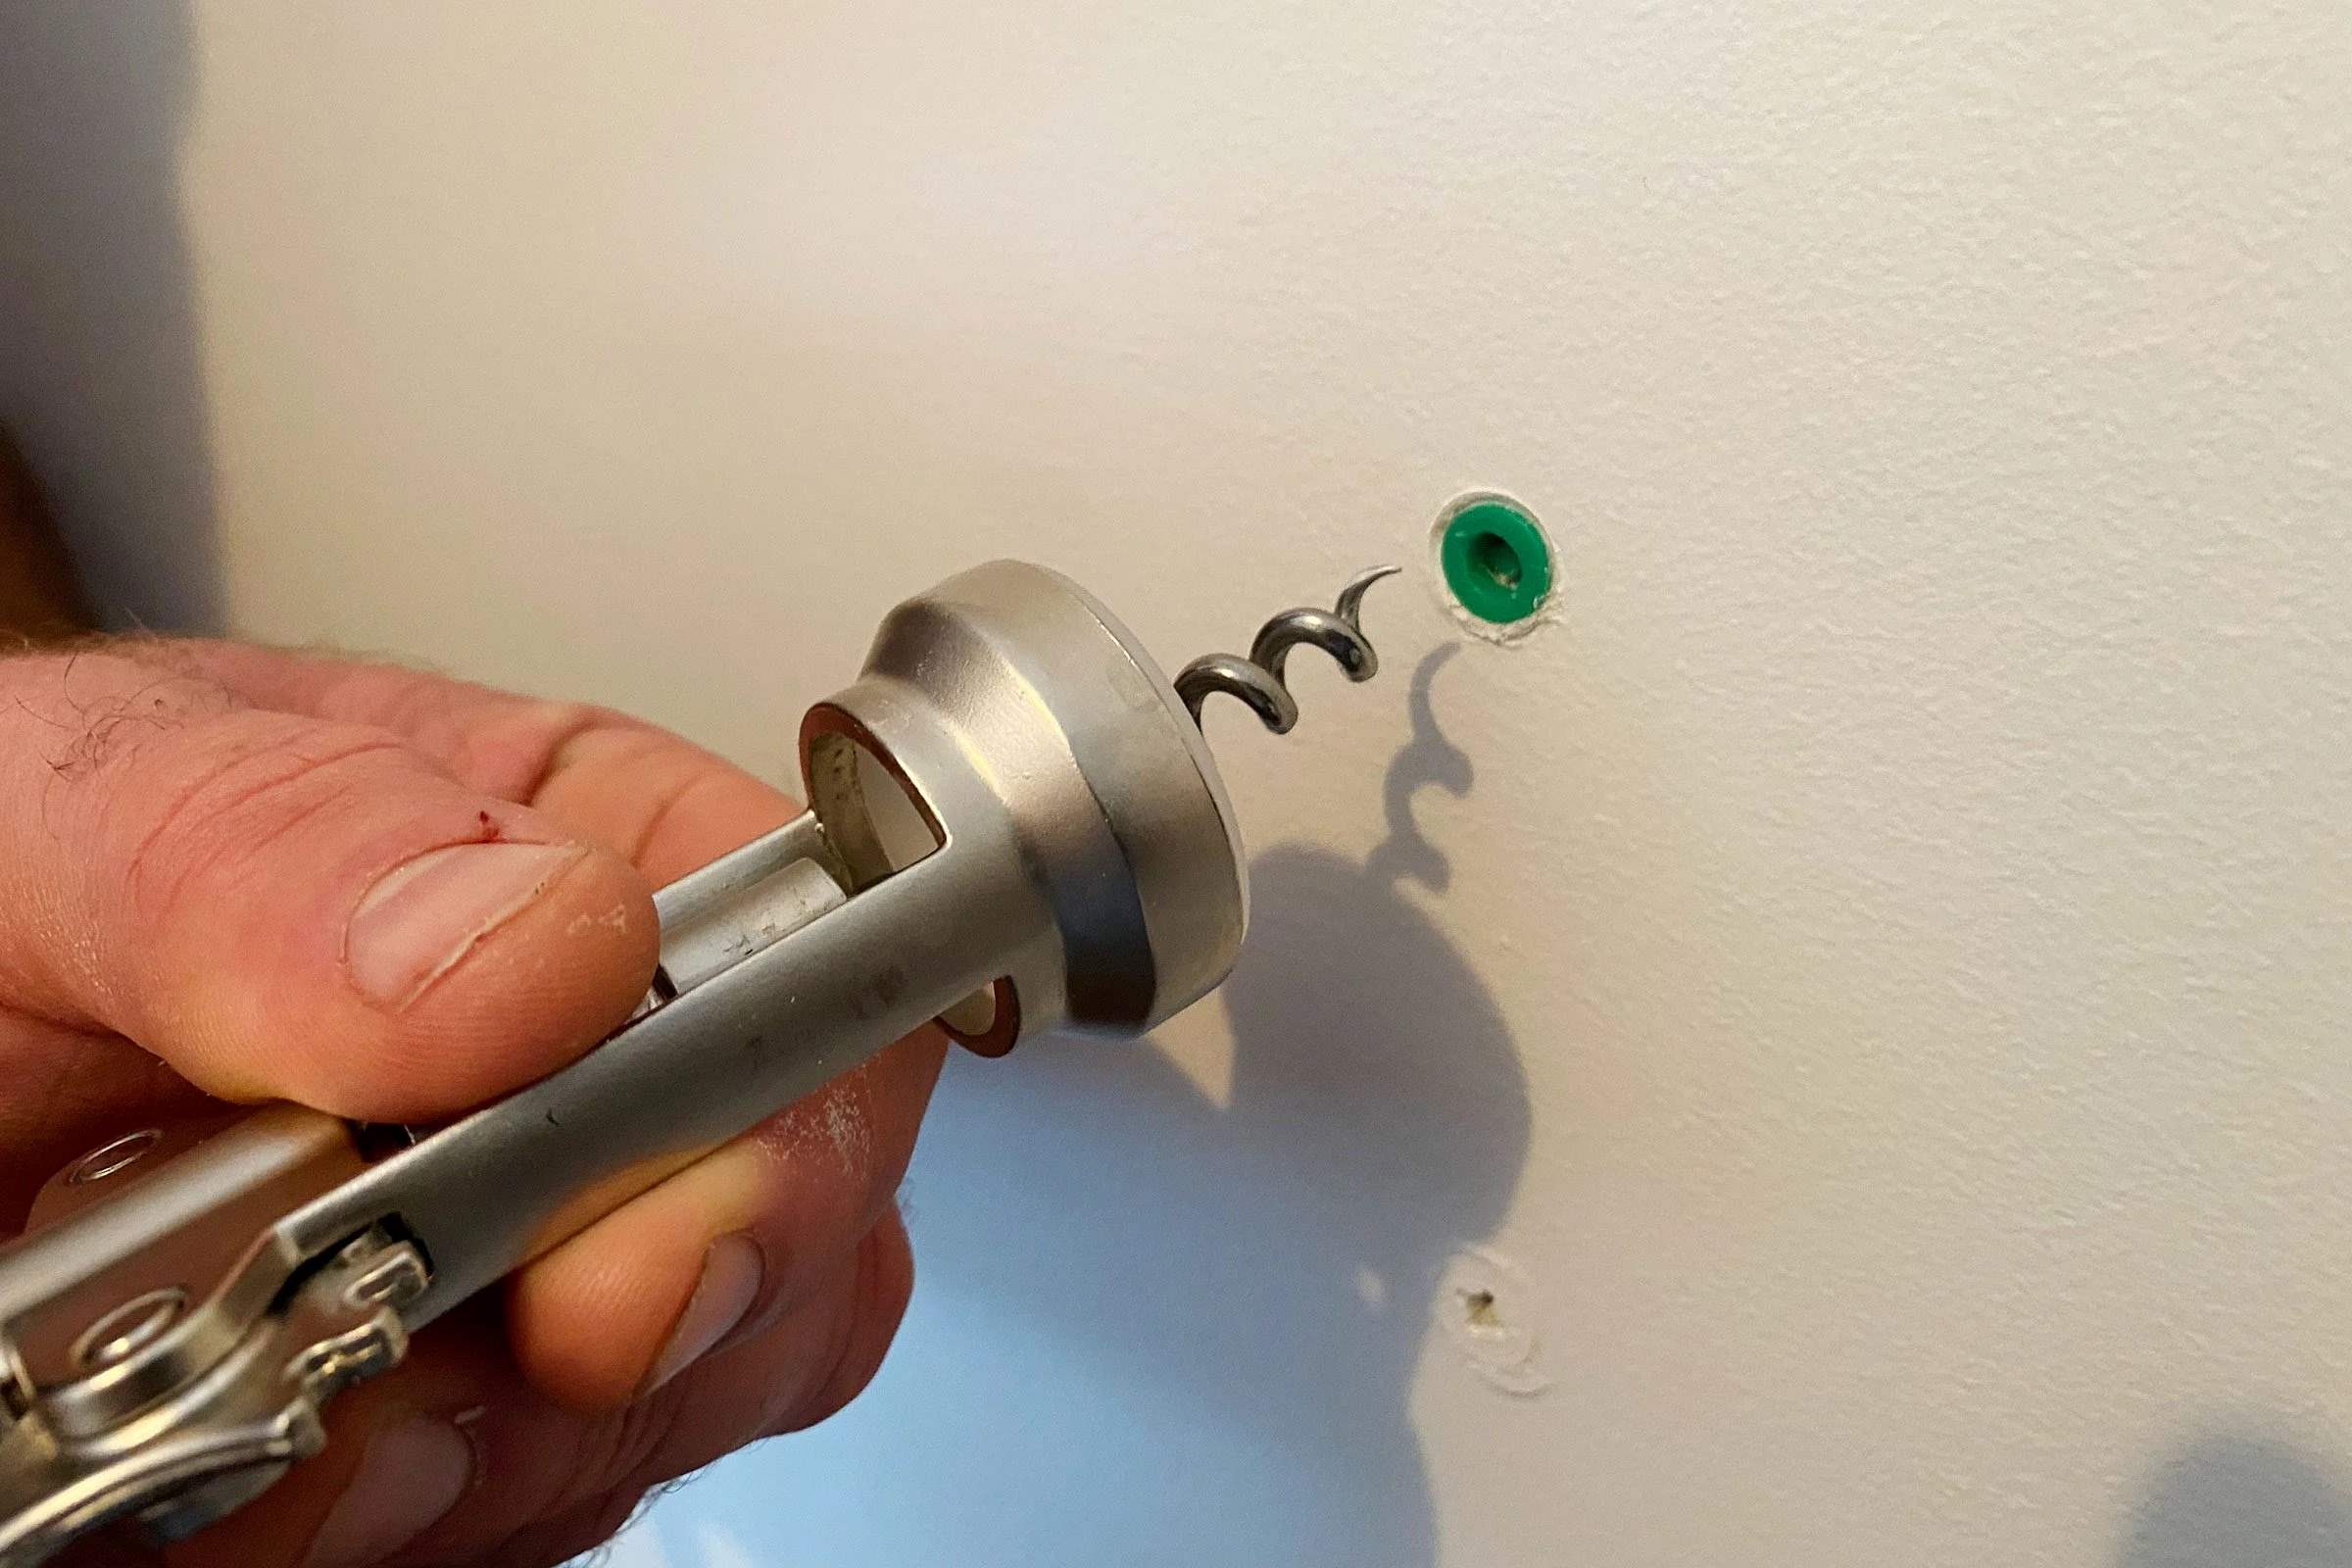
Installation: Depending on the chosen hardware, use a hammer, drill, or screwdriver to securely install the hanging components. For wall anchors, carefully follow the manufacturer's instructions to ensure proper installation and weight-bearing capacity.
-
Wall Protectors: Consider using adhesive wall protectors behind the hanging hardware to prevent damage to the wall surface and provide additional stability.
-
Test the Stability: Once the hardware is installed, gently test the stability by applying slight pressure to ensure that it can support the weight of the canvas without shifting or loosening.
By meticulously installing the appropriate hanging hardware, you lay the groundwork for securely and elegantly displaying your canvas. This step is crucial for ensuring that the canvas is safely supported and positioned according to your vision. With the hardware in place, you are ready to proceed to the next step of hanging the canvas and bringing your wall display to life.
Step 4: Hang the Canvas
With the hanging hardware securely installed, it's time to proceed with the pivotal step of hanging the canvas on the wall. This step requires precision and attention to detail to ensure that the canvas is elegantly displayed and aligned with your vision for the room's decor. Here's a detailed guide on how to hang the canvas with finesse and confidence:
-
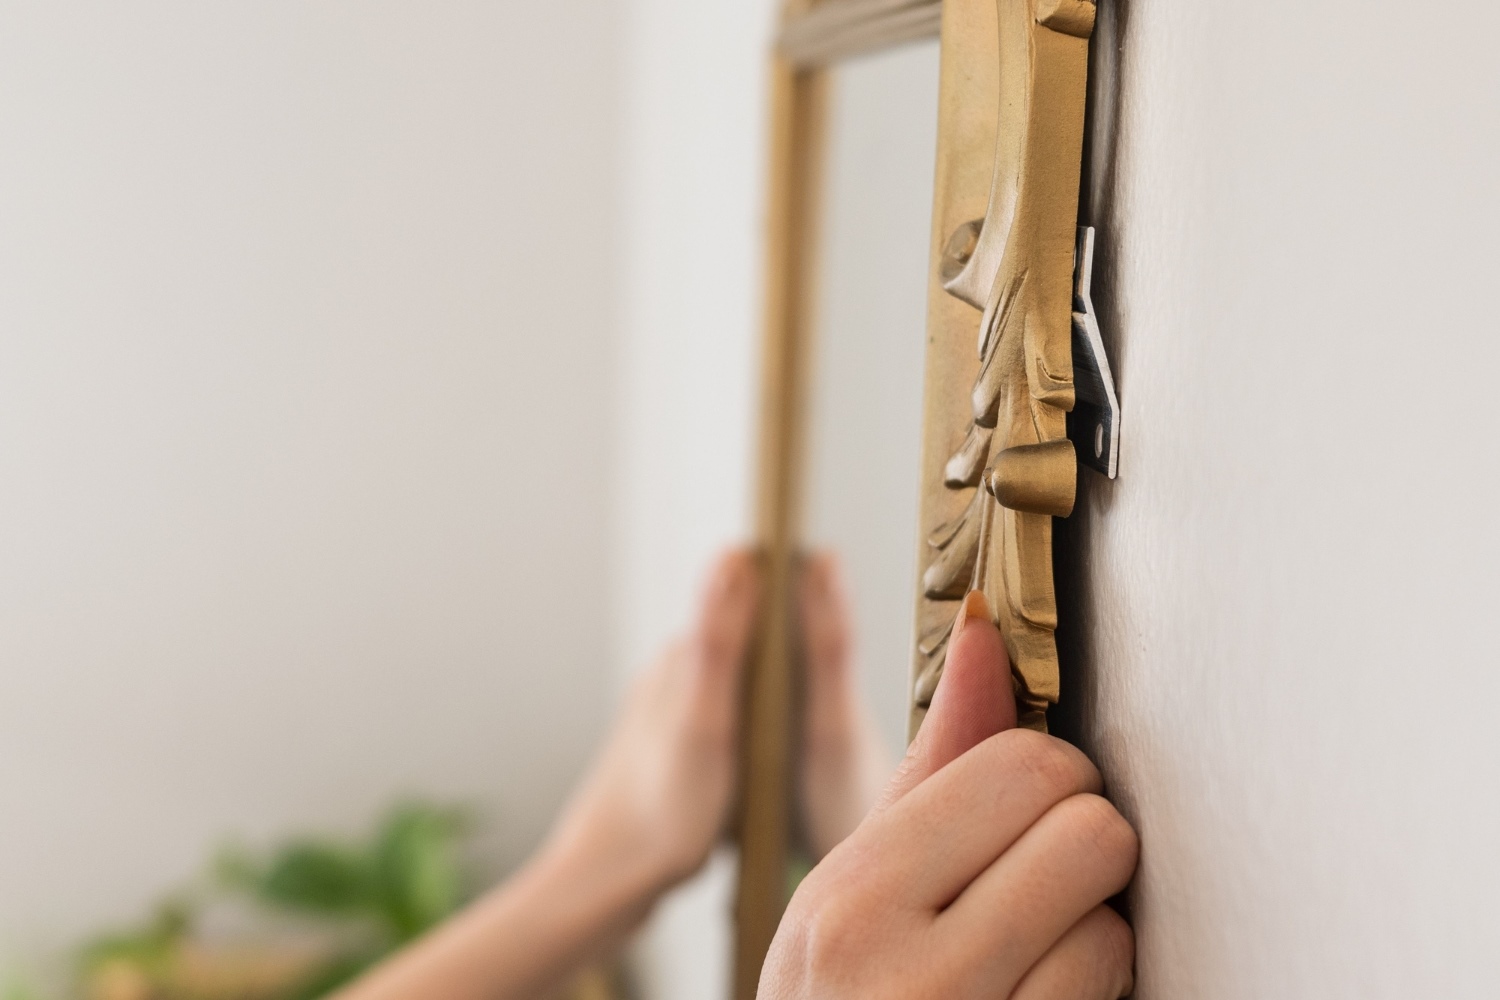
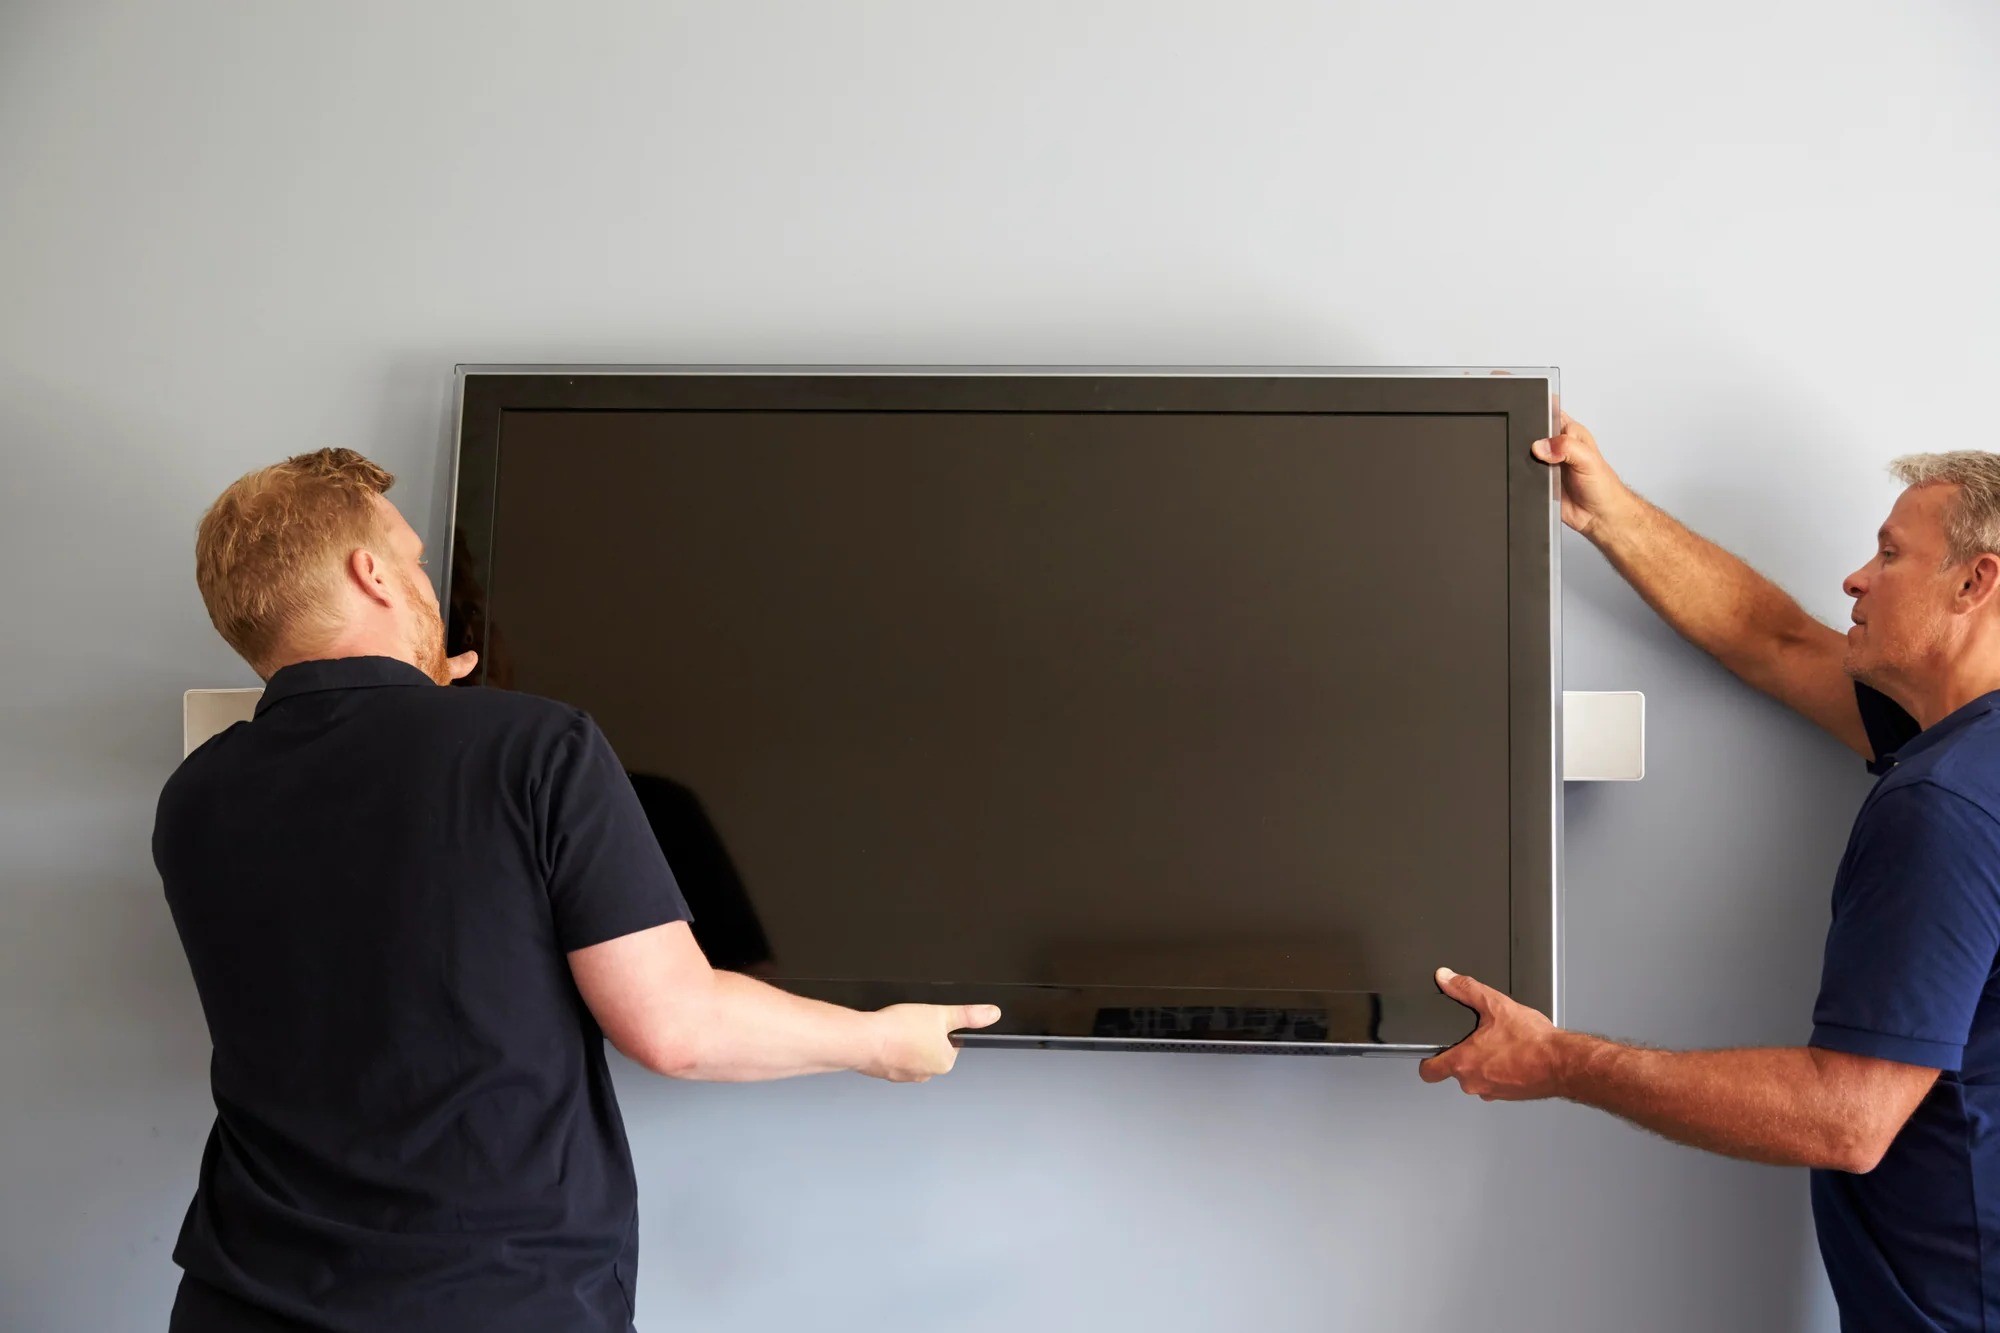
Lift and Align: Carefully lift the canvas and align it with the installed hanging hardware. If using a wire and D-rings, ensure that the wire is securely positioned on the hooks or wall anchors. For a French cleat system, gently lower the canvas onto the cleat, allowing it to interlock securely.
-
Secure Placement: Once the canvas is aligned with the hanging hardware, gently lower it onto the hooks or wall anchors. Ensure that the canvas rests securely against the wall and that the hanging components support its weight without strain.
-
Assess Stability: After hanging the canvas, assess its stability and alignment. Step back and visually inspect the placement to ensure that it complements the surrounding elements and aligns with your aesthetic vision for the room.
-
Fine-Tune Positioning: If necessary, make minor adjustments to the canvas's positioning to ensure that it hangs perfectly straight and aligns with the marked points on the wall. Use a level to confirm that the canvas is horizontally balanced.
-
Multiple Canvases: If you are hanging multiple canvases as part of a gallery wall, repeat the above steps for each piece, ensuring that they are uniformly spaced and visually harmonious.
By following these steps, you can confidently hang the canvas on the wall, transforming it into a captivating focal point that enhances the room's ambiance. With the canvas elegantly displayed, you are one step closer to creating a visually stunning gallery that reflects your unique style and creativity.
This step marks a significant milestone in the process of hanging a canvas, bringing you closer to the realization of your vision for the room's decor. With the canvas securely and aesthetically displayed, you are ready to proceed to the final step of adjusting and leveling to ensure a polished and professional presentation.
Read more: How To Hang A Tapestry
Step 5: Adjust and Level
After hanging the canvas, the final step involves adjusting and leveling to ensure a polished and professional presentation. This crucial step adds the finishing touch to the canvas display, ensuring that it harmonizes seamlessly with the room's aesthetic and captivates the viewer's attention.
Here's a detailed guide on how to adjust and level the canvas with precision and finesse:
-
Horizontal Alignment: Use a small spirit level to confirm that the canvas is perfectly aligned horizontally. This step is essential for creating a visually balanced display and preventing any slanted or crooked appearance.
-
Vertical Alignment: Check the vertical alignment of the canvas to ensure that it hangs at the desired height and complements the surrounding elements. Adjust the canvas if necessary to achieve the ideal positioning.
-
Eye-Level Viewing: Consider the optimal viewing height for the canvas. If the display is intended for viewing while standing or seated, ensure that the center of the canvas aligns with the average eye level to facilitate comfortable and engaging viewing.
-
Visual Harmony: Step back and visually assess the canvas in relation to the surrounding decor and design elements. Ensure that the placement enhances the room's ambiance and creates a visually harmonious focal point.
-
Fine-Tune Positioning: Make minor adjustments as needed to refine the canvas's positioning. Pay attention to details such as spacing, alignment with furniture, and overall visual impact to achieve a cohesive and captivating display.
By meticulously adjusting and leveling the canvas, you elevate its presentation from a mere wall decoration to a captivating focal point that reflects your unique style and attention to detail. This final step ensures that the canvas seamlessly integrates with the room's decor, creating an inviting and visually stunning display.
With the canvas perfectly adjusted and leveled, step back and admire the transformation it brings to the room. The carefully curated display now serves as a testament to your creativity and adds a touch of elegance to the living space. By following these steps, you have successfully hung and presented the canvas with finesse and precision, creating a visually striking gallery that captures the essence of your personal style.
Conclusion
In conclusion, the process of hanging a canvas on the wall is a rewarding endeavor that allows you to transform your living space into a captivating gallery of visual artistry. By following the step-by-step guide outlined in this comprehensive tutorial, you have gained the knowledge and confidence to elegantly display your cherished canvases, photographs, or artworks with finesse and precision.
From the initial step of gathering the necessary materials to the meticulous measurement and marking of the wall, the installation of hanging hardware, and the final adjustment and leveling, each stage plays a crucial role in creating a visually stunning display that reflects your unique style and creativity.
By meticulously measuring and marking the wall, you have set the stage for a visually striking and well-balanced canvas display. This step ensures that the canvas seamlessly integrates with the room's decor and becomes a captivating focal point. The installation of appropriate hanging hardware further solidifies the foundation for securely and elegantly displaying your canvas, ensuring that it is safely supported and positioned according to your vision.
Hanging the canvas with finesse and confidence marks a significant milestone in the process, bringing you closer to the realization of your vision for the room's decor. With the canvas securely and aesthetically displayed, you have created a visually stunning gallery that reflects your unique style and creativity.
The final step of adjusting and leveling adds the finishing touch to the canvas display, ensuring that it harmonizes seamlessly with the room's aesthetic and captivates the viewer's attention. By meticulously adjusting and leveling the canvas, you have elevated its presentation from a mere wall decoration to a captivating focal point that reflects your unique style and attention to detail.
In essence, the process of hanging a canvas on the wall is not merely a task of installation; it is an opportunity to curate a visually captivating display that speaks to your individuality and enhances the ambiance of your living space. With the knowledge and skills acquired from this guide, you are well-equipped to embark on future home decor projects with confidence and creativity, bringing your walls to life with elegance and style.