Home>Home and Garden>How To Clean Walls With Flat Paint
Home and Garden
How To Clean Walls With Flat Paint
Published: March 2, 2024
Learn the best techniques for cleaning walls with flat paint in your home and garden. Keep your walls looking fresh and clean with these simple tips.
(Many of the links in this article redirect to a specific reviewed product. Your purchase of these products through affiliate links helps to generate commission for Noodls.com, at no extra cost. Learn more)
Table of Contents
Introduction
Cleaning walls with flat paint can seem like a daunting task, but with the right approach and materials, it can be a straightforward and rewarding process. Flat paint, known for its smooth and non-reflective finish, requires special care to maintain its appearance while removing dirt, stains, and grime. Whether you're preparing for a fresh coat of paint or simply want to revitalize the walls, understanding the proper techniques for cleaning flat-painted walls is essential.
Flat paint, also referred to as matte paint, is a popular choice for interior walls due to its ability to conceal imperfections and provide a soft, elegant aesthetic. However, its porous nature makes it more susceptible to absorbing dirt and stains compared to other paint finishes. This makes it crucial to approach the cleaning process with care and precision to avoid damaging the paint surface.
In this comprehensive guide, we will explore the step-by-step process of effectively cleaning walls with flat paint. From gathering the necessary materials to addressing stubborn stains, this article will provide you with the knowledge and confidence to restore the pristine appearance of your walls. By following these guidelines, you can ensure that your flat-painted walls remain vibrant and inviting, enhancing the overall ambiance of your living space.
Now, let's delve into the essential materials and preparations needed to embark on this transformative cleaning journey for your flat-painted walls.
Read more: How To Get Candle Wax Off Wall
Materials Needed
To effectively clean walls with flat paint, you will need a specific set of materials to ensure a thorough and safe cleaning process. Gathering the following items before you begin will streamline the task and contribute to achieving optimal results:
-
Mild Detergent: Select a gentle, pH-neutral detergent that is suitable for cleaning painted surfaces. Avoid using harsh chemicals or abrasive cleaners, as they can compromise the integrity of the flat paint.
-
Warm Water: Prepare a bucket of warm water to dilute the detergent. The temperature of the water can aid in loosening dirt and grime from the walls without causing damage to the paint.
-
Soft Sponges or Cloths: Opt for non-abrasive sponges or microfiber cloths to gently scrub the walls. These materials will help dislodge dirt and stains without scratching or marring the flat paint surface.
-
Soft Bristle Brush: In cases where gentle scrubbing is required, a soft-bristle brush can be utilized to target specific areas without exerting excessive force on the paint.
-
Lint-Free Towels or Cloths: Have lint-free towels or cloths on hand to dry the walls after cleaning. These will prevent lint or fibers from adhering to the damp paint surface.
-
Step Ladder or Stool: Depending on the height of the walls, a step ladder or stool may be necessary to reach higher areas safely and effectively.
-
Protective Gloves: It's advisable to wear protective gloves to shield your hands from prolonged exposure to cleaning solutions and to maintain a hygienic cleaning environment.
-
Protective Eyewear and Clothing: While cleaning, consider wearing protective eyewear and clothing to safeguard yourself from potential splashes or drips of cleaning solution.
By ensuring that you have these essential materials at your disposal, you can approach the task of cleaning flat-painted walls with confidence and precision. These items are specifically chosen to facilitate a gentle yet thorough cleaning process, preserving the integrity and appearance of the flat paint while effectively removing dirt and stains. With the materials in place, you are now ready to prepare the area for cleaning and embark on the transformative journey of revitalizing your walls.
Preparing the Area
Before initiating the cleaning process, it is crucial to prepare the area to ensure a smooth and efficient experience. Preparing the space not only contributes to the safety of the cleaning endeavor but also facilitates a more thorough and effective cleaning process.
Clearing the Space
Begin by removing any furniture, wall decor, or objects that may obstruct access to the walls. Clearing the space will not only provide unobstructed reach but also prevent accidental splashes or spills on valuable items. If relocating furniture is not feasible, consider covering them with protective sheets or plastic to safeguard against potential drips or splatters during the cleaning process.
Ventilation
Proper ventilation is essential during the cleaning process, especially when using mild detergents. Open windows and doors to allow fresh air to circulate, aiding in the dissipation of cleaning fumes and ensuring a well-ventilated environment. Adequate ventilation also expedites the drying of the walls after cleaning, contributing to a more efficient overall process.
Protection for Floors
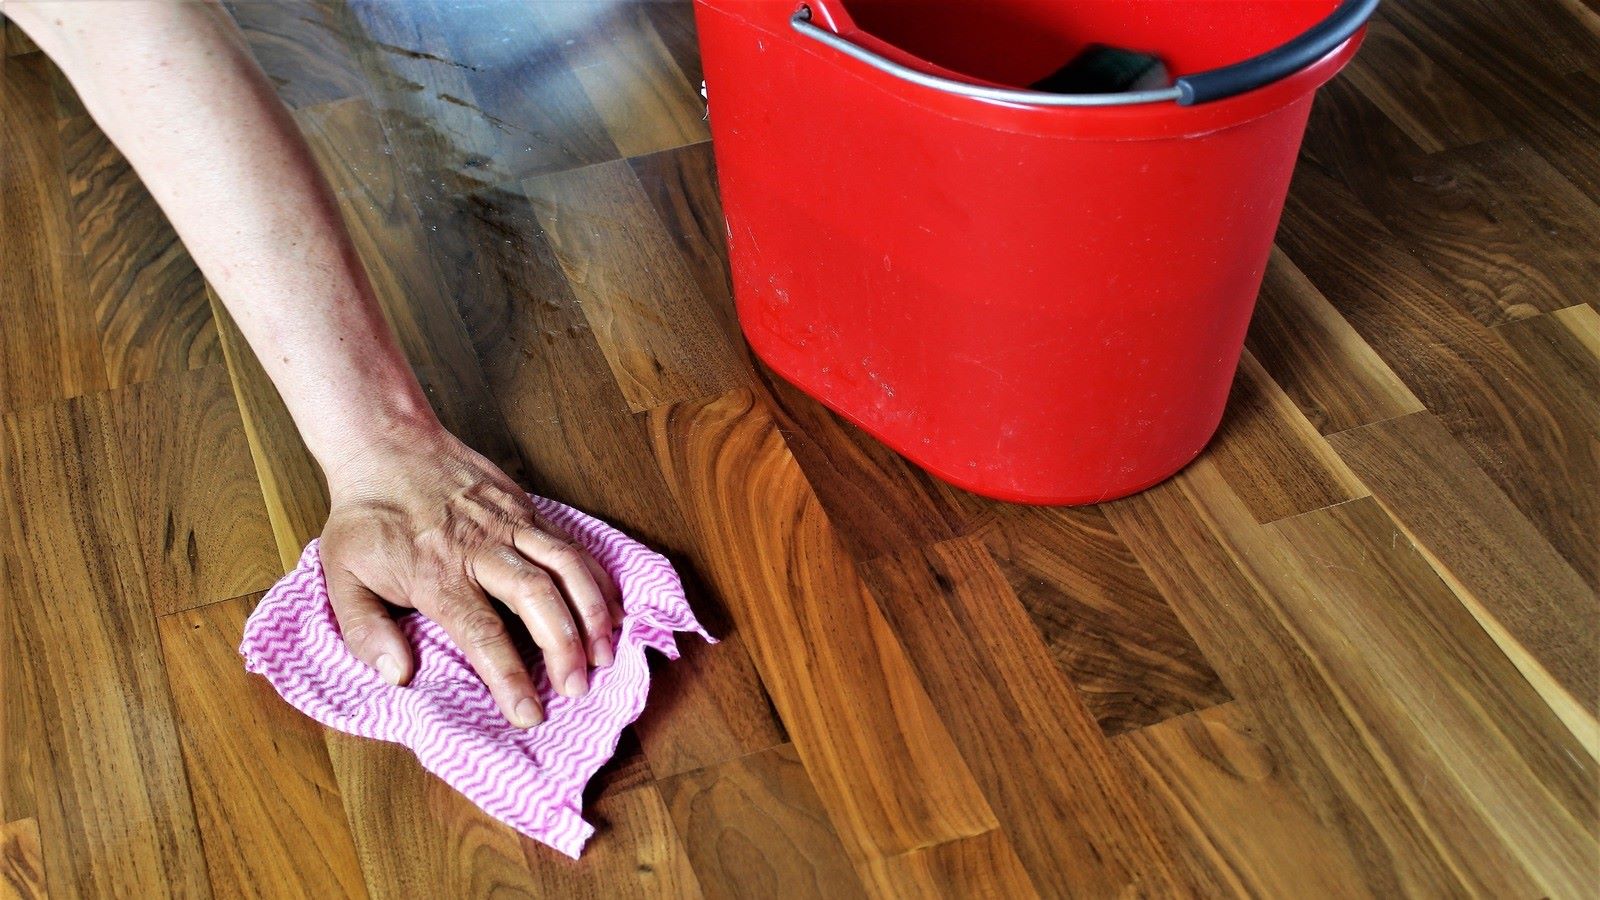
Lay down protective coverings such as drop cloths or plastic sheets to shield the flooring from drips and spills. This precaution is particularly important when cleaning walls in areas with carpeting or hardwood floors, as it prevents potential damage or staining from the cleaning solution.
Securing Electrical Outlets
Prior to cleaning, ensure that electrical outlets and switches are adequately protected from moisture. Use plastic outlet covers or electrical tape to seal off outlets and switches, minimizing the risk of water infiltration and electrical hazards during the cleaning process.
Inspecting the Walls
Take a moment to inspect the walls for any areas of concern, such as visible stains, marks, or spots that may require targeted attention. Identifying these areas beforehand allows for a more focused approach during the cleaning phase, ensuring that stubborn stains are effectively addressed.
By meticulously preparing the area before commencing the cleaning process, you can create a conducive environment for achieving optimal results. These preparatory measures not only contribute to the safety and efficiency of the cleaning endeavor but also set the stage for a thorough and meticulous cleaning experience. With the area adequately prepared, you are now ready to embark on the next phase: cleaning the walls with flat paint.
Cleaning the Walls
With the area meticulously prepared, it's time to embark on the transformative process of cleaning the walls with flat paint. Follow these step-by-step guidelines to ensure a thorough and gentle cleaning experience:
Read more: How To Get Paint Off The Floor
Step 1: Dilute the Detergent
Begin by diluting the mild detergent in a bucket of warm water. Aim for a solution that is gentle yet effective in breaking down dirt and grime without compromising the integrity of the flat paint.
Step 2: Test in an Inconspicuous Area
Before proceeding with the full cleaning process, conduct a patch test in an inconspicuous area of the wall. This test ensures that the detergent solution does not adversely affect the paint and allows you to gauge its cleaning efficacy.
Step 3: Start from the Top
Dip a soft sponge or cloth into the diluted detergent solution and start cleaning the walls from the top, working your way down. This method prevents streaking and ensures that any drips or residue are addressed as you progress.
Step 4: Gentle Circular Motions
Employ gentle circular motions while cleaning, focusing on small sections at a time. This approach effectively dislodges dirt and stains without exerting excessive force on the paint surface.
Read more: How To Clean Oil Based Paint Brushes
Step 5: Rinse with Clean Water
After cleaning a section, use a separate sponge or cloth dampened with clean water to rinse the area. This step removes any residual detergent and prevents streaking or film buildup on the walls.
Step 6: Pat Dry with Lint-Free Cloth
Once the walls are cleaned and rinsed, use a lint-free cloth to pat dry the surfaces. This minimizes the risk of water spots and ensures a pristine finish.
By following these meticulous steps, you can effectively clean walls with flat paint, restoring their vibrancy and cleanliness without compromising the delicate nature of the paint finish. With the walls now cleaned, any stubborn stains or marks can be addressed using targeted techniques to ensure a comprehensive revitalization of the flat-painted surfaces.
Removing Stubborn Stains
Addressing stubborn stains on flat-painted walls requires a targeted approach to effectively eliminate the blemishes without causing damage to the paint surface. Whether it's a persistent mark from accidental spills, scuff marks, or other stubborn blemishes, the following techniques can be employed to restore the pristine appearance of the walls.
Spot Cleaning with Diluted Detergent
For localized stubborn stains, prepare a slightly stronger solution of the mild detergent and warm water. Dab a small amount of the diluted detergent onto a soft sponge or cloth and gently blot the affected area. Avoid vigorous scrubbing, as this can exacerbate the stain or damage the paint. Allow the detergent solution to sit on the stain for a few minutes to effectively break down the blemish.
Read more: How To Get Paint Off Leather Seats
Utilizing Baking Soda Paste
Baking soda, renowned for its gentle abrasive properties, can be utilized to tackle stubborn stains on flat-painted walls. Create a paste by mixing baking soda with a small amount of water to form a thick, spreadable consistency. Apply the paste to the stubborn stain, gently massaging it in with a soft cloth or sponge. The mild abrasive action of the baking soda can effectively lift the stain without compromising the paint surface.
Vinegar Solution for Tough Stains
In cases where traditional cleaning methods prove ineffective, a solution of vinegar and water can be employed to combat tough stains. Mix equal parts of white vinegar and water in a spray bottle and lightly mist the affected area. Allow the solution to sit for a few minutes before gently blotting the stain with a soft cloth or sponge. The mild acidity of the vinegar can aid in dissolving stubborn residues, facilitating their removal from the flat paint surface.
Targeted Use of Rubbing Alcohol
Stubborn ink or marker stains can be particularly challenging to remove from flat-painted walls. In such instances, rubbing alcohol can be utilized as a targeted stain-removal solution. Dampen a cotton ball or soft cloth with rubbing alcohol and gently dab the stained area. The alcohol's solvent properties can effectively lift ink and marker stains without compromising the integrity of the paint.
By employing these targeted techniques, you can effectively address stubborn stains on flat-painted walls, restoring their pristine appearance and ensuring a thorough cleaning experience. With the blemishes effectively treated, the final step involves ensuring that the walls are adequately dried to complete the revitalization process.
Drying the Walls
After the cleaning process, thorough drying is essential to ensure that the flat-painted walls regain their pristine appearance without the risk of water damage or streaking. Proper drying techniques contribute to a flawless finish and prevent potential issues such as water spots or paint damage. Follow these meticulous steps to effectively dry the walls and complete the revitalization process:
-
Air Circulation: Open windows and doors to promote air circulation in the room. The flow of fresh air aids in expediting the drying process and prevents moisture from lingering on the walls.
-
Ceiling Fans: If available, activate ceiling fans to enhance air movement within the room. The gentle breeze generated by the fans facilitates evaporation and accelerates the drying of the walls.
-
Lint-Free Towels or Cloths: Gently pat the walls with lint-free towels or cloths to absorb any residual moisture. Avoid rubbing the walls, as this can potentially disturb the paint surface.
-
Avoid Direct Sunlight: While drying the walls, ensure that they are not exposed to direct sunlight, especially if the room is warm. Direct sunlight can cause uneven drying and potentially lead to streaking or water spots on the paint surface.
-
Inspecting for Dampness: After the initial drying phase, inspect the walls for any signs of dampness or residual moisture. Address any lingering damp areas by gently patting them with a dry lint-free cloth to ensure uniform drying.
-
Maintain Ventilation: Even after the walls appear dry, maintain ventilation in the room for an additional period to ensure that any remaining moisture evaporates completely.
By meticulously following these drying techniques, you can ensure that the flat-painted walls dry uniformly and flawlessly, resulting in a revitalized and pristine appearance. With the walls effectively cleaned and dried, the transformative journey of restoring the elegance and allure of your living space is now complete.
Read more: How To Make Gold Paint
Conclusion
In conclusion, the process of cleaning walls with flat paint is a meticulous yet rewarding endeavor that yields revitalized and pristine surfaces. By following the step-by-step guidelines outlined in this comprehensive guide, you can effectively restore the vibrancy and cleanliness of your flat-painted walls while preserving the delicate nature of the paint finish.
The journey begins with meticulous preparation, including clearing the space, ensuring proper ventilation, protecting the floors, securing electrical outlets, and inspecting the walls for areas of concern. These preparatory measures set the stage for a safe, efficient, and thorough cleaning experience.
The cleaning process itself involves gentle yet effective techniques, such as diluting the detergent, conducting a patch test, employing gentle circular motions, and ensuring thorough rinsing and drying. These meticulous steps contribute to the removal of dirt and stains while safeguarding the integrity of the flat paint.
Addressing stubborn stains requires targeted approaches, including spot cleaning with diluted detergent, utilizing baking soda paste, employing a vinegar solution for tough stains, and utilizing rubbing alcohol for ink or marker stains. These techniques ensure that even the most persistent blemishes are effectively treated without compromising the paint surface.
Thorough drying techniques, including promoting air circulation, utilizing ceiling fans, gently patting the walls with lint-free towels, avoiding direct sunlight, and maintaining ventilation, contribute to a flawless finish and prevent potential issues such as water spots or paint damage.
By embracing these meticulous steps and techniques, you can embark on a transformative journey that revitalizes the elegance and allure of your living space. The restored walls with flat paint not only enhance the aesthetic appeal of the interior but also contribute to a welcoming and pristine environment.
With the knowledge and confidence gained from this guide, you are equipped to embark on the journey of cleaning and revitalizing walls with flat paint, ensuring that they remain vibrant, inviting, and impeccably maintained. Embrace the transformative potential of this process, and revel in the revitalized ambiance of your living space.