Home>Arts and Culture>How To Make Tan With Paint
Arts and Culture
How To Make Tan With Paint
Published: February 27, 2024
Learn how to create a realistic tan using paint in this comprehensive guide. Explore the art of tanning in the world of arts and culture.
(Many of the links in this article redirect to a specific reviewed product. Your purchase of these products through affiliate links helps to generate commission for Noodls.com, at no extra cost. Learn more)
Table of Contents
Introduction
Creating a tan with paint is a fascinating and creative process that allows you to transform a surface into a warm, inviting space. Whether you're working on a piece of furniture, a room in your home, or a piece of artwork, mastering the art of creating a tan with paint can elevate the aesthetic appeal of your project. This technique offers a versatile way to add depth, character, and a touch of vintage charm to your surroundings.
By learning how to make tan with paint, you can unlock a world of artistic possibilities. From achieving a weathered, rustic look to infusing modern pieces with a hint of nostalgia, the ability to create a tan with paint empowers you to customize and revitalize various surfaces. With the right materials, techniques, and a touch of creativity, you can embark on a transformative journey that brings your artistic vision to life.
The process of making tan with paint encompasses a blend of artistry and craftsmanship. It involves carefully selecting the appropriate materials, preparing the surface, mixing the paint to achieve the desired hue, and skillfully applying the paint to create a seamless, natural-looking tan. Each step in this process presents an opportunity to express your creativity and attention to detail, resulting in a finished product that exudes warmth and character.
As we delve into the intricacies of making tan with paint, you'll discover the essential materials needed, the meticulous preparation required for the surface, the art of mixing the paint to achieve the perfect tan shade, the techniques for applying the paint, and the finishing touches that bring the entire project together. Through this comprehensive guide, you'll gain the knowledge and confidence to embark on your own tan-making journey, infusing your projects with a timeless, inviting allure.
Read more: How To Make Gold Paint
Materials Needed
To embark on the journey of creating a tan with paint, you will need a selection of essential materials to ensure a successful and visually appealing outcome. These materials are crucial for achieving the desired tan hue and ensuring a seamless application process. Here's a comprehensive list of the materials you'll need:
-
Paint: Selecting the right paint is paramount to achieving the perfect tan. Opt for a high-quality latex or acrylic paint in shades of brown, beige, and cream. These colors can be mixed to create a custom tan shade that suits your project.
-
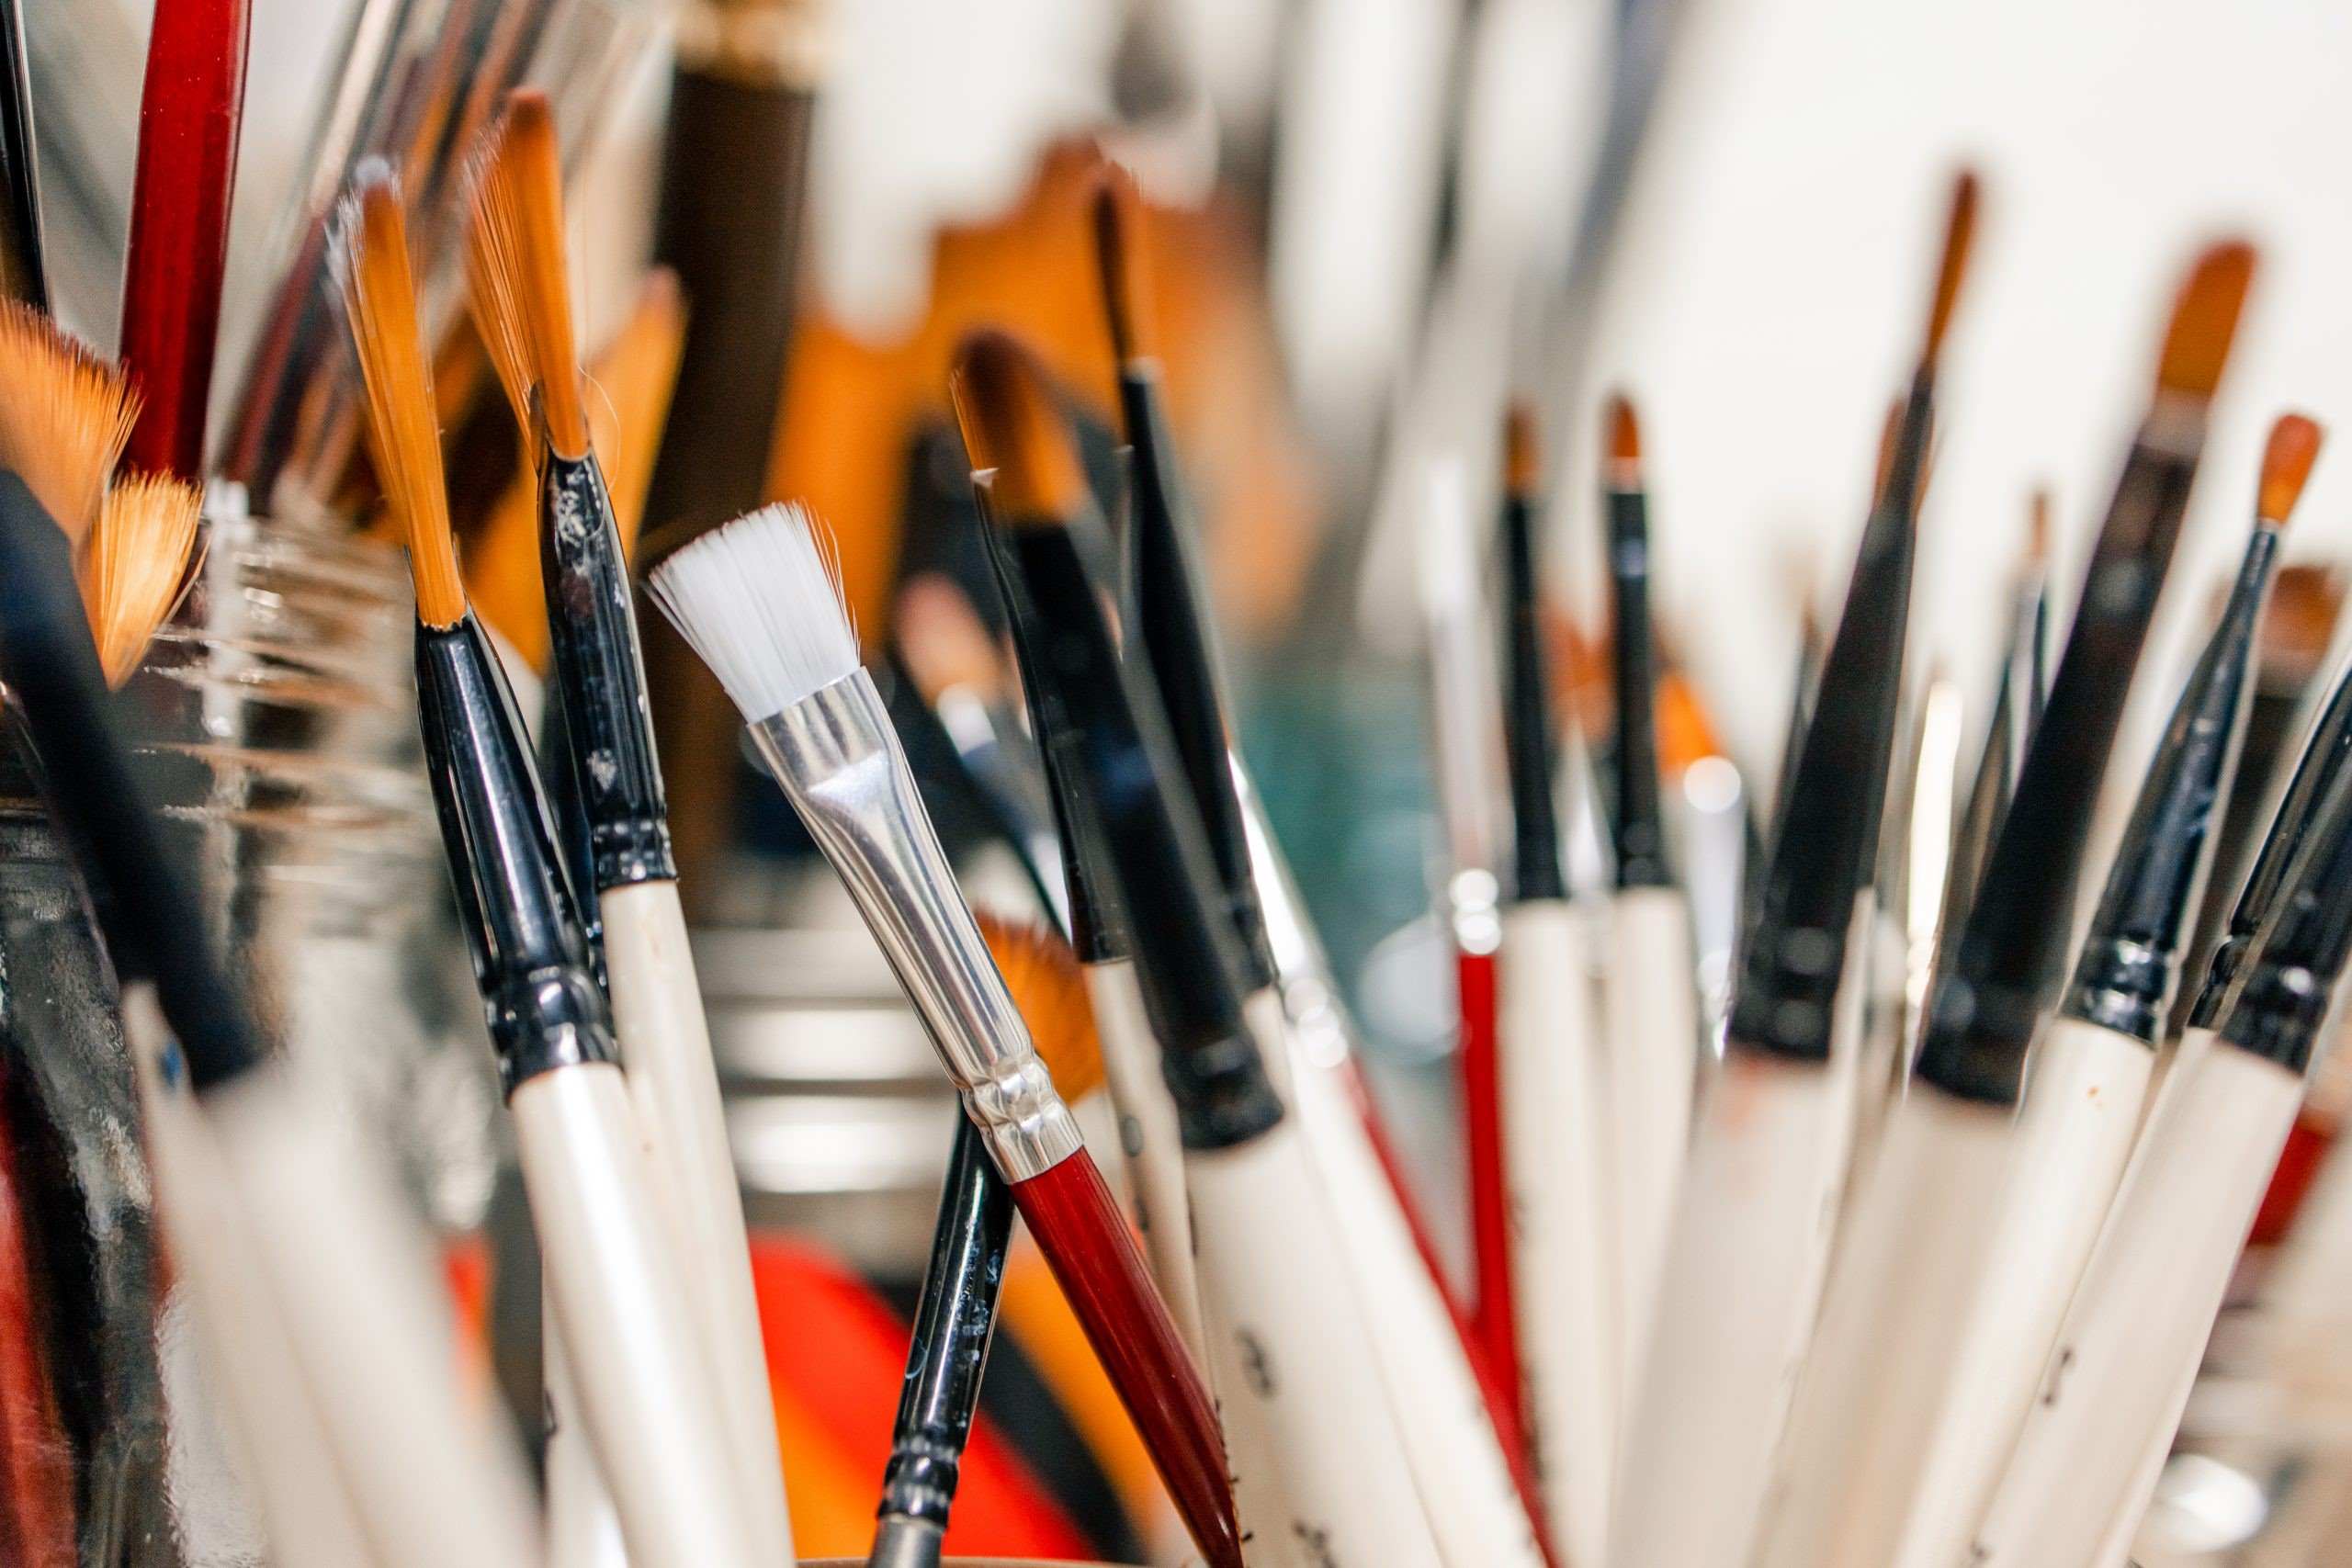
Paintbrushes: Invest in a variety of paintbrushes to cater to different aspects of the painting process. Flat brushes are ideal for applying the base coat, while smaller, angled brushes are essential for intricate detailing and precision work.
-
Sandpaper: Prepare the surface by using fine-grit sandpaper to smooth out any imperfections and create a suitable texture for the paint to adhere to.
-
Primer: Applying a primer before painting is crucial for ensuring an even and long-lasting finish. Choose a high-quality primer that is compatible with the type of surface you are working on.
-
Water and Soap: Keep a bucket of water and mild soap handy for cleaning your brushes and maintaining a tidy workspace.
-
Protective Gear: Prioritize your safety by wearing protective gear such as gloves, goggles, and a mask to shield yourself from paint fumes and potential splatters.
-
Drop Cloths or Tarps: Protect your work area from paint spills and splatters by laying down drop cloths or tarps to prevent any accidental damage.
-
Mixing Containers: Have a few mixing containers on hand to blend different paint colors and achieve the desired tan hue.
-
Rags or Paper Towels: Keep rags or paper towels nearby for wiping excess paint, cleaning up spills, and achieving subtle blending effects.
-
Finishing Products (Optional): Depending on your project, consider investing in finishing products such as varnish or wax to protect the painted surface and enhance its durability.
By ensuring that you have these materials readily available, you can approach the process of creating a tan with paint with confidence and preparedness. Each item plays a crucial role in achieving a professional and visually captivating result, allowing you to bring your artistic vision to fruition.
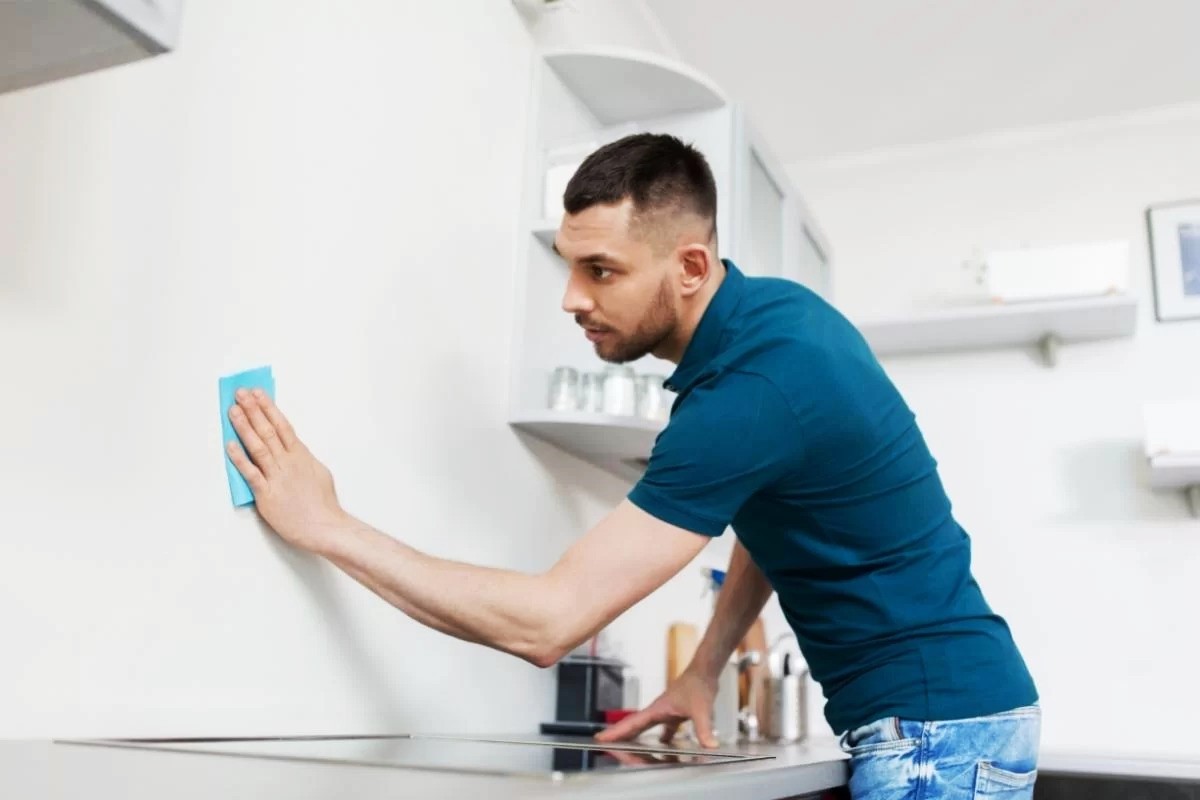
Preparing the Surface
Preparing the surface is a critical step in the process of creating a tan with paint. Proper surface preparation sets the foundation for a flawless and long-lasting finish, ensuring that the paint adheres smoothly and evenly. Whether you're working on wood, metal, or any other material, the following steps will guide you through the essential preparations:
-
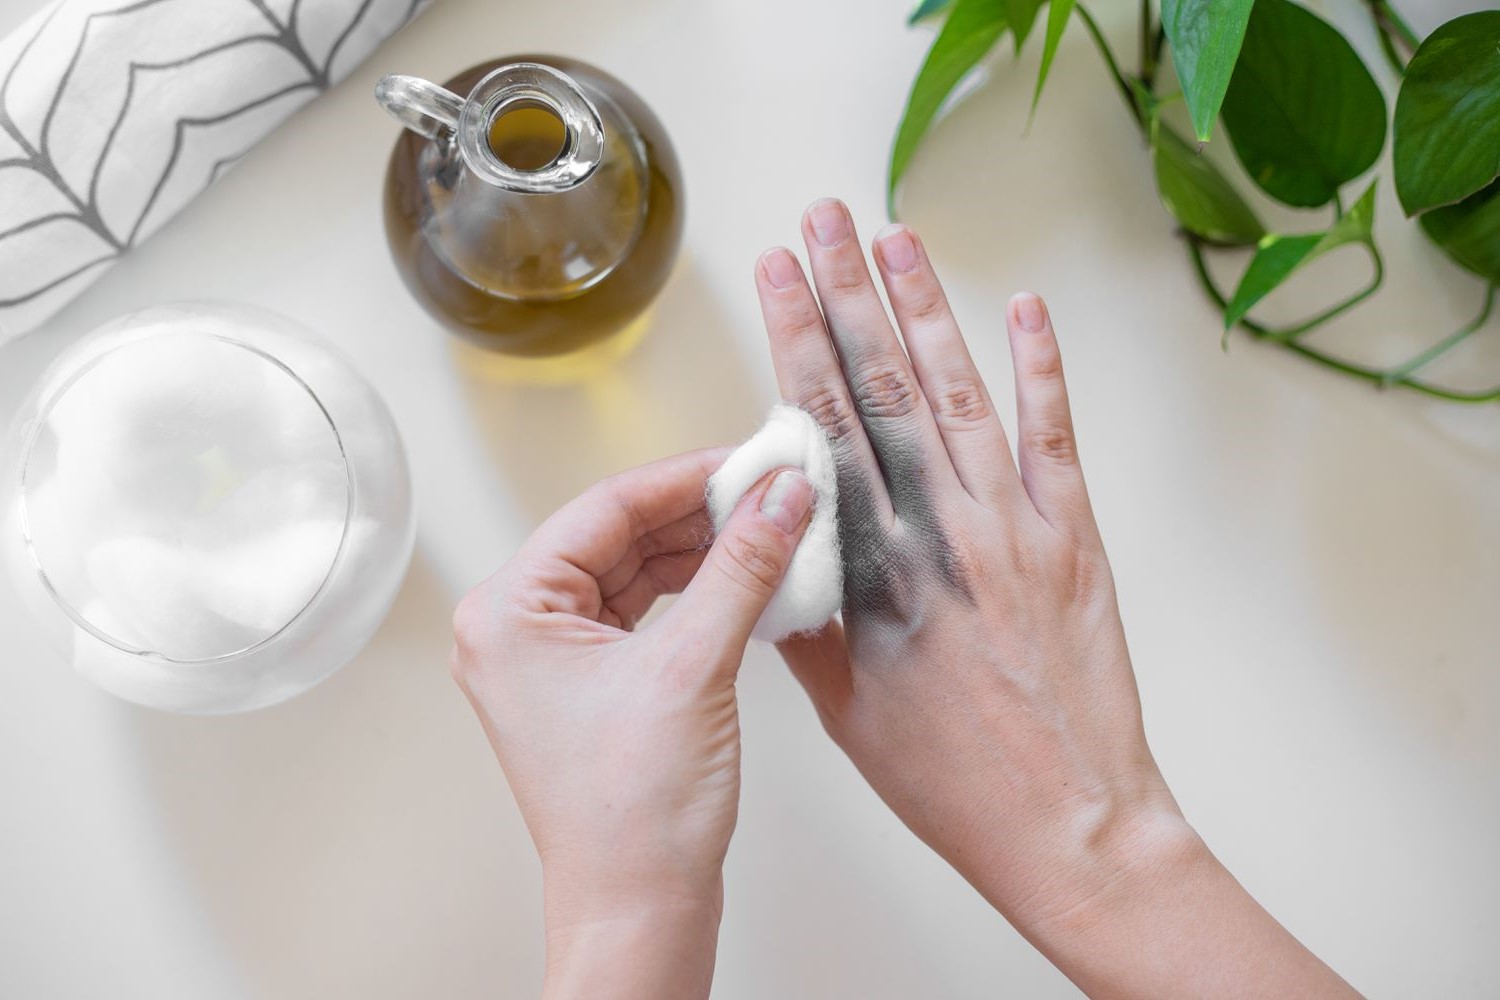
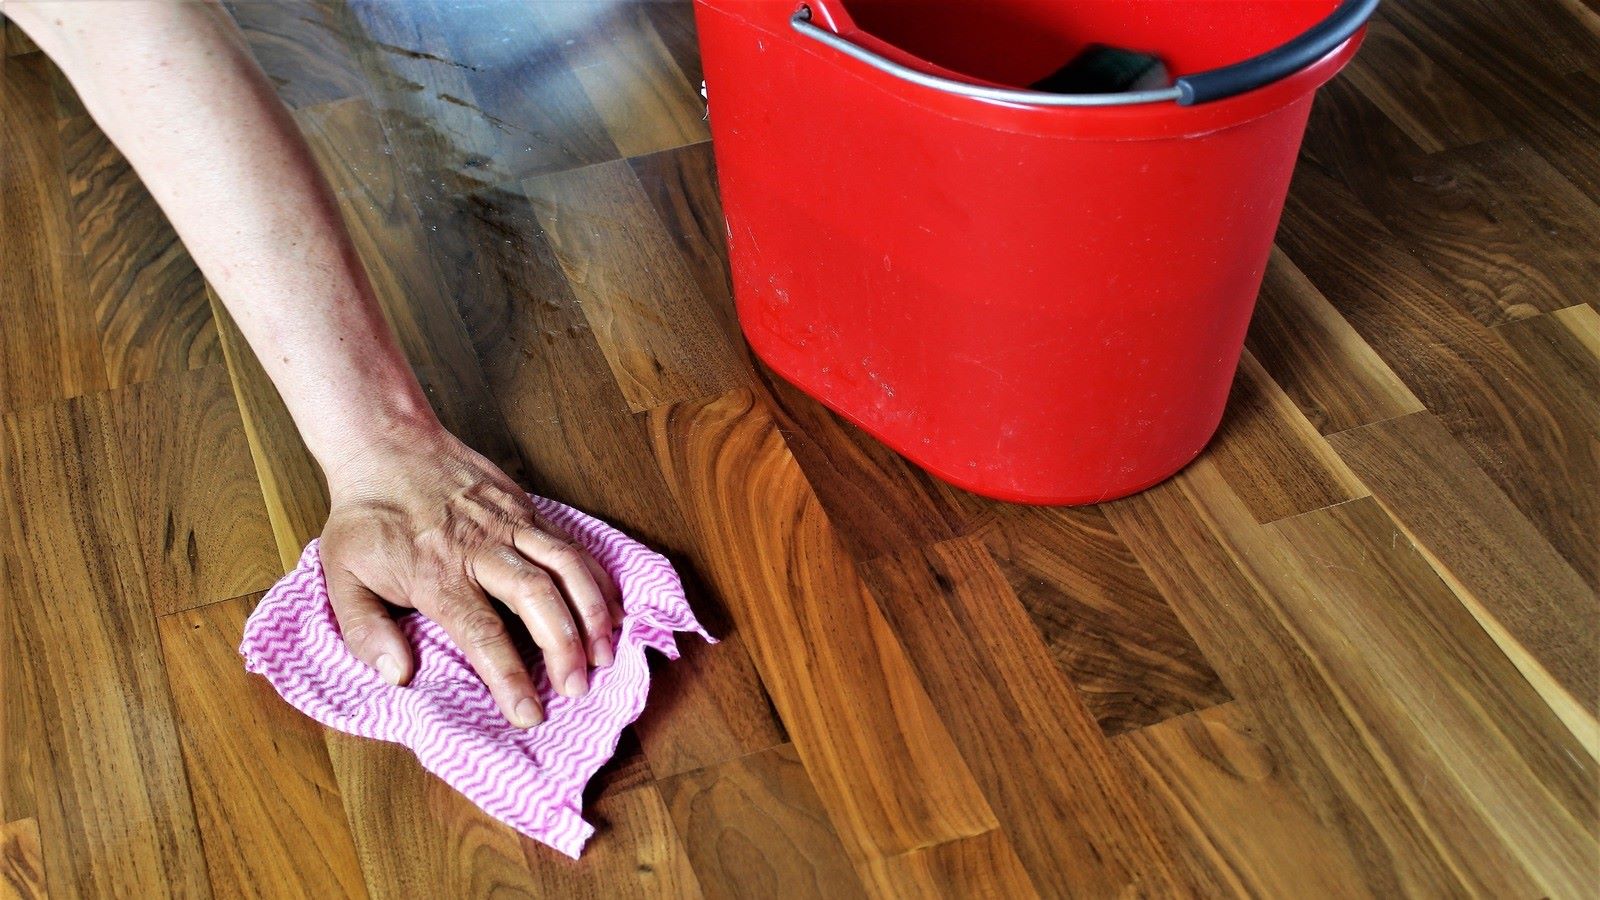
Clean the Surface: Begin by thoroughly cleaning the surface to remove any dust, dirt, or debris. Use a mild soap and water solution to wash the surface, and allow it to dry completely before proceeding. This step is crucial for promoting strong paint adhesion and preventing any imperfections in the final tan finish.
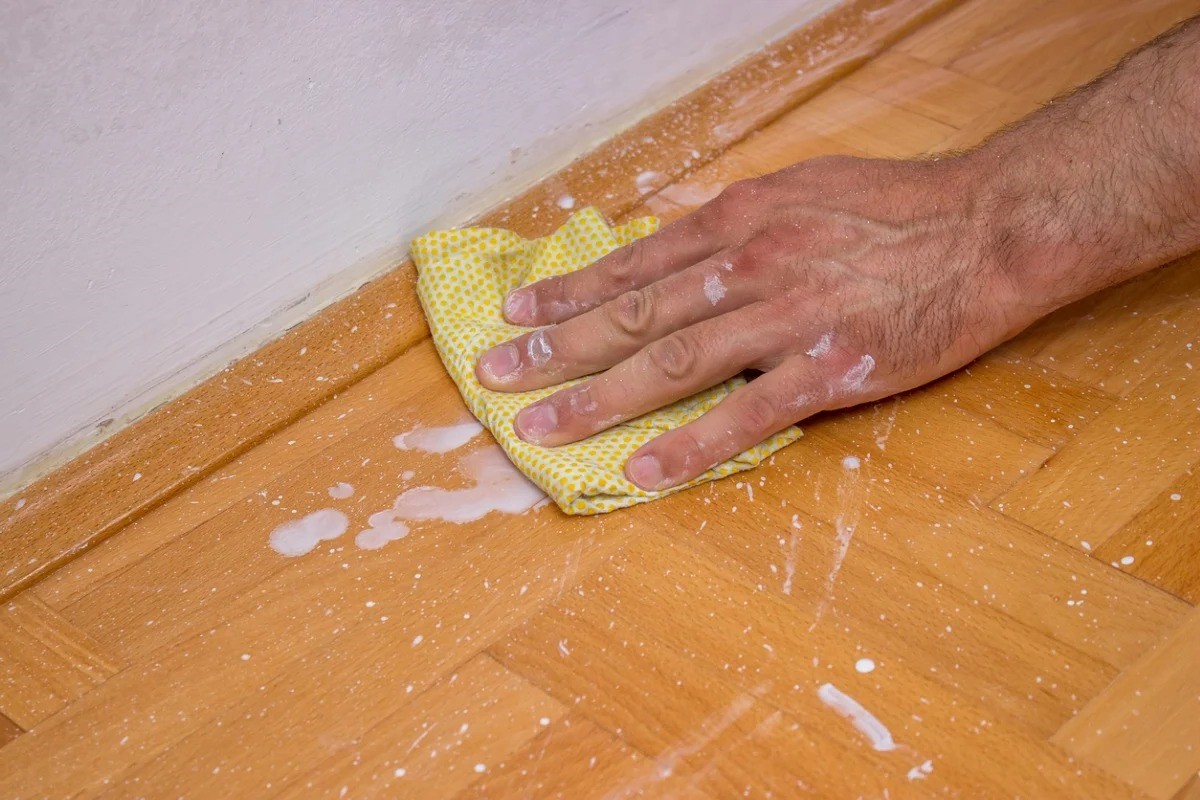
-
Sand the Surface: Once the surface is clean and dry, use fine-grit sandpaper to gently sand the entire area. This process helps to smooth out any rough patches, imperfections, or previous finishes, creating a suitable texture for the paint to adhere to. Be sure to wipe away any sanding residue with a clean, damp cloth before moving on to the next step.
-
Apply Primer (Optional): Depending on the type of surface you are working on, applying a primer may be necessary. A high-quality primer helps to create an even base for the paint, enhances adhesion, and can prevent the underlying surface from showing through. If you opt to use a primer, ensure that it is compatible with both the surface material and the type of paint you will be using.
-
Mask and Protect: If there are any areas that you do not want to paint, such as hardware or specific sections of the surface, use painter's tape and masking materials to protect these areas from accidental paint application. This meticulous step ensures that the tan is applied precisely where intended, without any unwanted spillage or smudges.
By meticulously preparing the surface before applying the paint, you set the stage for a successful tan-making process. These steps create an optimal canvas for the paint, allowing you to achieve a professional and visually appealing tan finish that enhances the overall aesthetic of your project.
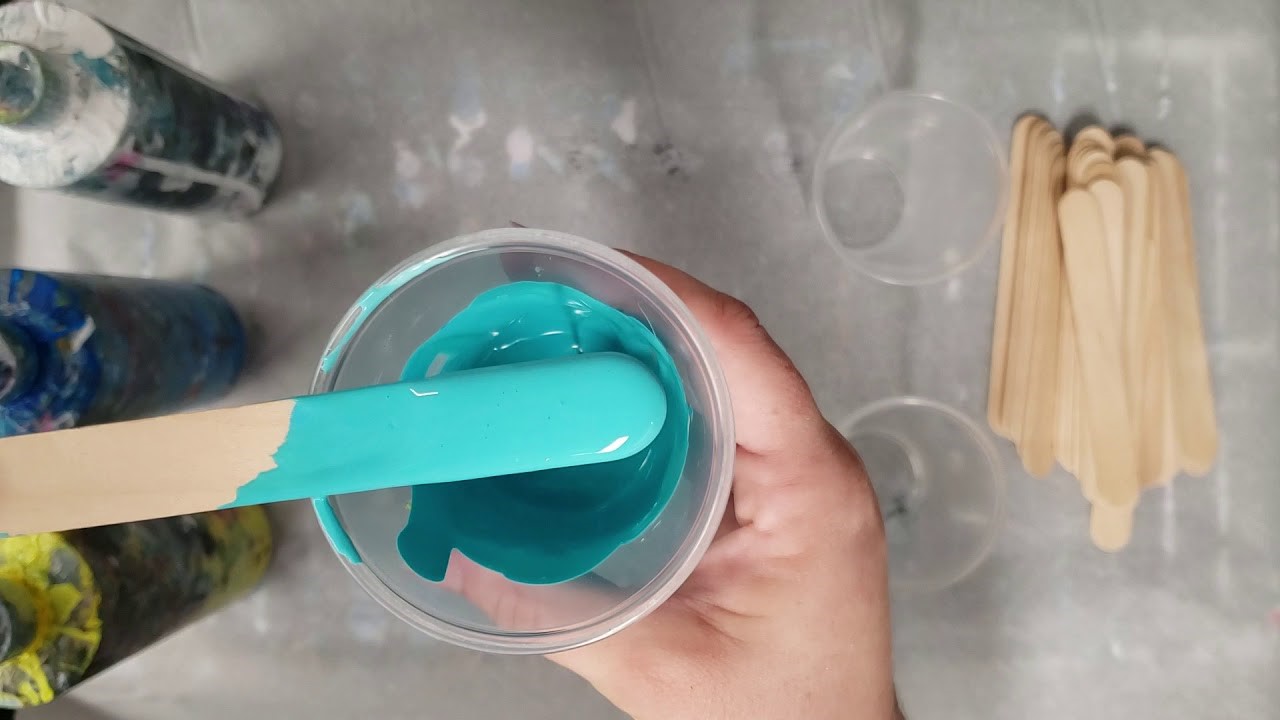
Mixing the Paint
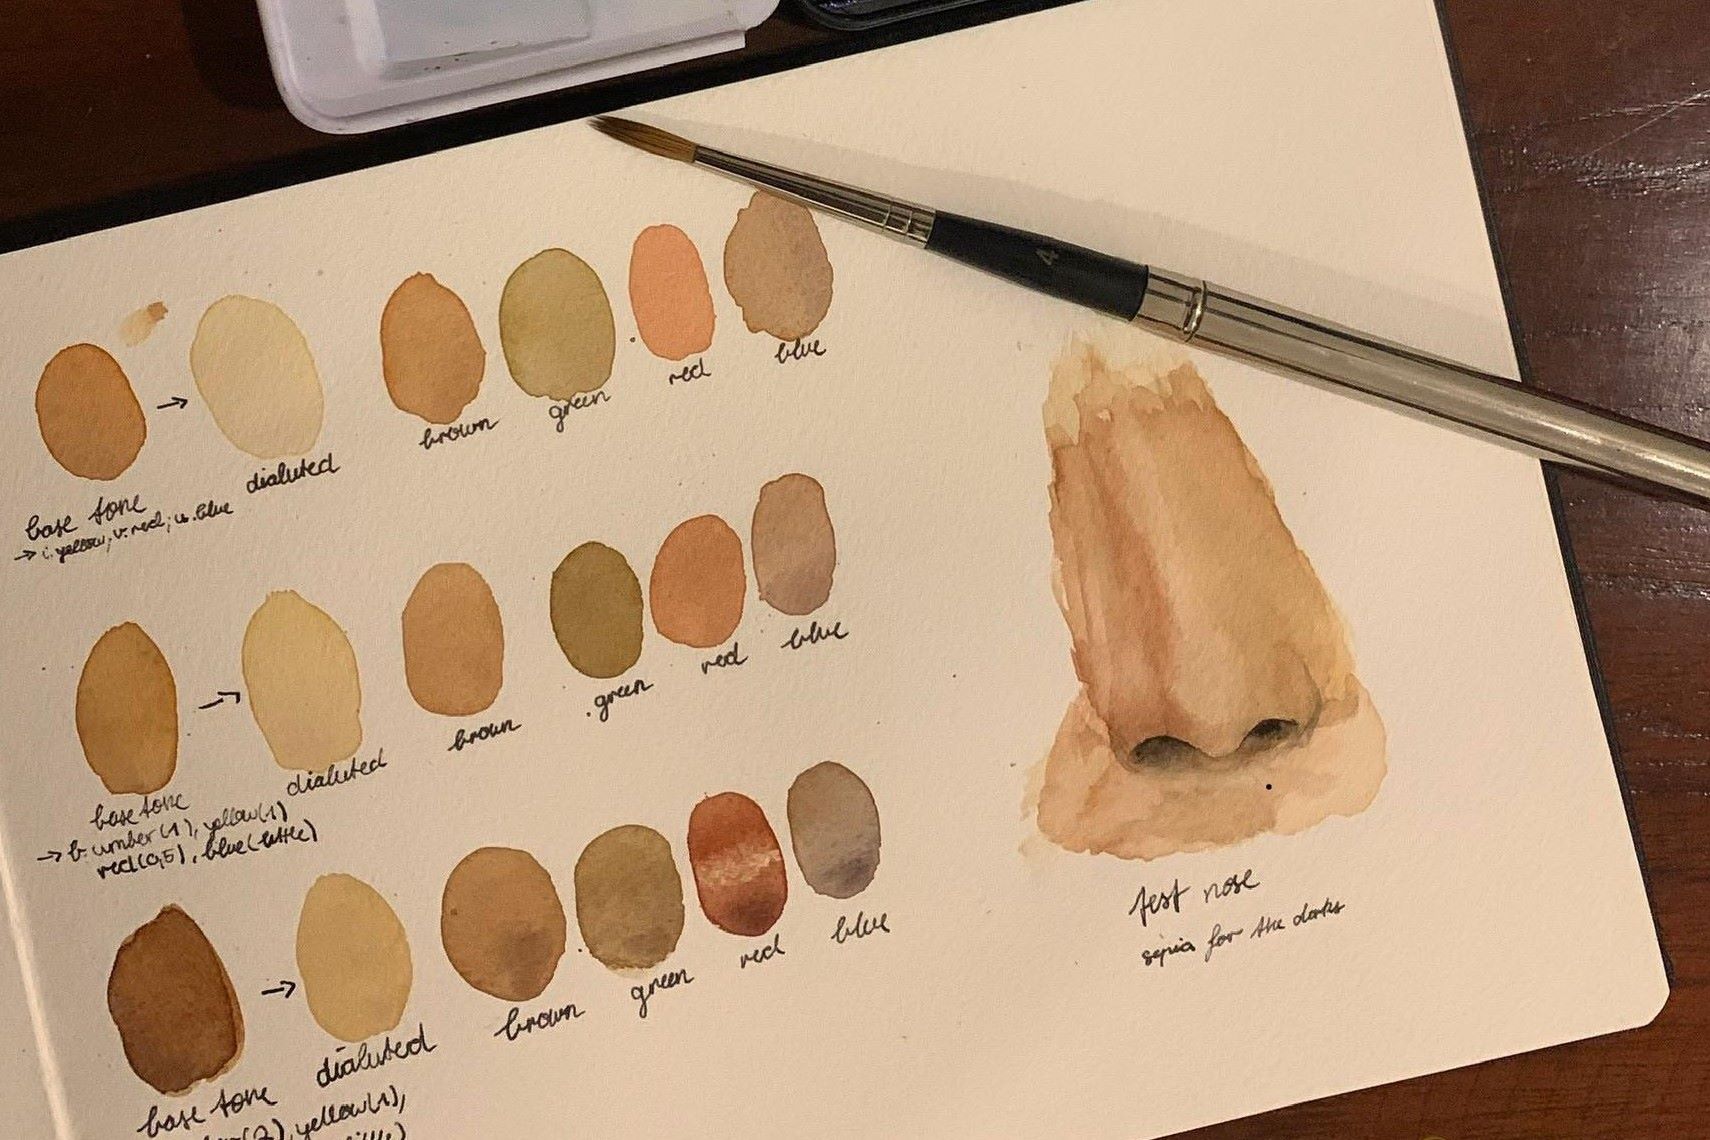
Mixing the paint is a pivotal stage in the process of creating a tan with paint. It is during this phase that you have the opportunity to blend different hues and tones to achieve the perfect tan shade that complements your artistic vision. The art of mixing paint requires precision, creativity, and a keen eye for color harmony. Here's a detailed exploration of the steps involved in mixing the paint to create a captivating tan:
-
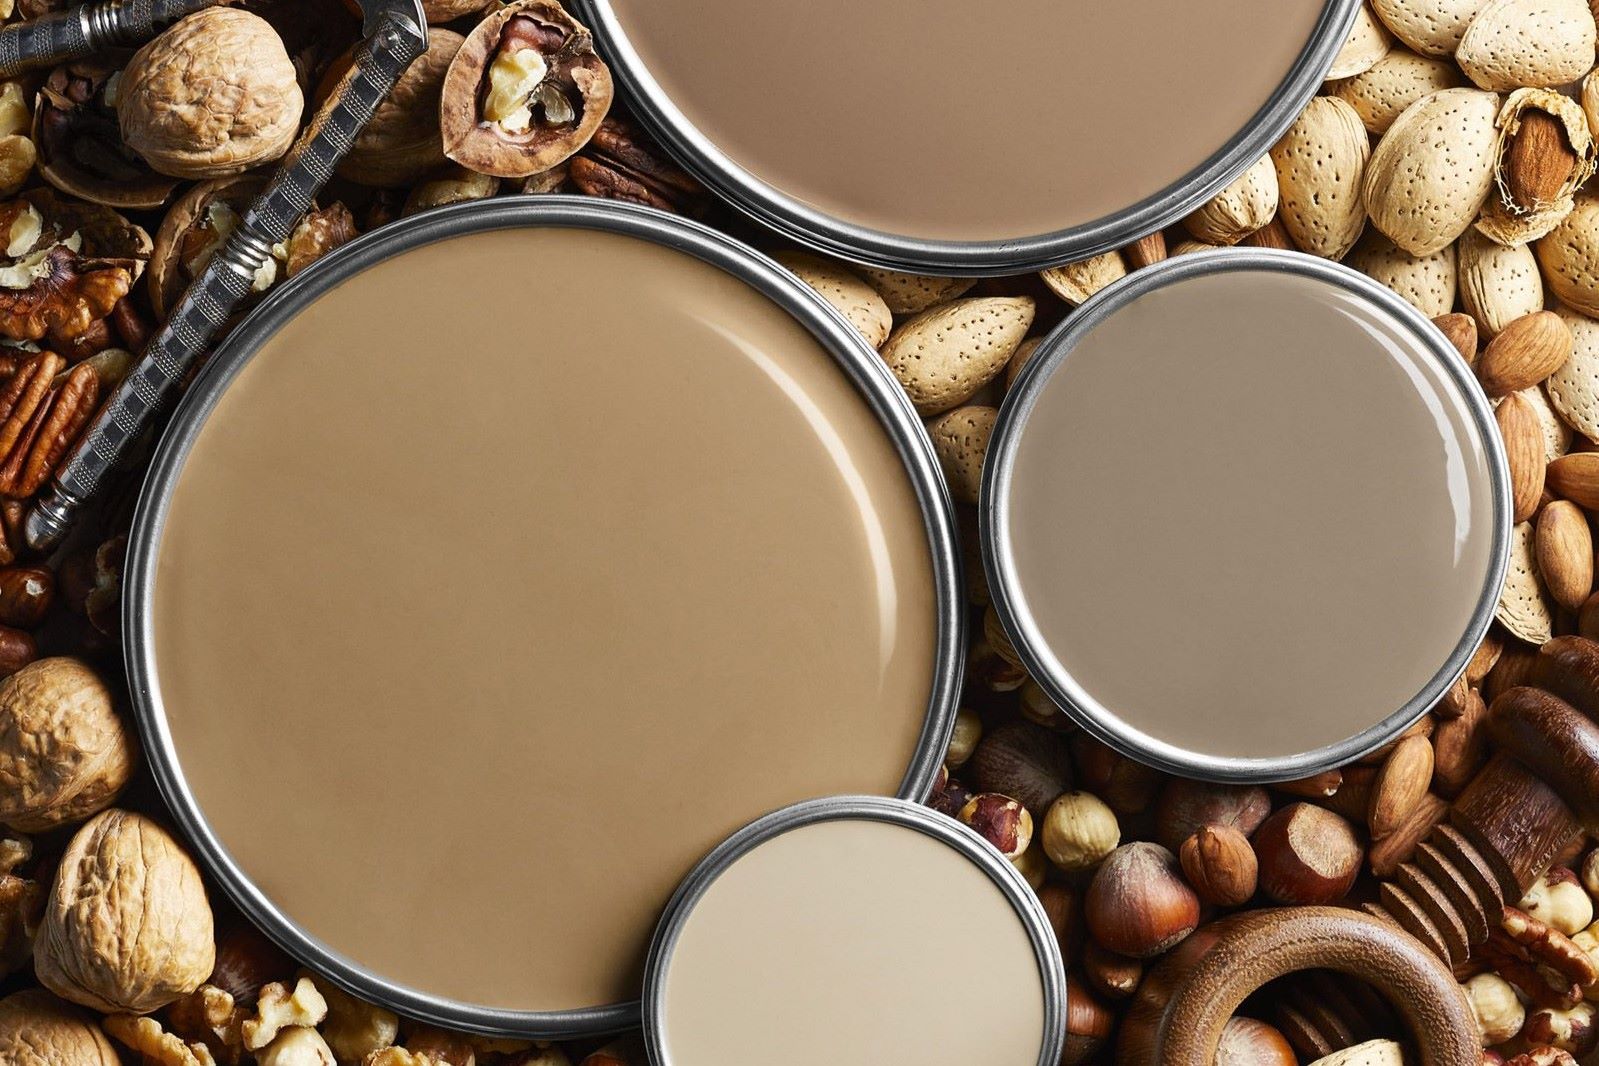
Selecting the Base Colors: Begin by selecting the base colors that will serve as the foundation for your tan. Shades of brown, beige, and cream are ideal starting points for creating a warm and inviting tan hue. These colors can be adjusted and combined to achieve the desired depth and richness in the final tan shade.
-
Experimenting with Ratios: Once you have chosen the base colors, it's time to experiment with different ratios to find the perfect blend. Start by mixing small quantities of each color in separate containers, gradually adjusting the proportions until you achieve a harmonious balance. Keep in mind that a little variation in the ratio can significantly impact the resulting tan shade, so approach this process with patience and attentiveness.
-
Testing and Adjusting: As you mix the paint, periodically test the resulting tan shade on a small, inconspicuous area of the surface you will be painting. This allows you to assess how the color appears in the actual environment and make any necessary adjustments. Pay close attention to how the tan interacts with the lighting and surrounding elements, as these factors can influence its overall appearance.
-
Blending Techniques: To achieve a seamless and natural-looking tan, consider employing blending techniques as you mix the paint. Gradual blending of the base colors can create subtle variations and depth within the tan, adding dimension and visual interest to the finished result. Experiment with different blending methods, such as layering and stippling, to achieve the desired texture and tonal transitions.
-
Recording the Formula: Once you have achieved the perfect tan shade, it's essential to record the formula or ratios used for future reference. This record serves as a valuable reference point if additional paint is needed or if touch-ups are required at a later stage. Keeping a detailed record of the mixing process ensures consistency and accuracy throughout the project.
By approaching the mixing of paint with a methodical and creative mindset, you can achieve a custom tan shade that enhances the aesthetic appeal of your project. This meticulous process allows you to infuse your work with a personalized touch, resulting in a tan that exudes warmth, character, and visual allure.
Applying the Paint
With the surface meticulously prepared and the perfect tan shade of paint expertly mixed, it's time to embark on the transformative stage of applying the paint. This pivotal step is where your artistic vision comes to life, as you skillfully bring the surface to a warm and inviting tan hue. The application process requires precision, patience, and a keen eye for detail to ensure a flawless and professional finish.
Begin by loading a high-quality paintbrush with the custom tan paint, ensuring that the bristles are evenly coated for smooth and consistent application. If you're working on a larger surface, consider using a paint roller for efficient coverage. As you commence the application, keep these essential techniques in mind to achieve a stunning tan finish:
-
Even Strokes: Apply the paint in even, overlapping strokes, working in manageable sections to maintain a consistent texture and coverage. This methodical approach ensures that the tan is applied smoothly and uniformly, minimizing any visible brush marks or uneven patches.
-
Layering for Depth: To imbue the tan with depth and richness, consider applying multiple thin layers of paint rather than a single heavy coat. This layering technique allows the tan to develop subtle variations and nuances, creating a visually captivating finish with a natural, weathered appearance.
-
Precision in Detailing: Pay close attention to any intricate details or edges, using smaller, angled brushes to ensure precision and accuracy. This meticulous approach ensures that the tan is seamlessly applied to every nook and cranny, enhancing the overall visual appeal of the surface.
-
Consistent Coverage: Maintain a consistent application of the tan paint across the entire surface, ensuring that the color remains uniform and harmonious. Be mindful of any areas that may require additional attention, such as corners, edges, or recessed sections, to achieve a professional and polished result.
-
Drying and Assessing: Allow each layer of paint to dry thoroughly before assessing the coverage and color consistency. This allows you to identify any areas that may require touch-ups or additional layers, ensuring that the tan achieves the desired warmth and vibrancy.
By employing these techniques and approaches, you can expertly apply the custom tan paint, infusing the surface with a timeless and inviting allure. The application process serves as the culmination of your artistic endeavor, bringing forth a visually captivating tan that elevates the aesthetic appeal of your project.
Read more: How To Make A Painting In Minecraft
Finishing Touches
Once the custom tan paint has been meticulously applied, the final stage of the tan-making process involves adding the finishing touches that elevate the overall aesthetic and durability of the project. These finishing touches serve to enhance the visual appeal of the tan, protect the painted surface, and ensure a professional, long-lasting finish. Here's a detailed exploration of the essential finishing touches that complete the tan-making journey:
-
Varnish or Sealant: Consider applying a coat of high-quality varnish or sealant to protect the painted surface and enhance its durability. Varnish not only provides a protective layer but also adds a subtle sheen, enriching the depth and vibrancy of the tan. Select a varnish that is compatible with the type of paint used and the specific characteristics of the surface to achieve optimal results.
-
Distressing Techniques (Optional): For projects that aim to achieve a weathered or vintage look, consider employing distressing techniques to add character and charm to the tan. Lightly sanding certain areas, strategically revealing underlying layers of paint, or creating subtle wear and tear effects can infuse the tan with a sense of history and authenticity.
-
Subtle Accents or Detailing: If the project allows for it, incorporating subtle accents or detailing can further enhance the visual interest of the tan. Consider adding decorative elements, such as stenciled patterns, hand-painted motifs, or delicate brushwork, to infuse the tan with a personalized touch that reflects your artistic style.
-
Final Inspection and Touch-Ups: Conduct a thorough inspection of the painted surface to identify any imperfections, uneven areas, or missed spots. Touch up any discrepancies with precision, ensuring that the tan achieves a seamless and professional finish. This meticulous attention to detail contributes to the overall refinement of the project.
-
Curing and Drying Time: Allow the painted surface to cure and dry according to the recommended time frame specified by the paint manufacturer. This crucial step ensures that the tan fully sets and achieves its intended color and texture, contributing to the longevity and resilience of the finish.
By incorporating these finishing touches, you can elevate the tan to its full potential, infusing it with durability, character, and a captivating visual allure. Each detail contributes to the overall impact of the tan, ensuring that your project exudes a timeless and inviting charm that captivates the beholder.
Conclusion
In conclusion, the art of creating a tan with paint is a captivating journey that intertwines creativity, craftsmanship, and attention to detail. From meticulously preparing the surface to expertly mixing the perfect tan shade and applying the paint with precision, each step in this process contributes to the transformation of a surface into a warm and inviting masterpiece.
As you embark on your own tan-making endeavors, it's essential to approach each stage with a blend of artistry and technical skill. The careful selection of materials, the meticulous preparation of the surface, and the thoughtful blending of paint colors all play a crucial role in achieving a professional and visually captivating tan finish.
The transformative power of creating a tan with paint extends beyond the surface itself. It offers a means of infusing character, warmth, and a touch of nostalgia into various projects, whether it's reviving a piece of furniture, enhancing the ambiance of a room, or adding depth to a piece of artwork. The versatility of this technique empowers individuals to customize and revitalize their surroundings, breathing new life into everyday spaces.
Furthermore, the finishing touches, such as protective varnishes, distressing techniques, and subtle detailing, serve to elevate the tan to its full potential, ensuring a durable and visually captivating result. These final steps contribute to the overall refinement of the project, infusing the tan with a timeless allure that captivates the beholder.
Ultimately, the process of making tan with paint is a harmonious blend of art and craftsmanship, offering a versatile and creative outlet for individuals to express their unique vision. Whether aiming for a weathered, rustic look or infusing modern pieces with a hint of vintage charm, the ability to create a tan with paint opens the door to a world of artistic possibilities.
As you embark on your own tan-making journey, may this comprehensive guide serve as a source of inspiration and guidance, empowering you to infuse your projects with a timeless, inviting allure. Embrace the art of creating a tan with paint, and let your creativity flow as you transform surfaces into captivating works of art.