Home>Home and Garden>How To Clean Oil Based Paint Brushes
Home and Garden
How To Clean Oil Based Paint Brushes
Published: March 1, 2024
Learn the best techniques for cleaning oil-based paint brushes at home. Keep your home and garden tools in top condition with our expert tips.
(Many of the links in this article redirect to a specific reviewed product. Your purchase of these products through affiliate links helps to generate commission for Noodls.com, at no extra cost. Learn more)
Table of Contents
Introduction
Cleaning oil-based paint brushes is an essential skill for any DIY enthusiast or professional painter. While oil-based paints create stunning, durable finishes, they can be challenging to clean from brushes. However, with the right techniques and materials, you can effectively restore your paint brushes to their pristine condition, ready for future projects.
Whether you've just completed a masterpiece or finished a home improvement project, proper brush maintenance is crucial for preserving the quality of your tools and ensuring optimal performance. By following the steps outlined in this guide, you'll learn how to remove stubborn oil-based paint from your brushes, allowing you to prolong their lifespan and maintain their effectiveness.
Oil-based paints contain pigments and binders that adhere strongly to brush bristles, making them resistant to traditional soap and water cleaning methods. This often leads to frustration and the temptation to discard expensive brushes after a single use. However, with the right approach, you can effectively clean oil-based paint brushes, saving money and reducing waste.
In the following sections, we'll explore the step-by-step process for cleaning oil-based paint brushes, from removing excess paint to drying and storing them properly. By the end of this guide, you'll have the knowledge and confidence to tackle oil-based paint cleanup with ease, ensuring that your brushes remain in top condition for future projects. Let's dive in and discover the techniques and materials needed to restore your oil-based paint brushes to their former glory.
Read more: How To Clean Walls With Flat Paint
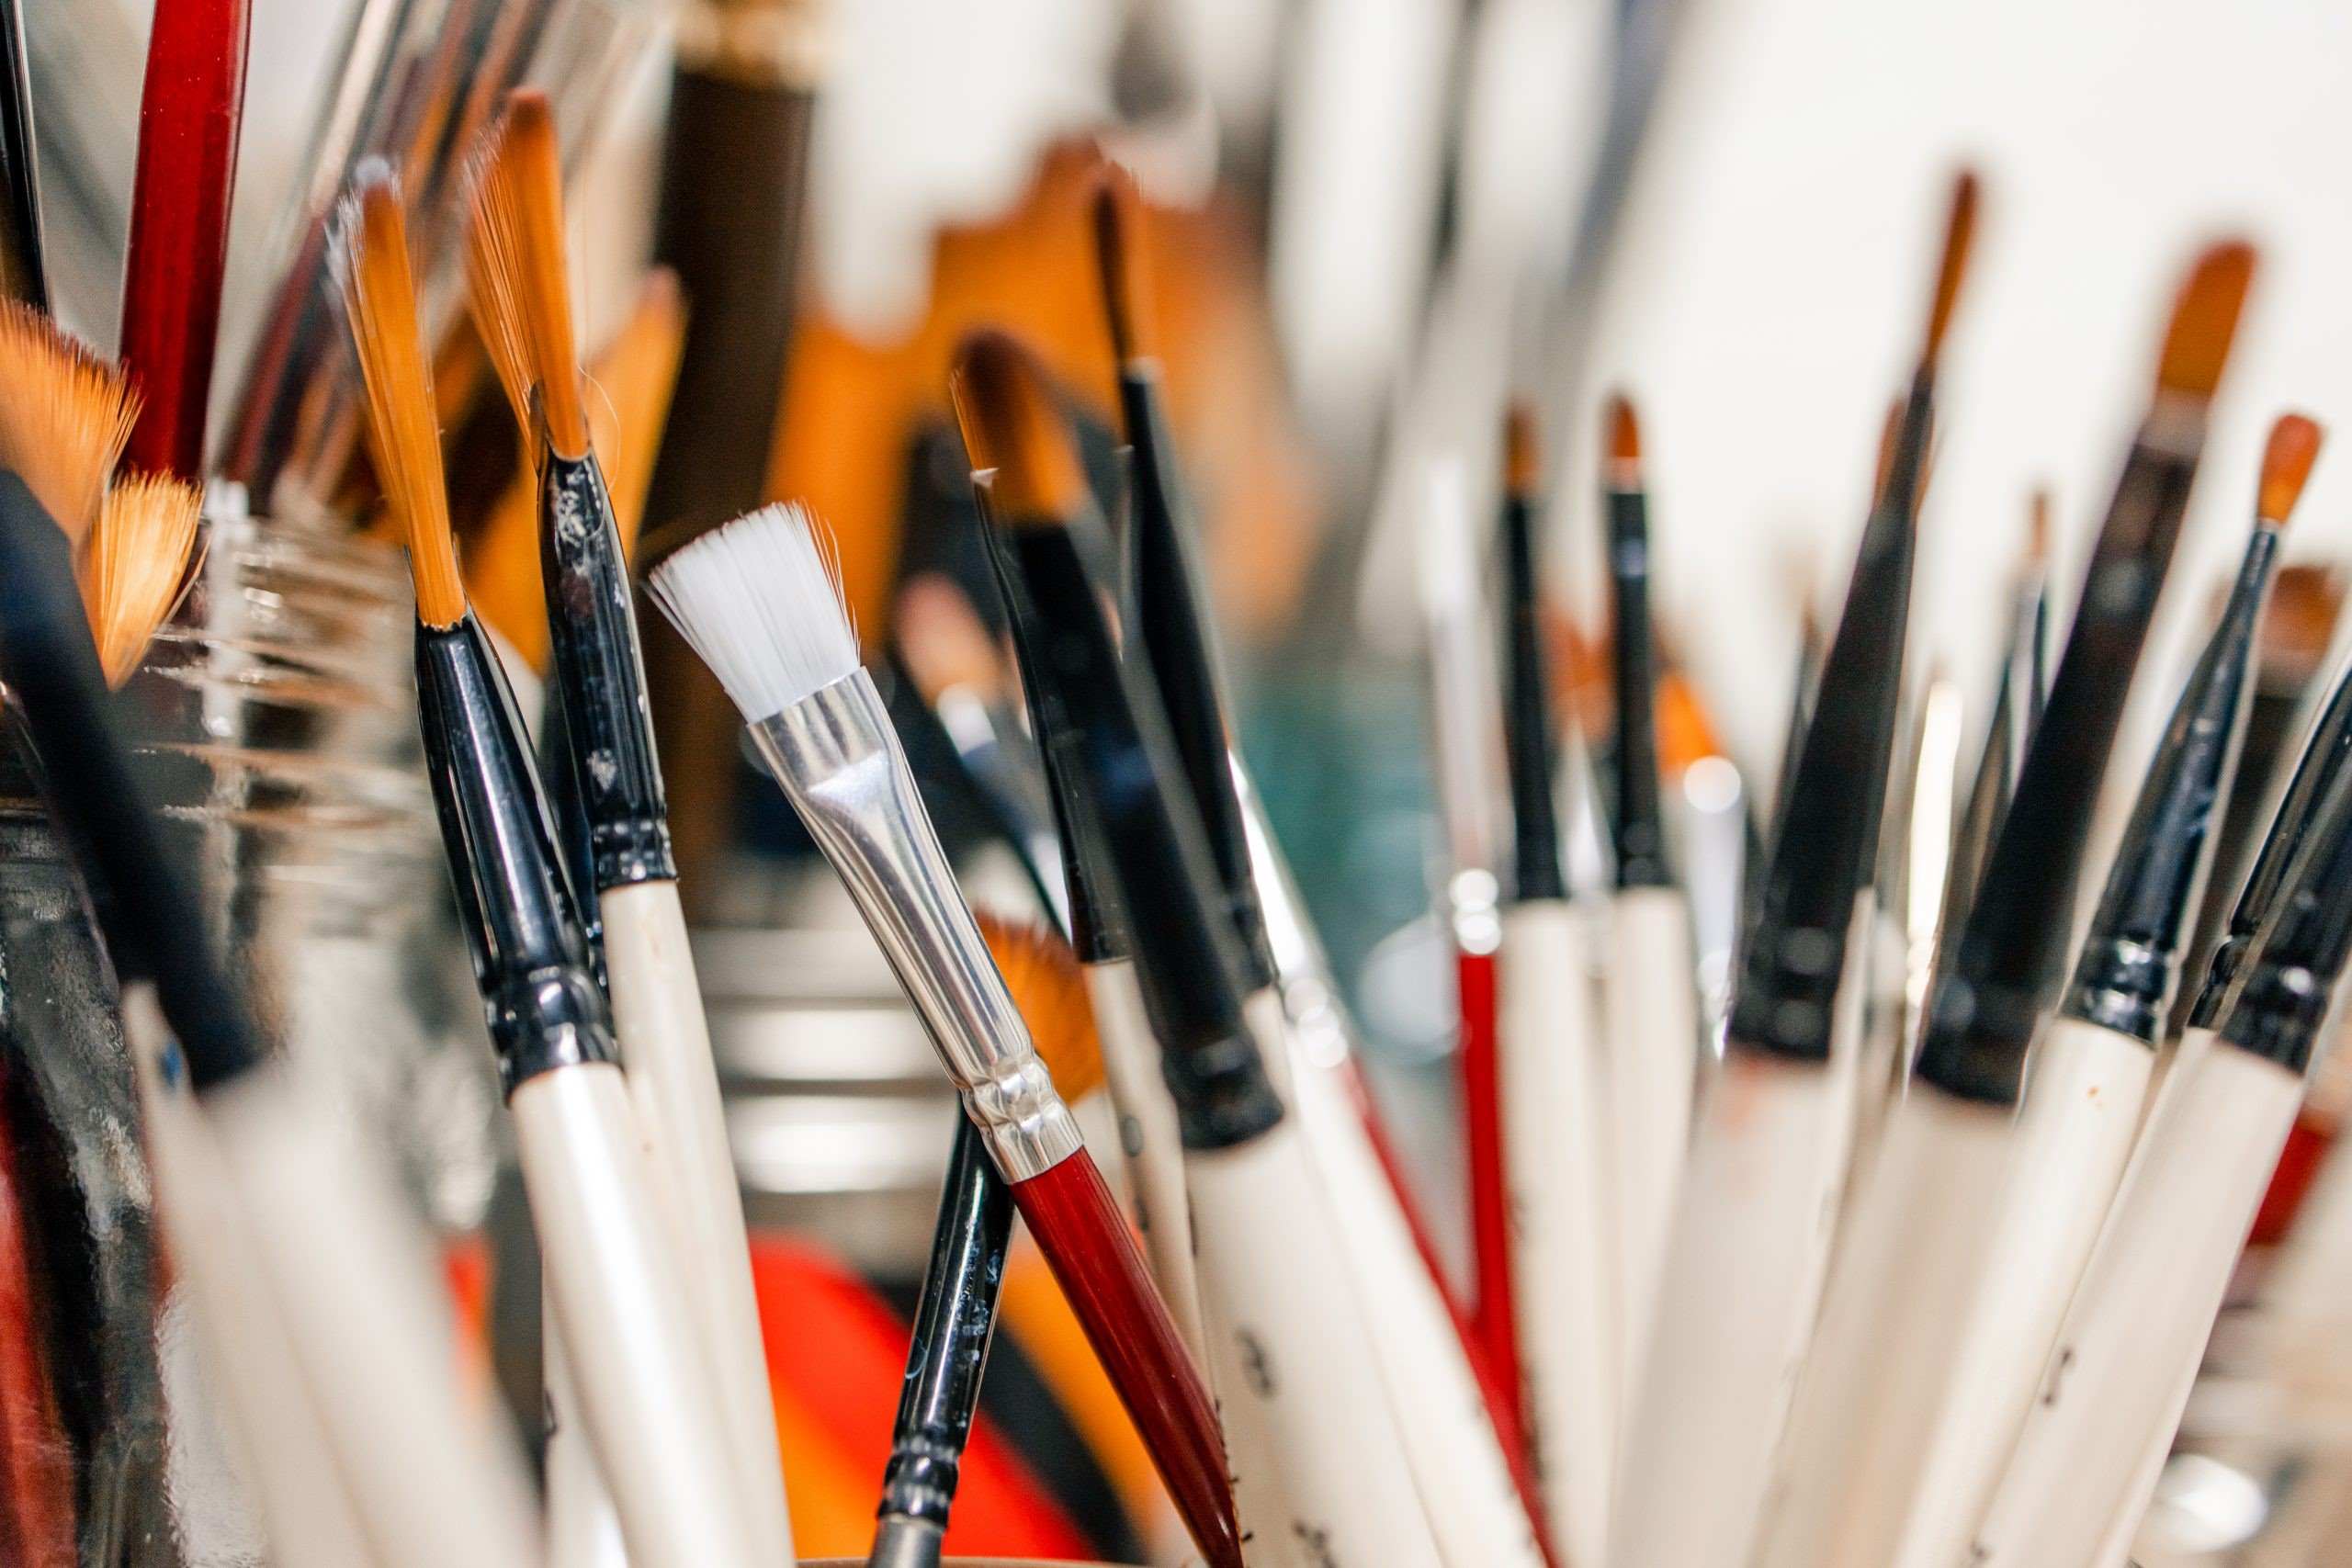
Materials Needed
Before embarking on the process of cleaning oil-based paint brushes, it's essential to gather the necessary materials to ensure a successful and thorough cleaning. Here's a list of items you'll need:
-
Paint Thinner or Mineral Spirits: These solvents are crucial for breaking down the oil-based paint residues trapped in the bristles of the brushes. Paint thinner or mineral spirits effectively dissolve the paint, making it easier to remove from the bristles.
-
Protective Gloves: It's important to safeguard your hands during the cleaning process. Disposable or reusable gloves will shield your skin from direct contact with the paint thinner or mineral spirits, which can be harsh on the skin.
-
Old Rag or Paper Towels: These are used for wiping off excess paint from the brushes before the cleaning process begins. They help in removing as much paint as possible before proceeding to the next steps.
-
Liquid Dish Soap: Once the bulk of the paint has been removed, liquid dish soap will be used to wash the brushes thoroughly. The soap helps to break down any remaining paint and removes the residual paint thinner or mineral spirits.
-
Sink or Bucket: You'll need a sink or a bucket to carry out the cleaning process. This will be used for rinsing the brushes and washing off the soap after the initial cleaning with paint thinner or mineral spirits.
-
Wire Brush or Comb: A wire brush or comb is essential for gently combing through the bristles of the brushes, ensuring that any remaining paint is loosened and removed.
-
Old Newspaper or Cardboard: These materials are used for drying the brushes after cleaning. They provide a suitable surface for the brushes to air dry without causing damage to any surfaces.
By ensuring that you have all these materials at your disposal, you'll be well-prepared to effectively clean your oil-based paint brushes, restoring them to their original condition and ready for future use.
Step 1: Removing Excess Paint
Before delving into the cleaning process, it's crucial to remove as much excess paint from the brushes as possible. This initial step minimizes the amount of paint that needs to be dissolved and washed out later, streamlining the overall cleaning process.
To begin, gently wipe the bristles of the paintbrush against the rim of the paint can or a clean edge of the paint palette. This action helps to dislodge the bulk of the paint, preventing it from hardening within the bristles. Next, utilize an old rag or paper towels to blot and wipe the bristles, further removing the excess paint. By repeating this process several times, you can significantly reduce the amount of paint remaining in the bristles.
For brushes with particularly stubborn paint buildup, a specialized brush comb or wire brush can be used to gently loosen and remove the excess paint. Carefully comb through the bristles, working from the base towards the tips, until the majority of the paint has been dislodged.
By diligently removing excess paint in this manner, you'll ensure that the subsequent cleaning steps are more effective and efficient. This proactive approach minimizes the effort required to dissolve and wash out the paint, ultimately prolonging the lifespan of your brushes and maintaining their performance for future painting endeavors.
Once the excess paint has been successfully removed, you can proceed to the next step of the cleaning process, which involves utilizing paint thinner or mineral spirits to dissolve the remaining paint residues trapped within the bristles.
Step 2: Cleaning with Mineral Spirits
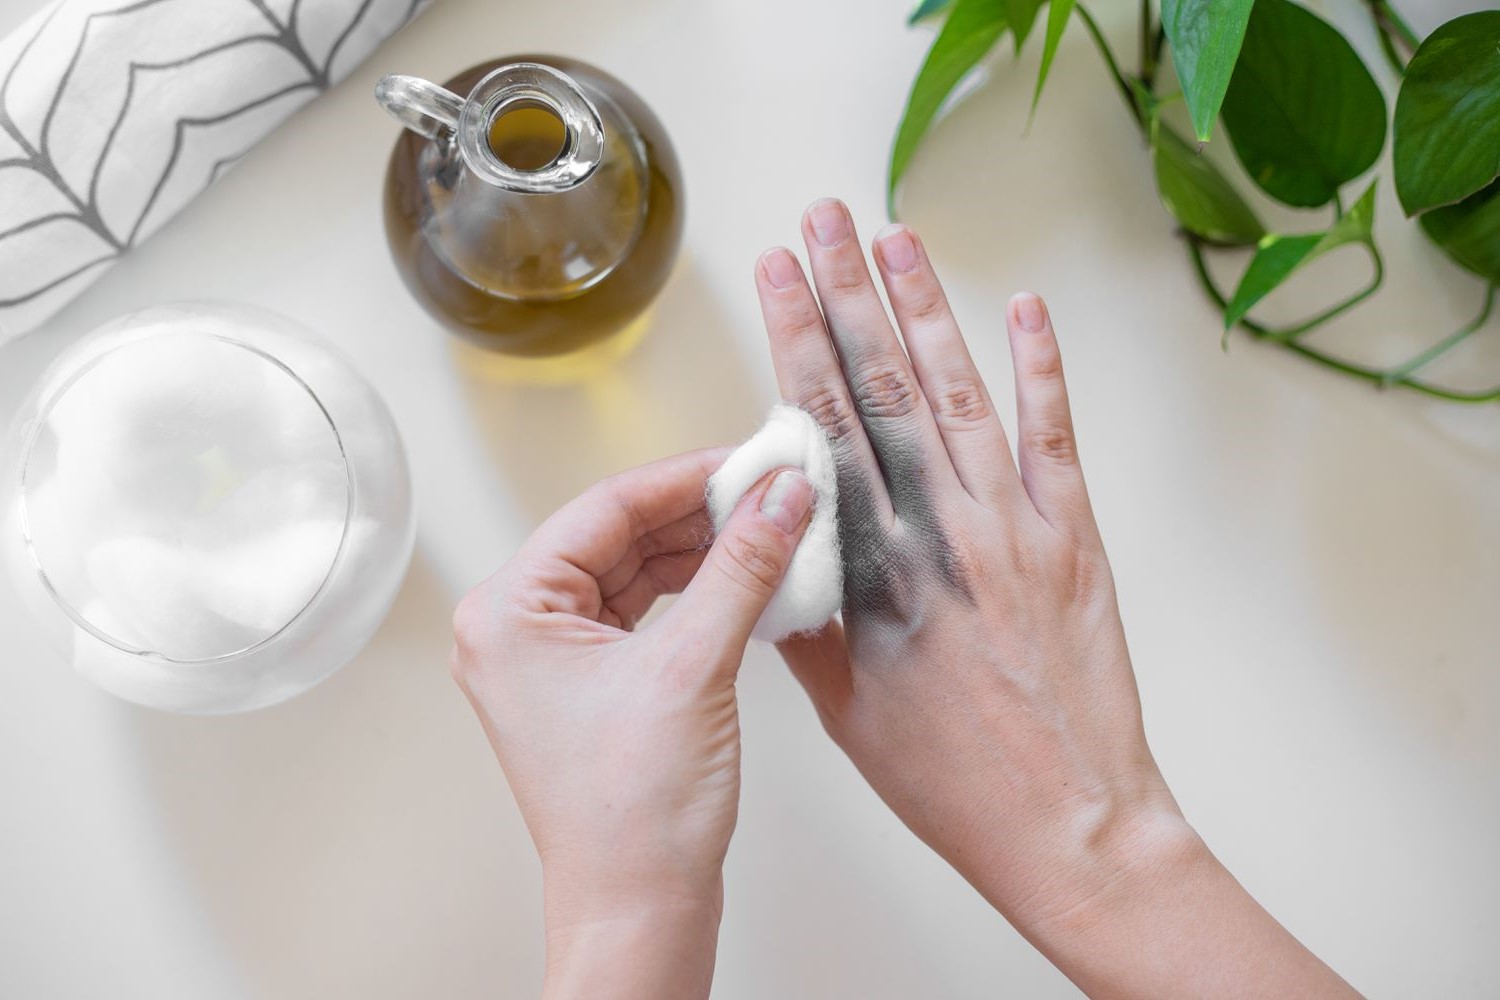
After removing the excess paint from the brushes, the next crucial step in cleaning oil-based paint brushes involves utilizing mineral spirits or paint thinner to dissolve the remaining paint residues trapped within the bristles. Mineral spirits are a highly effective solvent for oil-based paints, making them an essential component in the cleaning process.
To begin, pour a small amount of mineral spirits into a container, such as a jar or a small bucket. Avoid using excessive amounts of mineral spirits, as a small quantity is usually sufficient for the cleaning process. Submerge the paintbrush into the mineral spirits, ensuring that the bristles are fully immersed in the solvent. Swirl the brush gently in the mineral spirits, allowing the solvent to penetrate and dissolve the stubborn paint residues.
As the mineral spirits work their magic, you'll notice the paint beginning to loosen and dissolve, gradually releasing its grip on the bristles. It's important to exercise patience during this phase, as the solvent may require some time to effectively break down the paint. For particularly stubborn paint buildup, you may gently agitate the bristles within the mineral spirits, aiding the dissolution process.
Once the paint has sufficiently loosened, carefully remove the brush from the mineral spirits. Hold the brush over the container and allow the excess solvent to drip back into the container. Avoid shaking the brush vigorously, as this may cause splattering and unnecessary wastage of the mineral spirits.
Following the removal of the excess mineral spirits, utilize a clean rag or paper towels to gently blot and wipe the bristles. This helps to remove the dissolved paint and any residual mineral spirits from the brush. It's essential to repeat this process several times, ensuring that the majority of the dissolved paint and solvent is effectively removed from the bristles.
After the initial cleaning with mineral spirits, the brushes should appear significantly cleaner, with the bulk of the oil-based paint residues successfully dissolved and removed. At this stage, the brushes are ready to undergo the next phase of the cleaning process, which involves washing them with soap and water to eliminate any remaining traces of paint and solvent.
By diligently following the steps outlined for cleaning with mineral spirits, you'll effectively restore your oil-based paint brushes to their original condition, preparing them for the final stages of the cleaning process. This meticulous approach ensures that your brushes are thoroughly cleaned and free from stubborn paint residues, ready to be utilized for future painting projects.
Step 3: Washing with Soap and Water
After the initial cleaning with mineral spirits, the next crucial step in restoring oil-based paint brushes involves washing them with soap and water to eliminate any remaining traces of paint and solvent. This process ensures that the brushes are thoroughly cleansed and ready for future use.
To begin, dispense a small amount of liquid dish soap onto the bristles of the paintbrush. Gently work the soap into the bristles, ensuring that it penetrates through the entire brush. The dish soap acts as a powerful degreaser, effectively breaking down any residual paint and removing the lingering scent of the mineral spirits.
Next, under running water, gently massage the bristles to create a lather, allowing the soap to further cleanse the brush. It's essential to use lukewarm water, as hot water can cause the bristles to expand and lose their shape, while cold water may not effectively remove the soap and paint residues.
Continue massaging the bristles and rinsing them under the running water until the lather runs clear, indicating the removal of all paint and soap residues. It's important to ensure that no traces of paint thinner or mineral spirits remain in the bristles, as these solvents can compromise the quality of future paint applications.
Once the brushes are thoroughly rinsed, gently squeeze the bristles from the base to the tips to remove excess water. Avoid twisting or pulling on the bristles, as this can cause damage to the brush shape. After the excess water has been removed, gently reshape the bristles with your fingers, ensuring that they retain their original form.
To complete the washing process, lay the brushes flat on a clean surface to air dry. It's advisable to place them on old newspaper or cardboard to absorb any remaining moisture and prevent water damage to surrounding surfaces. It's important to allow the brushes to dry completely before storing them, as storing damp brushes can lead to mold and mildew growth.
By diligently washing the brushes with soap and water, you'll effectively remove any remaining paint and solvent residues, ensuring that the brushes are clean and ready for future painting endeavors. This meticulous approach to cleaning oil-based paint brushes guarantees that your tools remain in optimal condition, ready to deliver exceptional results in your next artistic or home improvement project.
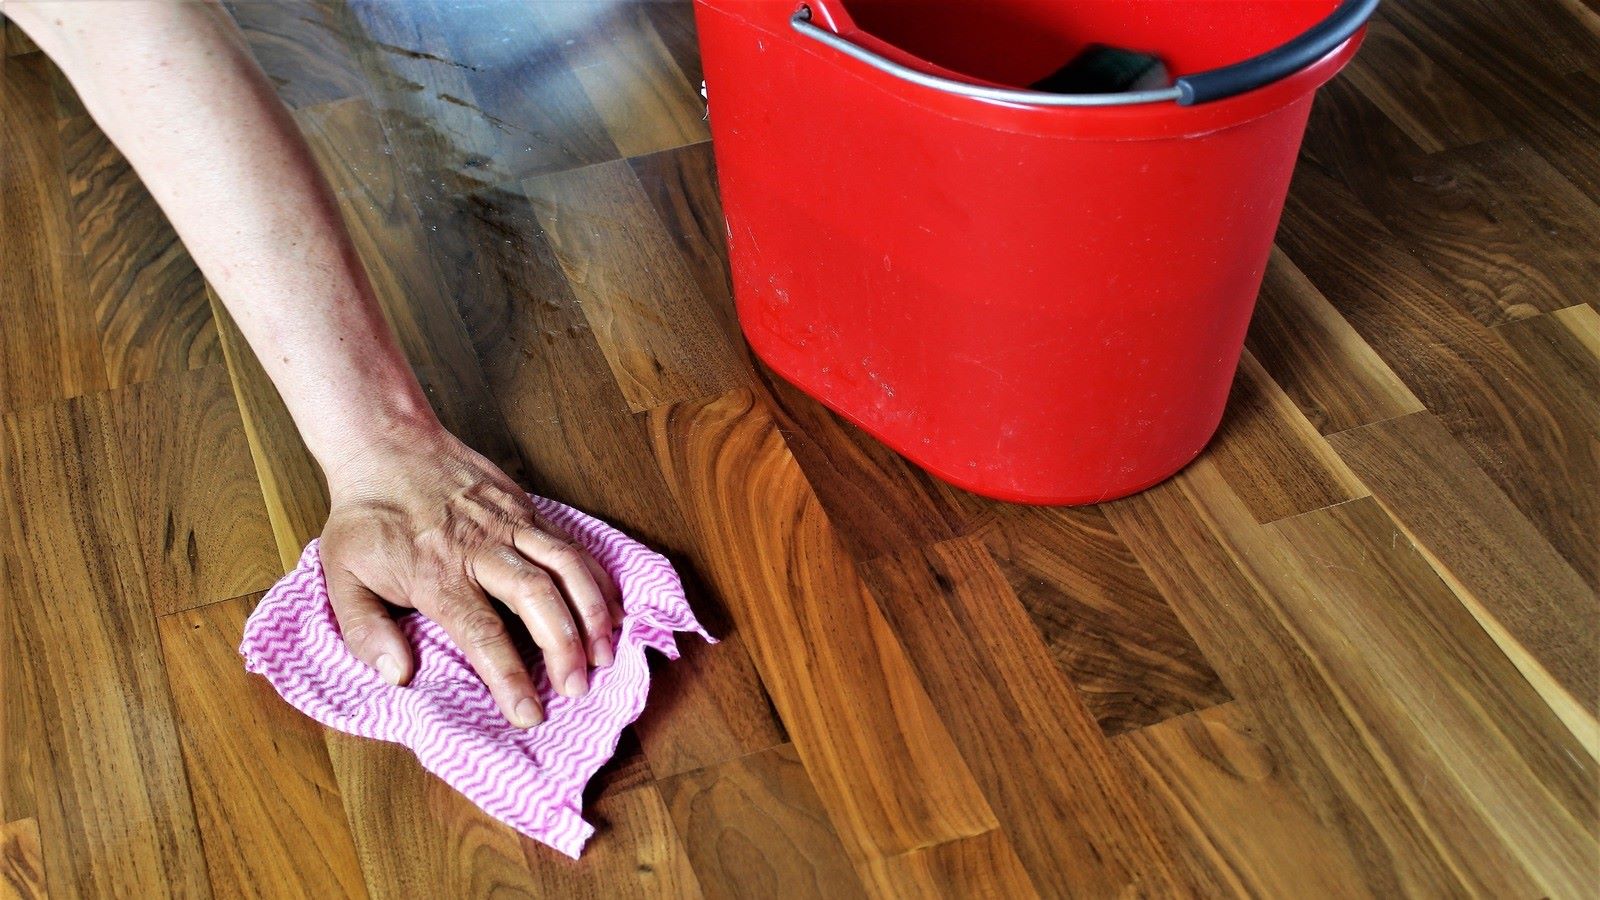
Read more: How To Get Paint Off The Floor
Step 4: Drying and Storing the Brushes
After completing the thorough cleaning process, the final step involves ensuring that the oil-based paint brushes are adequately dried and stored to maintain their quality and prolong their lifespan. Proper drying and storage practices are essential for preventing damage to the bristles and preserving the shape of the brushes, ensuring that they remain in optimal condition for future use.
To begin the drying process, gently shake the brushes to remove any remaining droplets of water. Avoid vigorous shaking, as this can cause damage to the bristles. Next, using a clean, dry cloth or paper towels, carefully blot the bristles to absorb any excess moisture. It's important to be gentle during this step to avoid misshaping the bristles or causing them to splay.
Once the majority of the moisture has been removed, reshape the bristles with your fingers, ensuring that they maintain their original form. This step is crucial for preserving the integrity of the brushes and preventing the bristles from drying in a distorted or misshapen state. By carefully reshaping the bristles, you'll guarantee that the brushes are ready for future use without any compromise in their performance.
After reshaping the bristles, it's time to allow the brushes to air dry completely. Lay the brushes flat on a clean, dry surface, such as a countertop or a table. It's advisable to place them on old newspaper or cardboard to absorb any residual moisture and prevent water damage to the underlying surface. Ensure that the brushes are positioned in a well-ventilated area to facilitate the drying process.
It's important to avoid storing the brushes in a closed or humid environment while they are still damp, as this can lead to the growth of mold and mildew. Allowing the brushes to air dry completely before storing them is crucial for maintaining their cleanliness and preventing any potential damage.
Once the brushes are thoroughly dried, they can be stored upright in a container or hung from a peg or hook. Storing the brushes with the bristles facing upward helps to preserve their shape and prevents deformation. Additionally, storing the brushes in a clean and dry environment, away from direct sunlight and extreme temperatures, ensures that they remain in optimal condition for future use.
By diligently following the steps for drying and storing the brushes, you'll ensure that your oil-based paint brushes are maintained in excellent condition, ready to deliver exceptional performance in your next painting project. These careful practices contribute to the longevity of your brushes, allowing you to continue creating beautiful and precise brushwork for years to come.
Conclusion
In conclusion, mastering the art of cleaning oil-based paint brushes is a valuable skill that not only preserves the quality of your tools but also saves money and reduces waste. By following the step-by-step process outlined in this guide, you can effectively restore your paint brushes to their pristine condition, ready for future projects.
The initial step of removing excess paint sets the stage for a more efficient cleaning process, minimizing the effort required to dissolve and wash out the paint. This proactive approach not only saves time but also prolongs the lifespan of your brushes, ensuring their continued effectiveness.
The use of mineral spirits or paint thinner to dissolve stubborn paint residues is a crucial phase in the cleaning process. Patience and diligence during this step yield brushes that are significantly cleaner, free from the bulk of oil-based paint residues. This meticulous approach ensures that your brushes are thoroughly cleaned and ready for the next phase of the cleaning process.
Washing the brushes with soap and water serves as the final cleansing step, eliminating any remaining traces of paint and solvent. This thorough washing process guarantees that the brushes are clean and free from any lingering residues, preparing them for future use without compromising the quality of your paint applications.
The drying and storage of the brushes are equally important to maintain their quality and prolong their lifespan. Proper reshaping and air drying ensure that the brushes retain their original form and are ready for future use, while appropriate storage practices prevent damage and deformation.
By diligently following these cleaning and maintenance practices, you can ensure that your oil-based paint brushes remain in optimal condition, ready to deliver exceptional performance in your next artistic or home improvement project. With the knowledge and confidence gained from this guide, you can tackle oil-based paint cleanup with ease, ensuring that your brushes are always ready for your next creative endeavor.