Home>Automotive>How To Repair An Oil Leak
Automotive
How To Repair An Oil Leak
Published: February 25, 2024
Learn how to fix an oil leak in your vehicle with our step-by-step guide. Keep your automotive system running smoothly with our expert tips.
(Many of the links in this article redirect to a specific reviewed product. Your purchase of these products through affiliate links helps to generate commission for Noodls.com, at no extra cost. Learn more)
Table of Contents
Introduction
Dealing with an oil leak in your vehicle can be a frustrating and messy ordeal. Whether you're a seasoned DIY enthusiast or a novice in automotive maintenance, understanding how to identify, repair, and prevent oil leaks is crucial for the longevity and performance of your vehicle. An oil leak can lead to a variety of issues, including engine damage, environmental pollution, and potential safety hazards. Therefore, it's essential to address any signs of an oil leak promptly and effectively.
In this comprehensive guide, we will delve into the step-by-step process of identifying, repairing, and testing for oil leaks in your vehicle. By following these instructions and utilizing the right tools and materials, you can tackle this common automotive issue with confidence and precision. Whether the leak stems from the oil pan, valve cover gasket, or any other component, this guide will equip you with the knowledge and skills to address the problem head-on.
Understanding the underlying causes of oil leaks and learning how to fix them not only saves you money on costly repairs but also empowers you to take control of your vehicle's maintenance. From spotting the telltale signs of an oil leak to conducting a thorough inspection and executing the necessary repairs, this guide will walk you through each stage of the process. By the end, you'll have the expertise to identify, resolve, and prevent oil leaks, ensuring that your vehicle operates smoothly and efficiently.
So, roll up your sleeves, gather your tools, and let's dive into the world of oil leak repairs. With the right guidance and a can-do attitude, you'll be well-equipped to tackle this common automotive challenge and keep your vehicle running at its best. Let's get started!
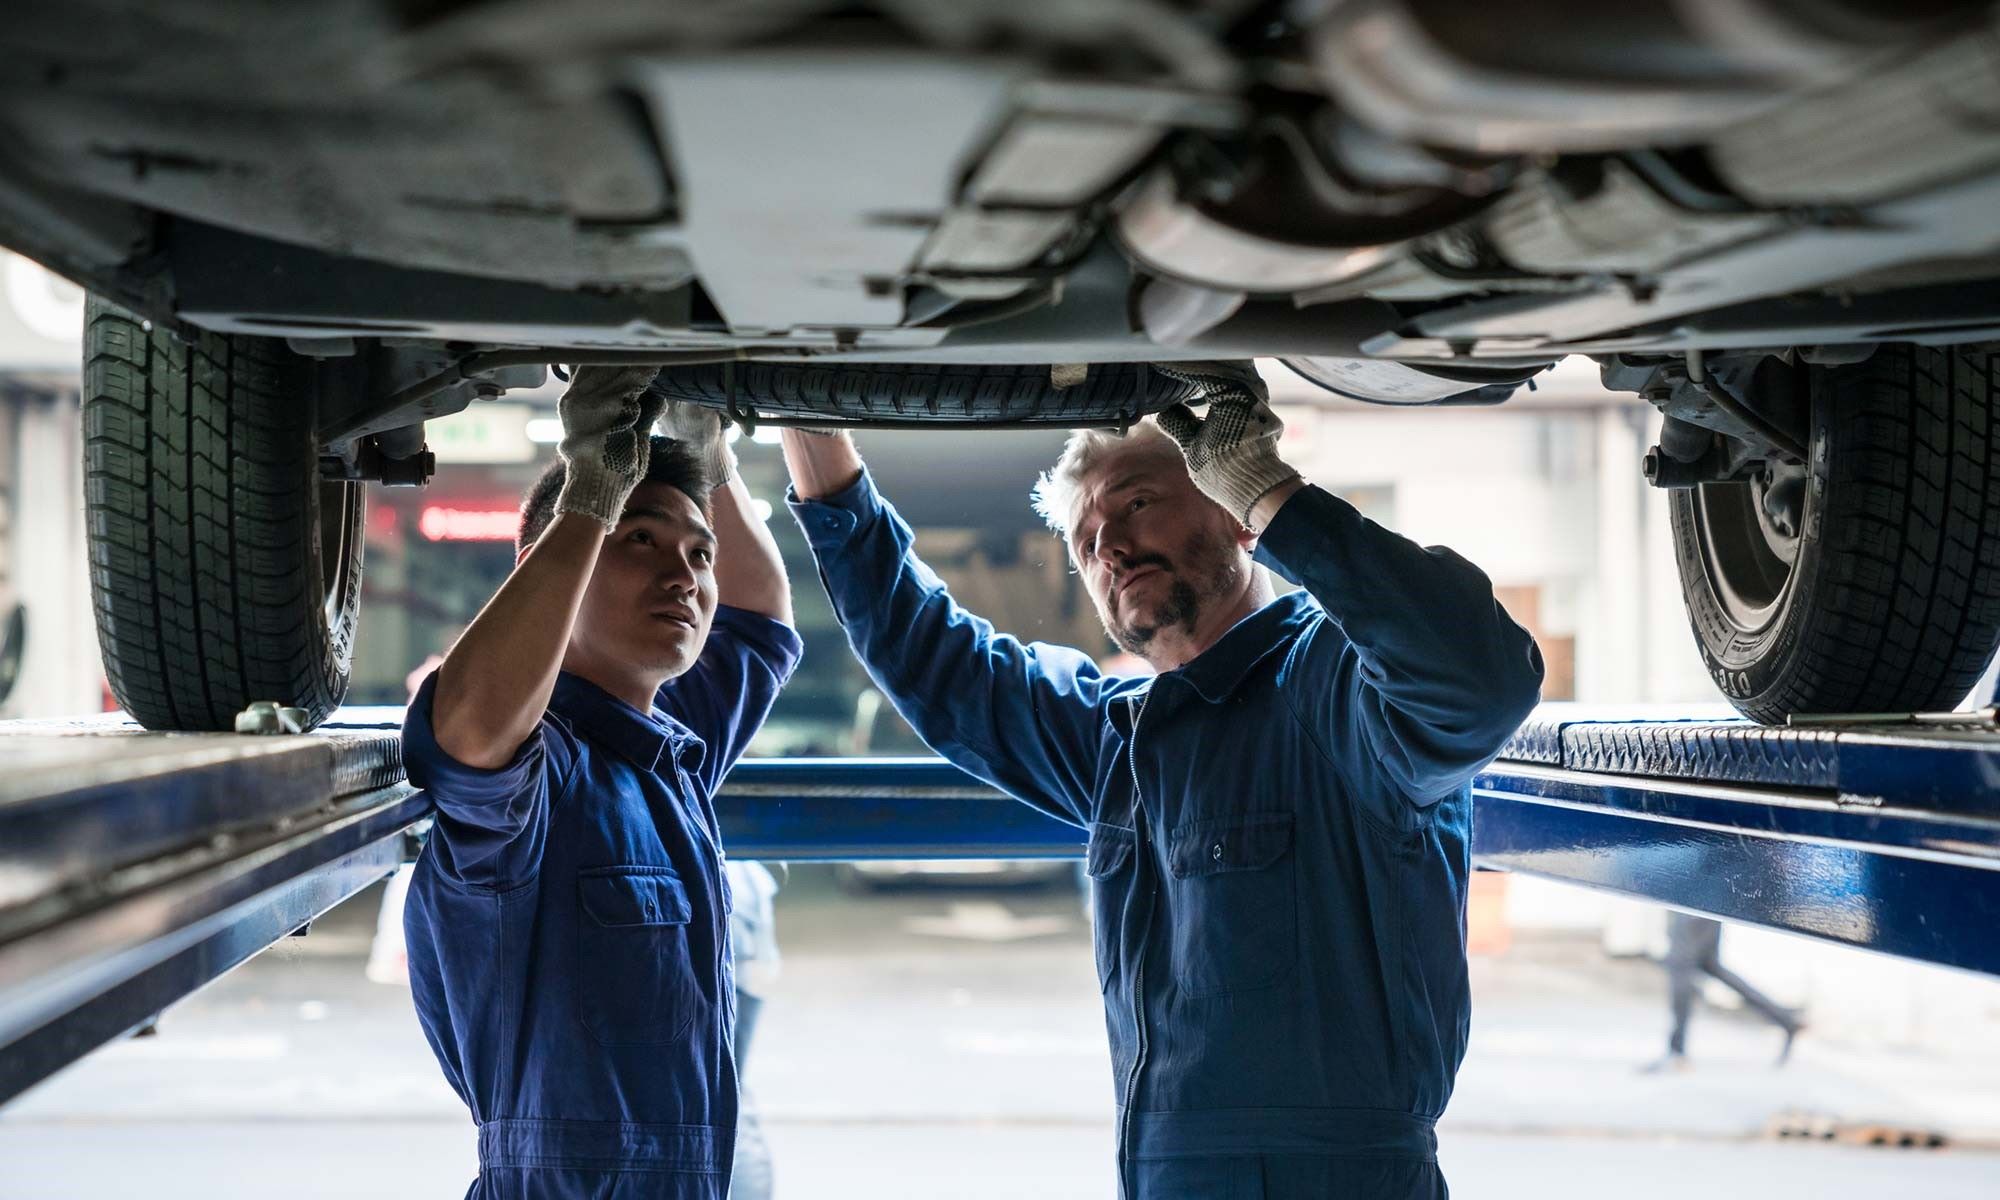
Identifying the Oil Leak
Identifying the source of an oil leak is the crucial first step in addressing this automotive issue. Before diving into the repair process, it's essential to pinpoint the exact location of the leak to ensure an effective and targeted solution. Here's how to identify an oil leak in your vehicle:
-
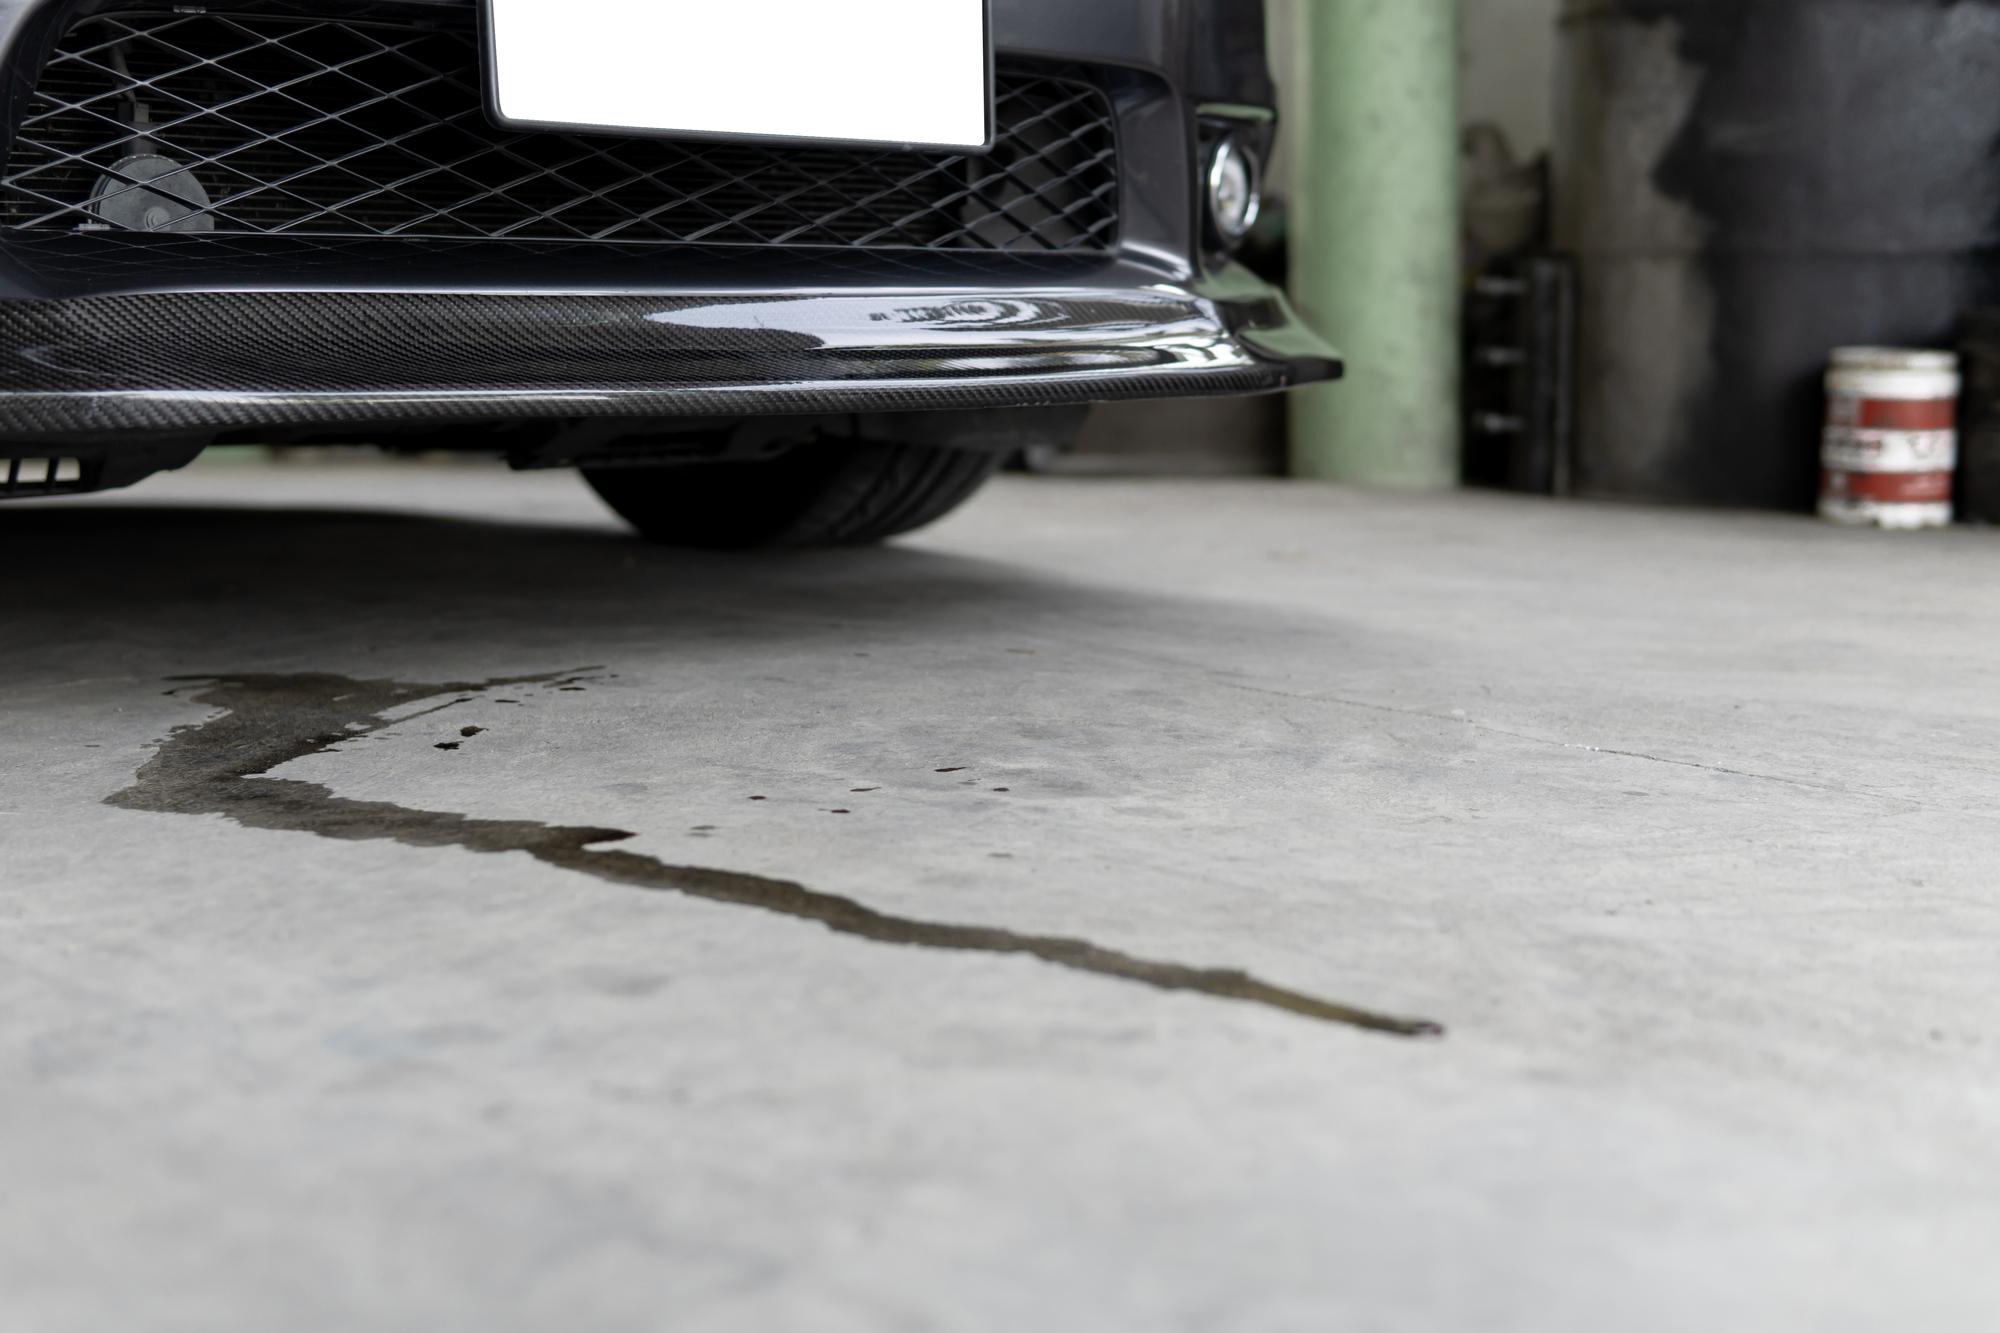
Inspect the Ground: Park your vehicle in a clean, well-lit area and examine the ground underneath the engine. Look for any signs of oil puddles or drips. Take note of the color and consistency of the oil, as this can provide valuable clues about its origin.
-
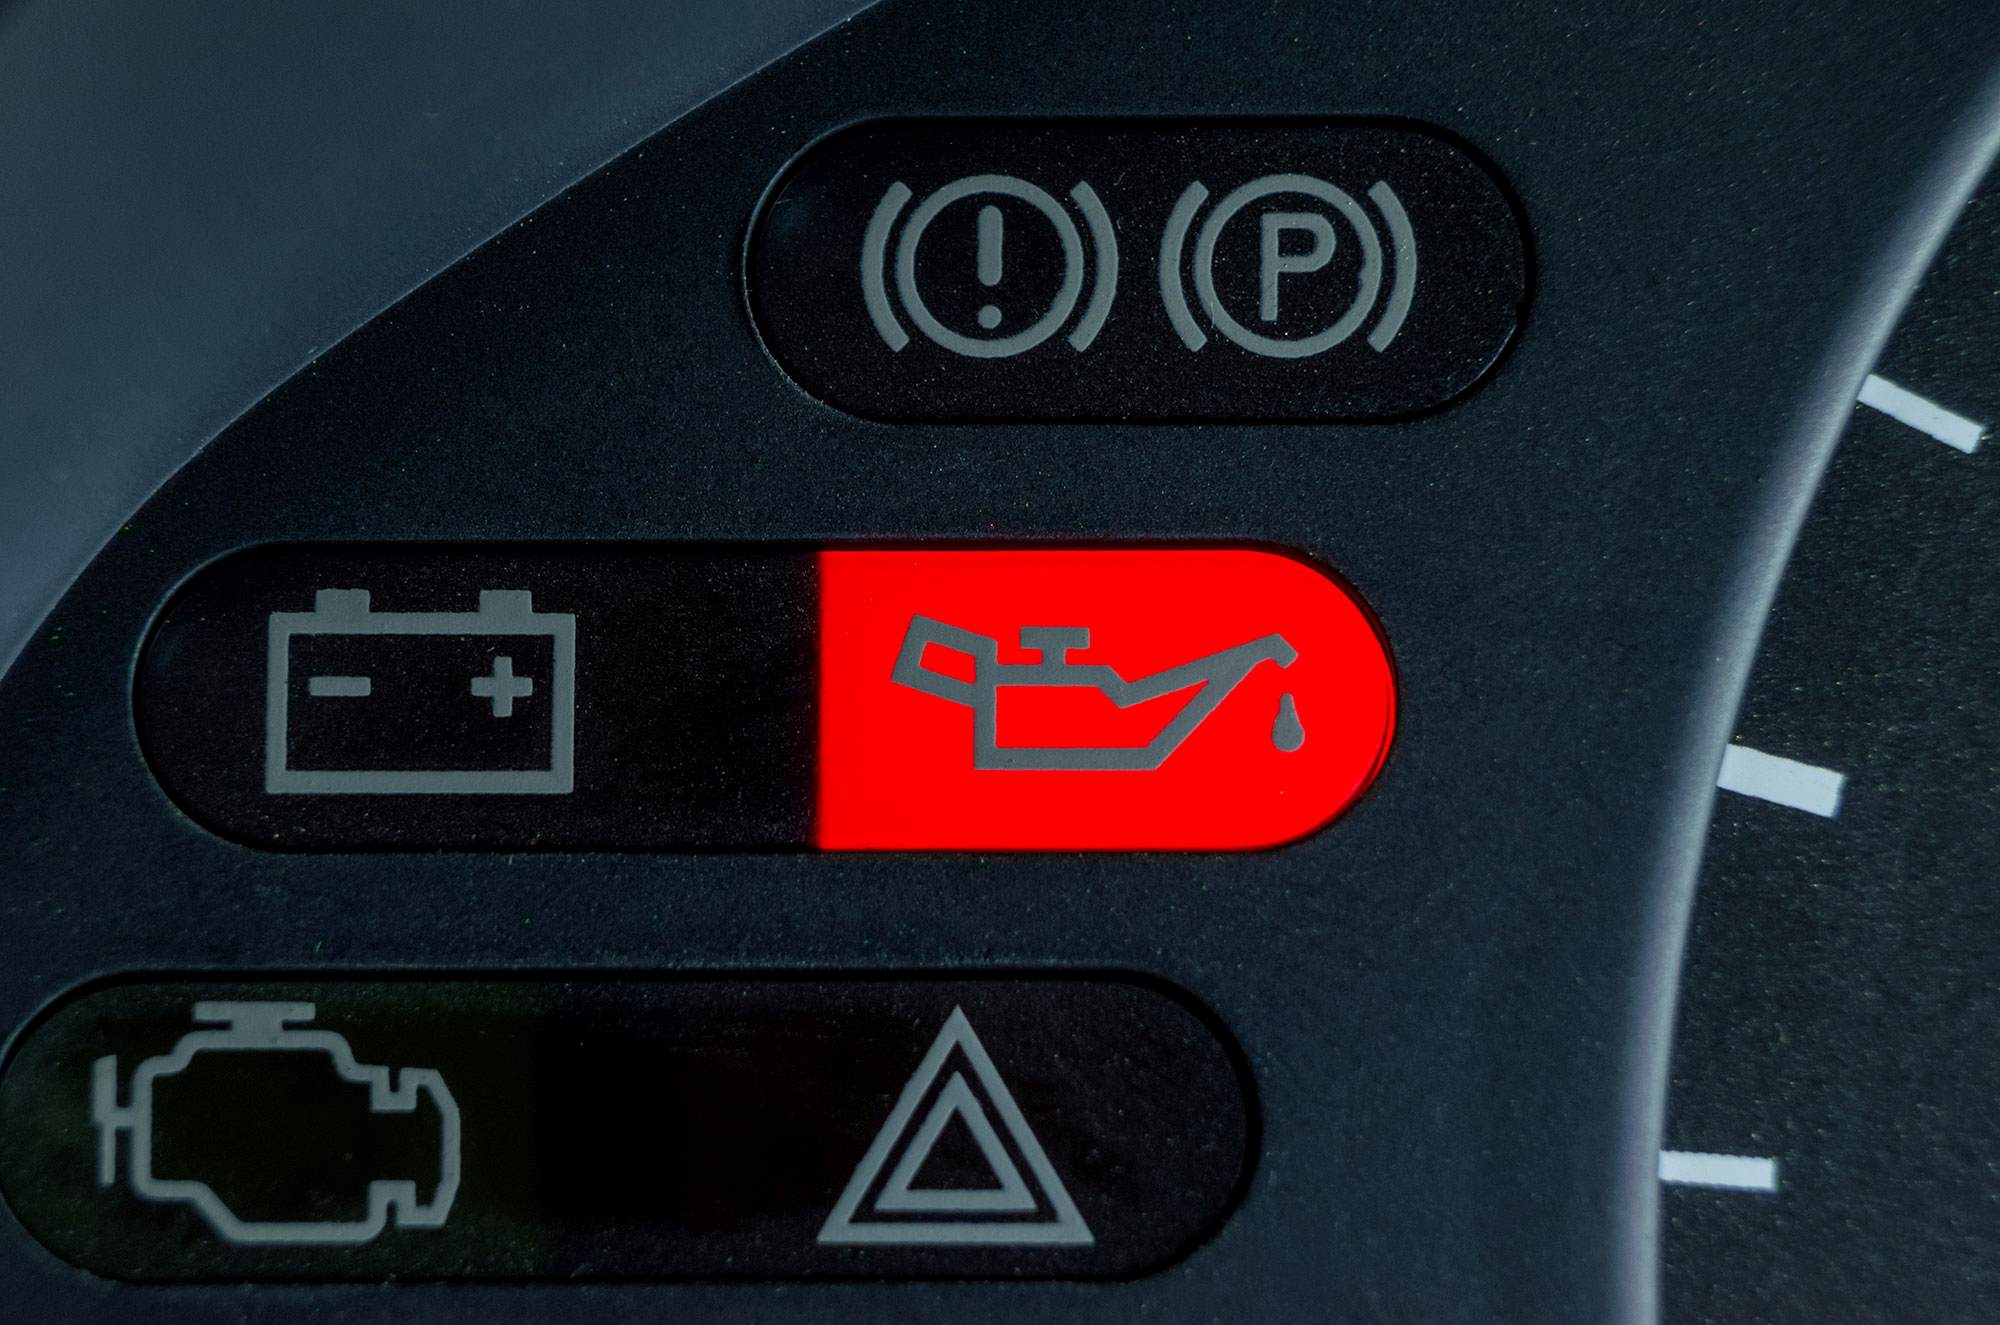
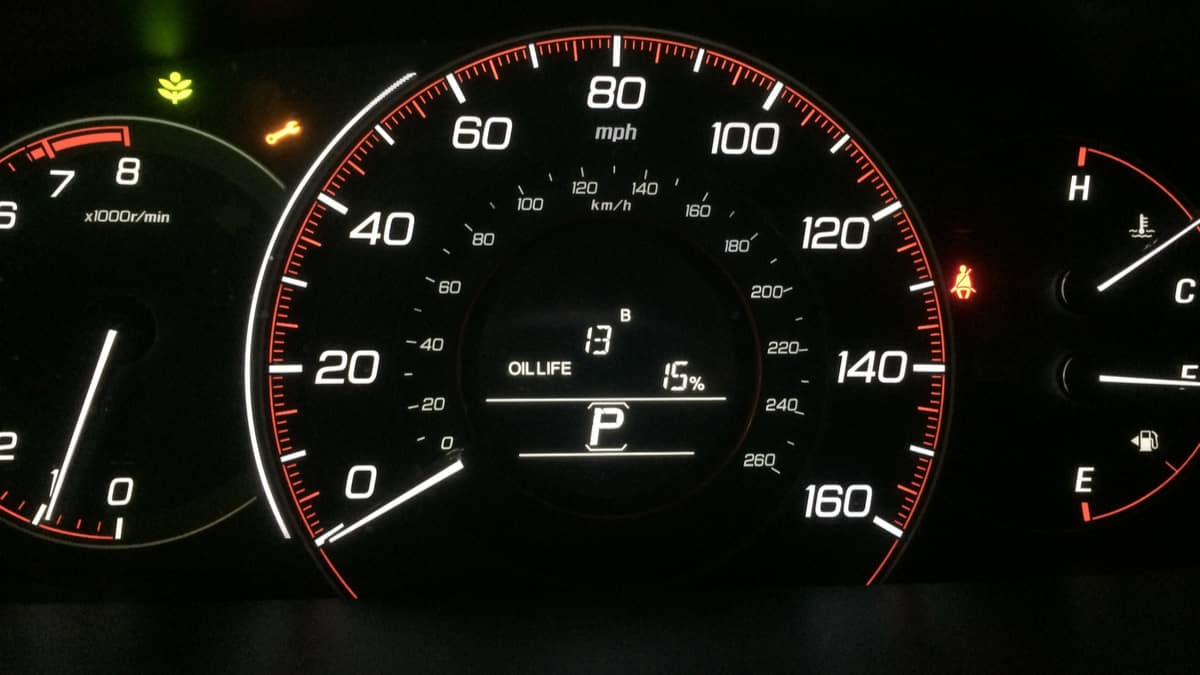
Check the Oil Level: If you suspect a leak but don't see any visible signs on the ground, check the oil level in your engine. A sudden drop in oil level could indicate a leak, prompting further investigation.
-
Examine the Engine: Open the hood and visually inspect the engine and surrounding components. Look for any areas coated with oil or signs of seepage. Common areas prone to oil leaks include the oil pan, valve cover gasket, oil filter, and oil drain plug.
-
Use a UV Dye: If the source of the leak is not immediately apparent, consider using a UV dye additive. Add the dye to the engine oil and run the vehicle for a short period. Then, use a UV light to illuminate any traces of the dye, which will help pinpoint the exact location of the leak.
-
Inspect Gaskets and Seals: Check the condition of gaskets, seals, and connections throughout the engine. Worn or damaged gaskets can lead to oil leaks, so pay close attention to these components during your inspection.
-
Look for Smoke or Burning Smells: In some cases, an oil leak may result in smoke or burning odors emanating from the engine compartment. If you notice these signs, it's important to address the leak promptly to prevent potential damage or safety hazards.
By carefully examining these key areas and utilizing diagnostic tools when necessary, you can effectively identify the source of an oil leak in your vehicle. Once you've pinpointed the location of the leak, you'll be ready to gather the necessary tools and materials to proceed with the repair process.
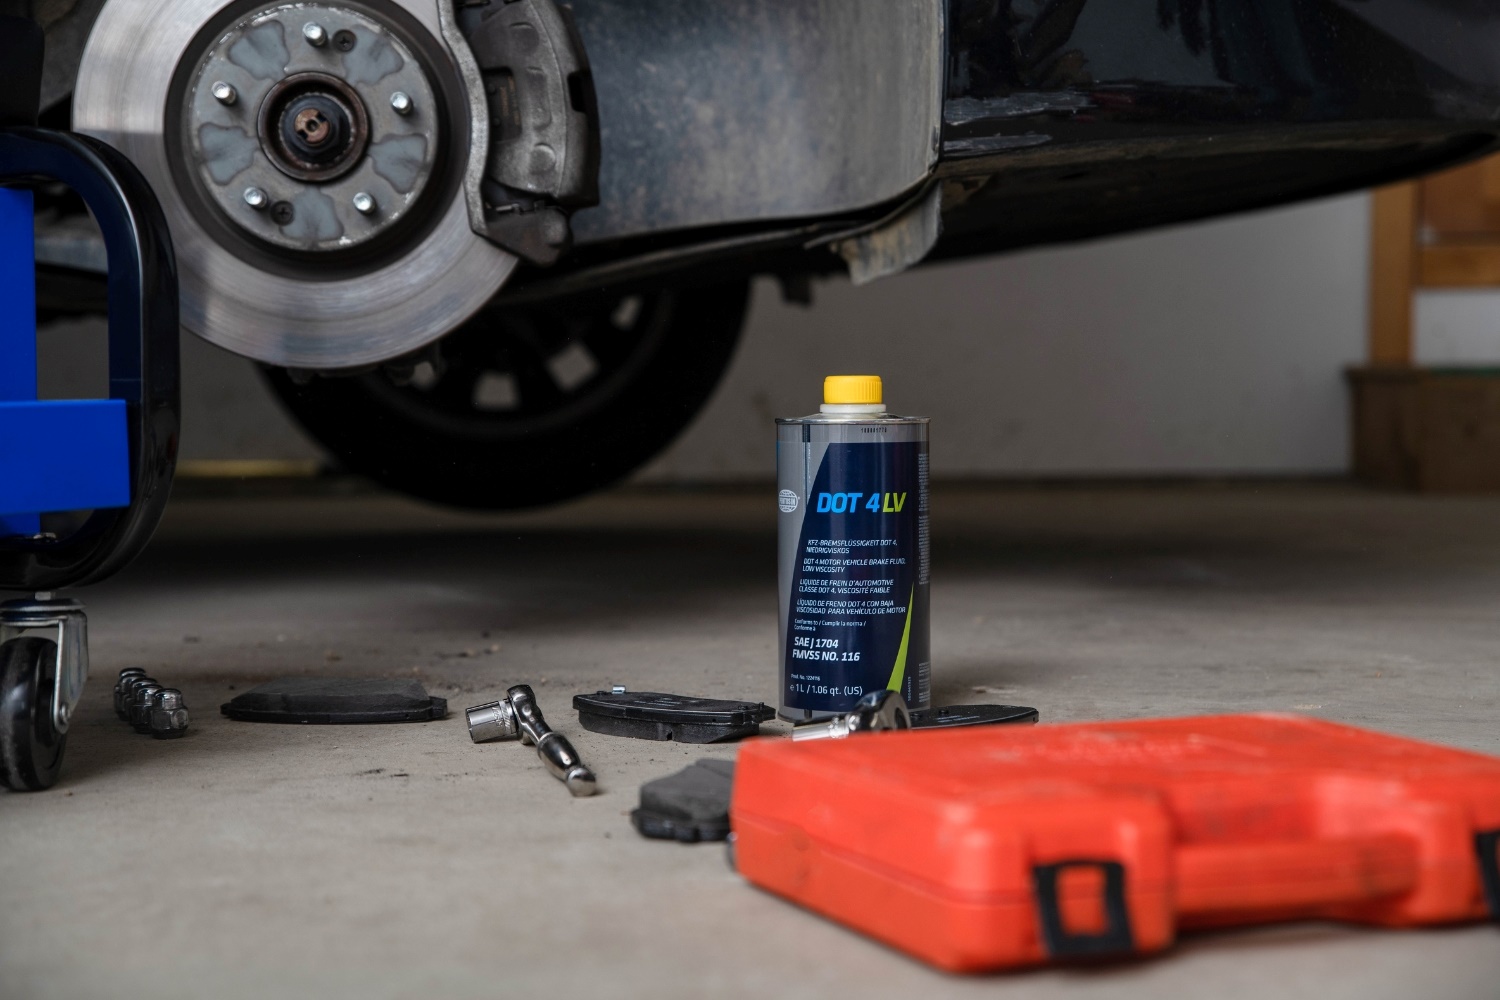
Gathering the Necessary Tools and Materials
Before embarking on the repair of an oil leak in your vehicle, it's essential to gather the appropriate tools and materials to ensure a smooth and efficient process. Having the right equipment at your disposal will enable you to tackle the repair with confidence and precision. Here's a comprehensive list of tools and materials you'll need to address an oil leak effectively:
Tools:
-
Socket Set and Ratchet: A quality socket set with a ratchet is essential for accessing and removing various components of the engine, such as the oil pan and valve cover.
-
Oil Filter Wrench: This specialized tool allows for the easy removal and installation of the oil filter, facilitating the replacement process during the repair.
-
Torque Wrench: To ensure proper tightening of bolts and fasteners, a torque wrench is indispensable for achieving the recommended torque specifications.
-
Oil Drain Pan: A large, sturdy oil drain pan is necessary for collecting and disposing of the old engine oil during the repair.
-
Shop Rags and Degreaser: Keep an ample supply of shop rags and a quality degreaser on hand to clean and degrease the engine components as needed.
-
UV Light and Dye Detection Kit: If you plan to use UV dye to pinpoint the oil leak, a UV light and dye detection kit are essential for illuminating and identifying the source of the leak.
-
Safety Gear: Prioritize safety by wearing protective gear, including gloves and safety glasses, to shield yourself from potential hazards during the repair process.
Materials:
-
Engine Oil: Depending on the extent of the leak and the condition of the existing oil, you may need to replenish the engine oil. Ensure you have the appropriate type and viscosity recommended for your vehicle.
-
Oil Filter: If the oil filter is implicated in the leak or requires replacement, have a new, compatible oil filter on hand to install during the repair.
-
Gaskets and Seals: Depending on the identified source of the leak, you may need replacement gaskets or seals for components such as the oil pan, valve cover, or oil filter housing.
-
UV Dye Additive: If you opt to use UV dye for leak detection, acquire a UV dye additive designed for automotive use.
By assembling these essential tools and materials, you'll be well-prepared to tackle the repair of an oil leak in your vehicle. With everything at your disposal, you can proceed confidently to address the identified issue and restore your vehicle's optimal performance.
Repairing the Oil Leak
Once you have identified the source of the oil leak and gathered the necessary tools and materials, you are ready to proceed with the repair process. The specific steps for repairing an oil leak may vary depending on the location and severity of the leak, but the following general guidelines will help you address the issue effectively.
-
Prepare the Work Area: Before beginning the repair, ensure that the engine is cool to the touch. Position the vehicle on a level surface and engage the parking brake for added safety. Place an oil drain pan beneath the area where the repair will take place to catch any residual oil.
-
Drain the Engine Oil: If the oil leak is originating from the oil pan or another component that requires access, start by draining the engine oil. Locate the oil drain plug beneath the engine and carefully loosen it using a socket and ratchet. Allow the old oil to drain into the oil drain pan, and then securely reattach the drain plug once the oil has fully drained.
-
Remove the Affected Component: Depending on the source of the leak, you may need to remove the affected component, such as the oil pan or valve cover, to access the gasket or seal that requires replacement. Use the appropriate tools, such as a socket set and ratchet, to carefully remove the fasteners securing the component in place.
-
Replace Gaskets or Seals: Once the affected component is accessible, inspect the gaskets or seals for signs of wear, damage, or deterioration. Carefully remove the old gasket or seal, ensuring that any residual material is thoroughly cleaned from the mating surfaces. Install the new gasket or seal according to the manufacturer's specifications, and reattach the component securely.
-
Install a New Oil Filter: If the oil filter is implicated in the leak or requires replacement, use an oil filter wrench to remove the old filter. Before installing the new oil filter, apply a small amount of fresh engine oil to the rubber gasket to ensure a proper seal. Tighten the new oil filter by hand, following the manufacturer's guidelines.
-
Refill the Engine with Oil: With the repairs completed, refill the engine with the appropriate type and viscosity of engine oil. Use a funnel to prevent spills, and carefully pour the oil into the engine. Refer to the vehicle's owner's manual for the recommended oil capacity, and verify that the oil level is within the appropriate range after refilling.
-
Inspect for Leaks: Once the engine has been refilled with oil, start the vehicle and allow it to run for a few minutes. Inspect the area of the repair for any signs of leaks, and check the oil level to ensure it remains stable. If no leaks are detected, turn off the engine and visually confirm that the repair has effectively addressed the oil leak.
By following these steps and exercising care and precision throughout the repair process, you can effectively address an oil leak in your vehicle. With the necessary tools, materials, and a methodical approach, you can restore the integrity of the affected components and prevent further oil leaks, ensuring that your vehicle operates at its best.
Testing for Leaks
After completing the repair process for an oil leak in your vehicle, it's crucial to perform thorough testing to ensure that the issue has been effectively addressed. Testing for leaks not only validates the success of the repair but also provides peace of mind, knowing that your vehicle's engine is secure and free from oil seepage. Here's a detailed guide on how to conduct comprehensive testing for oil leaks:
-
Visual Inspection: Begin by visually inspecting the areas where the repair took place. Look for any signs of fresh oil accumulation or seepage around the components that were addressed during the repair. Use a flashlight if necessary to thoroughly examine the engine and its surroundings for any indications of leaks.
-
Run the Engine: Start the vehicle and allow the engine to run for several minutes. Monitor the area of the repair closely, paying attention to any drips, seepage, or sudden oil accumulation. It's essential to observe the engine while it's running to detect any potential leaks as the oil circulates through the system.
-
Check for Residual Oil: After the engine has been running, inspect the ground beneath the vehicle for any signs of residual oil. If the repair was successful, there should be no new oil puddles or drips present. Additionally, check the oil drain plug and oil filter for any indications of seepage or leaks.
-
Verify Oil Level: Turn off the engine and wait for a few minutes to allow the oil to settle. Then, check the engine oil level using the dipstick. Ensure that the oil level falls within the recommended range and that there are no sudden drops or fluctuations, which could indicate an ongoing leak.
-
Extended Observation: For added assurance, consider leaving a clean piece of cardboard or paper beneath the engine overnight. This can help detect any minor leaks that may not be immediately apparent during the initial testing. In the morning, inspect the paper for any signs of oil drips or seepage.
-
Recheck After Driving: Take the vehicle for a short drive, then reinspect the areas of the repair for any signs of leaks. The heat and pressure generated during driving can sometimes reveal leaks that may not be evident during stationary testing.
By meticulously conducting these testing procedures, you can confidently verify the success of the oil leak repair. If no leaks are detected and the oil level remains stable, you can rest assured that the repair has effectively addressed the issue. However, if any signs of leaks persist, it's essential to reevaluate the repair and address any underlying issues promptly.
Testing for leaks is a critical step in ensuring the integrity of your vehicle's engine and the effectiveness of the repair process. By being thorough and attentive during the testing phase, you can safeguard your vehicle against future oil leaks and maintain its optimal performance and reliability.
Conclusion
In conclusion, addressing an oil leak in your vehicle requires a methodical approach, attention to detail, and the right tools and materials. By following the steps outlined in this guide, you can effectively identify, repair, and test for oil leaks, ensuring that your vehicle operates at its best. From the initial inspection to the final testing phase, each step plays a crucial role in restoring the integrity of the engine and preventing future oil leaks.
It's important to emphasize the significance of proactive maintenance and prompt attention to oil leaks. By promptly addressing any signs of oil seepage, you can prevent potential engine damage, environmental contamination, and safety hazards. Additionally, taking a hands-on approach to oil leak repairs not only saves on costly professional services but also empowers you to maintain your vehicle with confidence and expertise.
Furthermore, the process of repairing an oil leak serves as an opportunity to familiarize yourself with the inner workings of your vehicle's engine. Through hands-on experience and a commitment to thorough maintenance, you can develop a deeper understanding of your vehicle's components and gain valuable insights into its overall condition.
By conducting regular inspections, staying vigilant for signs of oil leaks, and addressing any issues promptly, you can contribute to the longevity and reliability of your vehicle. Whether it's a minor seepage or a more significant leak, the knowledge and skills gained from this guide will equip you to tackle oil leaks with confidence and precision.
In essence, the ability to identify, repair, and test for oil leaks is a valuable skill for any vehicle owner or DIY enthusiast. By arming yourself with the knowledge and resources to address oil leaks effectively, you can uphold the performance, efficiency, and longevity of your vehicle, ensuring that it continues to serve you reliably for years to come.