Lifestyle
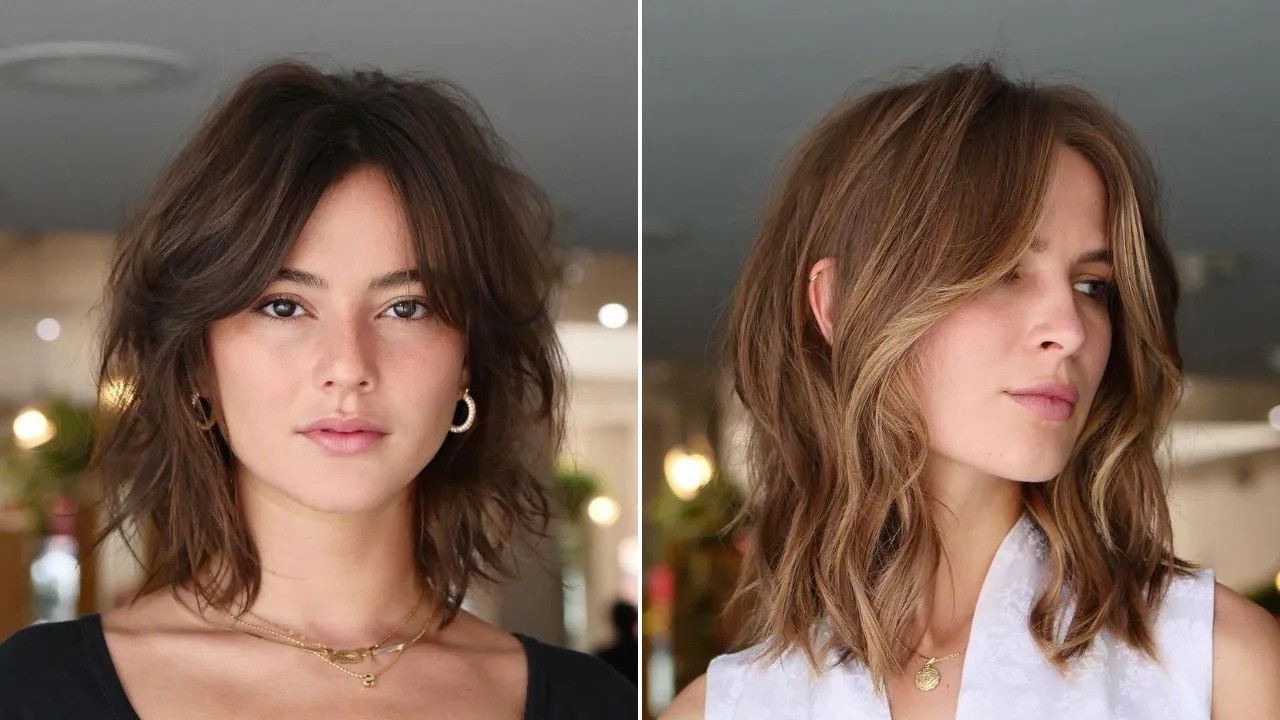
How To Cut Your Own Bangs
Published: February 27, 2024
Learn the best techniques for cutting your own bangs at home with our easy-to-follow guide. Achieve a stylish new look and save money on salon visits. Perfect for a DIY lifestyle.
(Many of the links in this article redirect to a specific reviewed product. Your purchase of these products through affiliate links helps to generate commission for Noodls.com, at no extra cost. Learn more)
Table of Contents
Introduction
So, you've been contemplating a change in your hairstyle, and the thought of cutting your own bangs has crossed your mind. Whether it's a spontaneous decision or a carefully planned endeavor, taking the scissors to your own hair can be both exhilarating and nerve-wracking. However, with the right guidance and a steady hand, you can achieve a chic and personalized look without stepping foot in a salon.
Embarking on the journey of cutting your own bangs opens up a world of possibilities. It's an opportunity to express your individuality and creativity, allowing you to tailor your hairstyle to perfectly complement your features and personality. By mastering the art of DIY bangs, you gain the freedom to experiment with different lengths, shapes, and styles, all within the comfort of your own home.
While the prospect of self-styling may seem daunting, it's important to approach the process with confidence and a sense of adventure. Embracing the challenge of cutting your own bangs can be empowering, as it puts the reins of your personal style firmly in your hands. With the right tools, techniques, and a touch of patience, you can transform your appearance and exude a newfound sense of self-assurance.
In this comprehensive guide, we'll walk you through the step-by-step process of cutting your own bangs, providing valuable insights and tips to ensure a successful outcome. From gathering the necessary tools to perfecting the finishing touches, each stage of the journey will be demystified, empowering you to embark on this exciting endeavor with confidence.
So, if you're ready to embrace a touch of DIY hairstyling and unleash your inner creativity, let's dive into the art of cutting your own bangs. Get ready to embark on a transformative journey that will leave you feeling empowered and looking fabulous!
Read more: How To Cut Your Own Hair In Layers
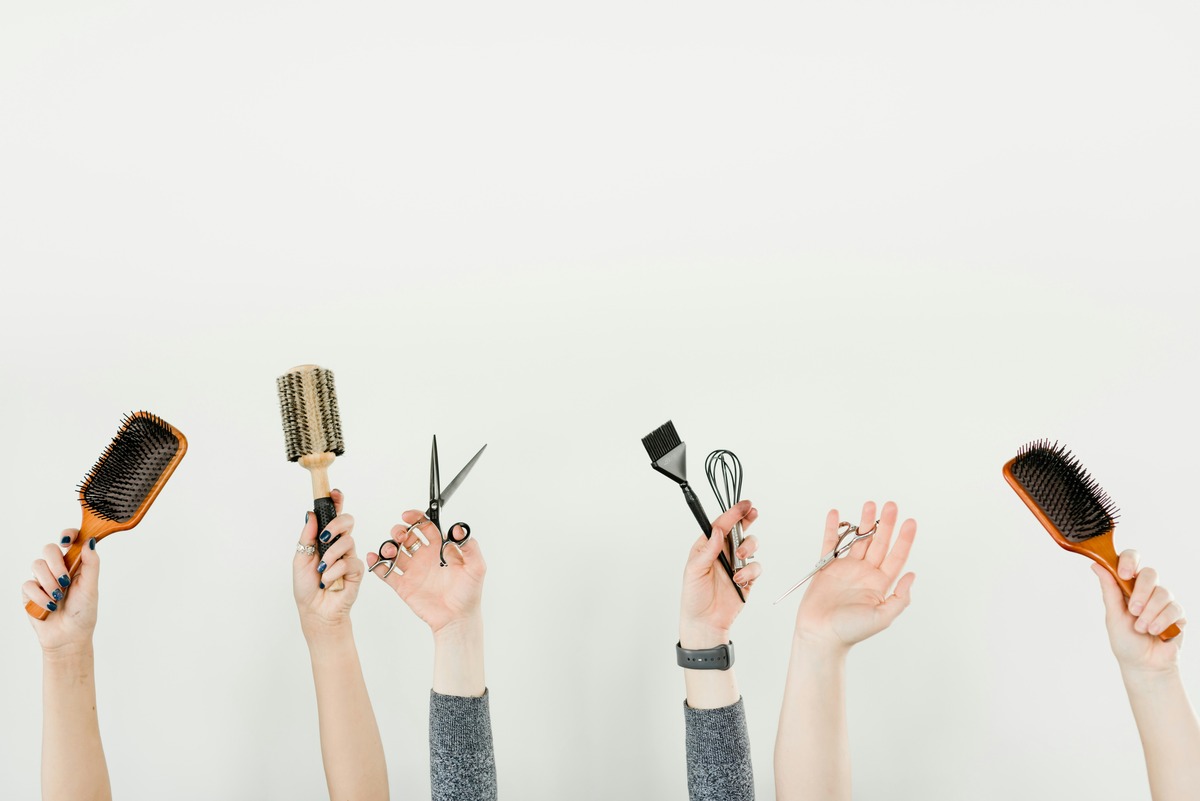
Step 1: Gather the necessary tools
Before embarking on the exciting journey of cutting your own bangs, it's essential to gather the necessary tools to ensure a smooth and successful process. Having the right equipment at your disposal will not only streamline the haircutting experience but also contribute to the overall precision and quality of the results.
Here's a comprehensive list of the essential tools you'll need:
-
Sharp Hairdressing Scissors: Invest in a pair of high-quality, sharp hairdressing scissors specifically designed for cutting hair. Avoid using regular household scissors, as they can cause uneven and frayed cuts, leading to a less-than-desirable outcome.
-
Fine-Toothed Comb: A fine-toothed comb is indispensable for sectioning off your hair and creating clean, precise partings. It facilitates a smooth and controlled cutting process, allowing you to achieve the desired length and shape with accuracy.
-
Hair Clips or Hair Ties: Keep your hair neatly divided and out of the way by using hair clips or ties to secure the sections you're not currently working on. This ensures that you have a clear view of the area you're trimming and prevents accidental snipping of unintended strands.
-
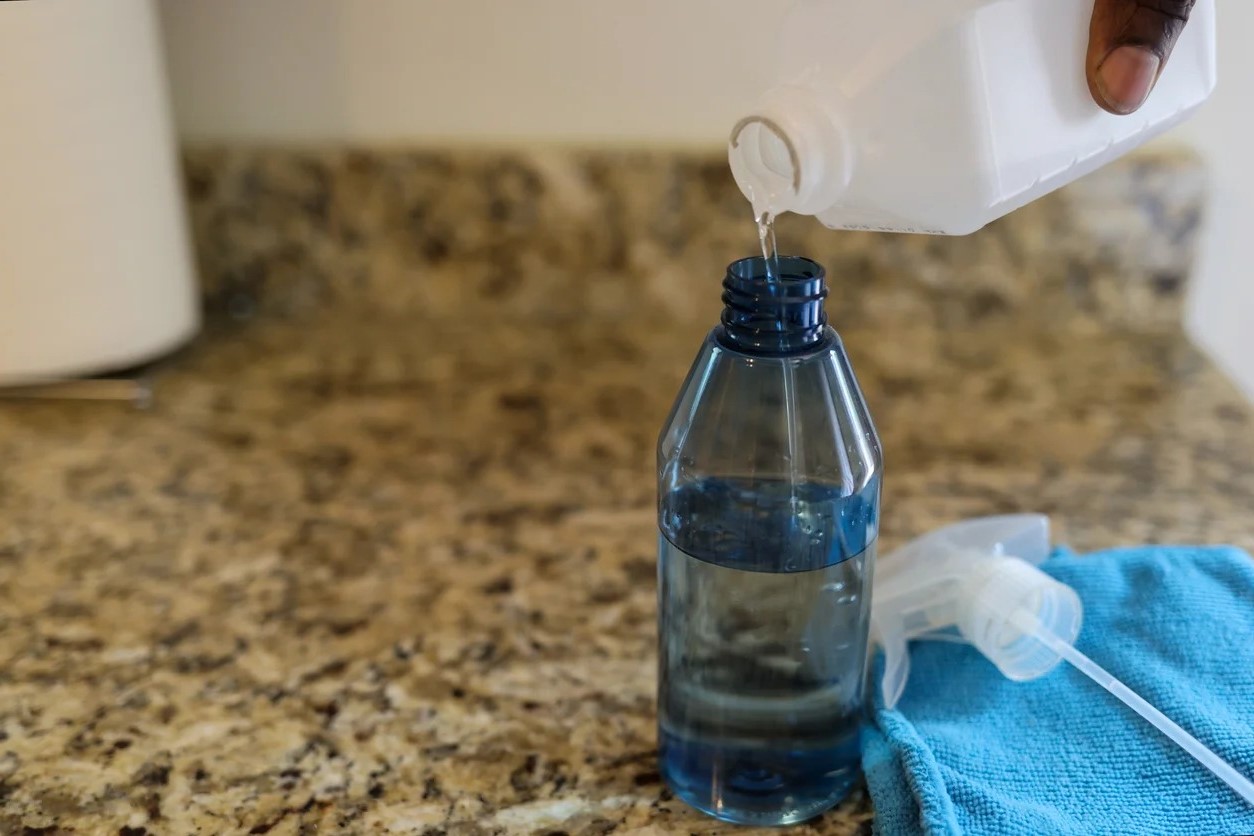
Spray Bottle: Fill a spray bottle with water to lightly mist your bangs before cutting. Dampening the hair makes it more manageable and helps you achieve a more accurate and even cut.
-
Mirror: Position yourself in front of a well-lit mirror, preferably a large one that allows you to see your entire face and head clearly. A mirror with good visibility is crucial for assessing the progress of your haircut and ensuring symmetrical results.
-
Styling Products (Optional): Depending on your desired bangs style, you may want to have styling products on hand, such as a lightweight hair serum or styling cream, to add texture and manageability to your freshly cut bangs.
By assembling these essential tools, you'll be well-prepared to embark on the journey of cutting your own bangs with confidence and precision. With the right equipment at your disposal, you can approach the subsequent steps of the process with ease, knowing that you have everything you need to achieve a fabulous and personalized result.
Step 2: Section off your hair
Once you have gathered the necessary tools, the next crucial step in cutting your own bangs is to effectively section off your hair. This process sets the stage for a well-organized and controlled cutting experience, ensuring that you can focus on the specific area of your bangs without interference from the rest of your hair.
To begin, use the fine-toothed comb to create a clean, horizontal parting that separates your bangs from the rest of your hair. Start by identifying the desired width and shape of your bangs, keeping in mind factors such as your face shape and personal style preferences. Once you have determined the starting point of your bangs, gently comb the hair forward and position the comb at the root of the section. This will help create a distinct separation between your bangs and the rest of your hair, allowing for precise trimming without the risk of blending in unwanted strands.
After establishing the initial parting, use hair clips or ties to secure the remaining hair away from the section you are about to trim. This step is crucial in maintaining a clear and unobstructed view of your bangs, minimizing the chances of accidentally cutting the wrong strands. By neatly securing the surrounding hair, you can concentrate solely on the targeted area, ensuring a focused and controlled cutting process.
Once the surrounding hair is secured, take a moment to assess the parting and make any necessary adjustments to ensure that it aligns with your desired bangs style. Pay close attention to the symmetry and balance of the parting, as this will influence the overall appearance of your bangs. A well-defined and accurately positioned parting sets the foundation for a successful cutting process, allowing you to proceed with confidence and clarity.
By effectively sectioning off your hair, you create a conducive environment for precision and control, setting the stage for the subsequent step of trimming your bangs. This deliberate and methodical approach ensures that you can focus on the specific area of your bangs without distractions, paving the way for a successful and satisfying DIY haircutting experience.
Step 3: Trim the bangs
With your hair neatly sectioned off and the necessary tools at your disposal, it's time to embark on the pivotal stage of trimming your bangs. This step requires a steady hand, focused precision, and a clear vision of your desired bangs style. As you prepare to wield the scissors, it's essential to approach the cutting process with confidence and a keen eye for detail.
Begin by lightly misting your bangs with water from the spray bottle. Dampening the hair in this manner adds manageability and ensures a more accurate and even cut. Once your bangs are slightly damp, gently comb through them to remove any tangles and ensure that the hair is smooth and evenly distributed.
Now, it's time to pick up the sharp hairdressing scissors and position them at an angle, holding them vertically rather than horizontally. This technique helps create soft, natural-looking edges and prevents the formation of harsh lines. Starting with small, conservative cuts is advisable, as it allows you to gradually adjust the length while minimizing the risk of overcutting.
As you trim, it's crucial to maintain a steady hand and refrain from making abrupt or impulsive movements. Begin by trimming the bangs slightly longer than your desired length, as this provides room for refinement and adjustment. Remember, it's easier to trim off additional length than to remedy an excessively short cut.
When trimming, consider the specific style of bangs you aim to achieve. Whether you prefer blunt, straight-across bangs or a softer, wispy fringe, tailor your cutting technique to align with your desired look. For blunt bangs, make precise, straight cuts across the hair, ensuring uniformity in length. If you're aiming for a softer, textured fringe, consider employing a point-cutting technique, which involves vertically cutting into the ends of the hair to create a feathered effect.
Throughout the cutting process, periodically pause to assess the length and shape of your bangs. Use the mirror to evaluate the progress, ensuring that both sides are symmetrical and that the overall length aligns with your vision. Taking a gradual and measured approach to trimming allows you to fine-tune the length and shape, resulting in a customized and flattering bangs style.
By approaching the trimming process with patience, precision, and a clear understanding of your desired outcome, you can achieve beautifully tailored bangs that complement your features and reflect your personal style. With the cutting stage complete, you're now ready to proceed to the next step of perfecting your DIY bangs with a focus on symmetry and finishing touches.
Step 4: Check for symmetry
After completing the intricate process of trimming your own bangs, it's crucial to shift your focus to the pivotal task of assessing and ensuring symmetry. Achieving balanced and symmetrical bangs is essential for a polished and professional-looking result. This step involves meticulous observation, adjustment, and fine-tuning to harmonize the length and shape of your bangs, culminating in a flawless and harmonious appearance.
To begin, position yourself in front of a well-lit mirror that provides a clear and comprehensive view of your entire face and head. Adequate lighting is essential for accurately evaluating the symmetry of your bangs, allowing you to discern any subtle discrepancies and make precise adjustments as needed. By ensuring optimal visibility, you create an ideal environment for the critical assessment of your freshly trimmed bangs.
As you scrutinize your reflection, pay close attention to the alignment and length of your bangs on both sides of your face. Use the comb or your fingertips to gently manipulate the hair, ensuring that it falls naturally and frames your face symmetrically. Assess the horizontal line of your bangs, observing any variations in length or shape that may require refinement.
Next, take a step back and adopt a holistic perspective, evaluating the overall balance and proportion of your bangs in relation to your facial features. Consider how the length and style of your bangs complement the contours of your face, enhancing your natural beauty and creating a harmonious aesthetic. By taking a comprehensive approach to the assessment, you can identify any asymmetries and address them with precision and care.
If you notice any disparities in length or shape between the two sides of your bangs, don't be discouraged. This is a common occurrence in DIY haircutting and can be easily remedied with a few strategic adjustments. Using the sharp hairdressing scissors, make subtle and calculated trims to refine the length and shape, gradually aligning the bangs to achieve a symmetrical and balanced appearance.
Throughout this process, remember to approach the adjustments with patience and attentiveness, making incremental changes to avoid overcorrection. Continuously reassess the symmetry of your bangs as you refine them, ensuring that each modification contributes to a harmonized and visually pleasing result.
By meticulously checking for symmetry and making precise adjustments as necessary, you can elevate your DIY bangs to a professional standard, exuding confidence and style. This meticulous attention to detail ensures that your freshly trimmed bangs beautifully complement your features, enhancing your overall look and leaving you with a sense of accomplishment and satisfaction.
Read more: How To Cut Curtain Bangs
Step 5: Style and finish
With your freshly trimmed bangs now perfectly symmetrical and aligned with your vision, it's time to elevate your DIY hairstyling experience by focusing on the crucial step of styling and finishing your bangs. This transformative stage allows you to infuse your personalized touch, adding texture, shaping, and character to your newly crafted bangs, culminating in a polished and refined look that exudes confidence and style.
Begin by assessing the natural texture and behavior of your hair, considering factors such as thickness, waviness, or any natural cowlicks. Understanding the inherent qualities of your hair empowers you to tailor the styling process to best complement its unique characteristics. If you have straight hair and desire a sleek, polished look, consider using a small amount of lightweight hair serum or styling cream to add smoothness and manageability to your bangs. For those with wavy or curly hair, embracing the natural texture can create a soft and effortless aesthetic, enhancing the dimension and movement of your bangs.
As you delve into the styling process, consider the specific look you wish to achieve with your bangs. Whether you prefer a bold and statement-making fringe or a subtle, face-framing style, the finishing touches play a pivotal role in bringing your vision to life. Experiment with different styling techniques, such as blow-drying with a round brush to create volume and shape, or using a flat iron to achieve a sleek and polished appearance. Embrace the creative freedom to sculpt your bangs according to your desired aesthetic, allowing your personal style to shine through.
Incorporate the use of styling tools, such as a round brush or a flat iron, to refine the shape and texture of your bangs, ensuring that they beautifully frame your face and accentuate your features. Pay attention to the details, gently coaxing the hair into place and sculpting it to achieve the desired look. Whether you opt for a dramatic, eye-grazing fringe or a soft, wispy style, the art of styling your bangs adds a layer of sophistication and individuality to your overall hairstyle.
To complete the styling process, take a moment to admire your handiwork in the mirror, appreciating the transformation that your DIY bangs have brought to your appearance. Embrace the sense of empowerment and accomplishment that comes with mastering the art of cutting and styling your own bangs, reveling in the personalized and unique expression of your individual style.
As you venture into the world with your freshly styled and finished bangs, exude confidence and pride in your ability to craft a look that is distinctly your own. Embrace the versatility and creativity that DIY hairstyling offers, knowing that you have the skills and knowledge to continually reinvent and refine your look, all from the comfort of your own home. With your newly styled bangs serving as a testament to your creativity and self-assurance, step forward with a renewed sense of confidence and style, ready to conquer the world with your personalized and effortlessly chic hairstyle.