Lifestyle
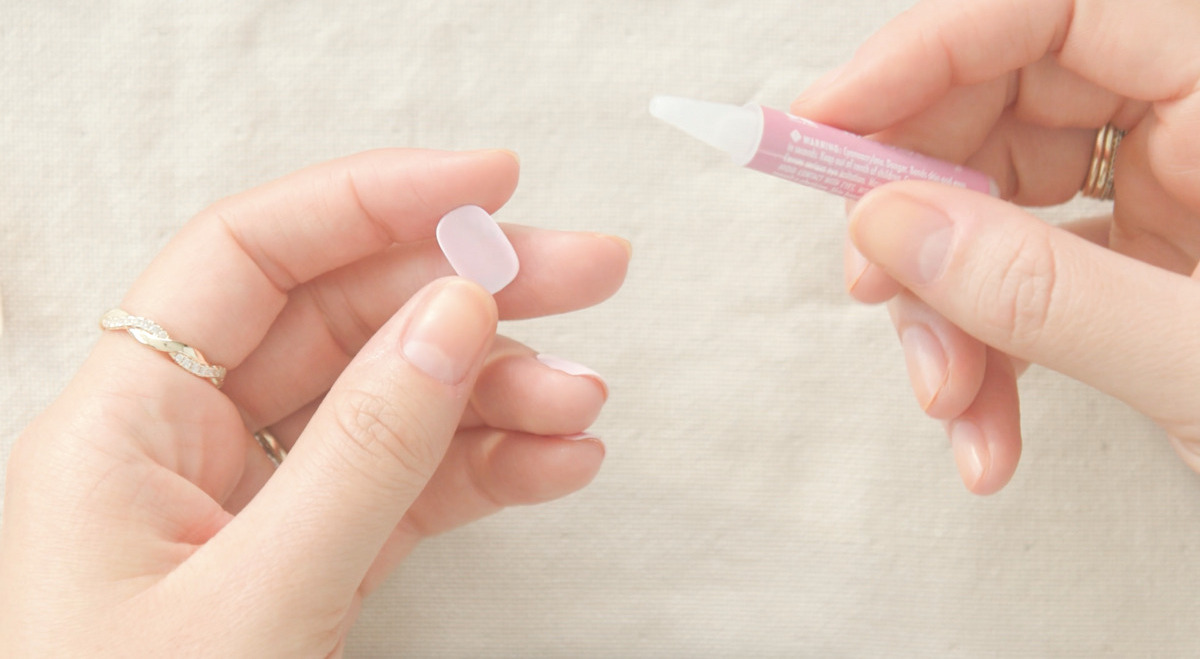
How To Remove Nail Glue
Published: February 27, 2024
Learn how to safely remove nail glue and protect your nails with our easy lifestyle tips. Say goodbye to stubborn nail glue without damaging your nails!
(Many of the links in this article redirect to a specific reviewed product. Your purchase of these products through affiliate links helps to generate commission for Noodls.com, at no extra cost. Learn more)
Table of Contents
Introduction
Removing nail glue can be a tricky task, especially if you've accidentally spilled or applied too much during a manicure. Whether you're a nail art enthusiast or simply looking to clean up after a DIY repair, knowing how to effectively remove nail glue is essential for maintaining healthy and beautiful nails. In this guide, we'll walk you through the step-by-step process of safely and efficiently removing nail glue without causing damage to your nails.
Nail glue is a strong adhesive that is designed to keep artificial nails in place for an extended period. However, when it comes into contact with your natural nails, it can create a stubborn bond that seems nearly impossible to break. Fortunately, with the right techniques and a bit of patience, you can effectively dissolve and remove nail glue without causing harm to your nails.
Whether you're dealing with a small spill or a more extensive application, the methods outlined in this guide will help you restore your nails to their natural state. By following these steps, you can ensure that your nails remain healthy and strong, free from the remnants of stubborn nail glue. So, let's dive into the process of safely and effectively removing nail glue to reveal the natural beauty of your nails once again.
Read more: How To Remove Hair Glue From Hair
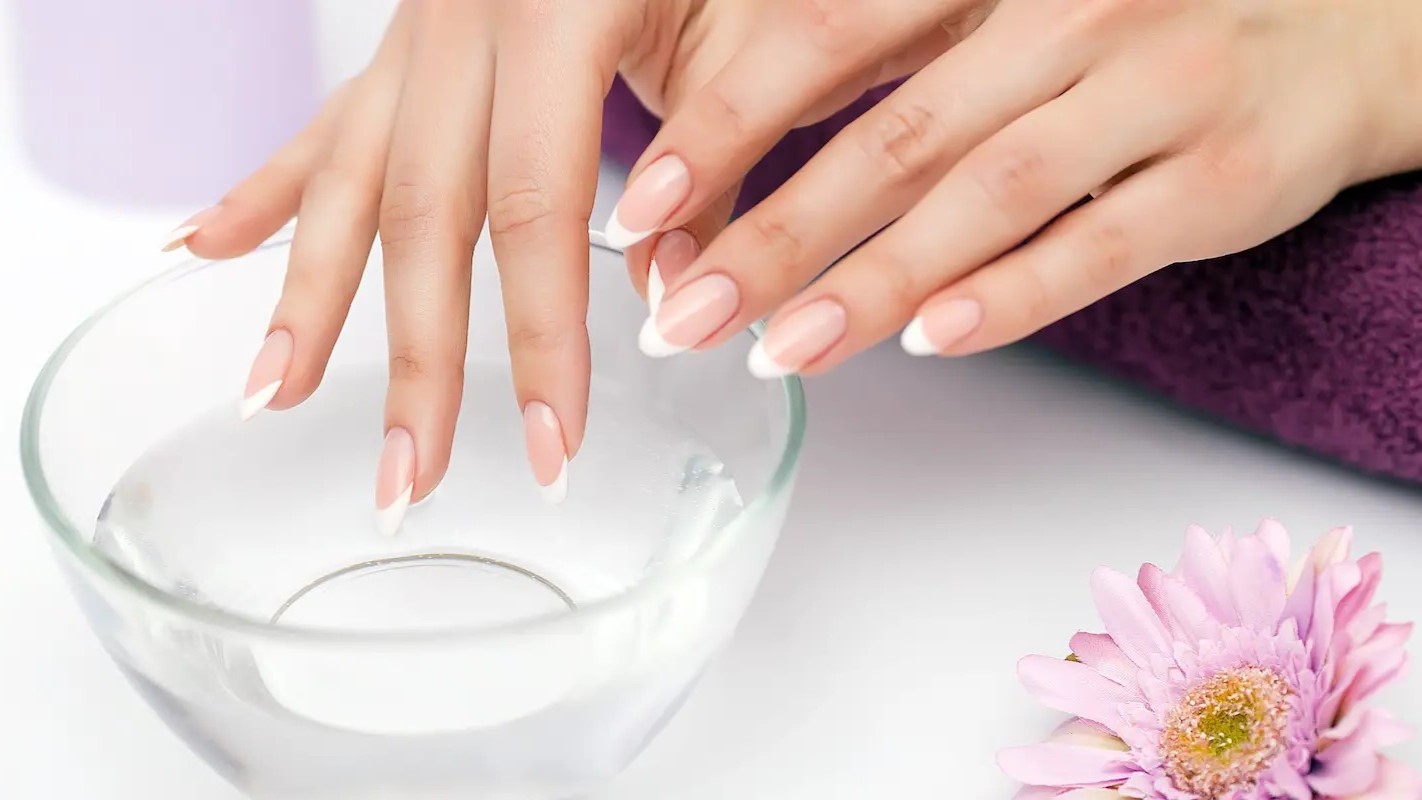
Step 1: Soak nails in warm, soapy water
Soaking your nails in warm, soapy water is an effective initial step in the process of removing nail glue. This simple yet powerful method helps to soften the adhesive, making it easier to gently remove the glue without causing damage to your nails.
To begin, fill a bowl with warm water and add a mild, gentle soap. The water should be comfortably warm, but not too hot, as excessively hot water can cause dryness and discomfort to your skin. Soaking your nails in warm, soapy water not only aids in loosening the nail glue but also helps to hydrate your nails and cuticles, promoting overall nail health.
Once the warm, soapy water is prepared, immerse your fingertips, ensuring that the affected nails are fully submerged. Allow your nails to soak for approximately 10 to 15 minutes, giving the warm water and soap ample time to work their magic in softening the nail glue.
During this time, you may choose to gently massage your nails and the surrounding skin to further encourage the softening of the adhesive. This can help to expedite the process and ensure that the nail glue is thoroughly loosened before proceeding to the next step.
After the soaking period, carefully dry your nails with a soft towel, ensuring that any excess water is removed. At this point, you may notice that the nail glue has become noticeably softer and more pliable, making it easier to proceed with the subsequent steps of removal.
By soaking your nails in warm, soapy water, you are effectively preparing the adhesive for gentle removal while simultaneously providing nourishment to your nails and cuticles. This method sets the stage for the following steps, allowing for a smoother and more efficient process of removing nail glue without causing harm to your natural nails.
In the next step, we will explore the process of gently filing off the softened nail glue, building upon the foundation laid by the initial soaking process.
Step 2: Gently file off the glue
After soaking your nails in warm, soapy water to soften the nail glue, the next step involves gently filing off the adhesive. This process allows for the gradual removal of the softened glue without causing damage to your natural nails.
To begin, select a fine-grit nail file or buffer, as these tools are gentle on the nails while effectively removing the softened glue. Position the nail file at a slight angle against the nail, ensuring that you are filing in one direction to avoid unnecessary friction and pressure on the nail surface.
With gentle and consistent strokes, carefully file the affected areas where the nail glue is present. It's important to maintain a light touch and avoid excessive force, as this can lead to nail damage or thinning. By using a fine-grit nail file, you can effectively and safely reduce the thickness of the softened nail glue, gradually restoring the natural appearance of your nails.
As you continue to file, periodically assess the progress to determine the extent of the glue removal. It's essential to exercise patience during this process, as rushing or applying excessive pressure can compromise the integrity of your nails. By maintaining a gentle and deliberate approach, you can effectively file off the softened nail glue while preserving the health and strength of your natural nails.
Once you have successfully filed off the majority of the softened glue, take a moment to inspect your nails. You may notice that the adhesive has significantly diminished, revealing the natural surface of your nails. If there are any residual traces of nail glue, continue filing with caution, ensuring that you prioritize the health and integrity of your nails throughout the process.
After completing the filing process, gently brush away any remaining nail glue residue using a soft nail brush or a clean, dry cloth. This step helps to eliminate any lingering traces of adhesive, leaving your nails smoother and closer to their natural state.
By gently filing off the softened nail glue, you are effectively reducing the presence of the adhesive while safeguarding the health and appearance of your natural nails. This method sets the stage for the subsequent steps of removing nail glue, allowing for a seamless and careful transition to the next phase of the process.
Step 3: Use acetone nail polish remover
Using acetone nail polish remover is a highly effective method for removing stubborn nail glue that may persist after soaking and filing. Acetone, a powerful solvent, is renowned for its ability to dissolve adhesives, making it an ideal solution for tackling resilient nail glue. When used correctly, acetone nail polish remover can help to thoroughly eliminate any remaining traces of adhesive, leaving your nails clean and free from the remnants of nail glue.
To begin, gather a few essential supplies, including acetone-based nail polish remover, cotton balls or pads, aluminum foil, and a gentle cuticle oil or moisturizer. It's important to ensure that the nail polish remover you select contains acetone, as non-acetone formulas may not be as effective in dissolving tough nail glue.
Start by saturating a cotton ball or pad with the acetone nail polish remover, ensuring that it is adequately damp but not dripping. Place the saturated cotton ball over the nail with the remaining glue, allowing it to rest directly on the affected area. This method helps to concentrate the acetone on the nail glue, maximizing its dissolving effect.
Once the cotton ball is in place, wrap the fingertip with aluminum foil, securing it gently to hold the cotton ball in position. The foil helps to create a barrier that retains the acetone's potency, allowing it to work on the nail glue without evaporating quickly. Repeat this process for each nail requiring the removal of stubborn glue.
Allow the acetone-soaked cotton balls and aluminum foil wraps to remain in place for approximately 10 to 15 minutes. During this time, the acetone effectively penetrates the remaining nail glue, softening and dissolving it for easier removal. It's important to exercise patience and avoid the temptation to rush this step, as allowing sufficient time for the acetone to work yields the best results.
After the designated time has elapsed, carefully remove the aluminum foil wraps and cotton balls from each finger, taking care not to spread the dissolved glue onto other areas of the nail. Using a clean cotton ball or pad, gently wipe away the softened nail glue, applying light pressure as needed to ensure thorough removal.
Following the removal of the softened nail glue, it's essential to cleanse your nails with mild soap and water to eliminate any residual acetone and adhesive remnants. Once your nails are clean and free from the dissolved glue, apply a nourishing cuticle oil or moisturizer to replenish moisture and promote overall nail health.
By utilizing acetone nail polish remover, you can effectively dissolve and remove stubborn nail glue, restoring the natural beauty of your nails. This method, when performed with care and patience, offers a reliable solution for addressing persistent adhesive remnants, ensuring that your nails remain healthy and pristine.
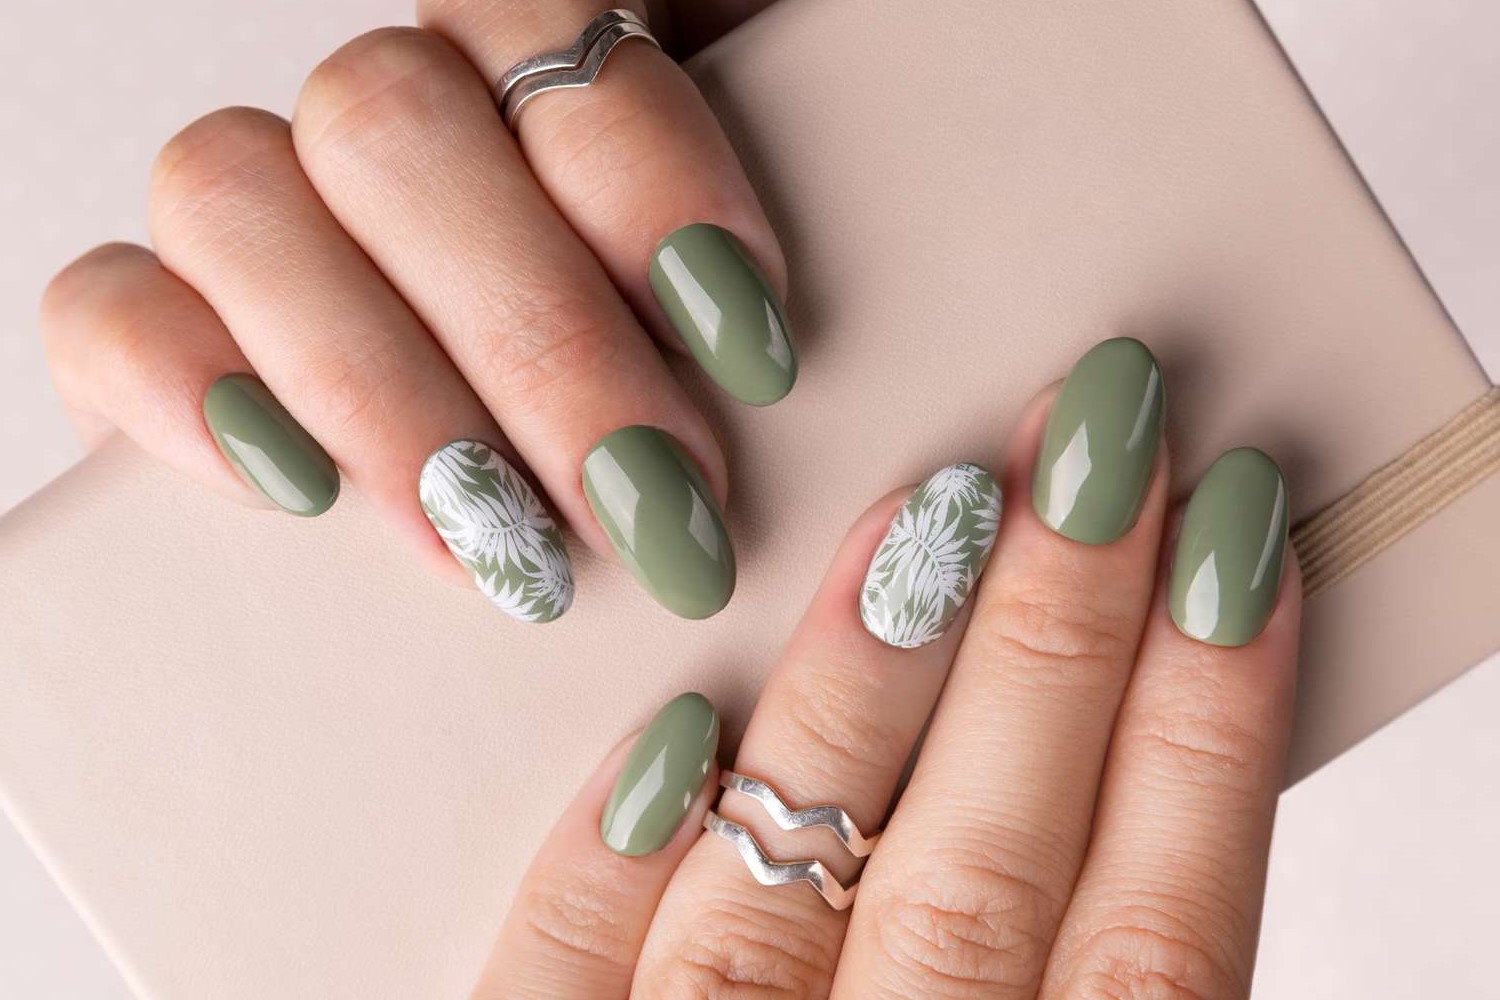
Step 4: Moisturize and care for your nails after removal
After successfully removing the nail glue, it's crucial to prioritize the post-removal care of your nails to ensure their health and resilience. The process of removing nail glue, while effective, can temporarily impact the moisture levels and integrity of your nails. By incorporating a nourishing and revitalizing routine, you can promote the recovery and rejuvenation of your nails, leaving them in optimal condition.
Read more: How To Remove Polygel Nails
Apply a Nourishing Cuticle Oil
Following the removal of nail glue, apply a nourishing cuticle oil to your nails and cuticles. Opt for a high-quality cuticle oil enriched with essential vitamins and nutrients, as this can help replenish moisture and fortify the nail bed. Gently massage the cuticle oil into your nails and surrounding skin, allowing it to be absorbed for maximum benefit. This step aids in restoring hydration and promoting the overall health of your nails, contributing to their strength and resilience.
Use a Moisturizing Hand Cream
In addition to nourishing your nails with cuticle oil, it's essential to moisturize your hands and nails with a rich and hydrating hand cream. Select a moisturizer specifically formulated for hands and nails, as these products often contain ingredients that target nail health and hydration. Regularly apply the hand cream to your hands and nails, massaging it in thoroughly to ensure comprehensive coverage. This practice helps to combat dryness and maintain the suppleness of your nails, fostering an environment conducive to optimal nail growth and vitality.
Protect Your Nails from Harsh Chemicals
After removing nail glue, it's advisable to minimize exposure to harsh chemicals and detergents that can compromise the health of your nails. When engaging in household chores or activities that involve contact with cleaning agents or chemicals, consider wearing protective gloves to shield your nails from potential damage. By taking proactive measures to safeguard your nails, you can prolong the effects of the nail glue removal process and maintain the well-being of your nails in the long term.
Maintain a Balanced Diet
Support the health and strength of your nails by maintaining a balanced and nutritious diet. Incorporate foods rich in essential vitamins, minerals, and proteins, as these nutrients play a vital role in promoting nail growth and resilience. Foods such as leafy greens, lean proteins, nuts, and fruits can contribute to the overall health of your nails, providing them with the essential building blocks for optimal growth and durability.
Read more: How To Remove Gel X Nails
Practice Gentle Nail Care
In the aftermath of nail glue removal, practice gentle nail care to prevent unnecessary stress or trauma to your nails. Avoid excessive filing, buffing, or harsh treatments that can weaken the nail structure. Instead, opt for a gentle nail care routine that prioritizes the health and integrity of your nails. This approach helps to maintain the natural strength and beauty of your nails, allowing them to recover and thrive after the removal of nail glue.
By incorporating these post-removal care practices into your nail care routine, you can effectively nurture and protect your nails, ensuring that they remain healthy, resilient, and beautiful. Prioritizing the well-being of your nails after the removal of nail glue sets the stage for long-term nail health, allowing you to enjoy strong, natural nails that exude vitality and beauty.