Lifestyle
How To Remove Polygel Nails
Published: February 26, 2024
Learn the best techniques for removing polygel nails at home and maintaining a healthy lifestyle. Discover expert tips and tricks for a seamless nail care routine.
(Many of the links in this article redirect to a specific reviewed product. Your purchase of these products through affiliate links helps to generate commission for Noodls.com, at no extra cost. Learn more)
Table of Contents
Introduction
Removing polygel nails can be a daunting task, especially if you're new to the process. Whether you're looking to switch up your nail style or simply want to give your natural nails some TLC, it's essential to approach the removal process with care and patience. By following the right steps and using the proper techniques, you can effectively remove polygel nails without causing damage to your natural nails.
Polygel nails have gained popularity for their durability and flexibility, making them a preferred choice for many individuals seeking long-lasting and low-maintenance nail enhancements. However, when it comes time to remove them, it's crucial to do so correctly to avoid weakening or damaging your natural nails.
In this comprehensive guide, we'll walk you through the step-by-step process of safely removing polygel nails at home. From gathering the necessary supplies to moisturizing and caring for your nails post-removal, we'll cover everything you need to know to ensure a smooth and successful removal process.
So, if you're ready to bid farewell to your current polygel nail look and prepare for a fresh new style or simply want to give your natural nails some breathing room, let's dive into the essential steps for removing polygel nails with confidence and ease.
Read more: How To Remove Nail Glue
Step 1: Gather Your Supplies
Before embarking on the process of removing your polygel nails, it's crucial to gather all the necessary supplies to ensure a smooth and efficient removal experience. Here's a comprehensive list of the essential items you'll need:
-
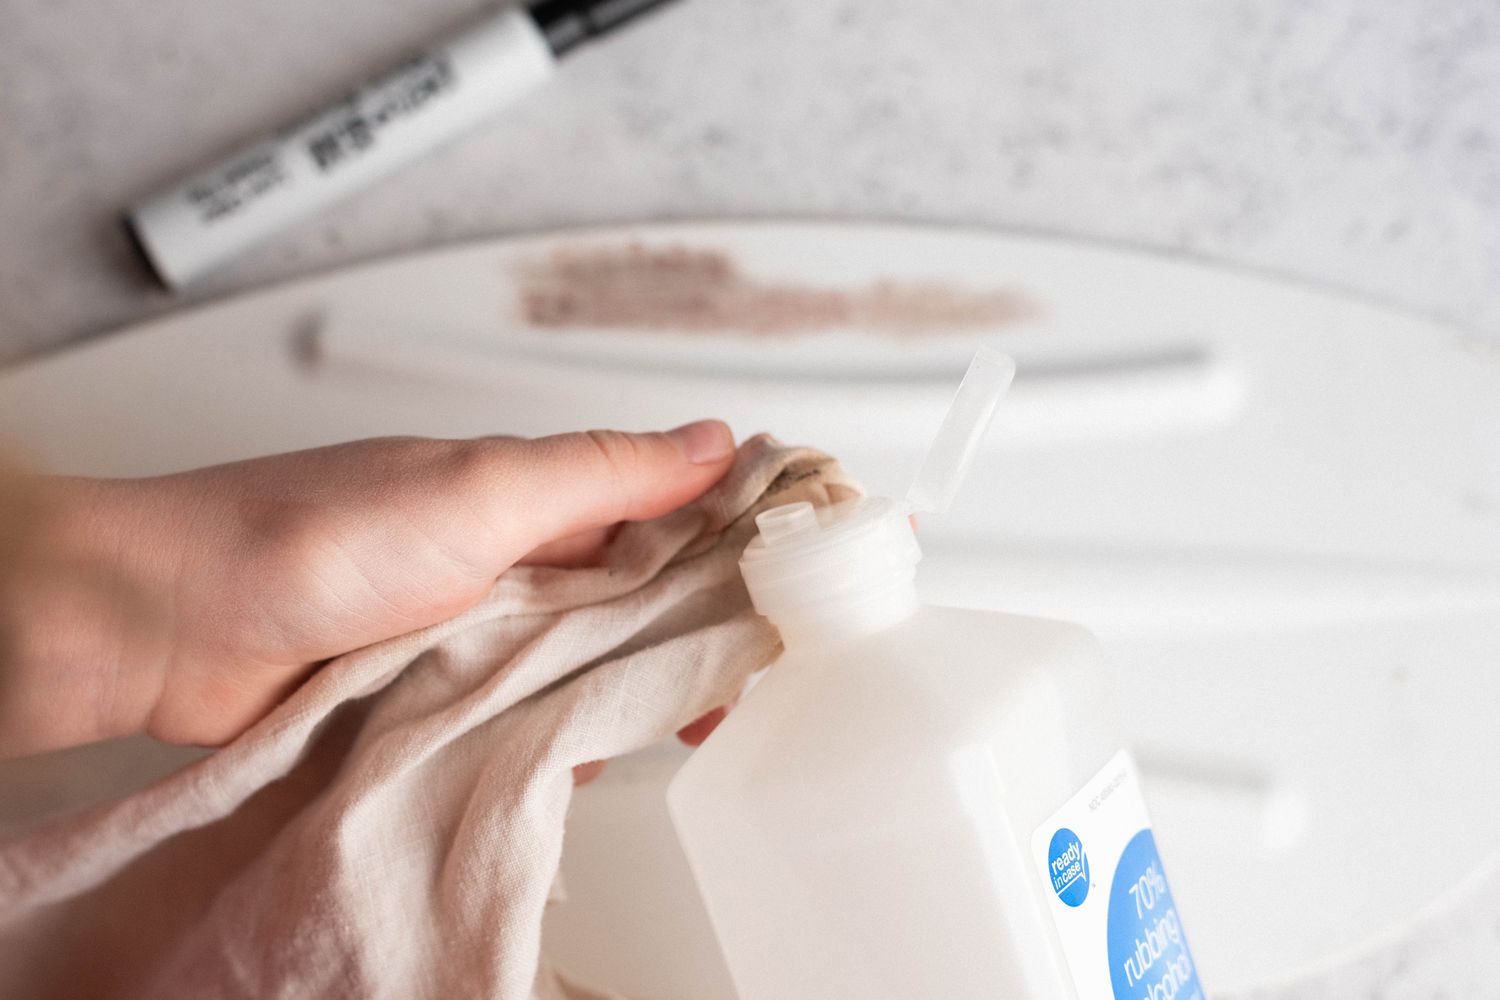
Acetone: This is the primary ingredient for effectively breaking down the polygel and loosening its bond with your natural nails. Opt for pure acetone for the best results.
-
Nail File or Buffer: A fine-grit nail file or buffer will be used to gently file down the top layer of the polygel, allowing the acetone to penetrate more effectively.
-
Cotton Balls or Pads: These will be used to soak in acetone and wrap around your nails during the removal process.
-
Aluminum Foil: Cut into small squares to wrap around the cotton-soaked nails, securing the acetone in place for optimal soaking.
-
Cuticle Oil or Petroleum Jelly: To protect your skin and cuticles from the drying effects of acetone, it's essential to have a barrier in place. Cuticle oil or petroleum jelly can be applied around the nail edges for this purpose.
-
Nail Clippers and Cuticle Pusher: These tools will come in handy for trimming and gently pushing back the softened polygel during the removal process.
-
Moisturizing Lotion: After removing the polygel, it's important to nourish your natural nails and surrounding skin with a hydrating lotion to replenish moisture.
By ensuring that you have all these supplies readily available, you'll be well-prepared to proceed with the subsequent steps of filing, soaking, and gently removing the polygel from your nails. Having these items within reach will streamline the removal process and contribute to a more comfortable and effective experience.
With your supplies in hand, you're now ready to move on to the next step of filing down the top layer of the polygel to prepare for the soaking process.
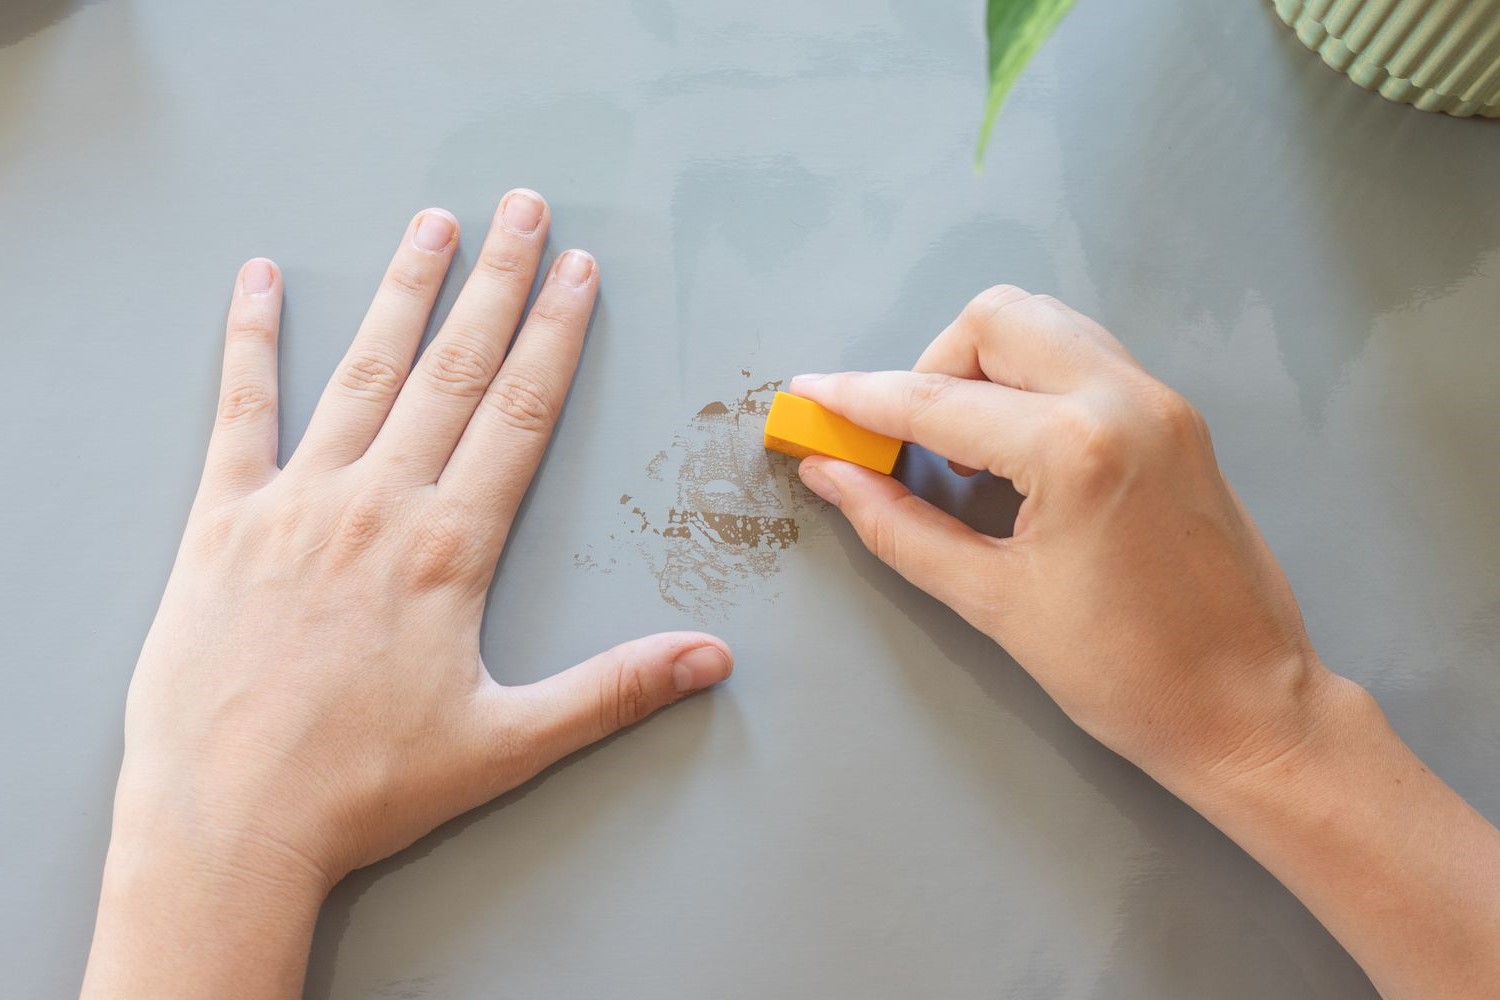
Step 2: File Down the Top Layer
Filing down the top layer of your polygel nails is a crucial initial step in the removal process. This step is essential for allowing the acetone to effectively penetrate and break down the bond between the polygel and your natural nails. Here's a detailed guide on how to file down the top layer of your polygel nails:
-
Prepare the Nail File or Buffer: Ensure that you have a fine-grit nail file or buffer on hand. This tool will gently remove the shiny top layer of the polygel, allowing the acetone to work more efficiently.
-
Gently File the Surface: Begin by gently filing the surface of each nail to remove the top layer of the polygel. It's important to use light pressure and smooth, even strokes to avoid damaging your natural nails underneath.
-
Focus on the Edges and Cuticles: Pay close attention to the edges and cuticle area of each nail, as these areas tend to have a thicker layer of polygel. Carefully file these areas to ensure that the acetone can fully penetrate and soften the polygel for easier removal.
-
Avoid Over-Filing: Be mindful not to over-file the polygel, as this can lead to unnecessary thinning of your natural nails. The goal is to create a slightly roughened surface to aid in the acetone penetration without causing damage to your nails.
-
Check for Progress: As you file, periodically check the progress to ensure that the shiny top layer has been adequately removed. You should notice a matte appearance on the surface of the polygel, indicating that it's ready for the next step of soaking in acetone.
By following these steps, you'll effectively prepare your polygel nails for the soaking process, allowing the acetone to work its magic in breaking down the bond between the polygel and your natural nails. This careful and precise filing will set the stage for the subsequent steps of soaking and gently removing the polygel, ensuring a successful and damage-free nail removal experience.
Step 3: Soak Your Nails
After filing down the top layer of your polygel nails, the next crucial step in the removal process is to soak your nails in acetone. This soaking process is essential for effectively loosening the polygel and facilitating its gentle removal without causing damage to your natural nails. Here's a detailed guide on how to soak your nails for optimal polygel removal:
-
Prepare the Acetone Solution: Fill a small bowl or container with enough pure acetone to fully submerge your fingertips. The acetone will work to break down the polygel, allowing it to be easily lifted away from your natural nails.
-
Apply Cuticle Oil or Petroleum Jelly: Before immersing your nails in the acetone, apply a thin layer of cuticle oil or petroleum jelly around the edges of your nails and on the surrounding skin. This protective barrier will help prevent the acetone from drying out and irritating your skin during the soaking process.
-
Soak Your Nails: Carefully place your fingertips into the acetone solution, ensuring that the entire surface of each nail is fully submerged. Allow your nails to soak for approximately 15-20 minutes, or until you notice that the polygel has started to soften and lift away from your natural nails.
-
Check the Progress: Periodically check the progress of the soaking process by gently testing the edges of the polygel with a cuticle pusher or orangewood stick. If the polygel begins to lift or flake away easily, it's a sign that it's ready to be removed.
-
Wrap with Aluminum Foil: To enhance the effectiveness of the acetone and prevent evaporation, wrap each fingertip with a small piece of aluminum foil after soaking. This will create a sealed environment around the nails, allowing the acetone to continue softening the polygel.
-
Be Patient: It's important to exercise patience during the soaking process, as rushing the removal can lead to unnecessary pressure and potential damage to your natural nails. Allow the acetone to work its magic gradually, ensuring a gentle and safe removal experience.
By following these steps, you'll effectively soak your nails in acetone, allowing the polygel to soften and loosen its bond with your natural nails. This careful and patient approach sets the stage for the subsequent step of gently removing the polygel, ensuring a successful and damage-free nail removal process.
Step 4: Gently Remove the Polygel
With your nails thoroughly soaked in acetone and the polygel visibly softened, it's time to proceed with the gentle removal process. This step requires patience and precision to ensure that the polygel is lifted away without causing any damage to your natural nails. Here's a detailed guide on how to gently remove the softened polygel:
-
Use a Cuticle Pusher or Orangewood Stick: Begin by gently testing the edges of the softened polygel with a cuticle pusher or orangewood stick. The goal is to lift the softened polygel away from your natural nails without applying excessive force. If the polygel resists or feels firmly attached, continue soaking for a few more minutes before attempting to remove it.
-
Gently Push and Lift: With the softened polygel, carefully use the cuticle pusher or orangewood stick to gently push and lift the polygel away from the nail surface. Avoid using excessive pressure or force, as this can lead to unnecessary stress on your natural nails. If any areas of the polygel are still firmly attached, re-soak the nails for a short duration to further soften the remaining polygel.
-
Trimming and Shaping: As the polygel begins to lift away, you may need to use nail clippers to trim any excess polygel that remains attached to the nail edges. Be cautious and precise when trimming, ensuring that you only remove the softened polygel without touching your natural nails. Additionally, use a nail file to gently shape and smooth the nail surface, removing any residual polygel and creating a clean, even appearance.
-
Repeat the Process: It's common for the polygel to come off in layers, especially if multiple layers were applied during the initial nail enhancement process. If necessary, repeat the gentle pushing, lifting, and trimming process until all traces of the polygel have been successfully removed from your natural nails.
-
Be Mindful and Patient: Throughout the removal process, it's crucial to remain mindful and patient, taking the time to gently work through the softened polygel without rushing or applying excessive force. By approaching the removal process with care and precision, you'll minimize the risk of damaging your natural nails and ensure a smooth transition to your natural nail surface.
By following these steps, you'll effectively and gently remove the softened polygel from your nails, paving the way for the final step of moisturizing and caring for your nails post-removal. This meticulous approach to polygel removal prioritizes the health and integrity of your natural nails, ensuring a successful and damage-free transition back to your natural nail state.
Read more: How To Remove Gel X Nails
Step 5: Moisturize and Care for Your Nails
After successfully removing the polygel from your nails, it's essential to prioritize the post-removal care to replenish moisture and promote the health of your natural nails. The removal process, particularly the use of acetone, can leave your nails and surrounding skin feeling dry and in need of nourishment. Here's a detailed guide on how to effectively moisturize and care for your nails post-polygel removal:
-
Gentle Cleansing: Begin by gently washing your hands with a mild, moisturizing soap to remove any residual acetone and debris from the removal process. Pat your hands dry with a soft towel, ensuring that your nails are clean and free from any lingering acetone.
-
Hydrating Soak: Prepare a bowl of warm water and add a few drops of nourishing cuticle oil or a gentle moisturizing hand soak. Soak your fingertips in the solution for a few minutes to hydrate your nails and soften the surrounding skin. This soothing soak will help alleviate any dryness caused by the removal process.
-
Cuticle Care: Apply a generous amount of cuticle oil to each nail and gently massage it into the nail beds and surrounding cuticles. The nourishing properties of the cuticle oil will help replenish moisture and promote healthy nail growth. Use a cuticle pusher to gently push back the softened cuticles, ensuring that they are neat and well-moisturized.
-
Moisturizing Lotion: Select a high-quality, hydrating hand and nail lotion enriched with nourishing ingredients such as vitamin E, shea butter, or almond oil. Apply the lotion generously to your hands and nails, massaging it in thoroughly to ensure complete absorption. Focus on the nail beds and surrounding skin, providing ample moisture to restore softness and suppleness.
-
Protective Barrier: To further protect and nourish your nails, consider applying a layer of petroleum jelly or a specialized nail and cuticle balm. This additional barrier will lock in moisture and provide a protective shield against environmental stressors, promoting overall nail health and resilience.
-
Avoid Harsh Chemicals: In the days following the polygel removal, be mindful of exposing your nails to harsh chemicals or excessive water. Opt for gentle, moisturizing hand soaps and wear protective gloves when engaging in activities that may compromise the health of your nails.
By following these post-removal care steps, you'll effectively replenish moisture, nourish your natural nails, and promote their overall health and resilience. This dedicated care routine will help restore your nails to their optimal condition, ensuring that they remain strong, healthy, and ready for your next nail enhancement adventure.
Conclusion
In conclusion, the process of removing polygel nails requires patience, precision, and a dedicated approach to safeguarding the health and integrity of your natural nails. By following the step-by-step guide outlined in this comprehensive tutorial, you've gained valuable insights into the essential techniques and considerations for safely and effectively removing polygel nails at home.
Throughout the removal process, the careful gathering of supplies, meticulous filing down of the top layer, gentle soaking in acetone, and precise removal of the softened polygel have been highlighted as critical steps. Each stage of the process emphasizes the importance of prioritizing the health and well-being of your natural nails, ensuring that the transition from polygel enhancements to your natural nail state is seamless and damage-free.
Furthermore, the post-removal care steps underscore the significance of replenishing moisture, nourishing the nails, and promoting their overall health and resilience. By embracing a dedicated care routine, you can restore your natural nails to their optimal condition, setting the stage for future nail enhancement endeavors.
It's important to recognize that the removal of polygel nails is not only a practical process but also an opportunity to indulge in self-care and pampering. Taking the time to nurture and rejuvenate your natural nails post-removal is a meaningful gesture of self-appreciation, allowing you to embrace and celebrate the beauty of your natural nails.
As you embark on your nail care journey, whether it involves transitioning to a new nail style or relishing the simplicity of your natural nails, remember that each step of the removal process is a testament to your commitment to nail health and well-being. By approaching the removal of polygel nails with care, patience, and a touch of self-indulgence, you can elevate the experience into a gratifying ritual of self-care and empowerment.
In essence, the journey of removing polygel nails is not merely about the physical act of transition; it's a holistic expression of self-care, self-appreciation, and the unwavering dedication to nurturing the beauty and resilience of your natural nails. With the knowledge and insights gained from this guide, you're well-equipped to embark on your nail care endeavors with confidence, grace, and a deep-rooted commitment to the well-being of your nails.
So, as you bid adieu to your current polygel nail look and embrace the natural allure of your nails, remember that each step of the removal process is a celebration of your unique beauty and a testament to your unwavering dedication to nail health and self-care.