Lifestyle
How To Make Press On Nails Last
Published: March 1, 2024
Learn the best tips for making your press-on nails last longer and maintain a flawless look. Discover lifestyle hacks for long-lasting press-on nails.
(Many of the links in this article redirect to a specific reviewed product. Your purchase of these products through affiliate links helps to generate commission for Noodls.com, at no extra cost. Learn more)
Table of Contents
Introduction
Press on nails have become a popular and convenient way to achieve stunning manicures without the hassle of frequent salon visits. Whether you're looking to add a touch of glamour for a special occasion or simply want to elevate your everyday look, press on nails offer a quick and easy solution. In this comprehensive guide, we will explore the essential steps to ensure that your press on nails not only look fabulous but also last for an extended period.
When it comes to achieving long-lasting results with press on nails, the key lies in the meticulous preparation and application process. By following the tips and techniques outlined in this article, you can enjoy beautiful, salon-worthy nails that stay put for days on end. From selecting the right press on nails to mastering the art of application and maintenance, we will cover everything you need to know to make your manicure last.
Whether you're a seasoned press on nail enthusiast or a newcomer to the trend, this guide is designed to equip you with the knowledge and skills to achieve flawless, durable results. With the right approach and a few insider tricks, you can confidently flaunt your impeccably manicured nails with the assurance that they will withstand daily activities and retain their stunning appearance.
So, if you're ready to elevate your nail game and unlock the secrets to long-lasting press on nails, let's dive into the essential steps that will ensure your manicure remains flawless and fabulous.
Read more: How To Make Gel Nails Last Longer
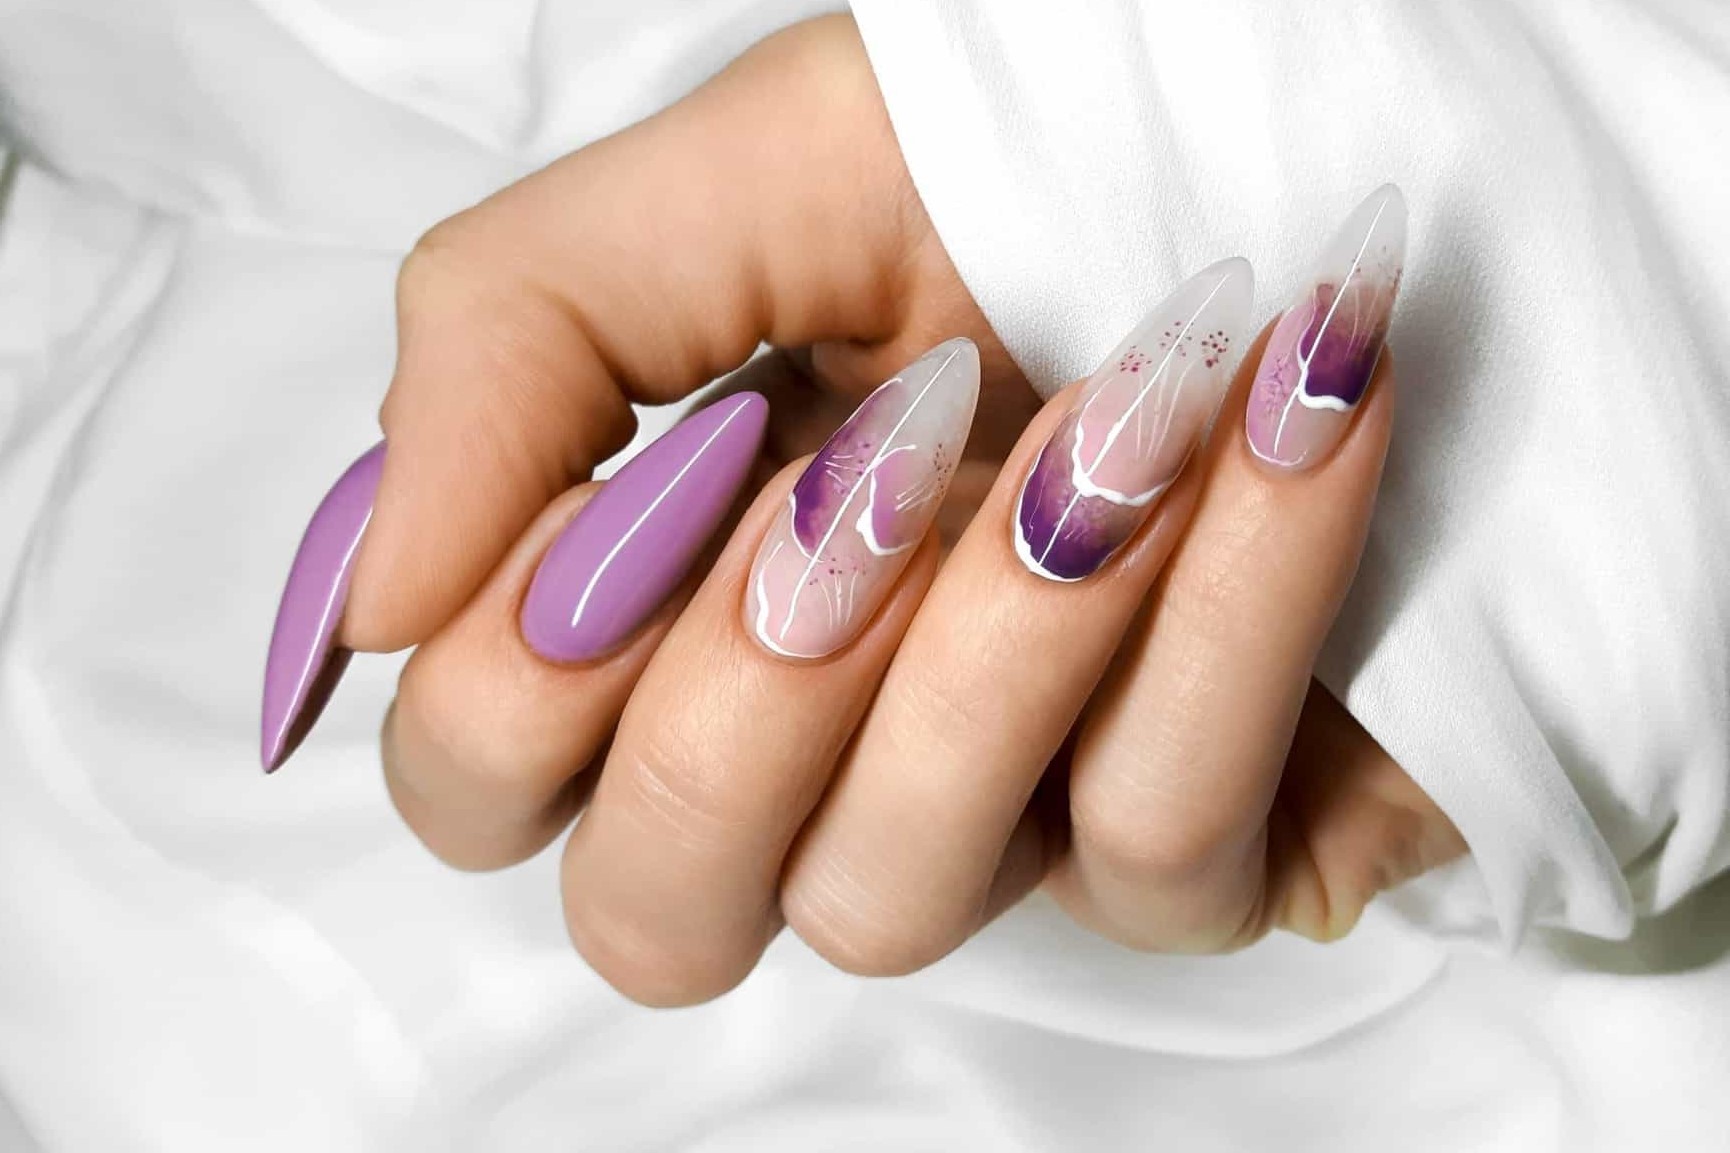
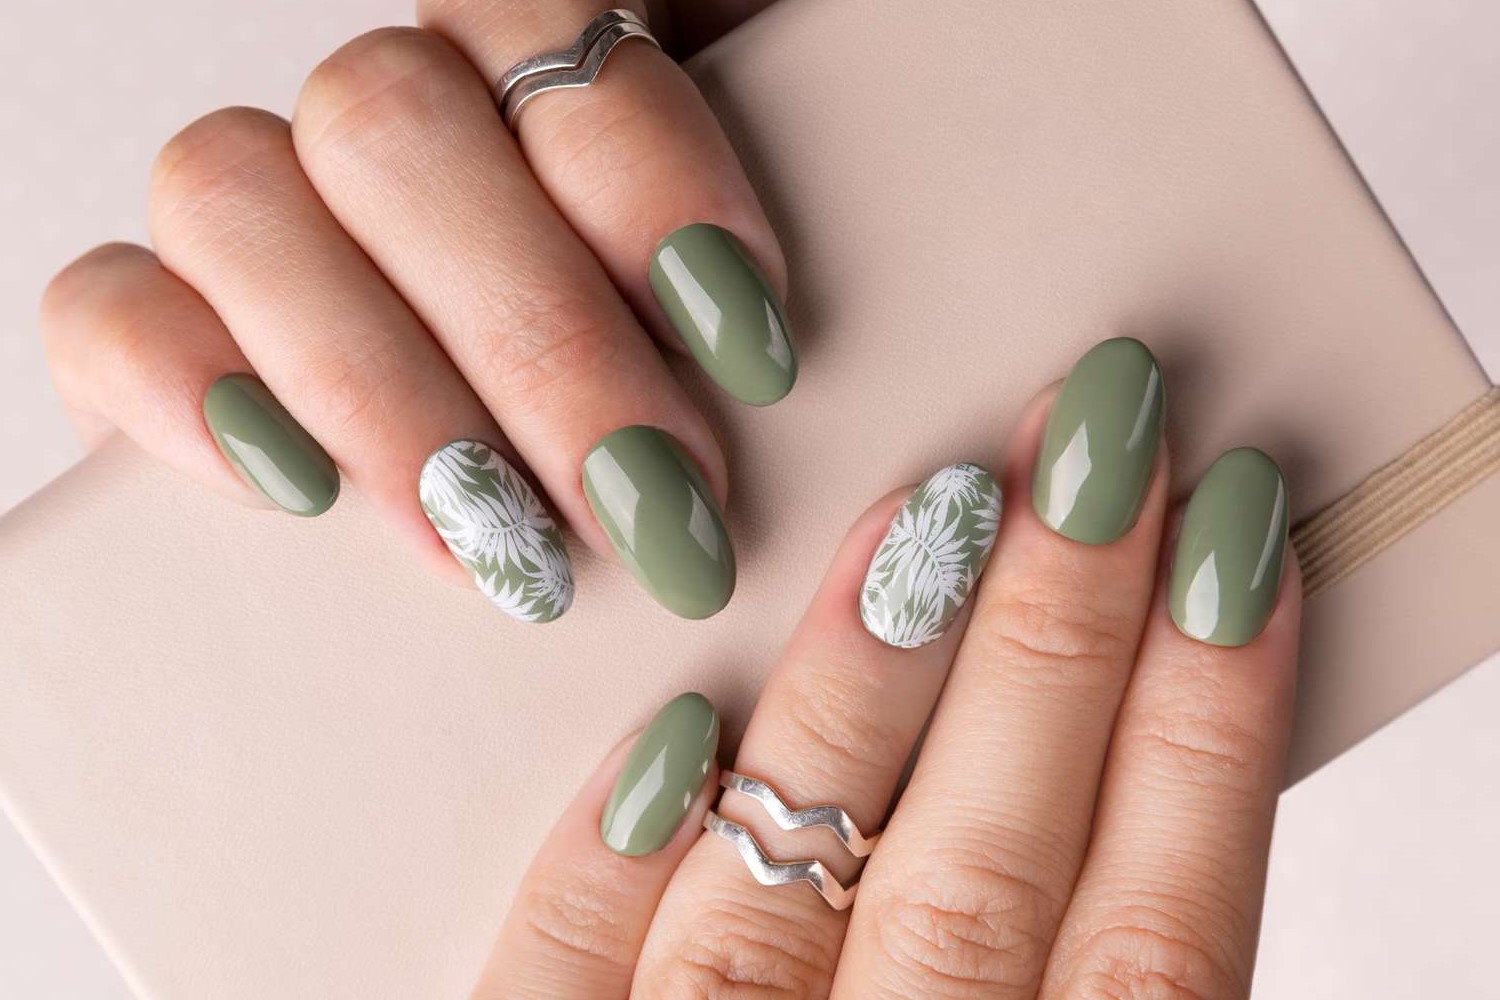
Choosing the Right Press On Nails
Selecting the perfect press on nails is the crucial first step in ensuring a long-lasting and flawless manicure. With a myriad of options available, it's essential to consider several factors to find the ideal press on nails that not only complement your style but also offer durability and comfort.
Consider Nail Size and Shape
When choosing press on nails, it's important to select a size and shape that closely matches your natural nails. Ill-fitting nails can lead to discomfort and may not adhere properly, compromising the longevity of your manicure. Most press on nail kits offer a variety of sizes and shapes, allowing you to find the perfect match for each of your natural nails.
Assess Nail Material and Quality
Opt for press on nails made from high-quality materials to ensure durability and a natural appearance. Look for nails crafted from sturdy materials that are resistant to chipping and breakage. Additionally, consider the finish of the nails, whether you prefer a glossy, matte, or textured look to suit your personal style.
Explore Design Options
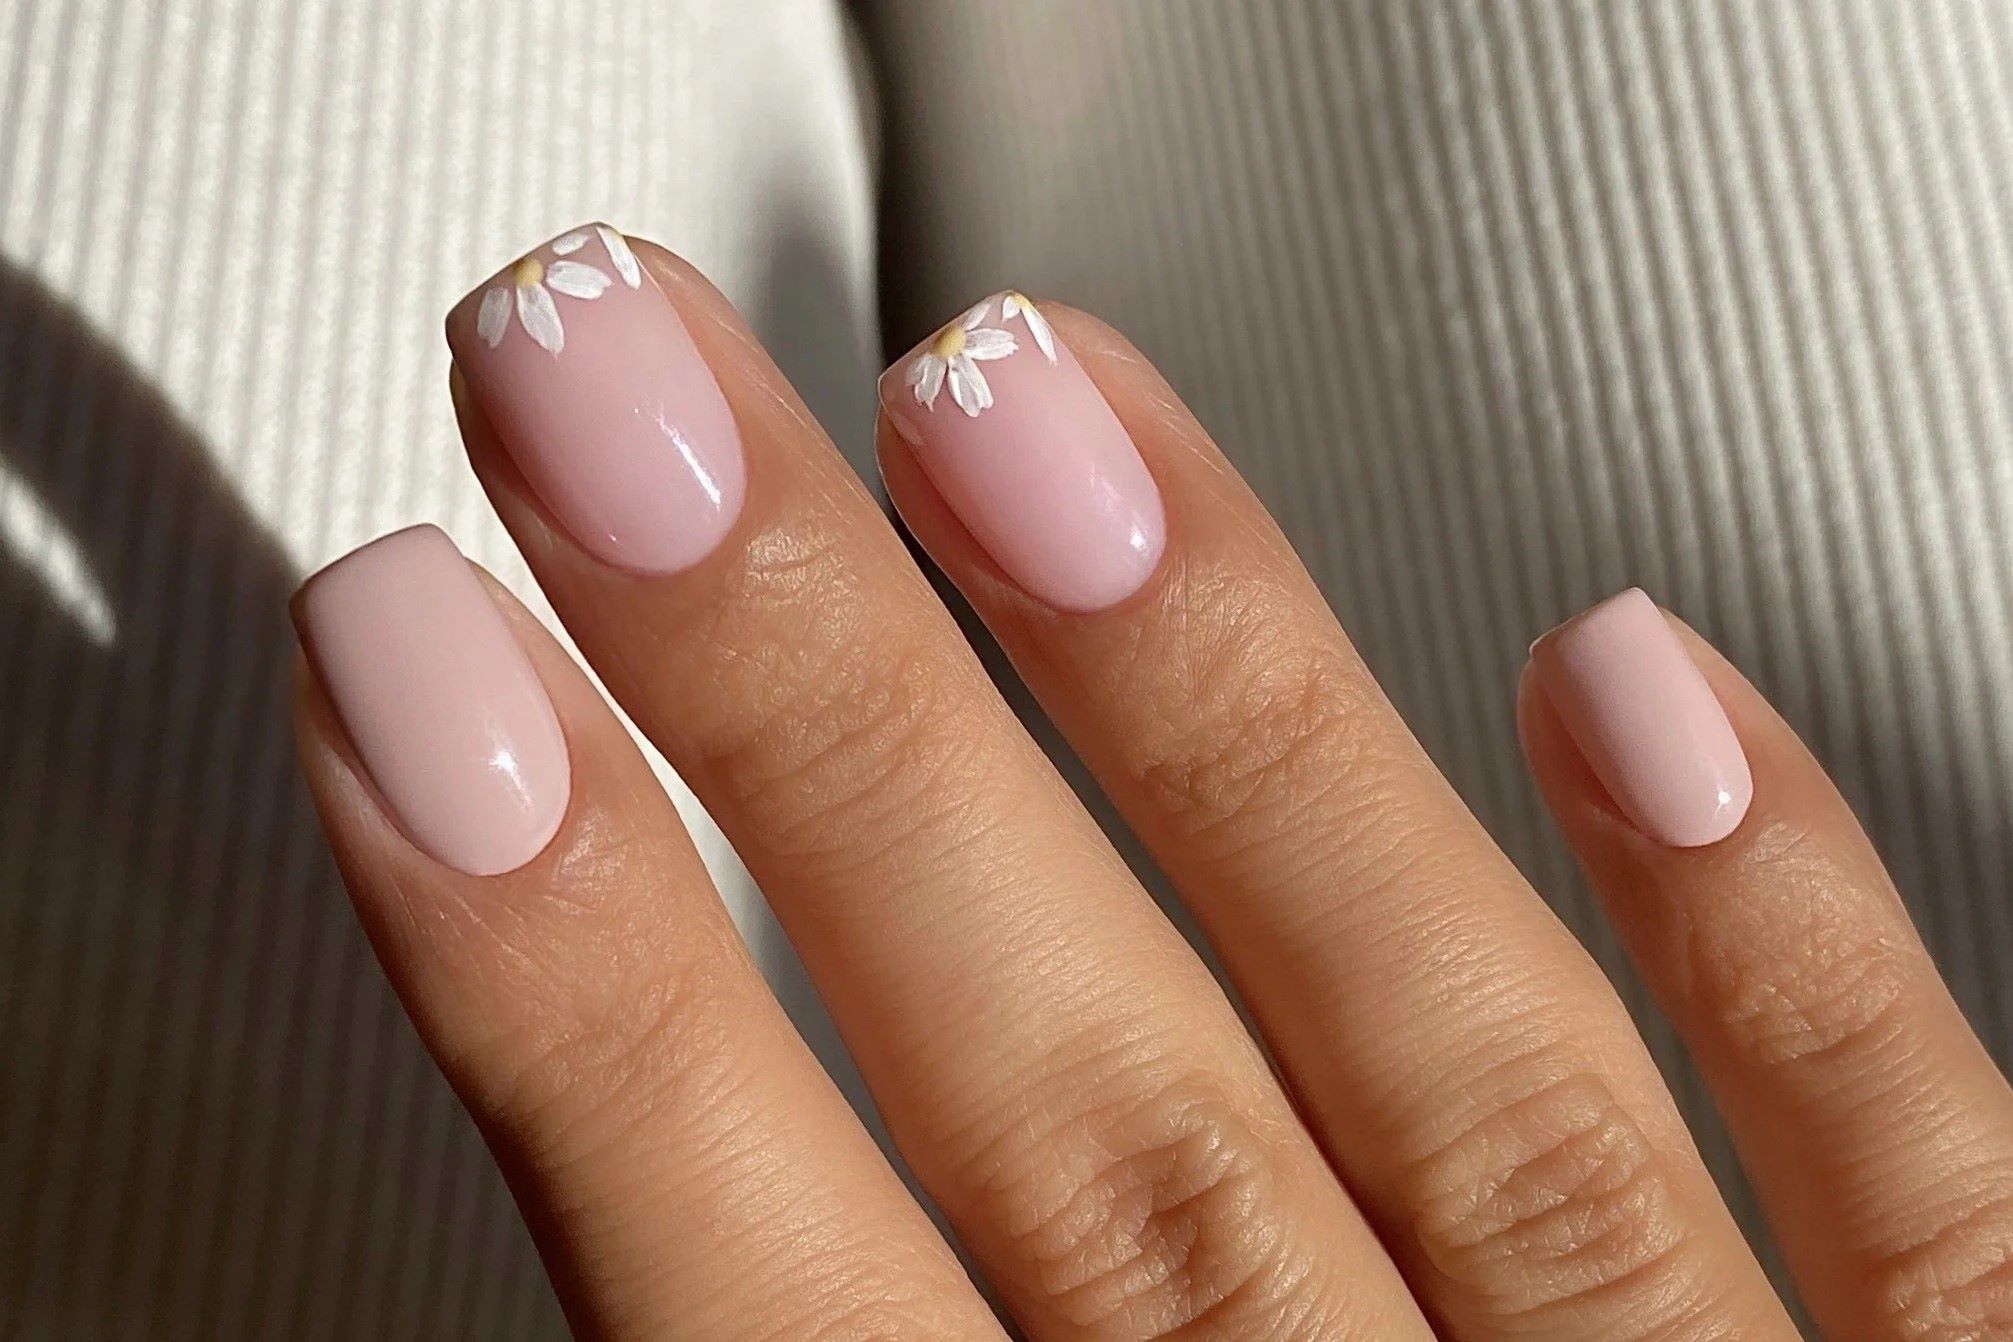
Press on nails come in a wide array of designs, ranging from classic French tips to vibrant patterns and intricate embellishments. When choosing the right press on nails, consider the occasion and your personal style preferences. Whether you're aiming for a sophisticated, understated look or a bold, eye-catching design, there are press on nails to suit every aesthetic.
Read more: How To Cut Black Dog Nails
Prioritize Nail Adhesive
The adhesive included with press on nails is a crucial component in ensuring a secure and long-lasting application. Opt for press on nail kits that include high-quality adhesive tabs or nail glue. A reliable adhesive is essential for maintaining the integrity of the manicure, especially during daily activities.
By carefully considering these factors and selecting press on nails that align with your preferences and lifestyle, you can set the stage for a successful and enduring manicure. With the right press on nails in hand, you're ready to embark on the journey of achieving stunning, long-lasting nails that elevate your style and confidence.
Preparing Your Nails
Properly preparing your natural nails is a crucial step that sets the foundation for a long-lasting and flawless press on nail application. By dedicating time to prepare your nails, you can ensure optimal adhesion and minimize the risk of premature lifting or damage to the press on nails. Here's a detailed guide on how to prepare your nails effectively:
Clean and Trim
Begin by thoroughly cleaning your natural nails to remove any traces of oil, dirt, or residue. Use a gentle nail polish remover or alcohol-based cleanser to eliminate any oils or impurities that could hinder the adhesive's effectiveness. Next, carefully trim and shape your nails to achieve a uniform and tidy appearance. Ensure that your nails are free from jagged edges or uneven surfaces, as these imperfections can affect the adherence of the press on nails.
Buff and Smooth
Gently buff the surface of your nails using a nail buffer or a soft nail file. This step helps to create a slightly rough texture on the nail plate, promoting better adhesion for the press on nails. Be cautious not to over-buff, as excessive filing can weaken the nails. Aim to create a smooth and slightly textured surface that allows the adhesive to bond securely without causing damage to your natural nails.
Push Back Cuticles
Carefully push back your cuticles using a cuticle pusher or a wooden stick. This process helps to create a clean and defined nail bed, ensuring that the press on nails adhere smoothly and evenly. Avoid cutting the cuticles, as this can lead to irritation and potential infection. Instead, focus on gently pushing back the cuticles to reveal a neat and well-prepared nail surface.
Remove Excess Dust
After completing the preparation steps, thoroughly wash your hands to remove any residual dust or particles. Dry your hands and nails completely before proceeding with the press on nail application. It's essential to start with clean, dry nails to optimize the adhesion and longevity of the press on nails.
By meticulously preparing your natural nails through these steps, you can create an ideal canvas for applying press on nails. Proper nail preparation sets the stage for a secure and enduring manicure, allowing you to showcase your impeccable press on nails with confidence and style.
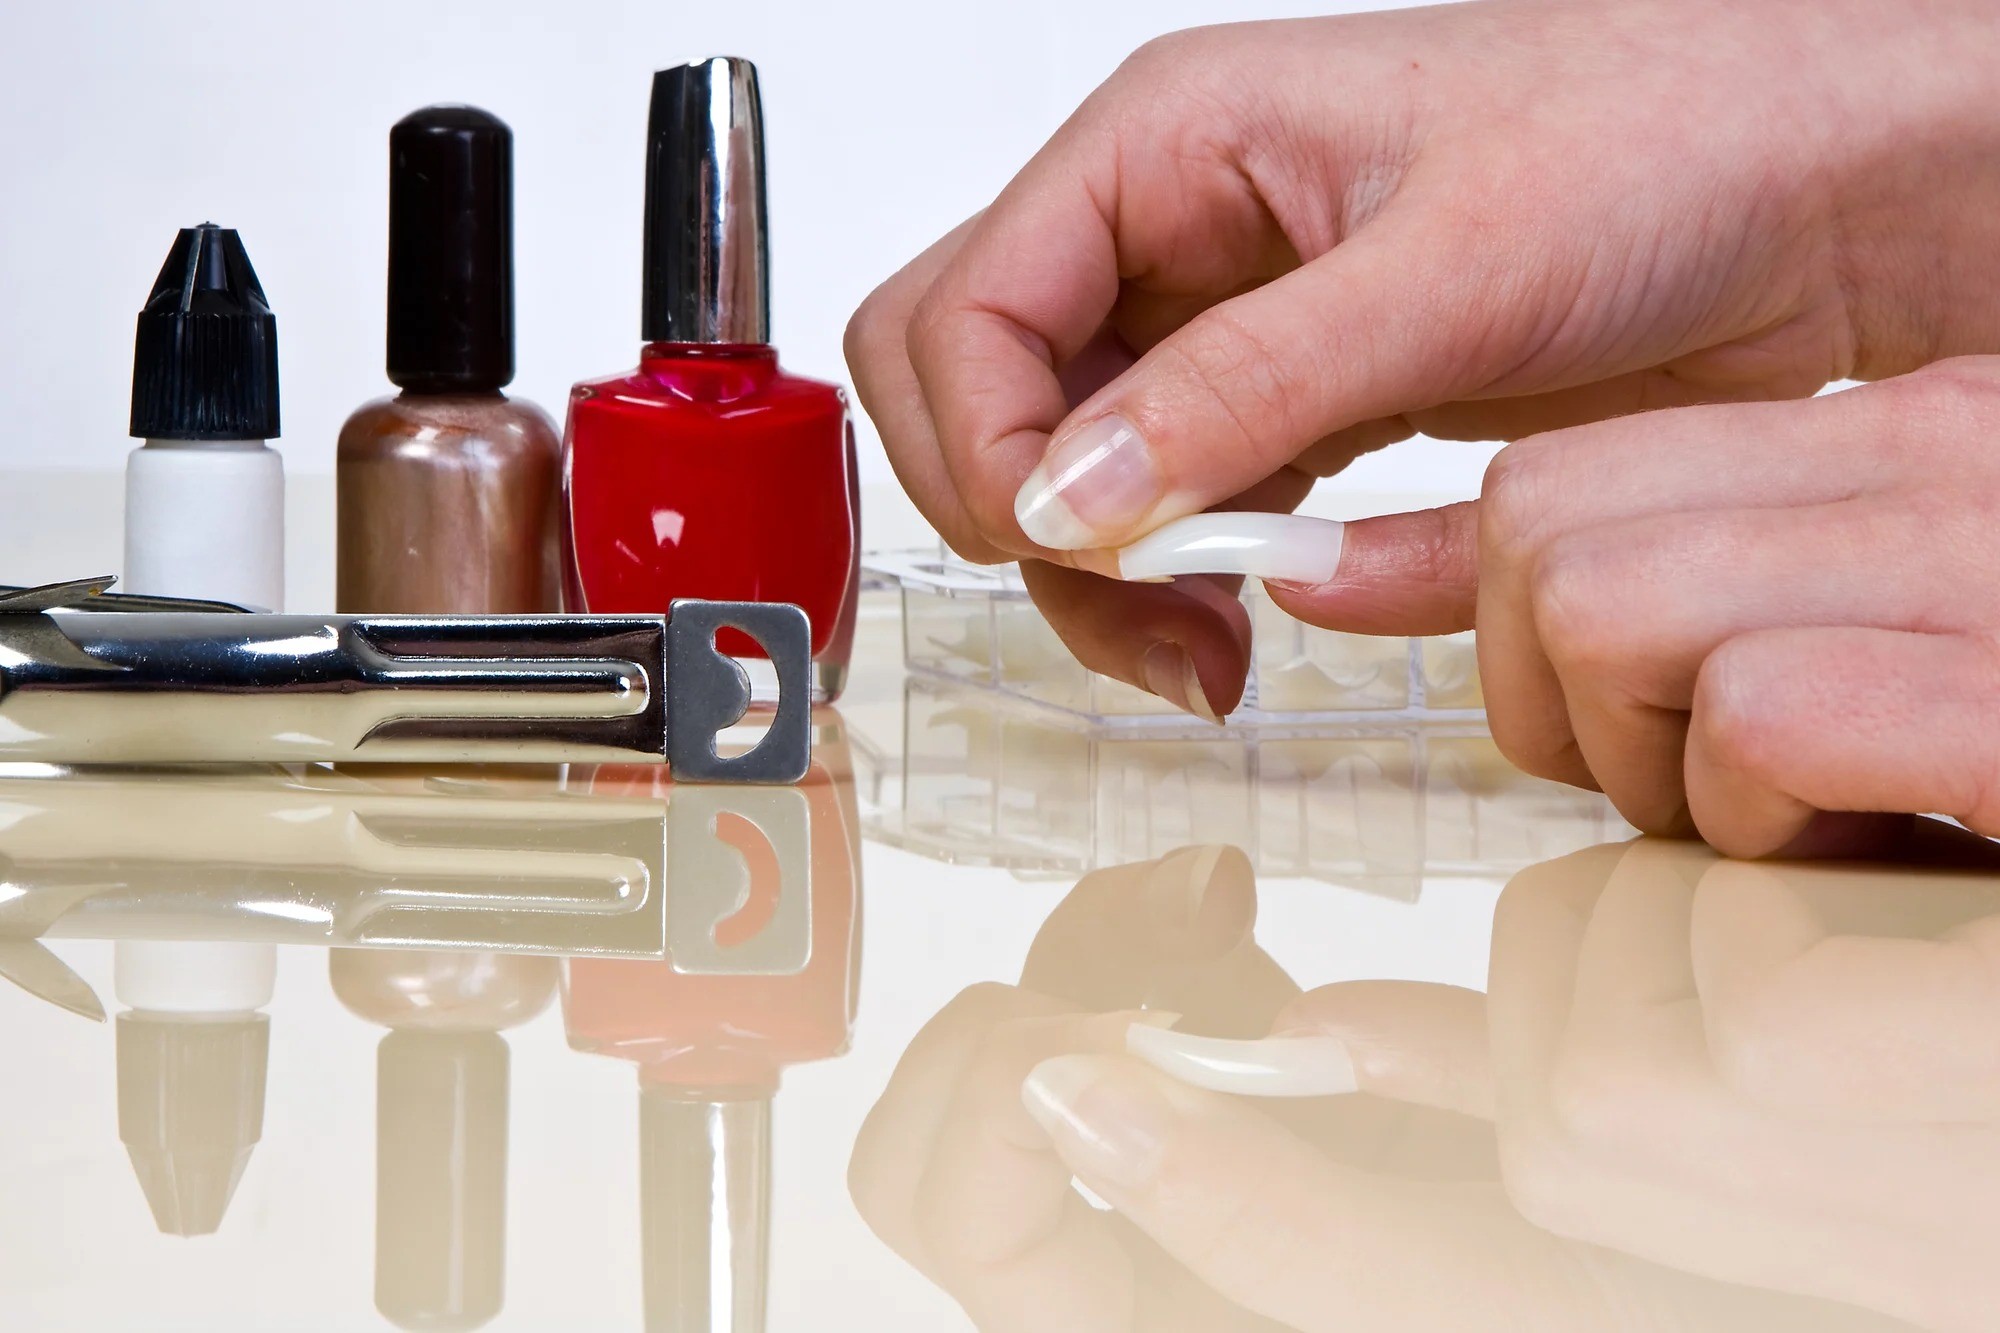
Applying the Press On Nails
Once you have carefully selected the perfect press on nails and prepared your natural nails, it's time to embark on the exciting process of applying the press on nails. This step-by-step guide will walk you through the seamless application process, ensuring that your press on nails adhere securely and exude a professional, salon-quality finish.
Step 1: Arrange the Press On Nails
Begin by arranging the press on nails in the order of application, aligning each nail with its corresponding natural nail. This meticulous preparation ensures a smooth and efficient application process, allowing you to focus on achieving a precise and tailored fit for each nail.
Read more: How To Combine First And Last Name In Excel
Step 2: Apply Adhesive
If you are using adhesive tabs, carefully peel off the backing and firmly press the adhesive onto the natural nail, ensuring a snug fit. Alternatively, if you opt for nail glue, apply a small amount onto the natural nail, taking care to avoid excessive application that could lead to seepage onto the surrounding skin. Exercise caution to prevent contact with the skin or cuticles.
Step 3: Align and Press
Gently align the press on nail with the cuticle, ensuring a precise fit along the nail bed. Apply gentle pressure to the center of the press on nail, then firmly press down on each side to secure it in place. Take your time to ensure that the press on nail adheres seamlessly without any air bubbles or gaps.
Step 4: Secure and Seal
Once the press on nail is in position, apply additional pressure to secure the adhesive or glue bond. Hold the press on nail in place for a few seconds to allow the adhesive to set and create a strong, durable attachment. Repeat this process for each nail, maintaining a consistent and meticulous approach to achieve uniform and long-lasting results.
Step 5: Finishing Touches
After applying all the press on nails, take a moment to inspect the overall appearance and alignment. Make any necessary adjustments to ensure that each nail sits comfortably and uniformly on the nail bed. Once satisfied with the placement, gently file and shape the press on nails to achieve your desired length and silhouette.
By following these detailed steps, you can master the art of applying press on nails with precision and finesse. With a methodical approach and attention to detail, you can achieve a flawless and enduring manicure that rivals the results of a professional salon treatment. Embrace the creative freedom and convenience of press on nails, knowing that your meticulously applied manicure will captivate attention and elevate your personal style with confidence.
Read more: How To Remove Gel X Nails
Maintaining Your Press On Nails
Maintaining your press on nails is essential for preserving their pristine appearance and ensuring long-lasting wear. By incorporating simple yet effective practices into your daily routine, you can prolong the durability and visual allure of your manicure. Here's a comprehensive guide on maintaining your press on nails to keep them looking flawless and fabulous.
Gentle Handling
Handle your press on nails with care to prevent unnecessary stress or damage. Avoid using your nails as tools for tasks such as opening packages or scraping surfaces, as this can lead to premature lifting or breakage. By treating your press on nails gently, you can minimize the risk of compromising their integrity and maintain their stunning appearance.
Moisturize Regularly
Hydrating your cuticles and the skin around your nails is crucial for preserving the overall health and longevity of your press on nails. Apply a nourishing cuticle oil or moisturizer to keep the nail bed and surrounding skin supple and hydrated. Well-moisturized nails and cuticles contribute to a polished and well-maintained manicure.
Avoid Harsh Chemicals
When engaging in household chores or using cleaning products, consider wearing protective gloves to shield your press on nails from exposure to harsh chemicals. Chemical substances can weaken the adhesive and compromise the finish of the nails. By taking precautions to minimize contact with abrasive substances, you can safeguard the longevity and luster of your press on nails.
Regular Inspections
Periodically inspect your press on nails for any signs of lifting, chipping, or wear. Address any minor issues promptly to prevent further damage and maintain the seamless appearance of your manicure. If you notice any nails that require reinforcement or adjustment, take the time to secure them with additional adhesive or make necessary touch-ups to preserve the overall cohesiveness of your manicure.
Mindful Activities
Be mindful of activities that may put excessive strain on your press on nails, such as typing, sports, or manual labor. While press on nails are designed to be durable, taking precautions during activities that involve repetitive or forceful movements can help prolong their longevity. By being mindful of your actions, you can minimize the risk of accidental damage and maintain the pristine condition of your manicure.
Regular Maintenance
Schedule regular maintenance sessions to trim and shape your press on nails as needed. Over time, natural nail growth may cause the press on nails to appear uneven or require slight adjustments. By maintaining the length and shape of your press on nails, you can ensure a polished and well-maintained appearance that exudes sophistication and style.
By incorporating these maintenance practices into your routine, you can extend the lifespan of your press on nails and enjoy a consistently impeccable manicure. With mindful care and attention, your press on nails will continue to dazzle with enduring beauty, allowing you to showcase your impeccable style with confidence and flair.
Removing the Press On Nails
As much as applying press on nails can be a delightful experience, the time eventually comes to bid adieu to your current manicure and embrace a fresh look. Properly removing press on nails is essential to safeguard the health and appearance of your natural nails while ensuring a seamless transition to your next nail style. Here's a detailed guide on the gentle and effective removal of press on nails:
Read more: How To Make Teal
Step 1: Prepare Removal Tools
Gather the necessary tools for safe and efficient removal, including acetone-based nail polish remover, cotton balls or pads, aluminum foil, a cuticle pusher, and a gentle nail buffer. These tools will facilitate the removal process while minimizing potential damage to your natural nails.
Step 2: Loosen the Adhesive
Begin by saturating a cotton ball or pad with acetone-based nail polish remover. Place the soaked cotton over each press on nail, ensuring that the entire surface is covered. Secure the cotton in place by wrapping each finger with a small piece of aluminum foil. The acetone will gradually loosen the adhesive, allowing the press on nails to detach gently without causing harm to your natural nails.
Step 3: Wait and Relax
Allow the acetone-soaked cotton and aluminum foil wraps to remain in place for approximately 10-15 minutes. During this time, relax and let the acetone work its magic in loosening the press on nails. You may choose to indulge in a brief self-care moment while the acetone effectively dissolves the adhesive.
Step 4: Gently Remove the Press On Nails
After the designated waiting period, carefully remove the aluminum foil wraps from each finger. Using a gentle twisting motion, softly lift and detach the press on nails from your natural nails. Avoid forceful or abrupt movements to prevent unnecessary stress on your natural nails.
Read more: How To Make Yellow
Step 5: Clean and Nourish
Once the press on nails are removed, use a cuticle pusher to gently lift off any remaining adhesive residue from your natural nails. Refrain from forcefully scraping or peeling, as this can cause damage to the nail surface. Afterward, lightly buff the nail surface to smooth out any residual adhesive.
Step 6: Hydrate and Protect
Following the removal process, treat your natural nails to a nourishing cuticle oil or moisturizer to replenish moisture and promote nail health. Massage the oil into your cuticles and nails to restore hydration and maintain their strength and resilience.
By following these steps, you can safely and effectively remove press on nails without compromising the health and appearance of your natural nails. Embrace the opportunity to switch up your manicure with confidence, knowing that your natural nails remain healthy and ready for their next stunning transformation.
Conclusion
In conclusion, mastering the art of making press on nails last involves a combination of thoughtful selection, meticulous preparation, precise application, dedicated maintenance, and gentle removal. By adhering to the comprehensive guidelines outlined in this article, you can elevate your manicure game and enjoy enduring, salon-worthy results from the comfort of your own home.
Choosing the right press on nails sets the stage for a successful and long-lasting manicure. By considering factors such as size, shape, material, design, and adhesive quality, you can ensure that your press on nails not only align with your personal style but also offer durability and comfort. The careful selection of press on nails tailored to your preferences and lifestyle forms the foundation for a stunning and enduring manicure.
Properly preparing your natural nails is a crucial step that cannot be overlooked. Through meticulous cleaning, trimming, buffing, and cuticle care, you create an optimal canvas for the application of press on nails. The preparation process sets the stage for secure adhesion and minimizes the risk of premature lifting or damage, ensuring that your press on nails remain flawlessly in place.
The application of press on nails demands precision and finesse. By following the detailed steps for arranging, applying adhesive, aligning, securing, and perfecting the press on nails, you can achieve a professional and enduring manicure that exudes confidence and style. Embracing the creative freedom and convenience of press on nails becomes a seamless and rewarding experience when approached with attention to detail and a methodical application process.
Maintaining your press on nails is essential for preserving their pristine appearance and ensuring long-lasting wear. By incorporating gentle handling, regular moisturization, cautiousness around harsh chemicals, periodic inspections, mindful activities, and regular maintenance, you can extend the lifespan of your press on nails and enjoy a consistently impeccable manicure that captivates attention and elevates your personal style.
When the time comes to bid adieu to your current manicure, the gentle and effective removal of press on nails ensures the health and appearance of your natural nails. By following the detailed steps for loosening the adhesive, gently removing the press on nails, and nourishing and protecting your natural nails, you can seamlessly transition to your next stunning nail style with confidence and ease.
In essence, the journey to making press on nails last is a delightful and empowering experience that allows you to express your unique style while enjoying enduring and impeccable manicures. With the knowledge and techniques acquired from this guide, you are equipped to embark on a seamless and rewarding nail care journey, showcasing flawless and long-lasting press on nails that exude sophistication, confidence, and individuality.