Home>Home and Garden>How To Remove A Broken Screw

Home and Garden
How To Remove A Broken Screw
Published: March 1, 2024
Learn how to remove a broken screw with our expert tips and tricks. Get your home and garden projects back on track with our easy-to-follow guide.
(Many of the links in this article redirect to a specific reviewed product. Your purchase of these products through affiliate links helps to generate commission for Noodls.com, at no extra cost. Learn more)
Table of Contents
Introduction
Dealing with a broken screw can be a frustrating and challenging task, especially when you're in the midst of a home improvement project. Whether you're a seasoned DIY enthusiast or a novice homeowner, encountering a broken screw can quickly derail your plans and leave you feeling exasperated. However, with the right approach and tools at your disposal, you can effectively tackle this common issue and get back on track with your project.
In this comprehensive guide, we will walk you through the step-by-step process of removing a broken screw, providing you with valuable insights and practical tips to help you navigate this obstacle with confidence. From assessing the situation to utilizing specialized tools, we'll cover everything you need to know to successfully extract a broken screw and salvage your project.
By following the techniques outlined in this guide, you'll be equipped with the knowledge and skills to address broken screws in various materials, such as wood, metal, or plastic. Whether you're working on furniture assembly, home repairs, or crafting endeavors, the ability to effectively remove a broken screw is a valuable skill that can save you time, money, and frustration.
So, roll up your sleeves, gather your tools, and let's dive into the process of removing a broken screw. With the right approach and a can-do attitude, you'll soon be equipped to tackle this common DIY challenge like a seasoned pro.
Read more: How To Remove Rusted Screws
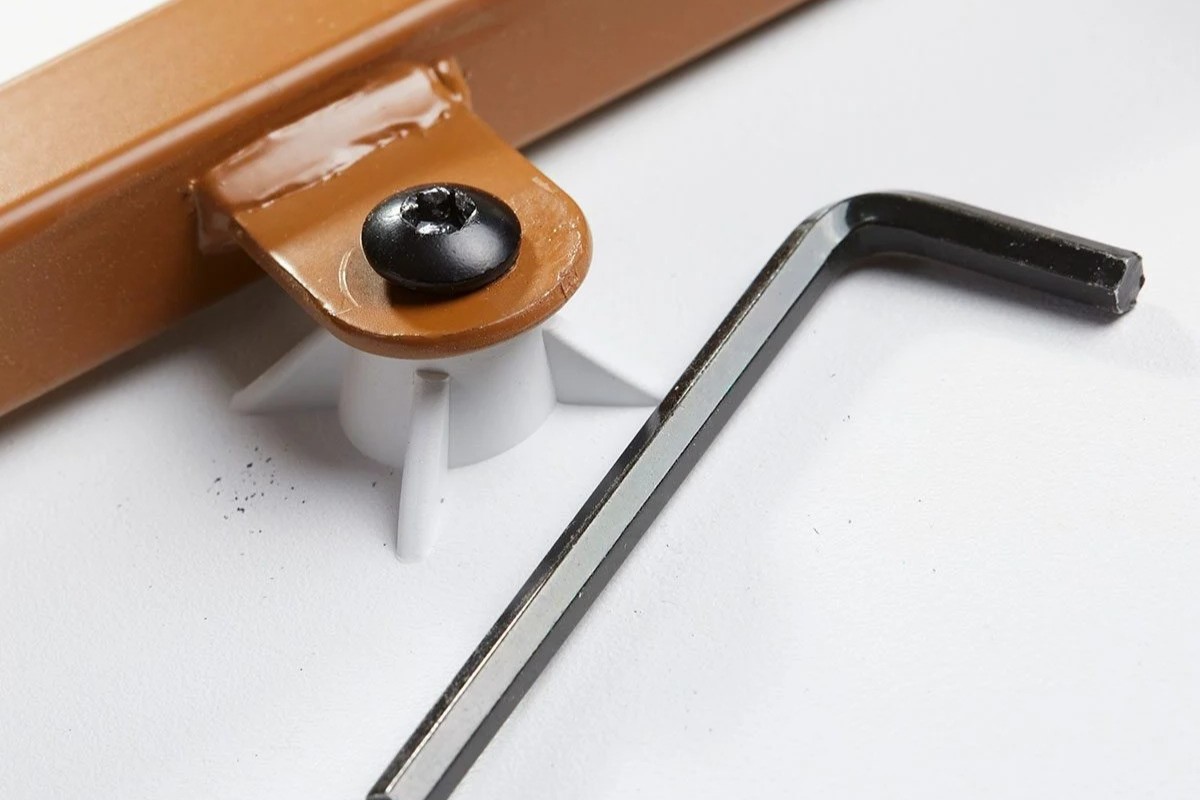
Step 1: Assess the Situation
Before diving into the process of removing a broken screw, it's crucial to carefully assess the situation to determine the best course of action. Understanding the nature of the break and the materials involved will guide your approach and increase the likelihood of a successful extraction.
Begin by examining the broken screw and its surrounding area. Take note of the type of material the screw is lodged in, whether it's wood, metal, or plastic. Assess the depth of the screw's insertion and the extent of the break. Is the screw partially protruding, completely embedded, or sheared off at the surface? These details will influence the techniques and tools you'll employ during the extraction process.
Next, evaluate the condition of the surrounding material. If the broken screw is embedded in wood, check for any signs of splitting, cracking, or weakening around the screw site. For metal surfaces, inspect for corrosion, rust, or any other factors that may impact the screw's removal. Understanding the condition of the material will help you anticipate potential challenges and take precautions to minimize damage during the extraction.
Consider the accessibility of the broken screw. Is it located in a confined space or obstructed by other components? Assessing the accessibility will inform your tool selection and approach, ensuring that you can effectively reach and maneuver around the broken screw.
Additionally, take into account the size and type of the broken screw. Is it a small, delicate screw or a larger, sturdier one? Identifying the screw's characteristics will guide your choice of extraction tools and techniques, allowing you to tailor your approach to the specific requirements of the broken screw.
By thoroughly assessing these key aspects of the situation, you'll gain valuable insights that will inform your subsequent steps in the screw removal process. This proactive approach sets the foundation for a successful extraction, empowering you to make informed decisions and adapt your strategy to the unique circumstances of the broken screw.
Step 2: Gather the Necessary Tools
When it comes to removing a broken screw, having the right tools at your disposal is essential for a successful extraction. By assembling a comprehensive set of tools tailored to the specific characteristics of the broken screw and its surrounding material, you'll be well-prepared to tackle this common DIY challenge with confidence. Here's a detailed look at the necessary tools you'll need for the extraction process:
-
Screw Extractor Set: A screw extractor, also known as an easy out, is a specialized tool designed to grip and remove broken screws. These sets typically include extractors of various sizes to accommodate different screw diameters. The extractor features a tapered, threaded end that bites into the broken screw, allowing you to rotate and extract it from the material. Select an extractor size that matches the diameter of the broken screw for optimal results.
-
Drill and Drill Bits: In cases where the broken screw is flush with the surface or embedded deeply, a drill and a set of drill bits are indispensable. Choose a drill bit slightly smaller than the diameter of the broken screw to create a pilot hole for the extractor. Additionally, a larger drill bit may be necessary for drilling out the entire screw if traditional extraction methods prove ineffective.
-
Lubricant: A high-quality penetrating lubricant, such as WD-40 or a similar product, can work wonders in loosening the grip of a stubborn broken screw. Apply the lubricant generously to the broken screw and allow it to penetrate the threads, facilitating easier extraction and minimizing the risk of further damage to the surrounding material.
-
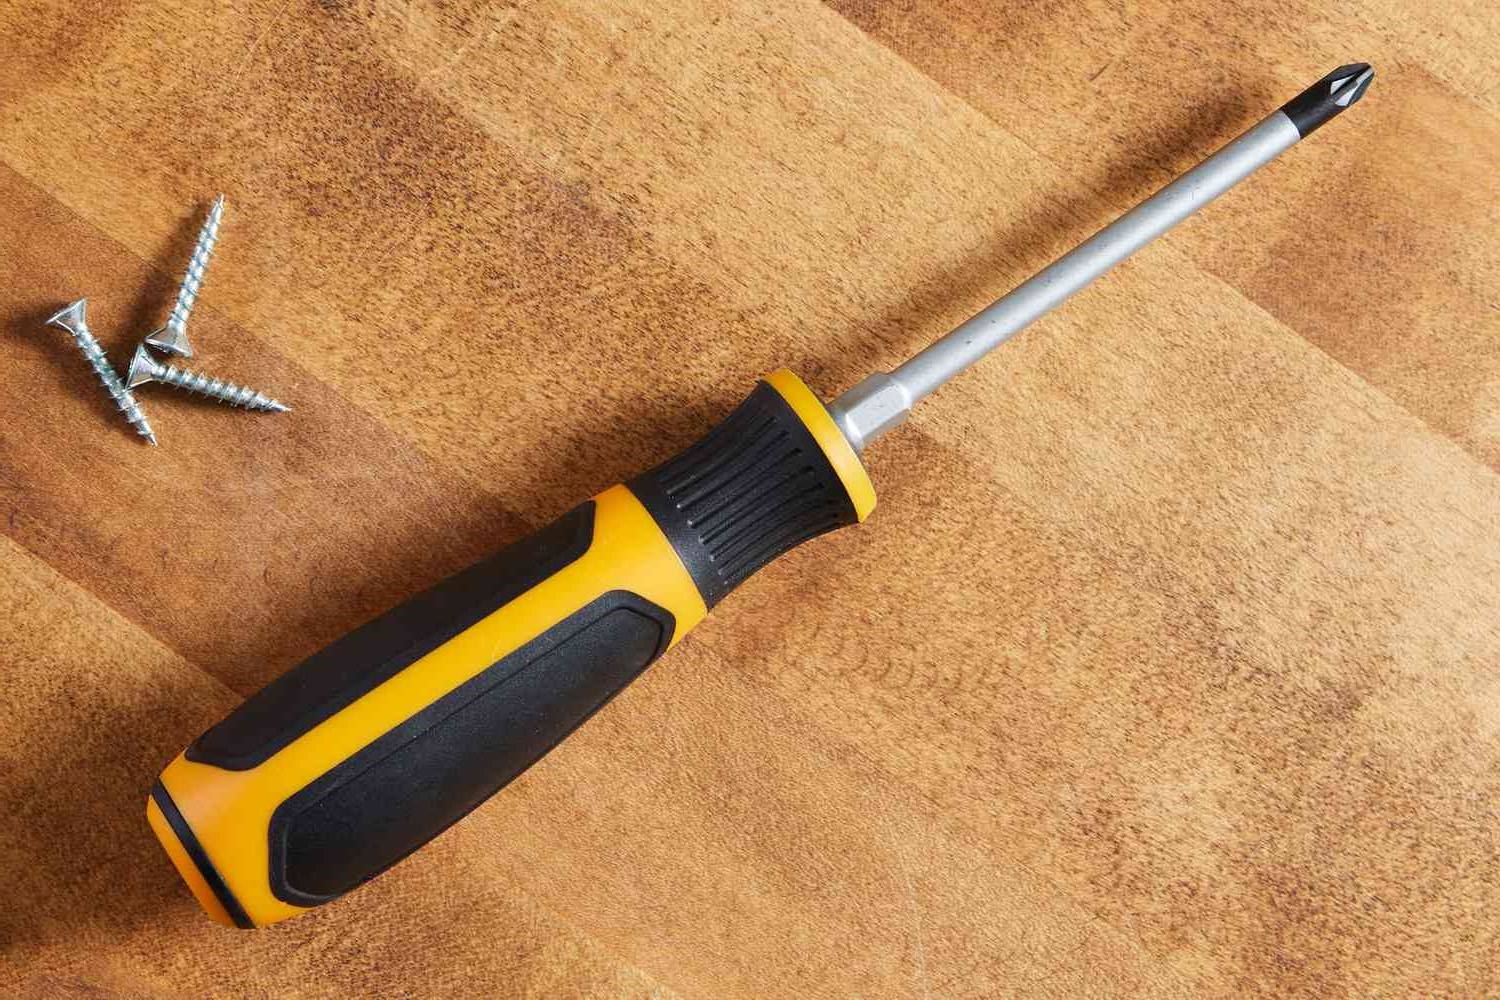
Pliers or Screwdriver: Depending on the accessibility and protrusion of the broken screw, a pair of locking pliers or a flathead screwdriver may be needed to grip and rotate the screw during the extraction process. These tools provide additional leverage and control, especially when dealing with partially protruding or stubborn screws.
-
Safety Gear: Prioritize safety by wearing protective gear, including safety goggles and gloves, to shield yourself from potential debris, metal shavings, or any unexpected mishaps during the extraction process.
By gathering these essential tools, you'll be well-equipped to address a wide range of broken screw scenarios, from minor setbacks to more challenging extractions. With the right tools in hand, you'll be ready to proceed to the next steps of the removal process, confident in your ability to effectively tackle this common DIY obstacle.
Step 3: Apply Lubricant
When faced with a stubborn or corroded broken screw, the application of a high-quality lubricant can be a game-changer in the extraction process. Lubricants work by penetrating the microscopic gaps between the threads of the broken screw and the surrounding material, effectively loosening the grip and facilitating smoother extraction. This step is particularly crucial when dealing with older screws, rusted fasteners, or screws embedded in dense materials.
One of the most widely recognized and trusted lubricants for this purpose is WD-40, a versatile penetrating oil known for its ability to break down rust and corrosion while providing lubrication for smooth operation. Alternatively, other penetrating oils and lubricants specifically formulated for rust removal and thread loosening can also be effective in this application.
To apply the lubricant, begin by generously spraying or applying it directly to the broken screw and the surrounding area. Allow the lubricant to penetrate for a sufficient duration, typically around 10 to 15 minutes, to maximize its effectiveness. During this time, the lubricant works its way into the microscopic gaps, gradually breaking down the bond between the screw and the material.
For optimal results, consider tapping the broken screw lightly with a hammer after applying the lubricant. This gentle tapping helps the lubricant penetrate further into the threads and enhances its effectiveness in loosening the screw. Additionally, if the broken screw is located in a vertical or overhead position, reapply the lubricant as needed to ensure thorough penetration and maximum effectiveness.
The application of lubricant serves multiple purposes beyond facilitating the extraction process. In addition to loosening the grip of the broken screw, it helps reduce friction during the extraction, minimizing the risk of damaging the surrounding material. Furthermore, the use of lubricant can aid in preventing the formation of new rust or corrosion, preserving the integrity of the material and facilitating future maintenance or repairs.
By incorporating the application of lubricant into the screw removal process, you harness the power of a simple yet effective technique to overcome the challenges posed by stubborn or corroded broken screws. This proactive approach sets the stage for a smoother and more successful extraction, empowering you to navigate this common DIY obstacle with confidence and precision.
Step 4: Use a Screw Extractor
When traditional methods such as gripping the broken screw with pliers or using a screwdriver prove ineffective, a screw extractor becomes a valuable ally in the extraction process. Also known as an easy out, a screw extractor is a specialized tool designed to grip and remove broken screws with precision and efficiency. This versatile tool is available in various sizes to accommodate different screw diameters, making it a versatile solution for a wide range of extraction scenarios.
To begin the extraction process using a screw extractor, select an extractor size that matches the diameter of the broken screw. The extractor features a tapered, threaded end that bites into the broken screw when rotated counterclockwise, effectively gripping the screw and facilitating its removal from the material. It's important to ensure a secure and snug fit between the extractor and the broken screw to maximize its gripping power and minimize the risk of slippage.
To use the screw extractor, start by drilling a small pilot hole into the center of the broken screw using a drill bit slightly smaller than the diameter of the extractor. This pilot hole serves as a guide for the extractor, allowing it to align and engage with the broken screw more effectively. Carefully insert the extractor into the pilot hole, ensuring that it sits securely and squarely within the broken screw.
With the extractor in place, use a wrench or T-handle to rotate it counterclockwise. As the extractor threads into the broken screw, it gradually applies gripping force, allowing you to steadily and carefully extract the screw from the material. It's important to maintain steady pressure and avoid excessive force to prevent the extractor from breaking or damaging the surrounding material.
In cases where the broken screw is deeply embedded or tightly secured, consider applying additional lubricant to the extraction site to reduce friction and facilitate smoother operation. The combination of a screw extractor and lubricant can significantly enhance the extraction process, especially when dealing with stubborn or corroded screws.
By utilizing a screw extractor, you harness the precision and gripping power of this specialized tool to effectively tackle broken screws with confidence. Whether you're working with wood, metal, or plastic, the screw extractor offers a reliable and versatile solution for extracting broken screws, empowering you to overcome this common DIY challenge with precision and ease.
Read more: How To Remove A Broken Bolt
Step 5: Drill Out the Screw
In situations where traditional extraction methods and screw extractors prove ineffective, drilling out the broken screw presents a viable solution for removing stubborn or damaged fasteners. This method involves using a drill and carefully selected drill bits to create a pilot hole and gradually remove the broken screw from the material. While it requires precision and patience, drilling out the screw can effectively address challenging extraction scenarios, providing a practical alternative for overcoming this common DIY obstacle.
To initiate the drilling process, begin by selecting a drill bit slightly smaller than the diameter of the broken screw. This drill bit serves as a pilot tool, allowing you to create a centered indentation on the surface of the broken screw. Position the drill bit at the center of the screw and apply gentle pressure to create the pilot hole. It's crucial to maintain a steady hand and ensure that the drill bit remains aligned with the screw to prevent any deviation or slippage during the drilling process.
Once the pilot hole is established, proceed to select a larger drill bit that matches the diameter of the broken screw or slightly exceeds it. Carefully position the larger drill bit within the pilot hole and begin drilling into the broken screw. Exercise caution and apply consistent pressure to avoid damaging the surrounding material and maintain control over the drilling process. As the drill bit penetrates the broken screw, it gradually dislodges and removes the fastener from the material, allowing you to clear the way for a smooth extraction.
In cases where the broken screw is deeply embedded or firmly secured, it may be necessary to use progressively larger drill bits to incrementally widen the hole and dislodge the remaining screw fragments. This gradual approach minimizes the risk of damaging the surrounding material and provides greater control over the extraction process, ensuring a precise and effective removal of the broken screw.
Throughout the drilling process, it's essential to periodically assess the depth and progress of the drilled hole to prevent over-drilling and potential damage to the material. Additionally, applying lubricant to the drilling site can help reduce friction and facilitate smoother operation, especially when dealing with stubborn or corroded screws.
By incorporating the drilling method into the screw removal process, you gain a versatile and effective technique for addressing challenging extraction scenarios. Whether you're working with wood, metal, or plastic, the drilling method offers a practical solution for removing broken screws, empowering you to navigate this common DIY challenge with precision and adaptability.
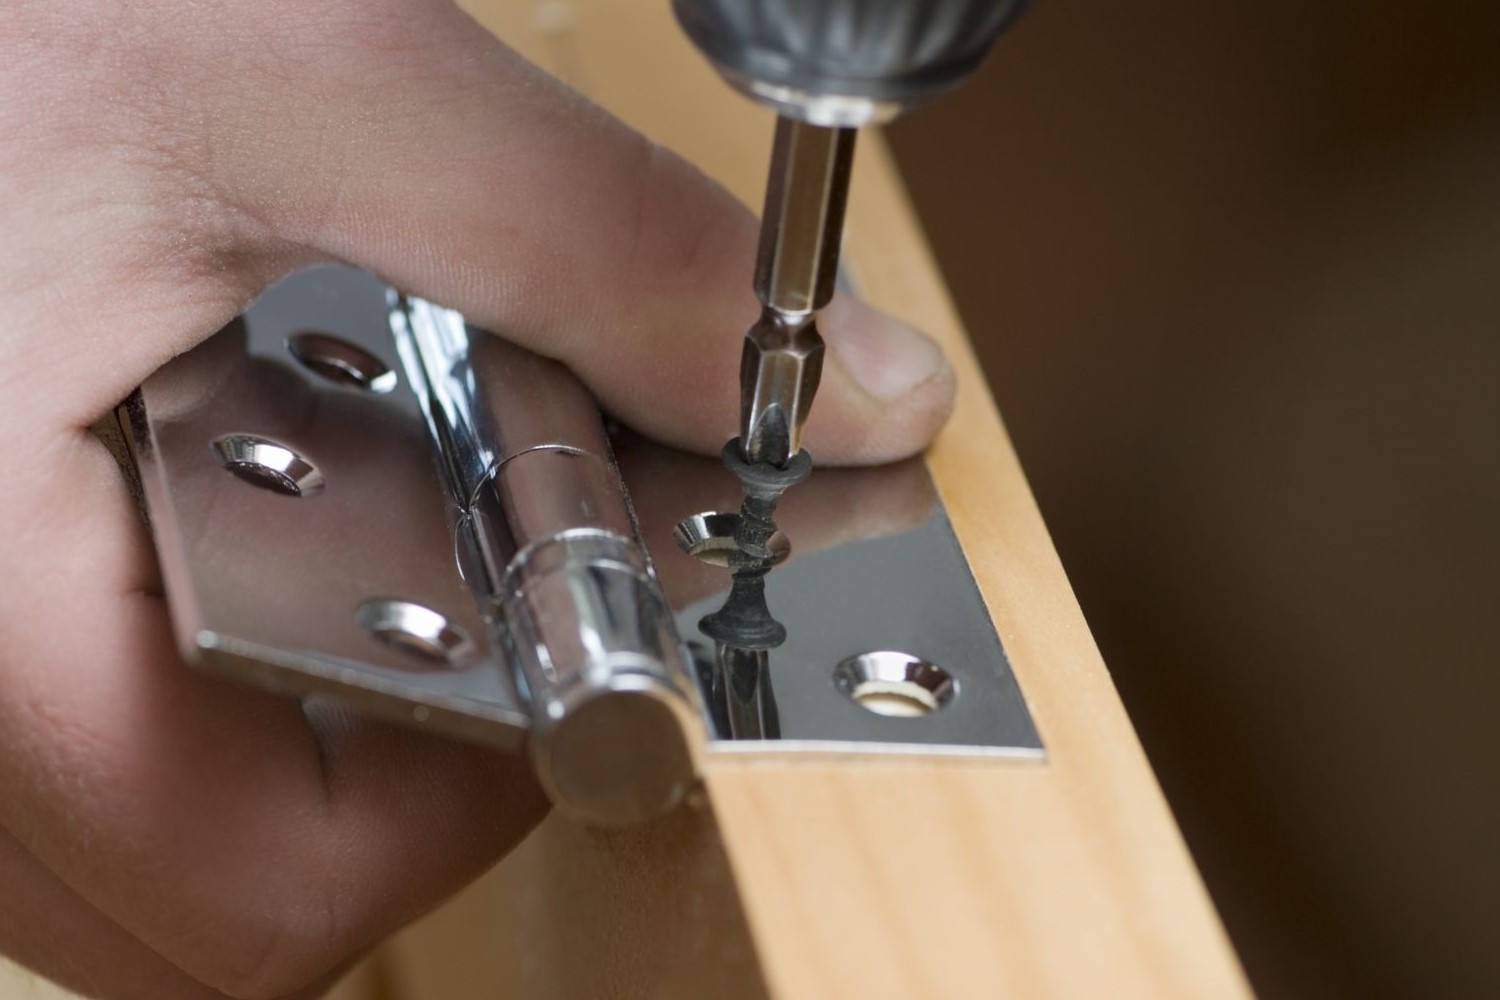
Step 6: Use a Screwdriver or Pliers
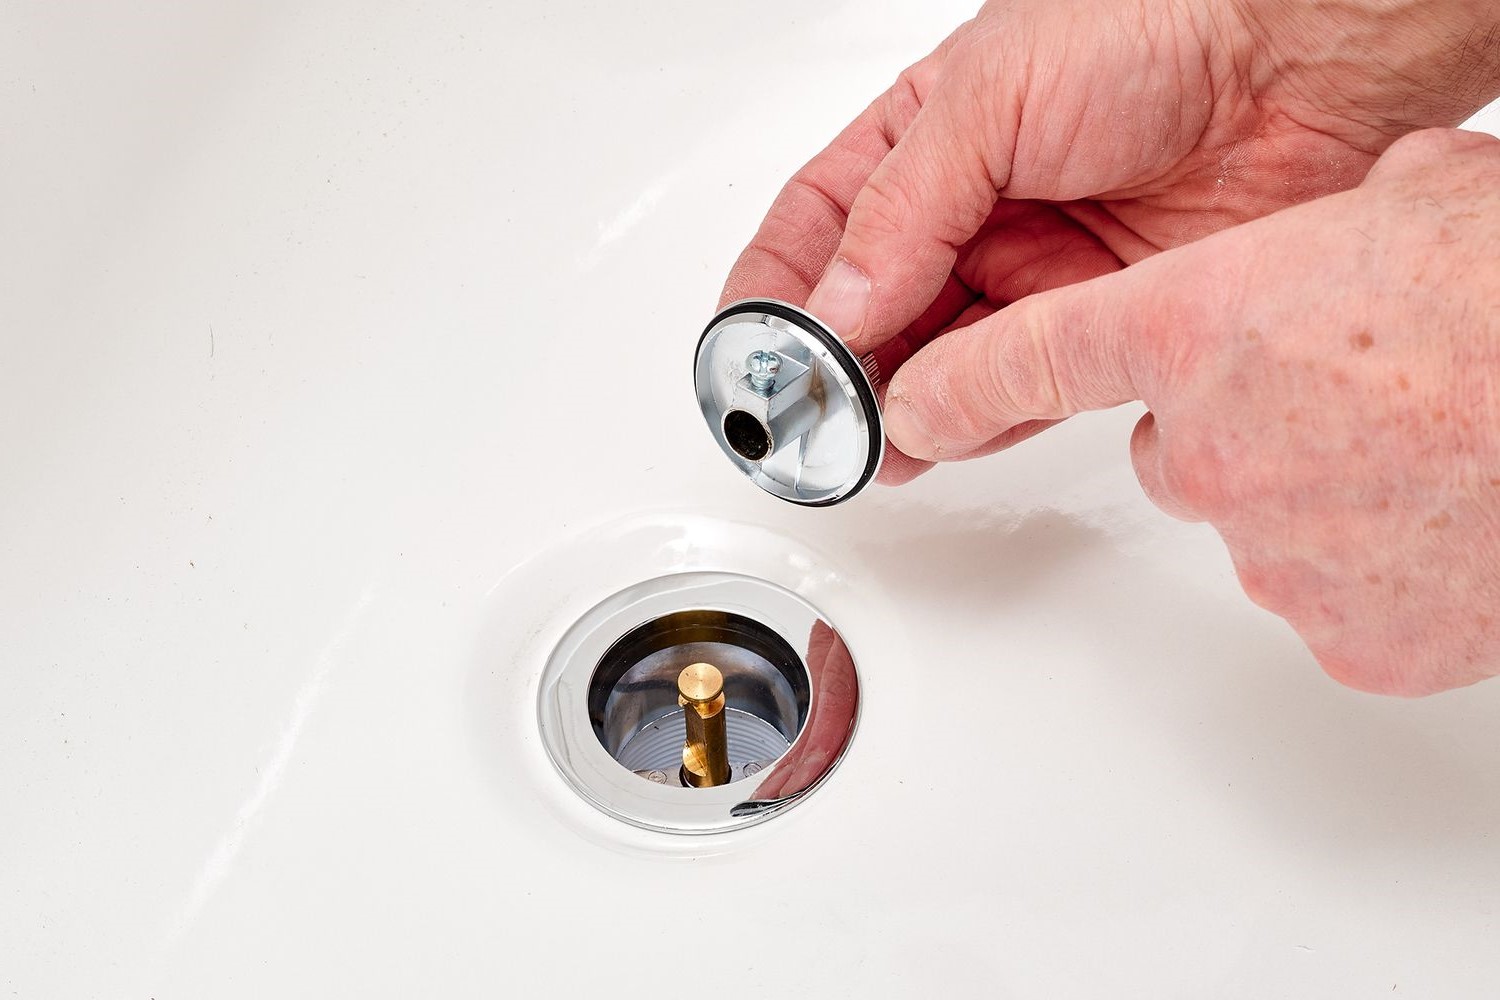
In situations where traditional extraction methods such as screw extractors or drilling may not be feasible or effective, employing a screwdriver or pliers presents a practical alternative for removing a broken screw. This approach is particularly useful when dealing with partially protruding or accessible broken screws, allowing for a hands-on and versatile method of extraction.
To begin the process, assess the protrusion and condition of the broken screw. If the screw exhibits partial protrusion or has a sufficient grip for gripping and turning, a flathead screwdriver or a pair of locking pliers can serve as valuable tools for the extraction.
When using a screwdriver, select a flathead that matches the width of the screw slot and ensure a secure fit to prevent slippage. Position the screwdriver within the slot of the broken screw and apply steady pressure while turning it counterclockwise. It's essential to maintain a firm grip and exercise patience to avoid damaging the surrounding material or causing the screwdriver to slip, which can exacerbate the situation.
Alternatively, if the broken screw allows for sufficient grip, locking pliers can provide additional leverage and control during the extraction process. Position the jaws of the pliers securely around the exposed portion of the broken screw and apply gradual, consistent pressure to rotate and extract the fastener from the material. Locking pliers offer adjustable jaw sizes and a locking mechanism, providing a versatile and adaptable solution for gripping and turning the broken screw with precision.
In cases where the broken screw is corroded, rusted, or tightly secured, applying a penetrating lubricant to the extraction site can significantly enhance the effectiveness of using a screwdriver or pliers. The lubricant works to loosen the grip of the screw, reduce friction, and facilitate smoother operation, increasing the likelihood of a successful extraction.
By incorporating the use of a screwdriver or pliers into the extraction process, you gain a hands-on and adaptable approach for addressing broken screws in various materials. Whether you're working on furniture repairs, home maintenance, or crafting projects, the utilization of these common tools offers a practical and accessible method for removing broken screws, empowering you to navigate this common DIY challenge with precision and resourcefulness.
Conclusion
In conclusion, the process of removing a broken screw encompasses a blend of assessment, strategic tool selection, and adaptable techniques tailored to the unique characteristics of the broken fastener and its surrounding material. By following the step-by-step guide outlined in this comprehensive overview, you've gained valuable insights and practical skills to effectively address this common DIY challenge with confidence and precision.
Throughout the extraction process, the initial assessment of the broken screw's depth, material, and accessibility serves as a crucial foundation for informed decision-making and tailored approach. Understanding these key aspects empowers you to anticipate potential challenges, select the most suitable extraction methods, and minimize the risk of damage to the surrounding material.
The strategic gathering of necessary tools, including screw extractors, drills, lubricants, and gripping tools, equips you with a comprehensive toolkit to address a wide range of broken screw scenarios. This proactive approach ensures that you're prepared to adapt to varying extraction challenges and effectively navigate unforeseen obstacles with the right tools at your disposal.
The application of lubricant emerges as a pivotal technique in loosening the grip of stubborn or corroded broken screws, facilitating smoother extraction and minimizing the risk of damage to the material. By harnessing the power of lubricants such as WD-40, you enhance the effectiveness of extraction methods and pave the way for a more seamless and successful removal process.
The utilization of specialized tools, such as screw extractors and drills, offers precision and adaptability in addressing broken screws embedded in wood, metal, or plastic. These tools provide versatile solutions for a wide range of extraction scenarios, empowering you to navigate challenging situations with confidence and efficiency.
In cases where traditional extraction methods may not be feasible, the hands-on approach of using a screwdriver or pliers offers a practical alternative for removing broken screws, providing adaptability and resourcefulness in addressing partially protruding or accessible fasteners.
By integrating these insights and techniques into your DIY repertoire, you're well-equipped to tackle broken screws in various projects, from furniture assembly and home repairs to crafting endeavors. The ability to effectively remove a broken screw is a valuable skill that enhances your confidence as a DIY enthusiast and empowers you to overcome setbacks with precision and adaptability.
In essence, the process of removing a broken screw transcends the mechanical act of extraction; it embodies a proactive and strategic approach to problem-solving, resourcefulness, and adaptability. Armed with the knowledge and skills acquired from this guide, you're poised to navigate broken screw challenges with confidence, ensuring that your DIY projects proceed smoothly and successfully.