Home>Home and Garden>How To Fix Stripped Screw Hole
Home and Garden
How To Fix Stripped Screw Hole
Published: March 1, 2024
Learn how to fix a stripped screw hole with our expert tips and tricks. Get your home and garden projects back on track with our easy solutions.
(Many of the links in this article redirect to a specific reviewed product. Your purchase of these products through affiliate links helps to generate commission for Noodls.com, at no extra cost. Learn more)
Table of Contents
Introduction
Dealing with a stripped screw hole can be a frustrating experience, especially when it hinders your ability to secure an object in place. Whether it's a loose door hinge, a wobbly chair, or a shaky cabinet handle, a stripped screw hole can compromise the stability and functionality of household items. However, the good news is that with the right tools and techniques, you can easily remedy this common issue without having to replace the entire fixture.
In this comprehensive guide, we will walk you through the step-by-step process of fixing a stripped screw hole. From removing the stripped screw to filling the hole with wood filler and drilling a new pilot hole, we will cover all the necessary steps to restore the integrity of the damaged area. By following these instructions, you can regain the strength and reliability of the screw connection, ensuring that your furniture, doors, or other fixtures are once again secure and stable.
So, if you've ever struggled with a loose screw that just won't stay put, or if you're facing the aftermath of a stripped screw hole, fret not. With our expert guidance, you'll soon have the knowledge and confidence to tackle this common household problem with ease. Let's dive into the step-by-step process and reclaim the stability of your beloved items!
Read more: How To Remove A Stripped Allen Screw
Step 1: Remove the Stripped Screw
Dealing with a stripped screw can be a daunting task, but with the right approach, it can be conquered. Here's how to remove a stripped screw without causing further damage:
Assess the Situation
Start by evaluating the condition of the stripped screw. If the head of the screw is partially exposed, you can use a pair of pliers or locking pliers to grip the head and carefully turn it counterclockwise. If the screw head is completely stripped, making it impossible to grip with pliers, you'll need to employ a different strategy.
Use a Rubber Band
One clever trick for removing a stripped screw involves using a rubber band. Simply place a wide rubber band over the stripped screw head, press it down firmly, and then use your screwdriver to turn the screw counterclockwise. The rubber band creates additional friction, allowing the screwdriver to gain traction and grip the damaged screw head.
Try a Screw Extractor
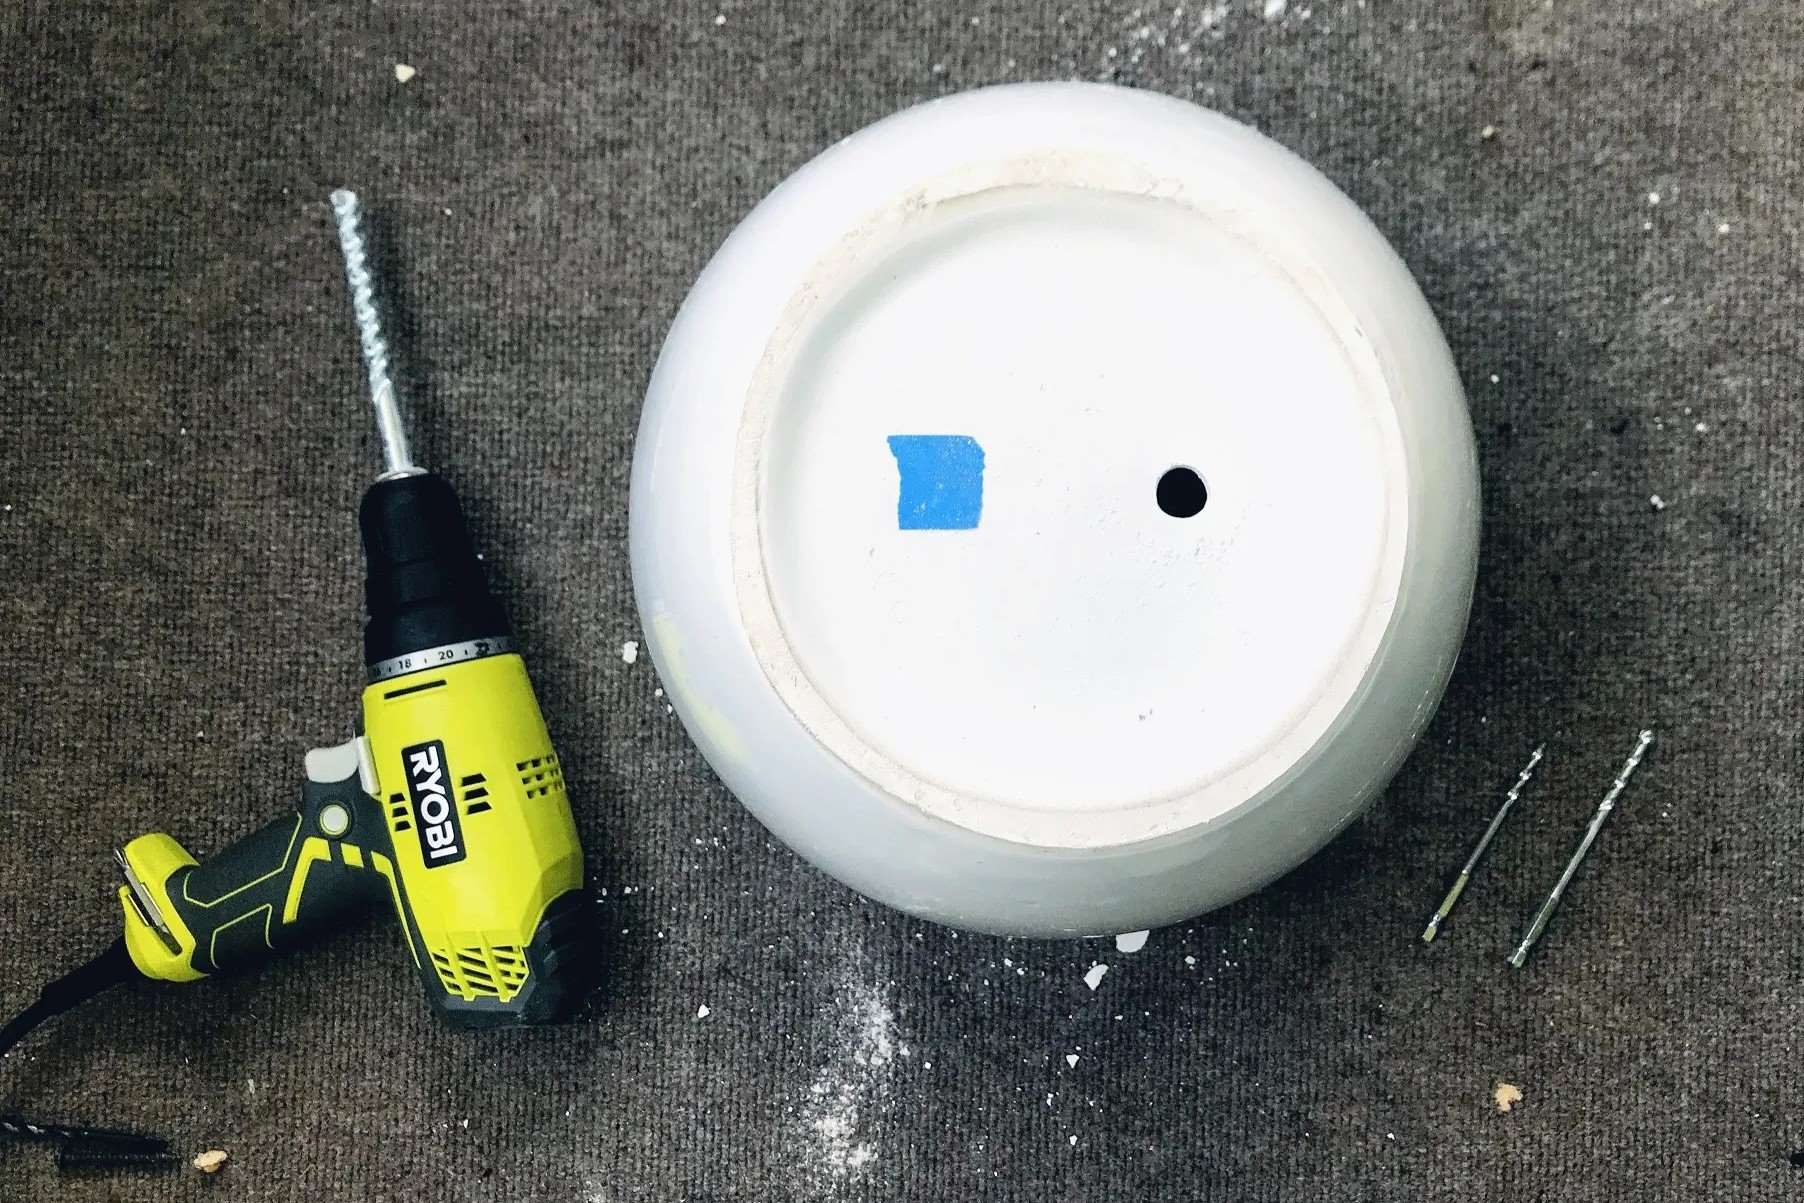
If the rubber band method doesn't yield results, consider using a screw extractor. This specialized tool is designed to grip into the damaged screw head and facilitate its removal. To use a screw extractor, drill a small pilot hole into the center of the stripped screw, then insert the extractor and turn it counterclockwise. The extractor's reverse-threaded design helps to dislodge the stubborn screw, providing a viable solution for extraction.
Read more: How To Sew A Hole
Apply Heat
In some cases, applying heat to the stripped screw can help loosen its grip. A small butane torch or a soldering iron can be used to carefully heat the screw, causing it to expand slightly and break free from its seized position. Exercise caution when using this method, as excessive heat can damage the surrounding material.
Consider Cutting a Slot
If all else fails, you can resort to cutting a slot into the screw head using a rotary tool or a hacksaw. Once the slot is created, you can use a flathead screwdriver to turn the screw and remove it from the stripped hole.
By following these methods, you can effectively remove a stripped screw without causing further damage to the surrounding area. Once the stripped screw is successfully extracted, you can proceed to the next step of fixing the stripped screw hole and restoring the integrity of the fixture.
Step 2: Fill the Hole with Wood Filler
After successfully removing the stripped screw, the next crucial step in fixing a stripped screw hole is to fill the void with wood filler. This process is essential for restoring the structural integrity of the damaged area and providing a solid foundation for the new screw to grip securely. Here's a detailed guide on how to effectively fill the hole with wood filler:
Select the Right Wood Filler
Begin by choosing a high-quality wood filler that is suitable for the type of material you are working with. Whether it's hardwood, softwood, or composite material, selecting a wood filler that matches the color and texture of the surrounding surface is key to achieving a seamless and professional-looking repair.
Read more: How To Unlock A Door With A Hole
Prepare the Surface
Before applying the wood filler, ensure that the stripped screw hole is clean and free of any debris or loose particles. Use a small brush or compressed air to remove any dust or remnants from the hole, allowing the wood filler to adhere firmly to the surface.
Apply the Wood Filler
Using a putty knife or a similar tool, carefully fill the stripped screw hole with the chosen wood filler. Ensure that the hole is generously filled, slightly overfilling to account for any shrinkage that may occur as the filler dries. Smooth out the surface of the filler to align with the surrounding area, creating a level and flush finish.
Allow for Drying and Sanding
Once the wood filler is applied, allow it to dry completely according to the manufacturer's instructions. After the filler has cured, use fine-grit sandpaper to gently sand the surface, blending the filled area with the surrounding material. This step is crucial for achieving a seamless and polished appearance, ensuring that the repaired screw hole seamlessly integrates with the rest of the fixture.
Prime and Paint (If Necessary)
If the fixture requires painting, consider applying a primer to the repaired area before painting to enhance adhesion and ensure a uniform finish. Once the primer is dry, proceed with painting the fixture to match its original appearance, effectively concealing the repaired screw hole and achieving a professional result.
By following these steps, you can effectively fill the stripped screw hole with wood filler, preparing the surface for the next phase of the repair process. With the hole filled and the surface meticulously prepared, you are now ready to proceed to the subsequent step of drilling a new pilot hole, setting the stage for the final restoration of the fixture's stability and functionality.
Read more: How To Remove A Broken Screw
Step 3: Drill a New Pilot Hole
With the stripped screw removed and the hole filled with wood filler, the next critical step in the repair process is to drill a new pilot hole. This pivotal task sets the stage for securely reattaching the fixture and ensuring a strong, reliable connection. Here's a detailed guide on how to effectively drill a new pilot hole:
Select the Appropriate Drill Bit
Begin by selecting a drill bit that matches the diameter of the screw you will be using. It's essential to choose a bit that is slightly smaller than the diameter of the screw threads to ensure a snug fit and optimal grip. For example, if you are using a #8 screw, a 7/64-inch drill bit is typically suitable for creating the pilot hole.
Mark the Drill Location
Using a pencil or a small awl, mark the precise location where the new pilot hole will be drilled. Ensure that the marking aligns with the center of the filled screw hole and corresponds to the desired position for reattaching the fixture. Accuracy in marking the drill location is crucial for achieving a secure and properly aligned connection.
Secure the Fixture
If the fixture is detachable, such as a hinge or a handle, it's advisable to remove it temporarily before drilling the new pilot hole. This allows for easier access and precise drilling without the risk of damaging the fixture or surrounding surfaces. If the fixture is fixed in place, take measures to protect the surrounding area from debris and ensure stability during the drilling process.
Read more: How To Remove Rusted Screws
Drill the Pilot Hole
With the drill securely held and aligned with the marked location, gently begin drilling the new pilot hole. Apply steady and even pressure to the drill, allowing the bit to penetrate the wood or material smoothly. Take care to maintain a perpendicular angle to the surface to ensure that the pilot hole is straight and accurately positioned.
Depth and Clearance
When drilling the pilot hole, ensure that the depth of the hole matches the length of the screw that will be inserted. Additionally, consider the clearance depth to accommodate the screw head without protruding beyond the surface. This attention to detail ensures that the screw can be fully seated without causing any obstructions or misalignment.
Clear Away Debris
After drilling the pilot hole, use a small brush or compressed air to clear away any wood shavings or debris from the hole. A clean and debris-free pilot hole is essential for facilitating smooth insertion of the screw and ensuring a secure and stable connection.
By following these steps, you can effectively drill a new pilot hole, setting the stage for securely reattaching the fixture and completing the restoration process. With the pilot hole accurately drilled and prepared, you are now ready to proceed to the final step of replacing the screw, thereby reclaiming the stability and functionality of the fixture.
Step 4: Replace the Screw
With the stripped screw removed, the hole filled with wood filler, and a new pilot hole drilled, the final step in the repair process is to replace the screw. This pivotal task culminates in securely reattaching the fixture, ensuring a strong, reliable connection, and completing the restoration of stability and functionality.
Read more: How To Unscrew A Screw Without A Screwdriver
Select the Appropriate Screw
Begin by selecting a high-quality screw that is suitable for the specific application and material. Consider the length and diameter of the screw, ensuring that it corresponds to the dimensions of the pilot hole and the thickness of the fixture. Additionally, choose a screw type that is compatible with the surrounding material, whether it's wood, metal, or composite material.
Align and Insert the Screw
With the selected screw in hand, align it with the newly drilled pilot hole, ensuring that it enters the hole smoothly and perpendicularly. Apply gentle pressure to guide the screw into the pilot hole, allowing the threads to grip the material securely. Take care to avoid over-tightening the screw, as this can lead to damage or stripping of the newly created pilot hole.
Secure the Fixture
As the screw is inserted, monitor the fixture to ensure that it is securely reattached and properly aligned. If the fixture is detachable, such as a hinge or a handle, verify that it functions smoothly and aligns correctly with its counterpart. For fixed fixtures, confirm that the screw provides a stable and secure connection, effectively restoring the stability and functionality of the item.
Test and Adjust as Needed
Once the screw is in place, test the fixture to ensure that it is securely fastened and functions as intended. If any adjustments are necessary, such as tightening or loosening the screw for optimal alignment, make the required modifications to achieve the desired result. Attention to detail during this phase ensures that the fixture is restored to its original functionality and stability.
Read more: How To Remove Stripped Lug Nut
Final Inspection
Conduct a final inspection of the repaired area, verifying that the screw is securely fastened, the fixture is stable, and the surrounding surface is free from any damage or blemishes. Ensure that the repaired screw hole seamlessly integrates with the rest of the fixture, achieving a professional and polished appearance.
By following these steps, you can effectively replace the screw, completing the restoration process and reclaiming the stability and functionality of the fixture. With the new screw securely in place, the once-damaged area is now restored to its original strength and reliability, ready to serve its intended purpose for years to come.
Conclusion
In conclusion, addressing a stripped screw hole is a manageable task that can be accomplished with the right tools, techniques, and a bit of patience. By following the step-by-step process outlined in this guide, you can effectively remedy a common household issue and restore the stability and functionality of your cherished items.
From the initial challenge of removing the stripped screw to the meticulous task of filling the hole with wood filler and drilling a new pilot hole, each step plays a crucial role in the overall repair process. The careful selection of tools and materials, coupled with precision and attention to detail, ensures that the repaired screw hole seamlessly integrates with the surrounding fixture, achieving a professional and polished result.
By successfully replacing the screw and securing the fixture, you not only address the immediate issue of a stripped screw hole but also prolong the lifespan of the item, preventing further damage and potential hazards. The restored stability and reliability of the fixture contribute to a safe and functional living environment, enhancing the overall quality of your home and surroundings.
Furthermore, mastering the art of fixing a stripped screw hole empowers you to tackle similar challenges with confidence and proficiency, allowing you to preserve and maintain your household items with ease. The knowledge and skills gained from this repair process serve as valuable assets, enabling you to address future maintenance and repair tasks with competence and assurance.
Ultimately, the ability to effectively fix a stripped screw hole is a testament to your resourcefulness and capability as a homeowner or DIY enthusiast. By embracing the repair process and overcoming the challenges it presents, you demonstrate resilience and ingenuity, embodying the spirit of hands-on problem-solving and home improvement.
As you embark on your journey to address stripped screw holes and other household repairs, may this guide serve as a valuable resource, equipping you with the knowledge and confidence to conquer common challenges and maintain the integrity of your cherished belongings. With a proactive approach and the right guidance, you can navigate the realm of home maintenance and repair with proficiency, ensuring that your living space remains a haven of comfort, functionality, and enduring quality.