Home>Home and Garden>How To Remove A Stripped Allen Screw
Home and Garden
How To Remove A Stripped Allen Screw
Published: February 29, 2024
Learn how to remove a stripped Allen screw with our easy-to-follow guide. Get expert tips for fixing stripped screws at home and garden projects.
(Many of the links in this article redirect to a specific reviewed product. Your purchase of these products through affiliate links helps to generate commission for Noodls.com, at no extra cost. Learn more)
Table of Contents
Introduction
Dealing with a stripped Allen screw can be a frustrating and challenging task, especially when you're eager to complete a home improvement project or repair. Whether it's a stripped screw on a piece of furniture, a bicycle, or any other household item, the frustration of not being able to remove it can be overwhelming. However, with the right tools and techniques, you can successfully tackle this common issue and regain control of your project.
In this comprehensive guide, we will explore various methods to effectively remove a stripped Allen screw. From using simple household items to specialized tools, we will cover step-by-step instructions to help you tackle this problem with confidence. By the end of this article, you will have a clear understanding of the options available to you and the best approach to take based on your specific situation.
Let's dive into the world of DIY solutions and professional techniques to conquer the challenge of removing a stripped Allen screw. Whether you're a seasoned DIY enthusiast or a novice in the realm of home repairs, this guide will equip you with the knowledge and skills needed to overcome this common obstacle. So, roll up your sleeves and get ready to tackle that stubborn stripped Allen screw with determination and precision.
Read more: How To Fix Stripped Screw Hole
Tools and Materials Needed
When it comes to dealing with a stripped Allen screw, having the right tools and materials at your disposal is crucial for a successful removal process. Here's a comprehensive list of items you'll need to effectively tackle this common DIY challenge:
Tools:
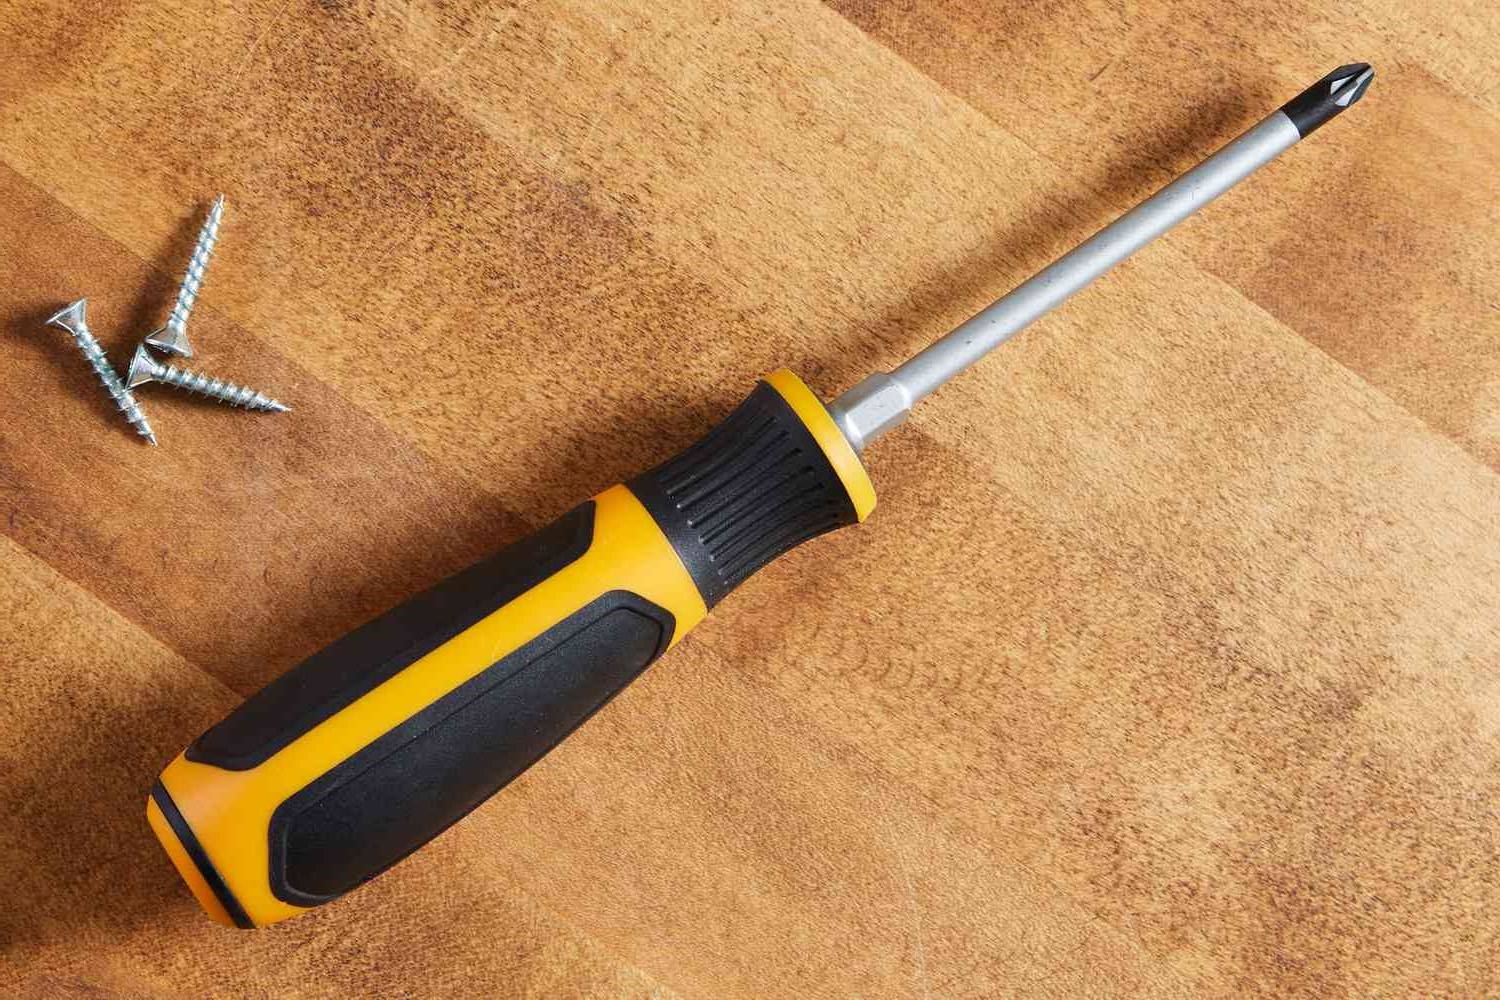
- Allen Wrench Set: Ensure you have a set of Allen wrenches in various sizes to match the stripped screw head.
- Rubber Bands: Grab a few thick rubber bands, which will be used in one of the removal methods.
- Screw Extractor: Invest in a quality screw extractor, also known as an easy out, to grip and remove the stripped screw.
- Hammer: A standard hammer will be used in one of the removal methods.
- Chisel: Have a sharp chisel on hand for another removal technique.
- Pliers: A pair of pliers may come in handy for certain situations, especially when dealing with larger screws.
- Drill and Bits: In case you opt for the screw extractor method, a drill and compatible bits will be necessary.
- Safety Gear: Always prioritize safety by wearing protective gear such as gloves and safety goggles.
Materials:
- Lubricant: Consider using a penetrating lubricant to loosen the grip of the stripped screw.
- Cleaning Solution: Depending on the condition of the screw, a cleaning solution or rust remover may be required.
- Replacement Screws: It's wise to have replacement screws on hand in case the stripped screw becomes unusable during the removal process.
By ensuring you have these tools and materials readily available, you'll be well-prepared to tackle the task of removing a stripped Allen screw with confidence and efficiency. Each method may require different tools, so having a well-stocked toolbox will increase your chances of success and make the process smoother and more manageable.
Method 1: Using a Rubber Band
When faced with a stripped Allen screw, the simple yet ingenious method of using a rubber band can often save the day. This approach is particularly effective when the stripped screw is not completely stuck and still has some grip left. Here's a step-by-step guide on how to utilize a rubber band to remove a stripped Allen screw:
-
Select a Suitable Rubber Band: Begin by choosing a thick and wide rubber band that can provide a good grip on the stripped screw head. The rubber band should be wide enough to cover the entire surface of the screw head for optimal traction.
-
Place the Rubber Band: Place the rubber band over the stripped screw head, ensuring that it sits securely and forms a tight seal around the damaged edges of the screw head. The elasticity of the rubber band will allow it to conform to the shape of the screw head, creating a firm grip.
-
Insert the Allen Wrench: Once the rubber band is in position, insert the appropriately sized Allen wrench into the screw head while pressing down firmly. The rubber band acts as a buffer between the wrench and the damaged edges of the screw, providing additional traction and preventing slippage.
-
Apply Torque: With the Allen wrench securely in place, apply steady and controlled torque in an attempt to turn the screw counterclockwise. The rubber band enhances the grip and minimizes the chances of the wrench slipping out of the stripped screw head, allowing for increased leverage and control.
-
Repeat if Necessary: If the screw does not budge initially, reposition the rubber band and wrench, ensuring a tight fit, and attempt to turn the screw again. In some cases, the additional traction provided by the rubber band can gradually loosen the stripped screw, making it easier to remove.
-
Inspect and Clean: Once the stripped screw is successfully removed, inspect the rubber band for any remnants of metal or debris. Additionally, clean the screw head and surrounding area to prepare it for any further adjustments or replacements.
Using a rubber band to remove a stripped Allen screw is a practical and resourceful method that leverages the flexibility and gripping properties of this everyday item. It offers a simple yet effective solution, especially when dealing with minor stripping or when the screw still retains some grip. By following these steps and exercising patience, you can often overcome the challenge of a stripped Allen screw without the need for specialized tools or extensive effort.
Read more: How To Remove A Broken Screw
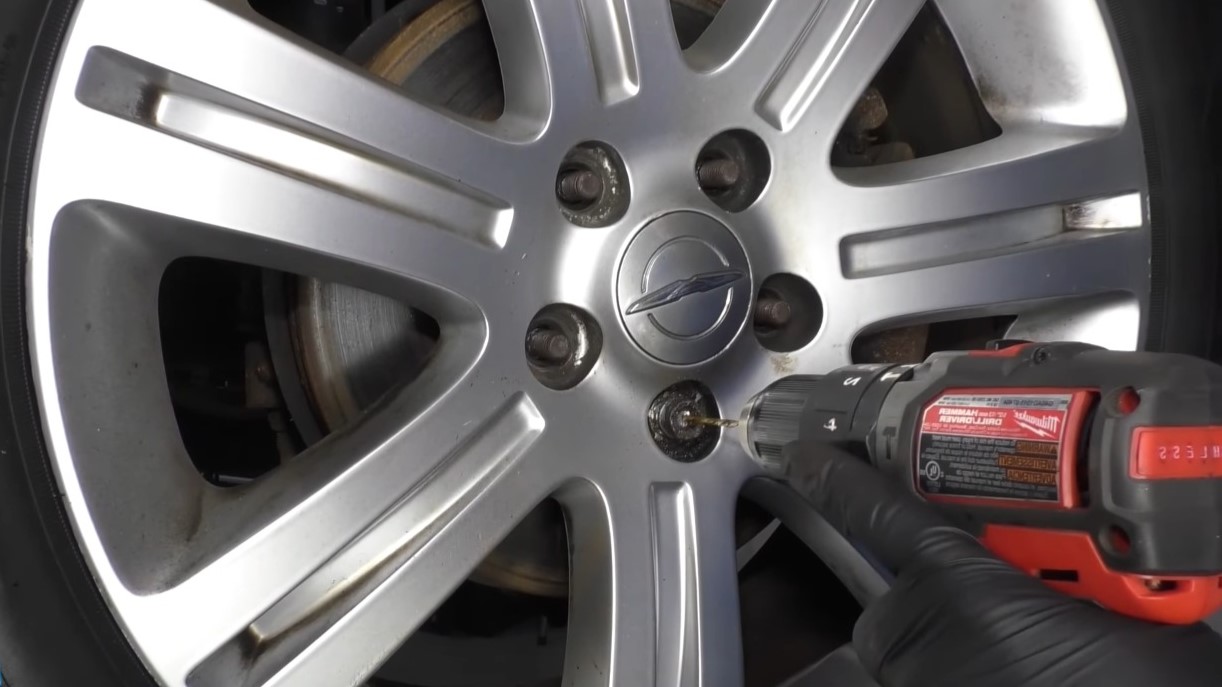
Method 2: Using a Screw Extractor
When a stripped Allen screw proves to be particularly stubborn and resistant to conventional removal methods, employing a screw extractor can provide a reliable solution. Also known as an easy out, a screw extractor is a specialized tool designed to grip and remove stubborn screws, bolts, and other fasteners. This method is especially effective when the stripped screw head is damaged to the extent that traditional tools, such as pliers or wrenches, are unable to gain traction.
Step-by-Step Guide:
-
Select the Correct Size: Begin by selecting a screw extractor that matches the size of the stripped Allen screw. Screw extractors are available in various sizes to accommodate different screw dimensions, ensuring a precise fit for optimal grip.
-
Prepare the Screw: If the stripped screw is covered in rust, debris, or other contaminants, clean the surrounding area using a suitable cleaning solution or rust remover. This preparation will facilitate better access to the screw head and improve the effectiveness of the extraction process.
-
Drill a Pilot Hole: Using a drill bit that corresponds to the size of the screw extractor, carefully drill a pilot hole into the center of the stripped screw head. Exercise caution to ensure that the pilot hole is centered and aligned with the axis of the screw to facilitate the insertion of the extractor.
-
Insert the Screw Extractor: With the pilot hole in place, insert the screw extractor into the drilled cavity. The extractor is designed with a tapered, threaded end that bites into the metal as torque is applied, enabling it to grip the interior of the screw head securely.
-
Apply Torque: Utilize a T-handle, adjustable wrench, or tap wrench to apply torque to the screw extractor in a counterclockwise direction. As the extractor grips the interior of the screw head, the application of torque causes the screw to rotate in the opposite direction, gradually loosening its grip.
-
Monitor Progress: Exercise patience and monitor the progress of the extraction process. If the screw begins to turn, continue applying torque until it is completely removed. In some cases, the initial resistance may give way to gradual loosening as the extractor gains traction.
-
Inspect and Clean: Once the stripped screw is successfully extracted, inspect the surrounding area for any residual debris or metal shavings. Clean the area thoroughly to prepare it for any necessary repairs or replacements.
Using a screw extractor is a professional and effective method for removing a stripped Allen screw that has proven resistant to conventional removal techniques. By following these steps and exercising precision, you can overcome the challenge of a stubborn stripped screw and proceed with your repair or project with confidence.
Method 3: Using a Hammer and Chisel
When confronted with a stripped Allen screw that defies conventional removal methods, the strategic application of a hammer and chisel can offer a practical and effective solution. This method is particularly useful when the stripped screw head presents significant damage or when access to the screw allows for manual manipulation. By leveraging the precision of a chisel and the controlled force of a hammer, you can effectively dislodge and remove the stubborn screw, allowing you to proceed with your repair or project.
Step-by-Step Guide:
-
Assess the Screw Head: Begin by assessing the condition of the stripped screw head. If the damage is extensive and the screw head is no longer recognizable as an Allen shape, this method may be particularly suitable. Additionally, ensure that there is sufficient space and accessibility around the screw to maneuver the chisel effectively.
-
Position the Chisel: Select a sharp chisel that matches the width of the stripped screw head. Position the chisel at a slight angle against the edges of the screw head, ensuring that it makes firm contact with the damaged metal. The angle should allow the chisel to engage with the edges of the screw head and create a starting point for the removal process.
-
Apply Controlled Force: With the chisel in position, carefully tap it with a hammer to create an indentation or groove in the damaged screw head. The goal is to create a small channel that provides a grip for the chisel and allows you to exert controlled force to turn the screw counterclockwise.
-
Rotate the Chisel: Once the indentation is established, use the chisel as a lever to attempt to rotate the screw counterclockwise. Apply steady and controlled pressure while maintaining the angle of the chisel against the edges of the screw head. The combination of the chisel's edge and the force from the hammer creates a turning motion that can gradually dislodge the stripped screw.
-
Monitor Progress: As you apply force to the chisel, monitor the progress of the screw's movement. In some cases, the initial resistance may give way to gradual loosening as the chisel gains traction and the damaged metal begins to yield. Exercise patience and precision to avoid damaging the surrounding surfaces.
-
Inspect and Clean: Once the stripped screw is successfully removed, inspect the surrounding area for any residual metal shards or debris. Clean the area thoroughly to prepare it for any necessary repairs or replacements.
Using a hammer and chisel to remove a stripped Allen screw is a versatile and hands-on method that can be effective in challenging situations. By following these steps and exercising precision, you can overcome the obstacle of a stubborn stripped screw and continue with your DIY endeavors.
Read more: How To Remove Rusted Screws
Conclusion
In the realm of DIY projects and home repairs, encountering a stripped Allen screw can often lead to frustration and uncertainty. However, armed with the knowledge and techniques outlined in this guide, you are now equipped to tackle this common challenge with confidence and precision. Whether you opt for the resourceful approach of using a rubber band, the professional solution of employing a screw extractor, or the hands-on method of utilizing a hammer and chisel, each strategy offers a unique set of advantages and can be tailored to suit your specific situation.
The method of using a rubber band presents a practical and accessible solution, leveraging the everyday item's gripping properties to provide additional traction and facilitate the removal of a partially stripped screw. This approach is particularly effective when the screw head retains some grip and is not completely seized, offering a simple yet ingenious remedy that requires minimal specialized equipment.
On the other hand, the utilization of a screw extractor represents a professional and reliable method for tackling stubborn and extensively stripped Allen screws. By leveraging the extractor's design and precision, you can effectively grip and remove the damaged screw, allowing for a seamless continuation of your project or repair.
Additionally, the strategic application of a hammer and chisel offers a hands-on and versatile approach to removing a stripped Allen screw, especially when the screw head presents significant damage or when access allows for manual manipulation. This method empowers you to exert controlled force and leverage the precision of a chisel to dislodge the stubborn screw, providing a practical solution in challenging scenarios.
By understanding the nuances of each method and having a comprehensive toolkit at your disposal, you are well-prepared to navigate the intricacies of removing a stripped Allen screw. Whether you're a seasoned DIY enthusiast or a novice embarking on your first home improvement project, the ability to overcome this common obstacle will undoubtedly enhance your confidence and proficiency in handling future repair challenges.
As you embark on your DIY endeavors, remember that patience, precision, and adaptability are key virtues when addressing stripped Allen screws. With the right tools, techniques, and a resilient mindset, you can conquer this challenge and continue to pursue your passion for creating, repairing, and enhancing your living spaces.