Home>Home and Garden>How To Remove A Dishwasher
Home and Garden
How To Remove A Dishwasher
Published: March 5, 2024
Learn how to remove a dishwasher with our step-by-step guide. Get expert tips for a smooth process. Perfect for home and garden enthusiasts.
(Many of the links in this article redirect to a specific reviewed product. Your purchase of these products through affiliate links helps to generate commission for Noodls.com, at no extra cost. Learn more)
Table of Contents
Introduction
Removing a dishwasher may seem like a daunting task, but with the right guidance and a bit of know-how, it can be a manageable project. Whether you're upgrading to a new model, renovating your kitchen, or simply need to access the space beneath the appliance, knowing how to remove a dishwasher is a valuable skill for any homeowner. By following a systematic approach and taking the necessary precautions, you can safely and efficiently remove your dishwasher without the need for professional assistance.
In the following steps, we will guide you through the process of removing a dishwasher, from turning off the power and water supply to disconnecting the drain line and power supply. Each step is designed to help you navigate the removal process with confidence, ensuring that you can complete the task smoothly and without any hiccups. With a clear understanding of the steps involved, you'll be well-equipped to tackle this project and gain a sense of accomplishment in the process.
Whether you're a seasoned DIY enthusiast or a first-time homeowner, learning how to remove a dishwasher is a valuable skill that can save you time and money. By taking the time to follow the steps outlined in this guide, you'll be able to remove your dishwasher safely and effectively, opening up new possibilities for kitchen upgrades and maintenance. So, let's dive into the step-by-step process and empower you to take control of your home maintenance and improvement projects.
Read more: How To Remove Mold In Your Dishwasher
Step 1: Turn off the Power and Water Supply
Before beginning the process of removing a dishwasher, it is crucial to prioritize safety by turning off the power and water supply. This step is essential to prevent any potential hazards and ensure a smooth and secure removal process.
-
Locate the Power Source: Start by locating the circuit breaker or fuse box that supplies power to the dishwasher. It's important to identify the correct circuit and switch it off to cut off the power supply to the appliance. If the dishwasher is hardwired, you will need to turn off the circuit that powers it. If it is plugged into an outlet, simply unplug it from the wall.
-
Turn off the Water Supply: Next, locate the shut-off valve that controls the water supply to the dishwasher. This valve is typically located under the sink or in the cabinet next to the dishwasher. Turn the valve clockwise to shut off the water supply, ensuring that no water can flow into the dishwasher during the removal process.
-
Verify the Power and Water Supply: Once you have turned off the power and water supply, it's important to verify that both are effectively disconnected. Double-check the dishwasher to ensure that there is no power running to it and that the water supply has been successfully shut off. This precautionary measure is essential for your safety and the integrity of the removal process.
By diligently following these steps to turn off the power and water supply, you are laying the groundwork for a safe and efficient dishwasher removal. Prioritizing safety at the outset of the project sets the stage for a smooth and successful removal process, allowing you to proceed with confidence and peace of mind.
Remember, safety should always be the top priority when working with appliances and utilities. By taking the time to turn off the power and water supply, you are demonstrating a responsible approach to home maintenance and ensuring a secure environment for yourself and those around you.
Step 2: Disconnect the Water Supply Line
Disconnecting the water supply line is a crucial step in the process of removing a dishwasher. By effectively disconnecting the water supply, you can ensure a seamless and hassle-free removal process. Here's a detailed guide on how to disconnect the water supply line from your dishwasher:
-
Locate the Water Supply Line: Begin by identifying the water supply line that connects to the dishwasher. This line is typically located at the back of the dishwasher, near the bottom. It is essential to have a clear understanding of the water supply line's location before proceeding with the disconnection process.
-
Prepare for Water Residue: Keep a towel or a small container handy to catch any water that may be left in the supply line or the valve. Even after turning off the water supply, there may still be some residual water in the line, so it's important to be prepared to contain any potential drips or spills.
-
Turn Off the Water Supply: If you haven't already done so in the previous step, ensure that the water supply to the dishwasher is turned off. This is a critical safety measure to prevent any water from flowing into the appliance during the disconnection process.
-
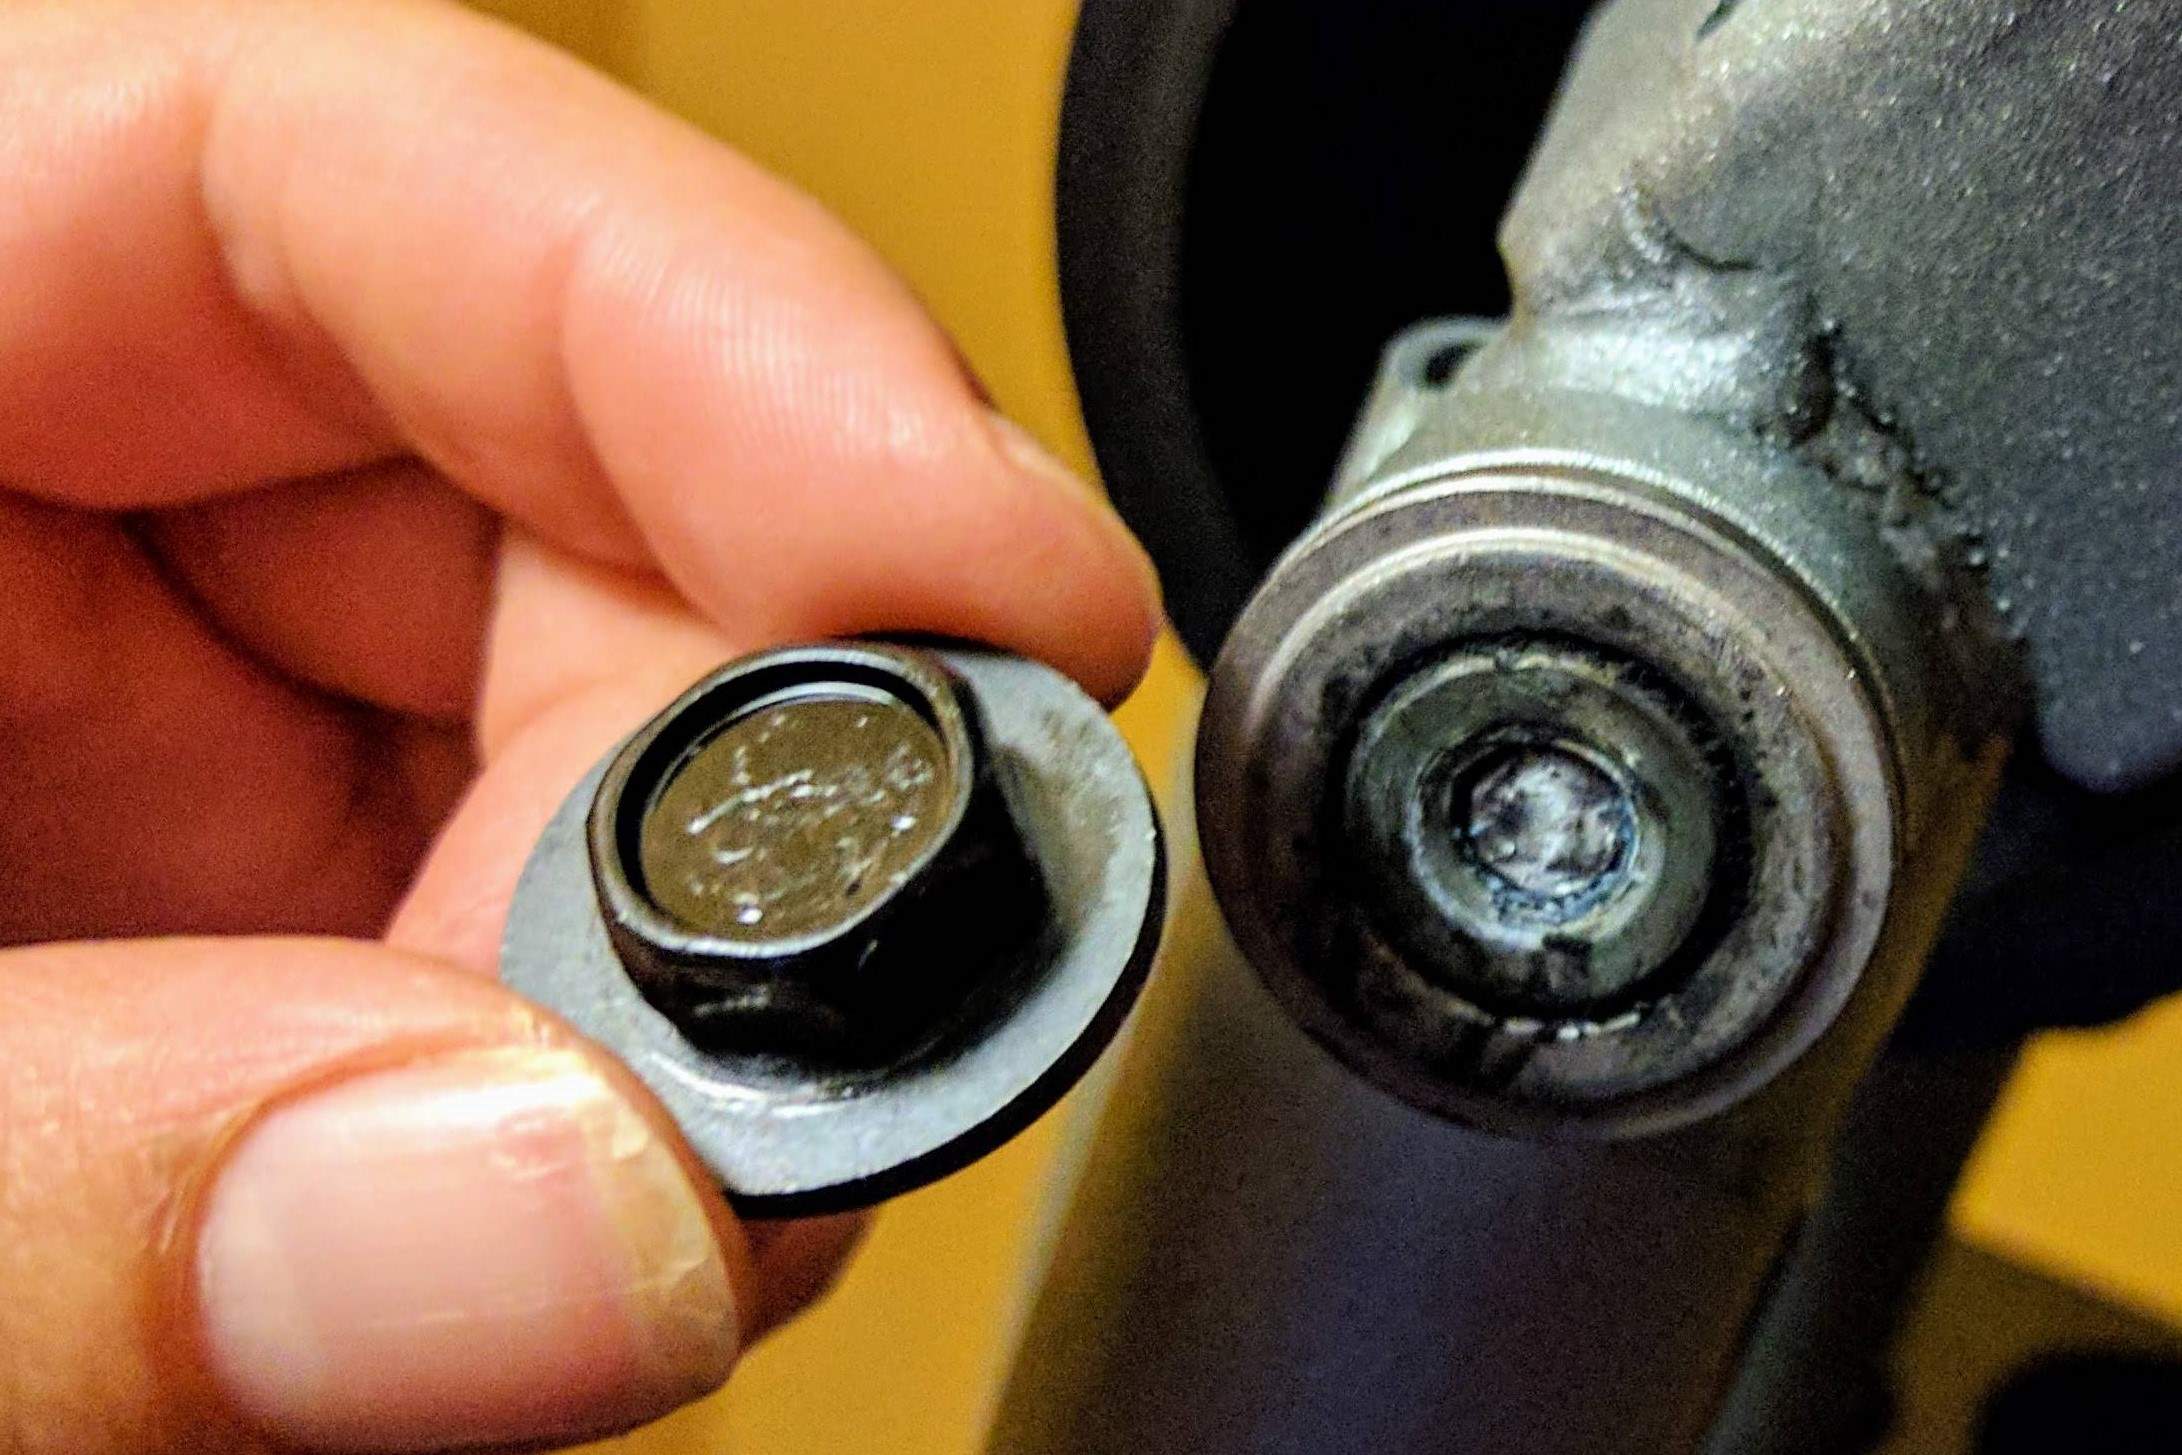
Disconnect the Water Supply Line: Using an adjustable wrench or pliers, carefully loosen the nut that secures the water supply line to the dishwasher's inlet valve. Once the nut is loosened, gently pull the water supply line away from the inlet valve. Be prepared for a small amount of water to trickle out as you disconnect the line.
-
Inspect for Damage: Take a moment to inspect the water supply line for any signs of damage or wear. If the line appears worn or damaged, it may be necessary to replace it before reinstalling the dishwasher. This proactive inspection can help prevent potential leaks or issues in the future.
-
Cap the Water Supply Line: To prevent any residual water from leaking, consider capping the water supply line or placing a small container underneath it to catch any remaining drips. This extra precaution can help maintain a clean and dry work area as you proceed with the dishwasher removal.
By following these detailed steps to disconnect the water supply line, you can effectively prepare the dishwasher for removal while minimizing the risk of water-related complications. This systematic approach ensures that you can proceed with confidence, knowing that the water supply line has been safely and securely disconnected.
Step 3: Disconnect the Drain Line
Disconnecting the drain line is a critical step in the process of removing a dishwasher. Properly disconnecting the drain line ensures that the appliance can be removed without any complications or potential water spillage. Here's a detailed guide on how to disconnect the drain line from your dishwasher:
-
Locate the Drain Hose: Begin by locating the drain hose connected to the dishwasher. The drain hose is typically positioned at the back of the appliance, near the bottom. It is essential to identify the drain hose's location before proceeding with the disconnection process.
-
Prepare for Water Residue: Similar to disconnecting the water supply line, it's important to be prepared for any residual water that may be present in the drain hose. Keep a towel or a small container handy to catch any water that may trickle out during the disconnection.
-
Position a Container: Place a shallow container or a towel underneath the area where the drain hose connects to the sink or garbage disposal. This precautionary measure helps contain any water that may spill out when the drain line is disconnected.
-
Disconnect the Drain Hose: Using pliers or a screwdriver, carefully loosen the clamp or connector that secures the drain hose to the sink or garbage disposal. Once the clamp is loosened, gently pull the drain hose away from the connection point. Be prepared for a small amount of water to drain out as you disconnect the hose.
-
Inspect for Debris: After disconnecting the drain hose, take a moment to inspect it for any debris or clogs. Clearing any obstructions from the drain hose can prevent potential drainage issues when the dishwasher is reinstalled.
-
Cap the Drain Hose: To prevent any residual water or odors from escaping, consider capping the end of the drain hose or placing it in a sealed plastic bag. This additional step helps maintain a clean and odor-free work environment during the dishwasher removal process.
By following these detailed steps to disconnect the drain line, you can ensure that the dishwasher is prepared for removal without the risk of water spillage or drainage complications. This systematic approach sets the stage for a smooth and hassle-free removal process, allowing you to proceed with confidence and efficiency.
Step 4: Remove the Mounting Brackets
Removing the mounting brackets is a pivotal step in the process of removing a dishwasher. These brackets secure the dishwasher in place, and removing them is essential to facilitate the smooth extraction of the appliance from its designated space. Here's a detailed guide on how to remove the mounting brackets from your dishwasher:
-
Locate the Mounting Brackets: Begin by identifying the location of the mounting brackets that secure the dishwasher to the adjacent cabinets or countertop. The brackets are typically situated at the top front corners of the dishwasher, and in some cases, additional brackets may be present at the rear of the appliance.
-
Prepare the Work Area: Before proceeding with the removal of the mounting brackets, it's important to clear the area surrounding the dishwasher to allow for easy access. Clear any items stored in the cabinets adjacent to the dishwasher and ensure that there is ample space to maneuver during the removal process.
-
Use the Correct Tools: Depending on the type of mounting brackets installed, you may need a screwdriver, drill, or socket wrench to remove them. It's essential to use the appropriate tools to avoid damaging the brackets or the surrounding area.
-
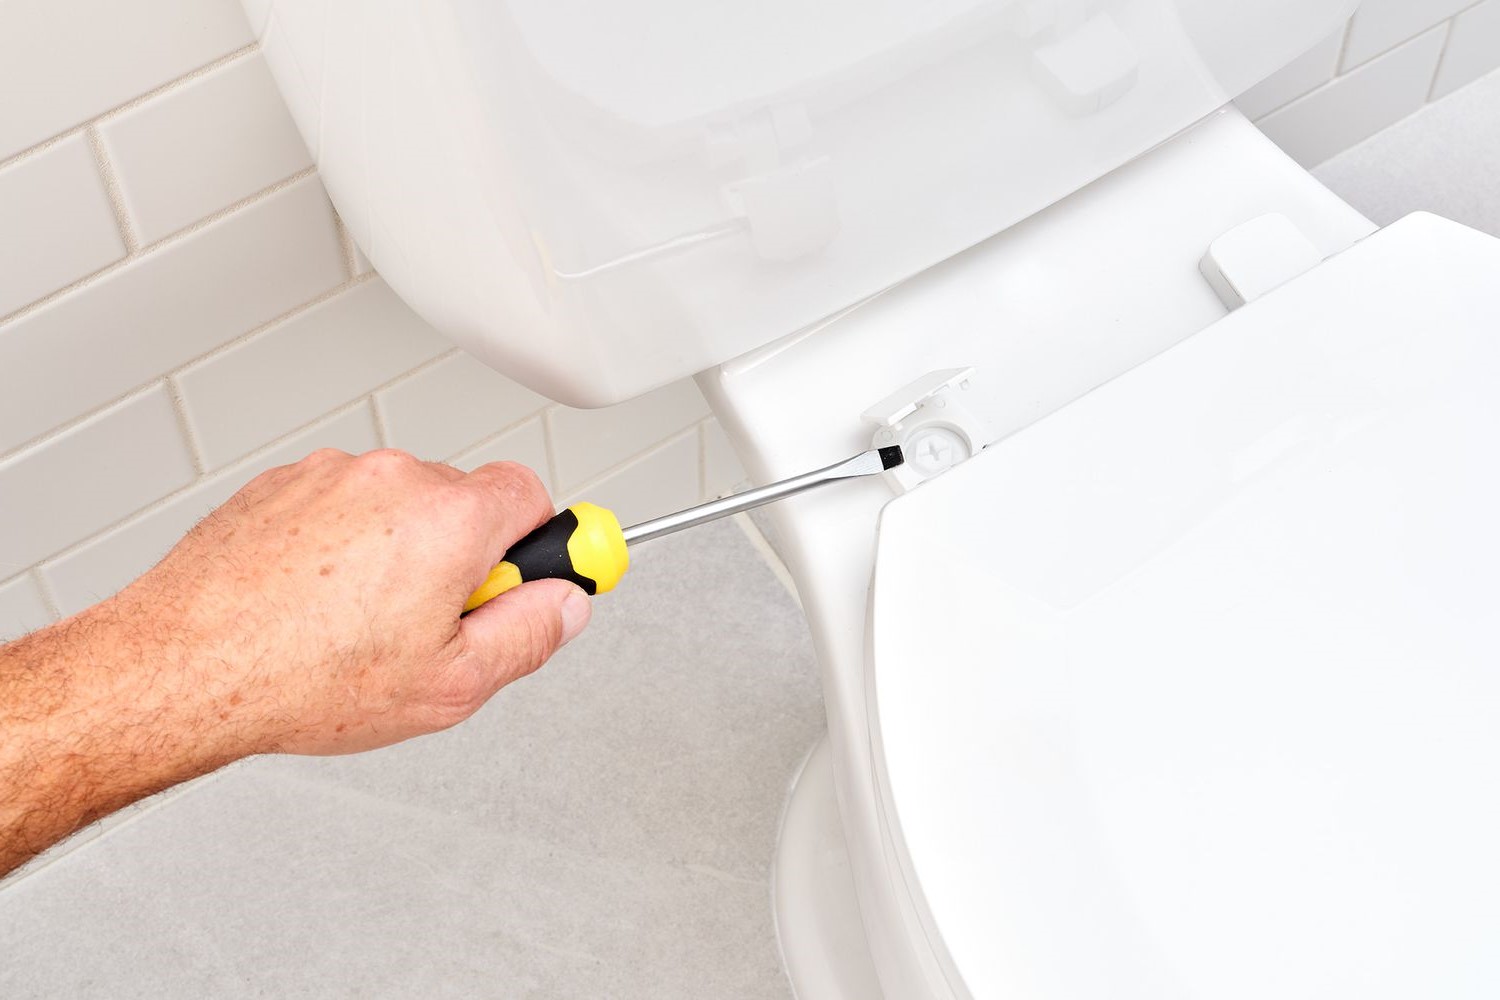
Loosen and Remove the Screws: Carefully loosen and remove the screws that secure the mounting brackets to the adjacent cabinets or countertop. In some cases, the brackets may be attached with bolts or clips, so it's important to inspect the attachment mechanism and proceed accordingly.
-
Support the Dishwasher: As you remove the last few screws or fasteners securing the mounting brackets, be prepared to support the weight of the dishwasher. Once the brackets are detached, the dishwasher may shift slightly, so it's crucial to have a firm grip on the appliance to prevent any sudden movements.
-
Inspect the Brackets and Fasteners: After removing the mounting brackets, take a moment to inspect them for any signs of damage or wear. Similarly, check the screws, bolts, or clips that were used to secure the brackets to ensure that they are in good condition and can be reused if necessary.
-
Set Aside the Brackets and Fasteners: Keep the removed brackets and fasteners in a safe place, as you may need them when installing a new dishwasher or reusing the existing one in the future. Storing these components securely ensures that they are readily available when needed.
By following these detailed steps to remove the mounting brackets, you can effectively prepare the dishwasher for extraction while ensuring that the surrounding area remains undamaged. This systematic approach sets the stage for a seamless and efficient removal process, allowing you to proceed with confidence and precision.
Step 5: Pull Out the Dishwasher
With the preceding steps completed, the stage is set to carefully pull out the dishwasher from its current position. This pivotal step requires attention to detail and a methodical approach to ensure a smooth extraction process. Here's a comprehensive guide on how to pull out the dishwasher with precision and care:
-
Clear the Surrounding Area: Before attempting to pull out the dishwasher, ensure that the area around the appliance is free of any obstacles or obstructions. Clear out any items stored in the cabinets adjacent to the dishwasher and create a clear path for the appliance to be maneuvered out smoothly.
-
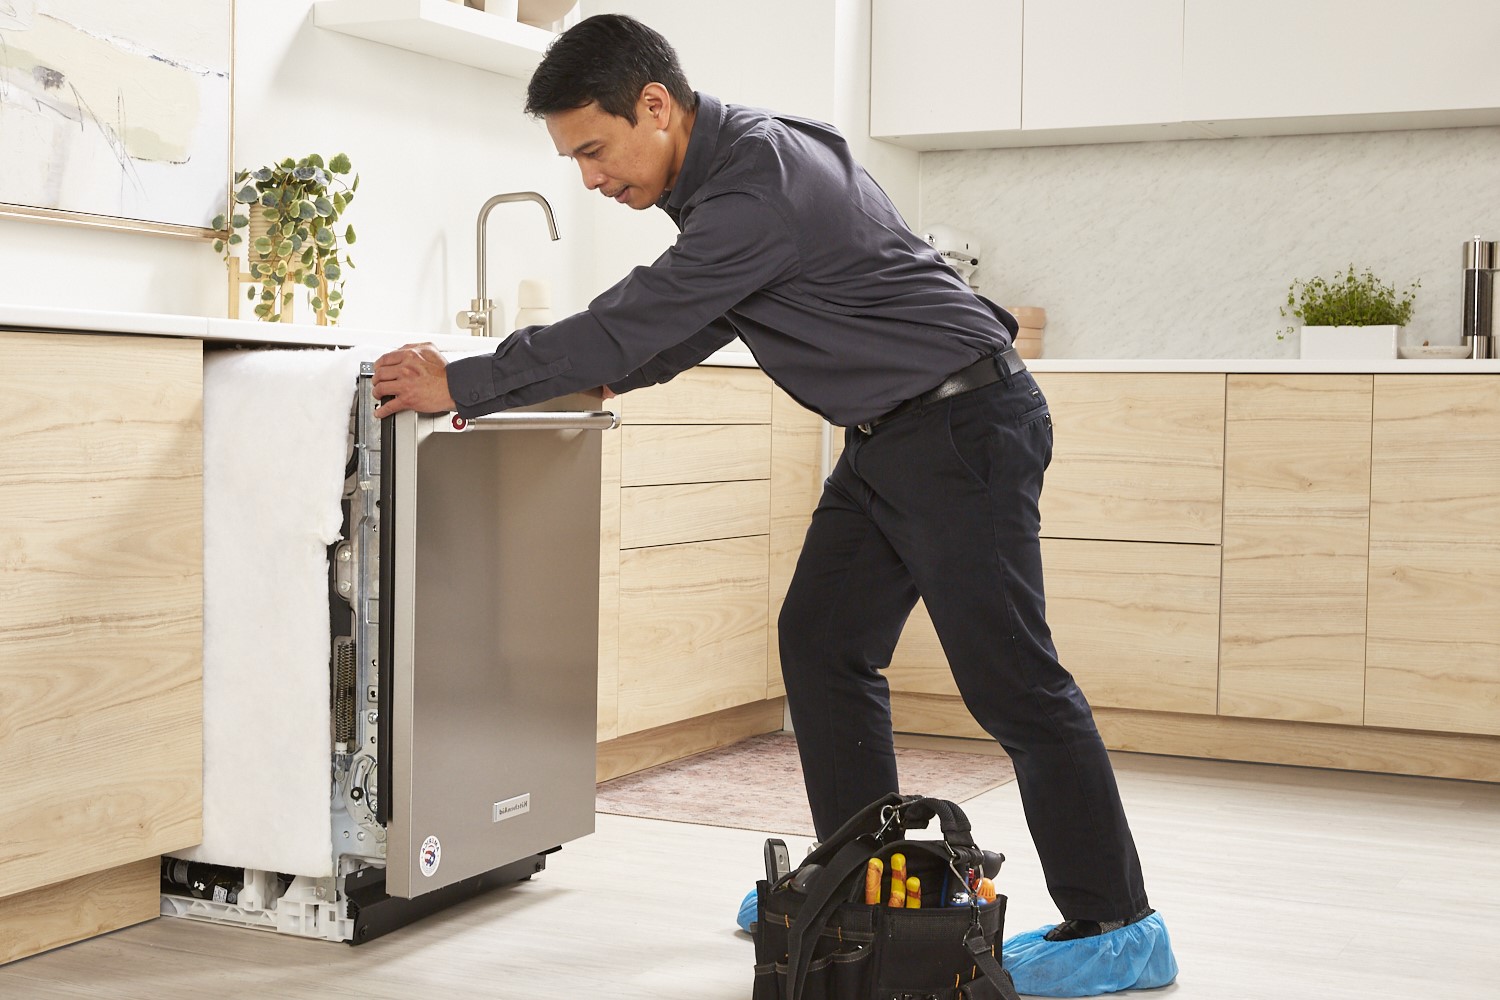
Grip the Sides of the Dishwasher: Position yourself on either side of the dishwasher and firmly grip the sides of the appliance. It's essential to maintain a balanced stance and a secure hold on the dishwasher to prevent any tilting or instability during the extraction process.
-
Move the Dishwasher Slowly and Steadily: With a firm grip on the sides of the dishwasher, begin to pull the appliance out slowly and steadily. Take care to move at a controlled pace, ensuring that the dishwasher remains aligned and does not catch on any surrounding surfaces or fixtures.
-
Check for Snagged Lines or Hoses: As the dishwasher is being pulled out, periodically check for any snagged water supply lines, drain hoses, or power cords. It's crucial to ensure that these connections remain free and unobstructed to prevent damage or complications during the extraction process.
-
Enlist Assistance if Needed: If the dishwasher proves to be heavy or difficult to maneuver, consider enlisting the help of a second person to assist with the extraction. Having an additional set of hands can make the process smoother and reduce the risk of accidental damage or strain.
-
Monitor the Movement: Throughout the extraction process, maintain a vigilant eye on the dishwasher's movement and alignment. Ensure that the appliance remains level and does not encounter any resistance or obstacles as it is being pulled out.
-
Place the Dishwasher in a Secure Location: Once the dishwasher has been successfully pulled out, carefully position it in a secure and stable location. Avoid placing the appliance in a high-traffic area or in a position where it may obstruct movement within the kitchen.
By following these detailed steps to pull out the dishwasher, you can ensure a seamless and controlled extraction process. This methodical approach allows for the safe removal of the appliance, setting the stage for subsequent tasks such as disconnecting the power supply and disposing of the dishwasher.
Step 6: Disconnect the Power Supply
Disconnecting the power supply is a critical step in the process of removing a dishwasher. By effectively disconnecting the power, you can ensure a safe and seamless removal process, minimizing the risk of electrical hazards and facilitating the smooth extraction of the appliance. Here's a comprehensive guide on how to disconnect the power supply from your dishwasher:
-
Locate the Power Source: Begin by identifying the electrical outlet or junction box that supplies power to the dishwasher. In the case of hardwired dishwashers, the junction box is typically located beneath the appliance or within the adjacent cabinet. If the dishwasher is plugged into an outlet, locate the corresponding outlet.
-
Turn Off the Circuit: Once you have located the power source, switch off the circuit that supplies electricity to the dishwasher. This is a crucial safety measure to prevent any electrical current from flowing to the appliance during the disconnection process. If the dishwasher is hardwired, turning off the circuit at the breaker box is essential.
-
Verify the Power Disconnection: After turning off the circuit, it's important to verify that the power supply to the dishwasher has been effectively disconnected. Use a non-contact voltage tester or a multimeter to ensure that there is no electrical current present at the dishwasher's power source. This verification step is essential for your safety and the integrity of the removal process.
-
Remove the Junction Box Cover: If the dishwasher is hardwired, carefully remove the cover of the junction box to access the electrical connections. Use a screwdriver to loosen the screws or fasteners securing the cover in place, and set the cover aside in a safe location.
-
Disconnect the Wires: With the junction box exposed, carefully loosen the terminal screws or wire connectors that secure the electrical wires to the dishwasher. Take note of the wire colors and their corresponding connections to ensure proper reconnection when installing a new dishwasher or reusing the existing one.
-
Cap the Wires: After disconnecting the wires, cap each wire with a wire nut or insulating cap to prevent any exposed conductors. This precautionary measure helps minimize the risk of accidental contact with live wires and ensures a safe work environment during the removal process.
-
Secure the Wires: Once the wires are capped, carefully tuck them back into the junction box, ensuring that they are positioned securely and do not interfere with the removal of the dishwasher. Replace the junction box cover and fasten it in place using the appropriate screws or fasteners.
By diligently following these detailed steps to disconnect the power supply, you can effectively prepare the dishwasher for removal while prioritizing safety and adherence to electrical codes. This systematic approach ensures a smooth and secure disconnection process, allowing you to proceed with confidence and peace of mind.
Step 7: Dispose of the Dishwasher
Once the dishwasher has been successfully removed from its designated space, the next crucial step is to responsibly dispose of the appliance. Proper disposal is essential to minimize environmental impact and ensure that the dishwasher is handled in accordance with local regulations. Here's a comprehensive guide on how to dispose of the dishwasher in a safe and environmentally conscious manner:
-
Check Local Regulations: Before proceeding with the disposal, research and familiarize yourself with the local regulations and guidelines for appliance disposal. Different areas may have specific requirements for handling and disposing of old appliances, and it's important to adhere to these regulations to avoid any potential fines or penalties.
-
Explore Recycling Options: Investigate recycling options for the dishwasher in your area. Many communities offer appliance recycling programs or designated drop-off locations where old appliances can be responsibly recycled. Recycling helps divert electronic waste from landfills and allows for the recovery of valuable materials.
-
Contact Waste Management Services: Reach out to local waste management services or recycling centers to inquire about their policies and procedures for accepting old dishwashers. Some facilities may offer pick-up services for large appliances or provide guidance on the proper preparation of the dishwasher for disposal.
-
Prepare the Dishwasher for Disposal: Prior to transporting the dishwasher for disposal, it's important to prepare the appliance by securing any loose components and ensuring that it is safe to handle. Remove any remaining water from the dishwasher and disconnect any hoses or attachments that may pose a hazard during transportation.
-
Transport to Recycling Center: If you are transporting the dishwasher to a recycling center or waste management facility, ensure that it is safely secured in a vehicle to prevent shifting or damage during transit. Follow any specific instructions provided by the facility for delivering the appliance.
-
Coordinate Pick-Up Services: If pick-up services are available in your area, coordinate with the waste management or recycling center to schedule the collection of the dishwasher. Provide any necessary information and ensure that the appliance is easily accessible for pick-up.
-
Dispose Responsibly: Whether the dishwasher is being dropped off at a recycling center or collected through pick-up services, ensure that it is disposed of responsibly and in compliance with local regulations. Follow any additional instructions provided by the facility to complete the disposal process.
By following these steps, you can ensure that the dishwasher is disposed of in a manner that prioritizes environmental responsibility and compliance with local regulations. Responsible disposal of old appliances contributes to sustainable waste management practices and supports efforts to minimize the impact of electronic waste on the environment.
Conclusion
In conclusion, the process of removing a dishwasher involves a series of systematic steps that prioritize safety, precision, and environmental responsibility. By following the detailed guidelines outlined in this comprehensive guide, homeowners can confidently navigate the removal process and achieve successful results.
From the initial steps of turning off the power and water supply to the final stage of responsibly disposing of the dishwasher, each phase of the removal process is designed to ensure a seamless and efficient experience. Prioritizing safety at every step, such as disconnecting the power supply and water lines, not only safeguards the individual undertaking the removal but also contributes to a secure and hazard-free environment.
The meticulous approach to removing the mounting brackets and pulling out the dishwasher underscores the importance of methodical execution and attention to detail. By carefully handling the appliance and its components, homeowners can avoid potential damage and ensure that the surrounding area remains undisturbed.
Furthermore, the emphasis on responsible disposal underscores the commitment to environmental stewardship. By exploring recycling options and coordinating with waste management services, homeowners can contribute to sustainable waste management practices and minimize the environmental impact of electronic waste.
Ultimately, learning how to remove a dishwasher empowers homeowners to take control of their home maintenance and improvement projects. By acquiring the knowledge and skills necessary to tackle such tasks, individuals can save time and resources while gaining a sense of accomplishment and self-sufficiency.
As homeowners embark on the journey of dishwasher removal, they are encouraged to approach the process with patience, attention to detail, and a commitment to safety and environmental responsibility. By doing so, they can navigate the removal process with confidence and contribute to a safer, more sustainable living environment.
In essence, the process of removing a dishwasher is not merely a practical task; it is an opportunity for homeowners to demonstrate their ability to handle home maintenance projects with competence and conscientiousness. With the guidance provided in this comprehensive guide, individuals can approach dishwasher removal as a manageable and rewarding endeavor.