Home>Home and Garden>How To Remove Toilet Seat
Home and Garden
How To Remove Toilet Seat
Published: March 4, 2024
Learn how to easily remove a toilet seat with our step-by-step guide. Keep your bathroom looking fresh and clean with this simple home and garden maintenance task.
(Many of the links in this article redirect to a specific reviewed product. Your purchase of these products through affiliate links helps to generate commission for Noodls.com, at no extra cost. Learn more)
Table of Contents
Introduction
Removing a toilet seat may seem like a daunting task, but with the right tools and a step-by-step approach, it can be a straightforward and manageable process. Whether you're looking to replace a worn-out seat or simply need to access hard-to-reach areas for cleaning, understanding how to remove a toilet seat is a valuable skill for any homeowner or DIY enthusiast.
In this comprehensive guide, we will walk you through the process of removing a toilet seat with ease. From gathering the necessary tools to cleaning the area after the seat removal, each step is designed to help you navigate this task with confidence and precision. By following these instructions, you can ensure a smooth and successful removal process without the need for professional assistance.
So, roll up your sleeves, gather your tools, and let's dive into the step-by-step process of removing a toilet seat. Whether you're a seasoned DIYer or a novice homeowner, this guide will equip you with the knowledge and skills needed to tackle this common household maintenance task. Let's get started!
Step 1: Gather necessary tools
Before embarking on the task of removing a toilet seat, it's essential to gather the necessary tools to ensure a smooth and efficient process. Here's a list of tools you'll need:
-
Adjustable Wrench: This versatile tool will come in handy for loosening and removing the bolts that secure the toilet seat in place. Ensure that the wrench is adjustable to fit the size of the bolts.
-
Screwdriver: Depending on the type of bolts used to secure the toilet seat, you may need a flat-head or Phillips-head screwdriver. Having both types on hand will ensure that you're prepared for any fastening mechanism.
-
Safety Gloves: It's always a good idea to protect your hands with a pair of safety gloves, especially when dealing with potentially rusty or stubborn bolts. Gloves provide a better grip and protect your skin from any sharp edges.
-
Cleaning Supplies: While not a traditional "tool," having cleaning supplies such as disinfectant wipes or a mild cleaning solution and a cloth will allow you to clean the area thoroughly once the toilet seat is removed.
-
Flashlight: In some cases, the area beneath the toilet seat may be dimly lit or obscured, making it challenging to see the bolts clearly. A flashlight can help illuminate the area and make the removal process more manageable.
By ensuring that you have these tools at your disposal, you'll be well-prepared to tackle the task of removing the toilet seat. With the right tools in hand, you can proceed to the next steps with confidence, knowing that you have everything you need to complete the job effectively.
Step 2: Remove the plastic caps
Once you have gathered the necessary tools, the next step in removing a toilet seat is to locate and remove the plastic caps covering the bolts. These caps are typically located at the back of the toilet seat, near the hinges, and serve to conceal the bolts that secure the seat in place. Here's a detailed guide on how to remove the plastic caps effectively:
-
Inspect the Hinges: Begin by carefully examining the hinges of the toilet seat to identify the plastic caps. Depending on the design of the seat, the caps may be situated at the back of the seat, near the wall, or at the front, facing the toilet bowl. Take note of their placement to ensure a systematic removal process.
-
Use a Flat-Head Screwdriver: Once you've located the plastic caps, take a flat-head screwdriver and gently insert the tip beneath the edge of the cap. Apply slight pressure to pry the cap upward. Be cautious not to use excessive force, as this may cause damage to the cap or the surrounding area.
-
Leverage the Screwdriver: With the screwdriver wedged beneath the cap, carefully lift and angle the tool to pop the cap off. It's important to exercise patience and precision during this step to avoid any accidental slippage or damage to the toilet seat or bowl.
-
Repeat the Process: If your toilet seat has two plastic caps covering the bolts, repeat the above steps for the second cap. Ensure that both caps are removed before proceeding to the next step.
By following these steps, you can effectively remove the plastic caps without causing any damage to the toilet seat or its hinges. Once the caps are removed, you'll gain clear access to the bolts securing the seat, setting the stage for the subsequent steps in the removal process.
With the plastic caps successfully removed, you're now ready to move on to the next crucial step: loosening the bolts that hold the toilet seat in place. This pivotal stage will bring you closer to completing the removal process and achieving your maintenance or replacement goals.
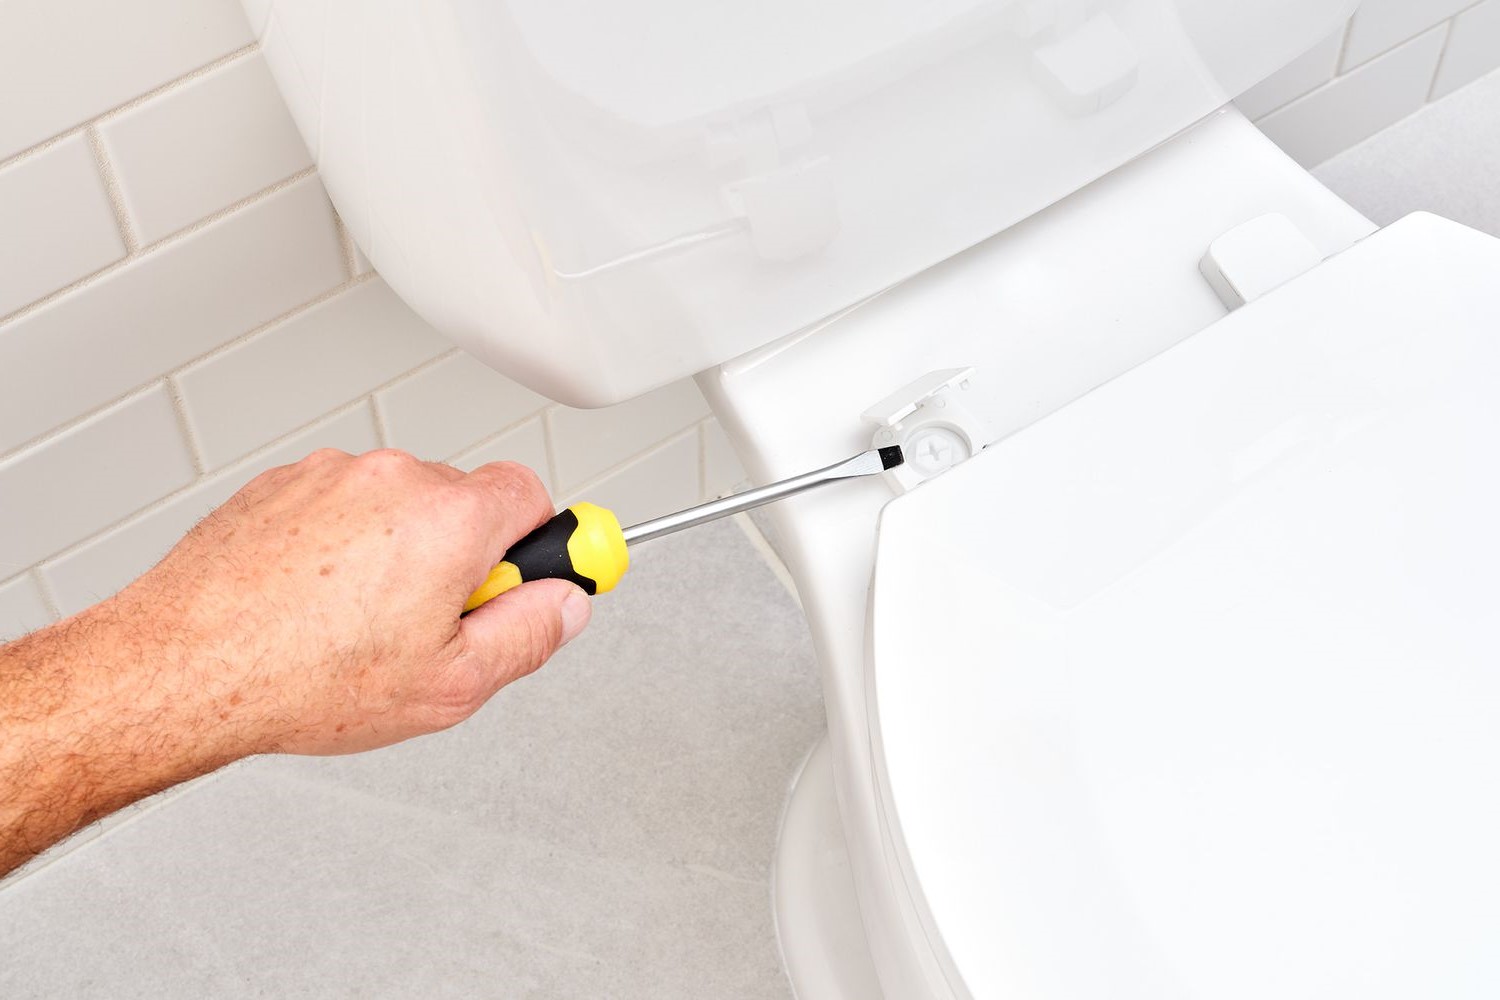
Step 3: Loosen the bolts
With the plastic caps successfully removed, the next critical step in removing a toilet seat is to loosen the bolts that secure it to the toilet bowl. This step requires precision and care to ensure that the bolts are adequately loosened without causing damage to the surrounding area or the toilet seat itself. Here's a detailed guide on how to effectively loosen the bolts:
-
Identify the Bolts: After removing the plastic caps, you'll now have clear visibility of the bolts that fasten the toilet seat to the bowl. Take a moment to locate the bolts and familiarize yourself with their position and the type of fastening mechanism used. This will help you determine the appropriate tools and technique for loosening the bolts.
-
Use the Adjustable Wrench: Once the bolts are visible, take the adjustable wrench and position it onto the bolt head. Ensure a firm grip on the wrench to prevent slippage and potential damage to the bolt or surrounding area. Depending on the design of the toilet seat, the bolts may require either clockwise or counterclockwise rotation to loosen.
-
Apply Controlled Force: With the wrench securely in place, apply controlled force to begin loosening the bolts. It's essential to exercise caution and avoid using excessive force, as this may lead to stripped threads or damage to the bolt head. If the bolts are particularly tight, consider using a penetrating oil to help lubricate and ease the loosening process.
-
Alternate Sides: If your toilet seat is secured by two bolts, it's advisable to alternate between loosening each bolt to ensure balanced and uniform removal. By alternating sides, you can prevent uneven pressure on the seat, which may cause it to become misaligned or difficult to remove.
-
Check for Progress: As you gradually loosen the bolts, periodically check for signs of progress. Ensure that both bolts are being loosened evenly to prevent any imbalance or strain on the seat. Once the bolts have been sufficiently loosened, you'll be ready to proceed to the next crucial step: removing the old toilet seat.
By following these steps, you can effectively loosen the bolts that secure the toilet seat, paving the way for a seamless and successful removal process. With the bolts loosened and the seat ready for removal, you're now prepared to advance to the subsequent steps with confidence and precision.
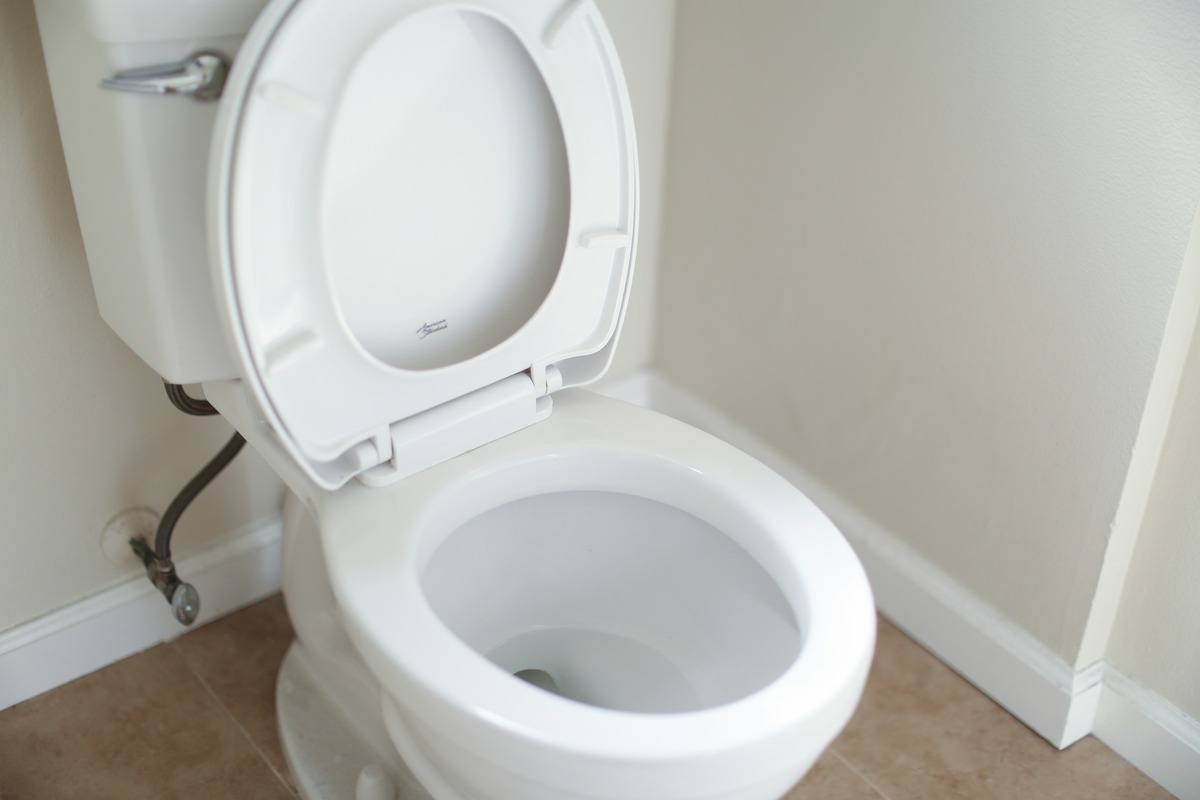
Step 4: Remove the old toilet seat
With the bolts successfully loosened, you are now ready to remove the old toilet seat. This step requires careful handling to ensure that the seat is detached smoothly and without causing any damage to the toilet bowl or surrounding area. Here's a detailed guide on how to effectively remove the old toilet seat:
-
Lift the Seat: Begin by gently lifting the toilet seat and lid assembly upward. It's essential to maintain a steady grip and lift evenly to prevent any sudden movements or accidental slippage. If the seat is particularly snug or has been in place for an extended period, you may encounter some resistance. Exercise patience and apply gradual upward pressure to release the seat from the bowl.
-
Inspect the Hinges: As you lift the seat, take a moment to inspect the hinges and ensure that they are disengaging smoothly from the mounting points on the bowl. Depending on the design of the seat, the hinges may feature a quick-release mechanism or require manual disconnection. Carefully observe the movement of the hinges to confirm that they are detaching from the bowl without any obstructions.
-
Clear the Bolts: Once the seat and lid assembly are lifted, ensure that the bolts and hinges are clear of the bowl. It's important to avoid any accidental contact between the seat and the bowl to prevent scratches or damage. If the bolts are still partially engaged, gently maneuver the seat to disengage them completely from the bowl, taking care to avoid any abrupt movements.
-
Dispose of the Old Seat: With the old toilet seat successfully removed, set it aside in a safe and designated area for disposal or further inspection. Depending on the condition of the seat, you may choose to discard it or assess whether it can be refurbished or repurposed. If the seat is being replaced due to wear and tear, consider environmentally responsible disposal methods, such as recycling or donating if applicable.
By following these steps, you can effectively remove the old toilet seat with precision and care. With the seat successfully detached, you're now prepared to advance to the final step: cleaning the area to ensure a pristine and hygienic environment before installing a new seat.
Read more: How To Replace A Toilet Handle
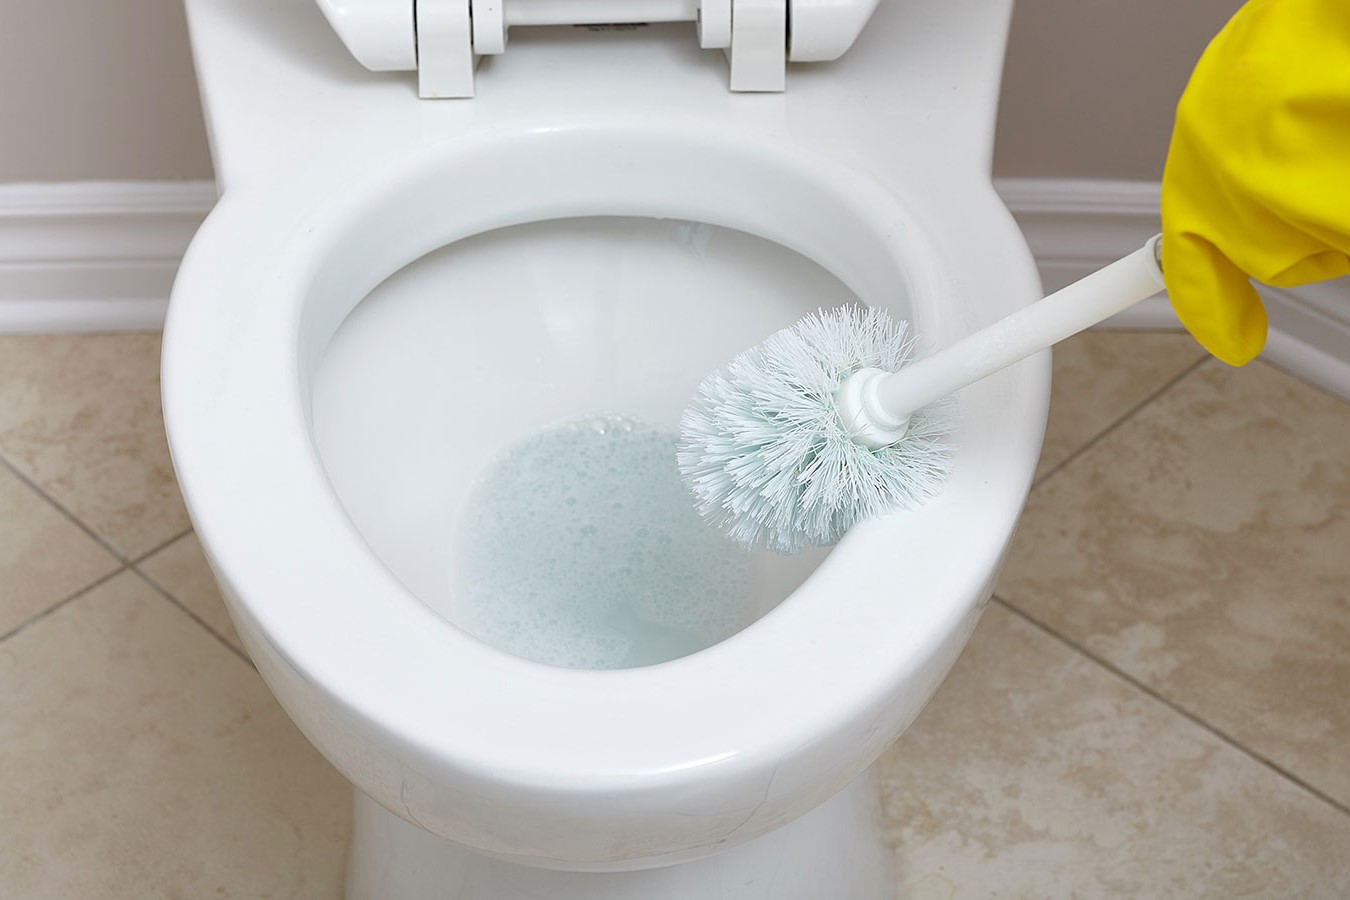
Step 5: Clean the area
After successfully removing the old toilet seat, it's essential to thoroughly clean the area to ensure a hygienic and pristine environment before installing a new seat. This step not only contributes to the overall cleanliness of the bathroom but also prepares the toilet bowl for the seamless installation of the replacement seat. Here's a detailed guide on how to effectively clean the area:
-
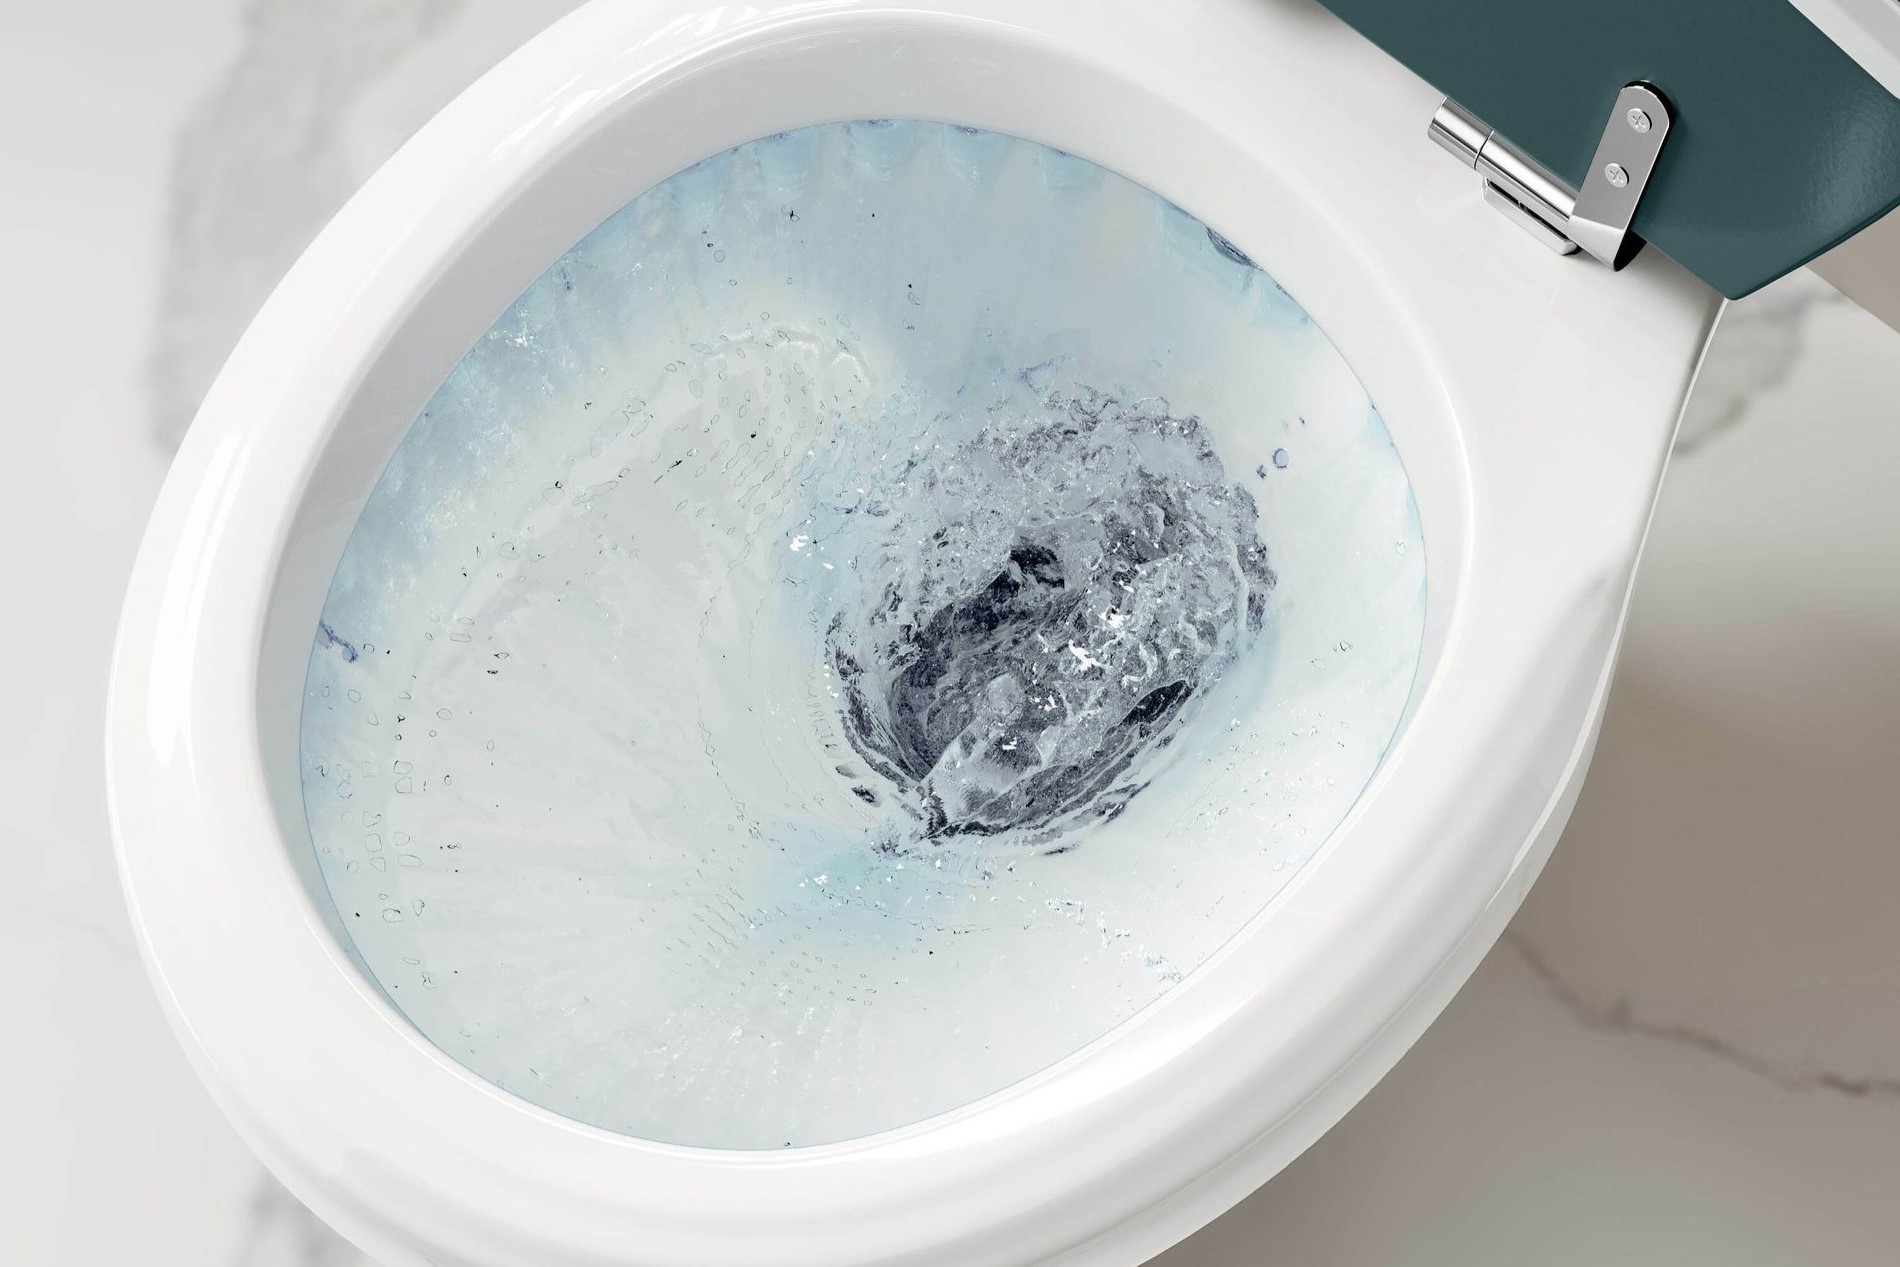
Disinfect the Toilet Bowl: Begin by applying a suitable disinfectant cleaner to the interior of the toilet bowl. Use a toilet brush to scrub the surfaces, ensuring that all areas, including under the rim and around the waterline, are thoroughly cleaned. Pay particular attention to any areas that were previously concealed by the toilet seat, as these may require additional cleaning to remove accumulated grime or residue.
-
Clean the Mounting Points: With the old seat removed, inspect the mounting points on the toilet bowl. Use a mild cleaning solution and a cloth to wipe down these areas, removing any dust, debris, or residual adhesive from the previous seat. Ensuring that the mounting points are clean and free of obstructions will facilitate a secure and stable installation of the new toilet seat.
-
Sanitize the Hinges and Bolts: Take the time to sanitize the hinges and bolts that were previously concealed by the old seat. These components may have accumulated dirt or grime over time, and thorough cleaning will help maintain a hygienic environment. Use disinfectant wipes or a cleaning solution to sanitize these areas, ensuring that all surfaces are clean and free of residue.
-
Inspect the Surrounding Area: While the focus is primarily on the toilet bowl and its immediate components, it's important to inspect the surrounding area for any splatters or spills that may have occurred during the removal process. Wipe down the floor around the toilet to remove any water or cleaning solution, ensuring that the entire area is clean and dry.
-
Prepare for Installation: Once the cleaning process is complete, take a moment to ensure that the area is dry and free of any cleaning residues. This will provide a clean and stable foundation for installing the new toilet seat, ensuring that it is securely affixed to the bowl without any impediments.
By following these steps, you can effectively clean the area after removing the old toilet seat, setting the stage for a seamless and hygienic installation of the replacement seat. With the area thoroughly cleaned and prepared, you're now ready to proceed with installing the new toilet seat, knowing that the environment is primed for a fresh and sanitary upgrade.
Conclusion
Congratulations! You have successfully navigated the process of removing a toilet seat with precision and confidence. By following the step-by-step guide outlined in this comprehensive tutorial, you have gained valuable insights and practical skills that empower you to tackle this common household maintenance task with ease.
As you reflect on the journey from gathering the necessary tools to cleaning the area after the seat removal, it's evident that each step was designed to equip you with the knowledge and resources needed to accomplish the task efficiently. The careful removal of plastic caps, the precise loosening of bolts, and the gentle extraction of the old seat all contributed to a seamless and successful process.
Beyond the practical aspects of removing a toilet seat, this experience may have also fostered a deeper sense of confidence in your DIY abilities. The satisfaction of completing a task that may have initially seemed daunting is a testament to your resourcefulness and capability as a homeowner or DIY enthusiast.
As you look ahead, the knowledge and skills acquired from this endeavor can serve as a foundation for future maintenance and improvement projects within your home. Whether it's replacing a toilet seat, tackling plumbing repairs, or embarking on larger renovation endeavors, the experience gained from this process can be applied to a wide range of home and garden projects.
Furthermore, the attention to detail and care demonstrated in cleaning the area after the seat removal reflects a commitment to maintaining a hygienic and welcoming home environment. This conscientious approach not only contributes to the overall cleanliness of the bathroom but also sets a standard for thoroughness and attention to detail in all your home maintenance endeavors.
In conclusion, the successful removal of a toilet seat marks a significant achievement in your journey as a homeowner or DIY enthusiast. Armed with newfound knowledge and practical skills, you are well-prepared to tackle future projects with confidence and precision. Whether it's a small maintenance task or a larger renovation project, the experience gained from this endeavor will continue to serve you well as you embark on your ongoing home and garden endeavors.