Home>Home and Garden>How To Replace A Toilet Handle

Home and Garden
How To Replace A Toilet Handle
Published: March 3, 2024
Learn how to easily replace a toilet handle with our step-by-step guide. Upgrade your bathroom with this simple home and garden DIY project.
(Many of the links in this article redirect to a specific reviewed product. Your purchase of these products through affiliate links helps to generate commission for Noodls.com, at no extra cost. Learn more)
Table of Contents
Introduction
Replacing a toilet handle may seem like a minor task, but it can make a significant difference in the functionality and aesthetics of your bathroom. Over time, toilet handles can become loose, corroded, or simply outdated, leading to issues with flushing and detracting from the overall appearance of the toilet. Fortunately, with a few simple steps and the right tools, you can easily replace a toilet handle and restore the smooth operation of your toilet.
Whether you're a seasoned DIY enthusiast or a novice homeowner looking to tackle your first home improvement project, replacing a toilet handle is a manageable task that can be completed in a relatively short amount of time. By following the steps outlined in this guide, you'll be able to upgrade your toilet with a new handle, enhancing both its functionality and visual appeal.
In the following sections, we'll walk you through the process of replacing a toilet handle, from gathering the necessary tools and materials to testing the new handle. You'll learn how to turn off the water supply, remove the tank lid, disconnect the old handle, install the new handle, and reconnect the water supply. By the end of this guide, you'll have the knowledge and confidence to successfully replace a toilet handle and enjoy the satisfaction of a smoothly functioning and aesthetically pleasing toilet.
So, roll up your sleeves, gather your tools, and let's get started on this simple yet rewarding home improvement project. Whether you're looking to update the look of your bathroom or simply ensure that your toilet flushes with ease, replacing the toilet handle is a practical and satisfying endeavor that anyone can accomplish. Let's dive into the step-by-step process and transform your toilet with a brand-new handle.
Read more: How To Install Cabinet Handles
Step 1: Gather Necessary Tools and Materials
Before embarking on the task of replacing a toilet handle, it's essential to gather the necessary tools and materials to ensure a smooth and efficient process. Here's a comprehensive list of items you'll need for this project:
Tools:
- Adjustable Wrench: This versatile tool will be used to loosen and tighten nuts and bolts during the handle replacement process.
- Flathead Screwdriver: A flathead screwdriver will come in handy for disconnecting the old handle and installing the new one.
- Bucket: Keep a bucket nearby to catch any excess water that may spill when disconnecting the water supply.
Materials:
- Replacement Toilet Handle: Choose a new handle that complements the design of your toilet and matches the existing hardware in your bathroom.
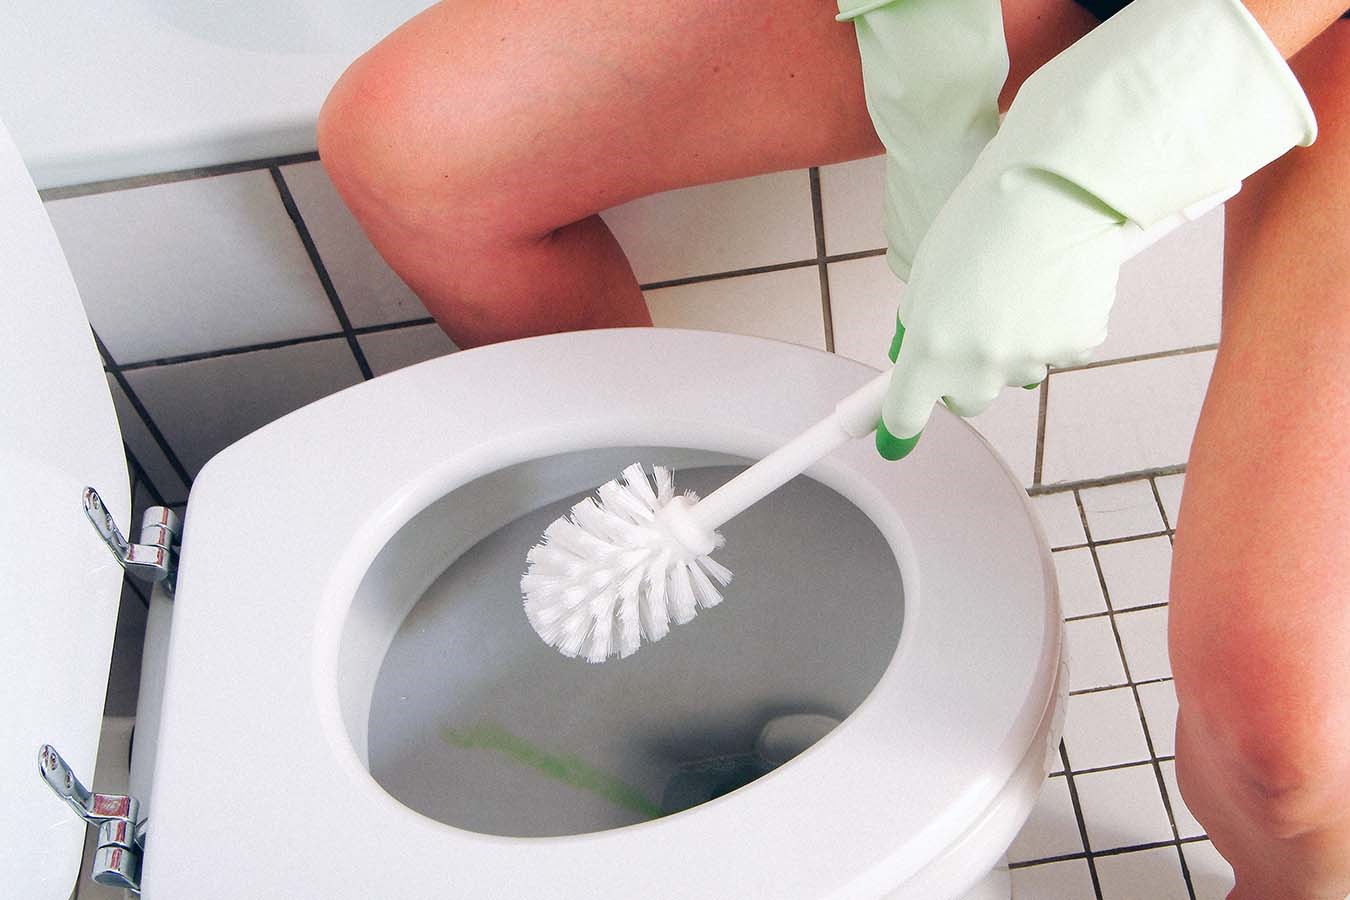
- Rubber Gloves: It's always a good idea to wear rubber gloves when working on plumbing-related tasks to protect your hands and maintain hygiene.
- Clean Cloth or Towel: Have a clean cloth or towel on hand to wipe away any water or debris from the toilet tank and surrounding area.
- Replacement Parts (Optional): Depending on the condition of your toilet's internal mechanisms, you may also need replacement parts such as a flapper or chain. It's a good idea to inspect these components while replacing the handle and replace them if necessary to ensure optimal toilet performance.
By ensuring that you have all the necessary tools and materials at your disposal, you'll be well-prepared to tackle the task of replacing the toilet handle. With these items within reach, you can proceed with confidence, knowing that you have everything you need to complete the project efficiently and effectively.
Now that you've gathered the essential tools and materials, it's time to move on to the next step in the process: turning off the water supply. This crucial step will ensure a safe and controlled environment for replacing the toilet handle. Let's proceed to the next step and continue our journey toward a fully functional and aesthetically pleasing toilet.
Step 2: Turn off the Water Supply
Before beginning the process of replacing a toilet handle, it is essential to turn off the water supply to the toilet. This step is crucial to prevent any potential leaks or water-related mishaps during the handle replacement. Here's a detailed guide on how to turn off the water supply to the toilet:
-
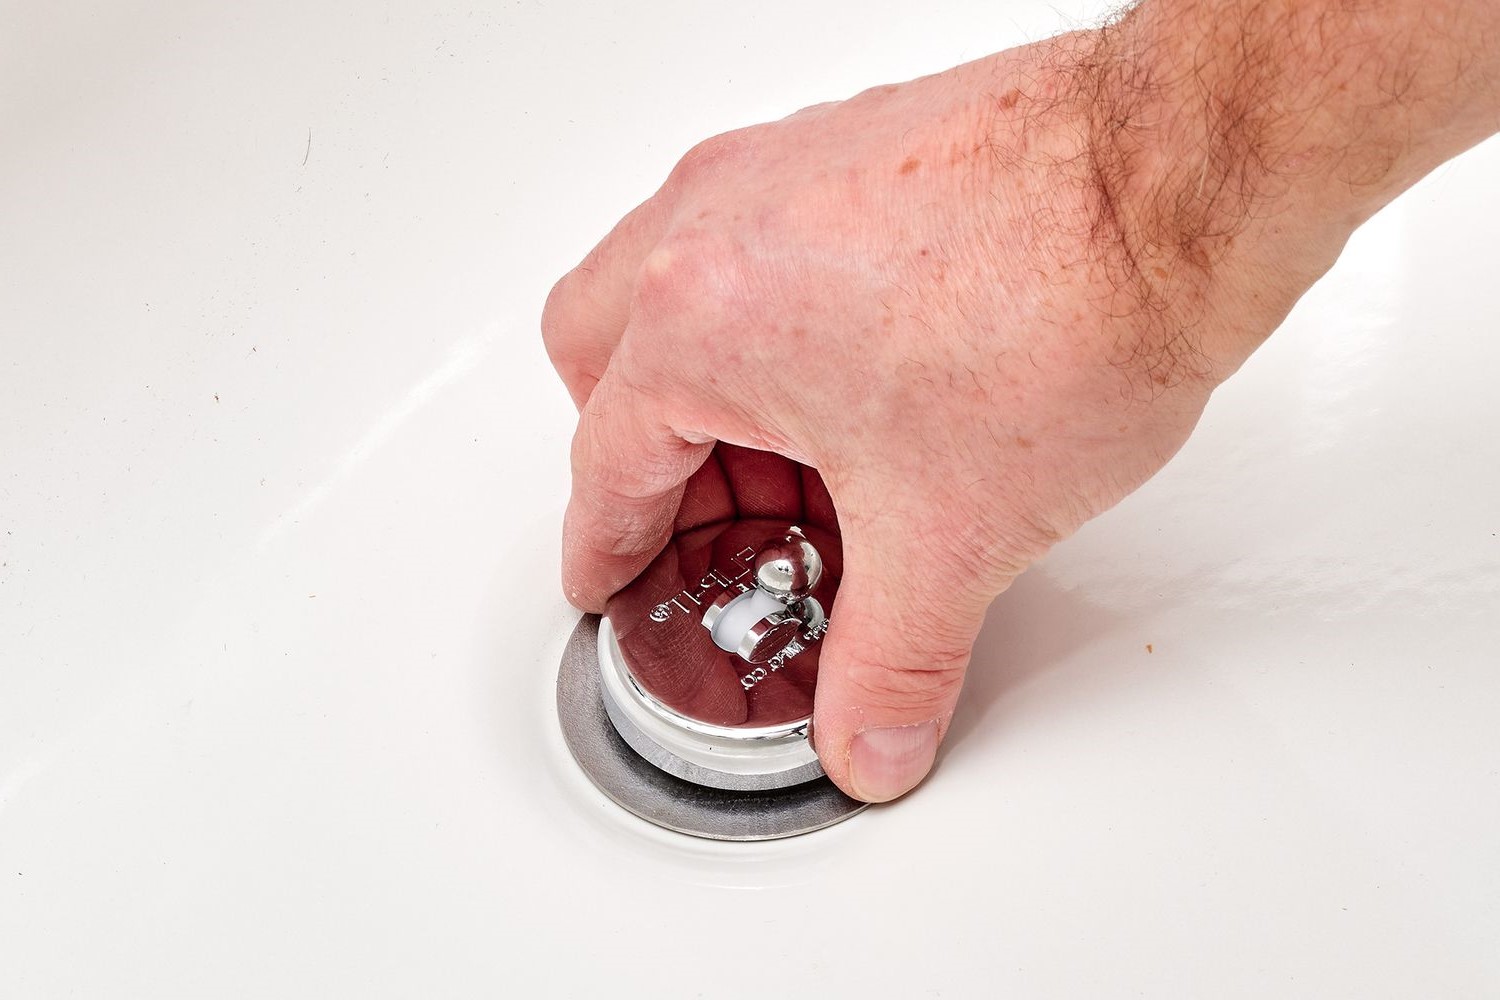
Locate the Shut-Off Valve: The shut-off valve is typically located on the wall behind the toilet, near the base. It is a small valve connected to the water supply line. Turn the valve clockwise to shut off the water flow to the toilet. If the valve is difficult to turn, you can use a pair of pliers to provide extra leverage while being careful not to apply excessive force that could damage the valve.
-
Flush the Toilet: After shutting off the water supply, flush the toilet to remove most of the water from the tank and bowl. This will minimize the amount of water that remains in the tank when you proceed to disconnect the old handle.
-
Remove Any Remaining Water: To ensure a clean and dry work area, use a sponge or towel to soak up any remaining water in the tank. Wring out the excess water into a bucket to prevent spills and maintain a tidy workspace.
By turning off the water supply and following these additional steps to remove any remaining water, you'll create a safe and controlled environment for replacing the toilet handle. This proactive approach minimizes the risk of water damage and allows for a smooth transition to the next steps in the handle replacement process.
With the water supply turned off and the toilet tank emptied of water, you're now ready to proceed to the next step: removing the tank lid. This will provide access to the internal components of the toilet and allow you to continue the handle replacement process with confidence and precision. Let's move on to the next step and continue our journey toward a fully functional and aesthetically pleasing toilet.
Step 3: Remove the Tank Lid
With the water supply turned off and the toilet tank emptied, it's time to remove the tank lid to gain access to the internal components of the toilet. Follow these steps to safely and effectively remove the tank lid:
-
Locate and Inspect the Tank Lid: The tank lid is typically positioned on top of the toilet tank and is designed to cover the internal components. Carefully inspect the lid to ensure that it is secure and free from any obstructions. It's important to handle the lid with caution to prevent any accidental damage.
-
Identify the Mounting Points: Most tank lids are secured in place by one or more mounting points, which may be located at the back or sides of the tank. These mounting points can take the form of tabs, screws, or other fasteners. Take note of the specific type of mounting points used to secure the lid.
-
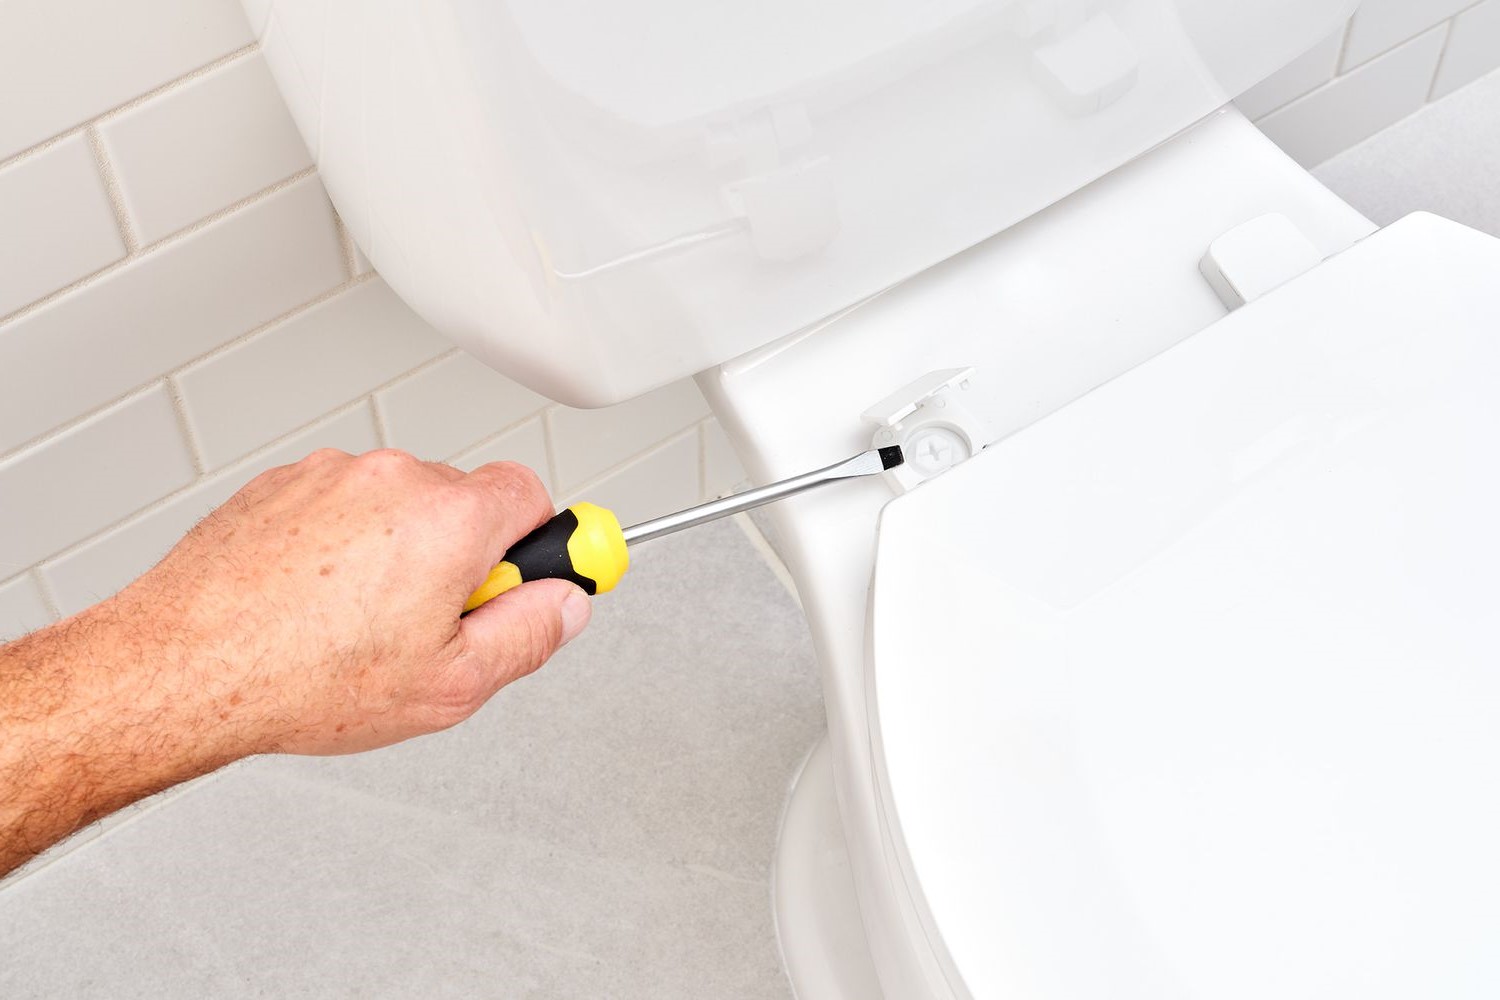
Remove the Mounting Hardware: Depending on the type of mounting points, use the appropriate tool, such as a screwdriver or wrench, to loosen and remove any screws or fasteners holding the tank lid in place. If the lid is secured by tabs, gently lift and tilt the lid to disengage the tabs from the tank.
-
Lift and Set Aside the Tank Lid: Once the mounting hardware has been loosened or removed, carefully lift the tank lid from the toilet tank and set it aside in a safe and stable location. Be mindful of the lid's weight and size to avoid any accidental drops or damage.
-
Inspect the Interior of the Tank: With the tank lid removed, take a moment to inspect the interior of the tank. Check for any signs of damage, debris, or buildup that may require attention. This is also an opportune time to familiarize yourself with the layout of the internal components, including the flush mechanism and handle attachment point.
By following these steps to remove the tank lid, you'll successfully gain access to the internal workings of the toilet tank, setting the stage for the next phase of the handle replacement process. With the tank lid safely removed, you're now ready to proceed to the next step: disconnecting the old handle and preparing for the installation of the new handle. Let's move forward with confidence as we continue our journey toward a fully functional and aesthetically pleasing toilet.
Step 4: Disconnect the Old Handle
Disconnecting the old handle is a crucial step in the process of replacing a toilet handle. By carefully removing the existing handle, you'll pave the way for the seamless installation of the new handle. Follow these detailed steps to effectively disconnect the old handle:
-
Identify the Handle Attachment Point: Within the toilet tank, locate the attachment point of the old handle. This is typically a plastic or metal nut that secures the handle to the flush lever. Take note of the orientation and positioning of the nut to facilitate its removal.
-
Loosen and Remove the Nut: Using an adjustable wrench or pliers, carefully loosen and remove the nut that secures the old handle to the flush lever. Turn the nut counterclockwise to release it from the lever. Exercise caution to avoid applying excessive force that could damage the nut or surrounding components.
-
Disconnect the Handle from the Flush Lever: Once the nut is removed, gently disconnect the old handle from the flush lever. Pay attention to any additional components, such as a small chain or lift wire, that may be attached to the handle. Ensure that these components are disengaged from the handle and can move freely within the tank.
-
Inspect the Flush Lever and Components: With the old handle removed, take a moment to inspect the flush lever and surrounding components. Check for any signs of wear, corrosion, or damage that may warrant attention. This is also an opportune time to clean the flush lever and surrounding area to prepare for the installation of the new handle.
-
Dispose of the Old Handle: Safely dispose of the old handle and any associated components in accordance with local waste disposal guidelines. If the old handle is in good condition, consider repurposing or donating it for reuse, promoting sustainability and reducing waste.
By carefully following these steps to disconnect the old handle, you'll effectively prepare the toilet for the installation of the new handle. With the old handle removed and the flush lever inspected, you're now ready to proceed to the next step: installing the new handle. Let's continue our journey toward a fully functional and aesthetically pleasing toilet as we move forward with confidence and precision.
Step 5: Install the New Handle
With the old handle successfully disconnected and the flush lever inspected, it's time to install the new handle and bring a fresh look and functionality to your toilet. Follow these detailed steps to effectively install the new handle:
-
Prepare the New Handle: Before installing the new handle, ensure that all its components are intact and free from any defects. Familiarize yourself with the structure of the new handle and its attachment mechanism to the flush lever.
-
Position the New Handle: Carefully position the new handle in alignment with the flush lever inside the toilet tank. Take note of the orientation and positioning of the handle to ensure a proper fit and smooth operation.
-
Connect the Handle to the Flush Lever: Align the attachment point of the new handle with the flush lever and carefully connect the two components. If the new handle includes a lift wire or chain, ensure that it is properly attached to the flush lever and can move freely without any obstructions.
-
Secure the Nut: Once the new handle is properly aligned and connected to the flush lever, use an adjustable wrench or pliers to secure the nut onto the attachment point. Turn the nut clockwise to tighten it, ensuring a firm and stable connection between the handle and the flush lever.
-
Adjust the Handle Position (If Necessary): Test the positioning and functionality of the new handle by gently pressing it to initiate a flush. If needed, make minor adjustments to the handle's position to optimize its performance and ensure a smooth flushing action.
-
Inspect for Proper Functionality: After securing the new handle, perform a test flush to ensure that it operates smoothly and effectively. Observe the handle's movement and the corresponding action of the flush lever to confirm that the installation is successful.
By following these steps to install the new handle, you'll seamlessly integrate a fresh and functional component into your toilet, enhancing its overall performance and visual appeal. With the new handle securely in place and the toilet's functionality restored, you're now ready to proceed to the next step: reconnecting the water supply. Let's continue our journey toward a fully functional and aesthetically pleasing toilet as we move forward with confidence and precision.
Step 6: Reconnect the Water Supply
With the new handle successfully installed and the toilet's functionality restored, the next crucial step is to reconnect the water supply, allowing the toilet to resume its normal operation. Follow these detailed steps to effectively reconnect the water supply:
-
Open the Shut-Off Valve: Locate the shut-off valve near the base of the toilet and turn it counterclockwise to gradually open the valve and restore the water flow to the toilet. Ensure a gradual and controlled opening to prevent sudden pressure surges in the water lines.
-
Monitor for Leaks: As the water supply is restored, carefully monitor the area around the shut-off valve and the base of the toilet for any signs of leaks. Inspect the valve and the water supply line for any drips or moisture, and promptly address any leaks if they are detected.
-
Check the Tank Fill Level: With the water supply reconnected, allow the toilet tank to fill to its appropriate level. Listen for the sound of running water and observe the tank's fill valve to ensure that it operates smoothly and shuts off properly once the tank is filled.
-
Inspect the Handle Operation: Test the newly installed handle by gently pressing it to initiate a flush. Observe the handle's movement and the corresponding action of the flush lever to confirm that the handle operates smoothly and effectively now that the water supply has been restored.
-
Adjust the Water Level (If Necessary): If the tank fill level appears too high or too low, adjust the water level in the tank using the float or fill valve mechanism. Follow the manufacturer's guidelines for making precise adjustments to achieve the optimal water level for efficient flushing.
-
Ensure Proper Functionality: Perform multiple flush tests to ensure that the handle, flush lever, and internal components work harmoniously, resulting in consistent and effective flushing action. Verify that the toilet refills properly after each flush, maintaining the correct water level in the tank.
By following these steps to reconnect the water supply, you'll finalize the handle replacement process and ensure that the toilet operates seamlessly and efficiently. With the water supply successfully restored and the handle functioning flawlessly, you've completed the essential steps to rejuvenate your toilet with a new handle. Now, with the water supply reconnected and the toilet fully operational, you can enjoy the satisfaction of a smoothly functioning and aesthetically pleasing toilet.
Read more: How To Get Rid Of Toilet Ring
Step 7: Test the New Handle
With the new handle securely installed and the water supply reconnected, it's essential to perform a series of tests to ensure that the handle functions as intended and that the toilet operates smoothly. Testing the new handle is a critical step that allows you to verify its performance and make any necessary adjustments before considering the project complete.
Here's a detailed guide on how to effectively test the new handle:
-
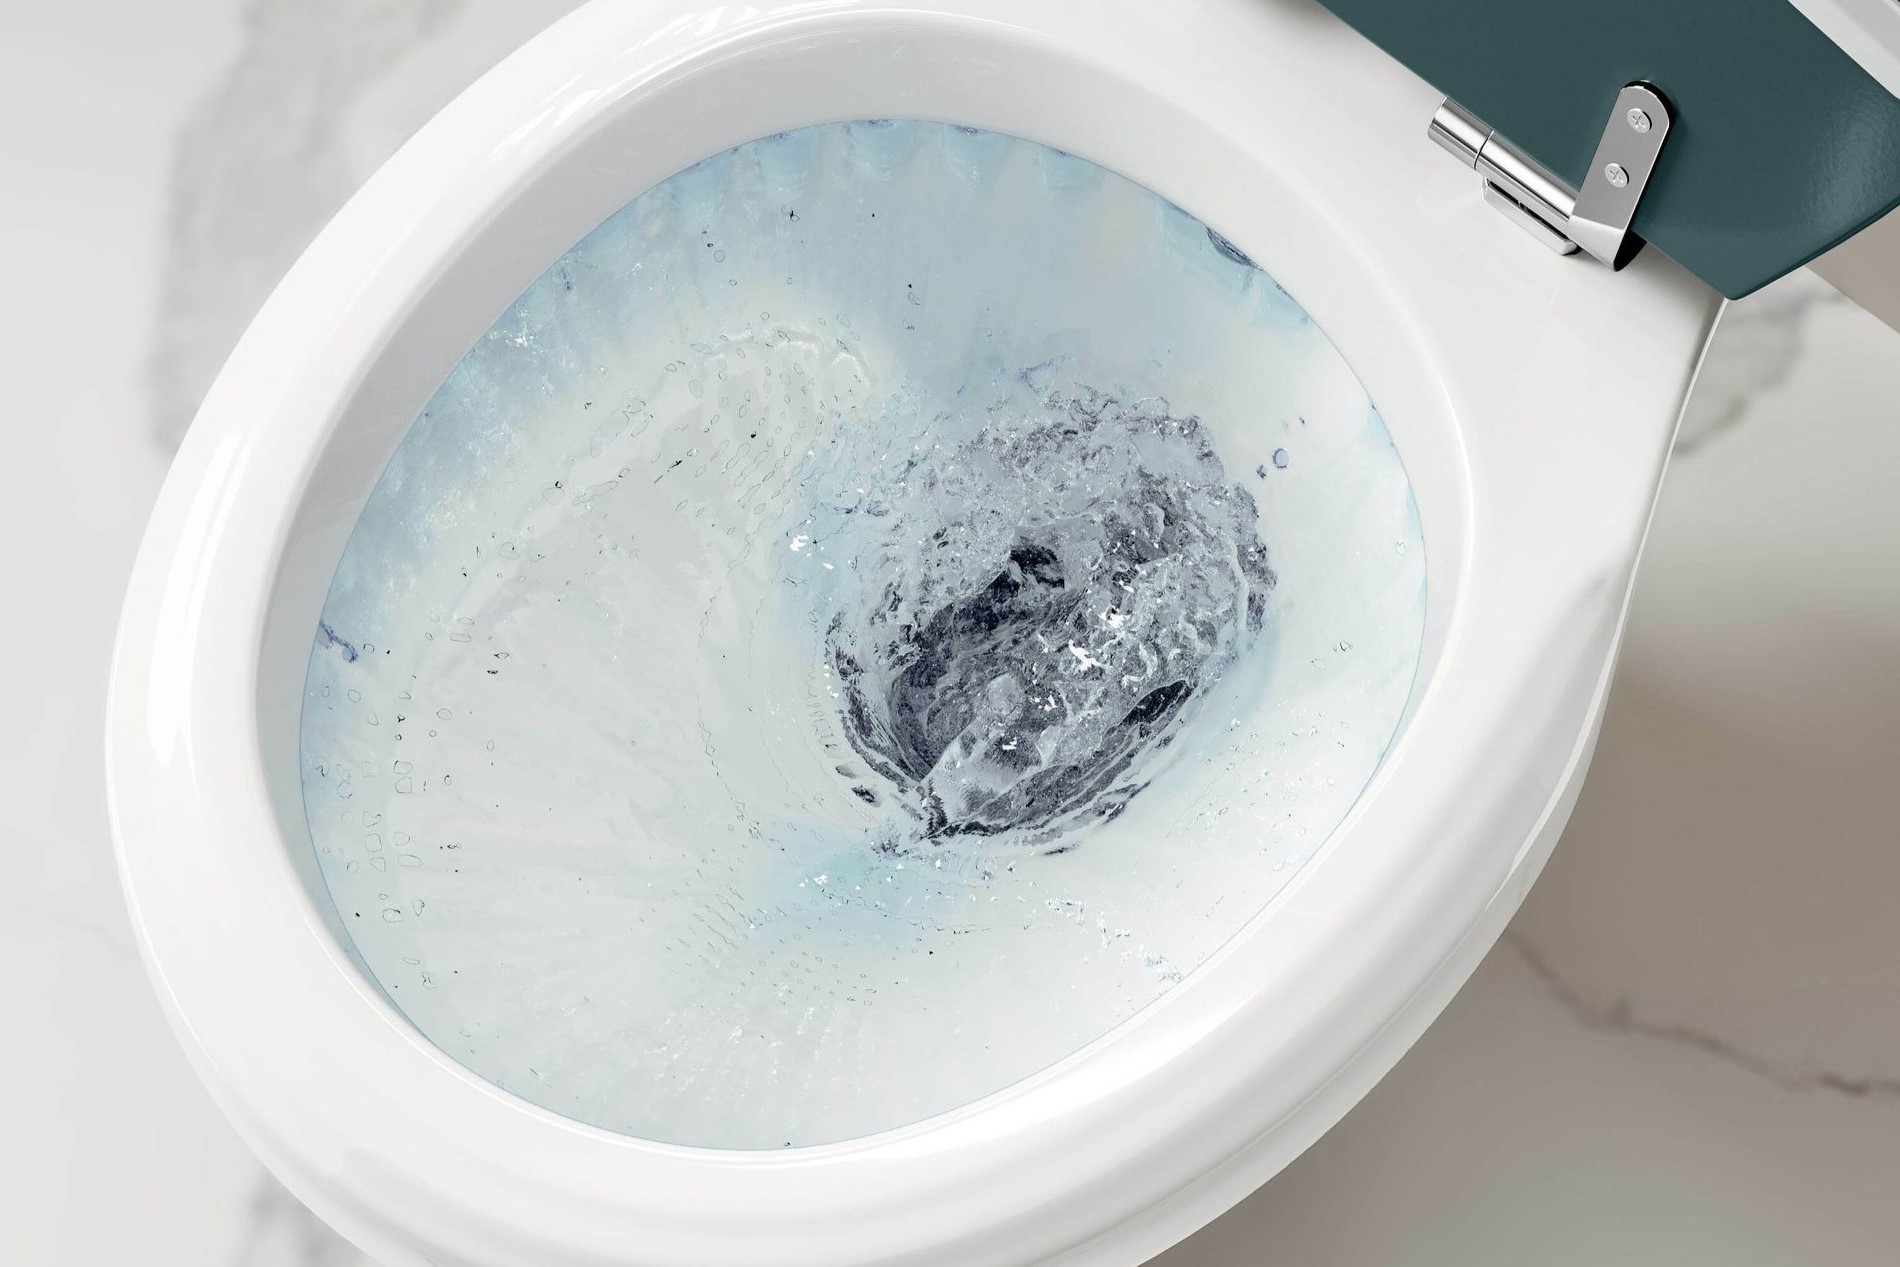
Flush Testing: Begin by testing the new handle's functionality through multiple flushes. Gently press the handle to initiate a flush and observe the corresponding action of the flush lever and internal components. Pay close attention to the handle's responsiveness and the smoothness of the flushing action. Verify that the handle effectively activates the flush mechanism and that the toilet flushes with ease.
-
Handle Resistance: Assess the resistance of the new handle during operation. The handle should move smoothly and without excessive effort when initiating a flush. If the handle feels stiff or requires significant force to activate the flush, it may indicate an improper installation or alignment issue. Make any necessary adjustments to ensure that the handle moves effortlessly and functions optimally.
-
Flush Consistency: Test the new handle for flush consistency by performing consecutive flushes. Observe whether the handle consistently triggers a complete and efficient flush cycle. Verify that the flush lever returns to its original position after each flush, indicating proper reset and readiness for the next use. Consistent and reliable flushing is essential for the overall functionality of the toilet.
-
Water Flow and Refill: Monitor the water flow and refill process after each flush. Listen for the sound of running water as the tank refills and ensure that the fill valve operates smoothly, shutting off at the appropriate water level. Observe the tank fill level to confirm that it aligns with the manufacturer's recommended specifications, allowing for efficient and effective flushing.
-
Handle Alignment: Check the alignment of the new handle and its positioning relative to the toilet tank. Ensure that the handle sits securely in place and that its orientation facilitates comfortable and intuitive use. Proper handle alignment contributes to user convenience and enhances the overall aesthetic appeal of the toilet.
-
Addressing Issues: If any issues or irregularities are identified during the testing process, such as inconsistent flushing, handle misalignment, or resistance during operation, take the necessary steps to address these concerns. This may involve repositioning the handle, adjusting the flush lever, or inspecting the internal components for any potential issues.
By meticulously testing the new handle and addressing any identified issues, you'll ensure that the toilet operates optimally and that the handle provides a seamless and reliable flushing experience. This thorough testing process allows you to fine-tune the handle's performance and make any adjustments needed to achieve consistent and efficient flushing action.
With the new handle successfully tested and any potential issues addressed, you can take pride in the completion of the handle replacement project, knowing that your toilet now boasts a functional and visually appealing upgrade. The successful testing of the new handle marks the culmination of the handle replacement process, and you can now enjoy the satisfaction of a fully functional and rejuvenated toilet.
Conclusion
In conclusion, the process of replacing a toilet handle is a manageable and rewarding home improvement project that can significantly enhance the functionality and aesthetics of your bathroom. By following the step-by-step guide outlined in this article, you've gained the knowledge and confidence to successfully undertake this task, whether you're a seasoned DIY enthusiast or a first-time homeowner looking to tackle a practical project.
Throughout the handle replacement process, you've learned the importance of gathering the necessary tools and materials, turning off the water supply, removing the tank lid, disconnecting the old handle, installing the new handle, reconnecting the water supply, and thoroughly testing the new handle. Each step has contributed to the seamless and effective rejuvenation of your toilet, ensuring that it operates smoothly and looks visually appealing with the addition of the new handle.
By carefully following the detailed instructions and taking a proactive approach to each phase of the process, you've not only upgraded your toilet with a new handle but also gained valuable insights into basic plumbing tasks and home maintenance. This hands-on experience can empower you to tackle future projects with confidence and a sense of accomplishment.
Furthermore, the successful completion of the handle replacement project reflects your commitment to maintaining a functional and well-maintained home environment. Whether you undertook this project as part of a broader home improvement initiative or simply to address a specific issue with your toilet, the results speak to your dedication to creating a comfortable and aesthetically pleasing living space.
As you reflect on the journey from gathering the necessary tools to testing the new handle, you can take pride in the practical skills you've developed and the tangible impact you've made on your home. The newly installed handle serves as a testament to your ability to take on practical tasks and enhance the functionality of your living space.
In the end, the successful replacement of the toilet handle not only contributes to the efficient operation of your bathroom fixtures but also adds a touch of personal care and attention to your home. With the completion of this project, you've taken a proactive step toward maintaining a well-functioning and visually appealing bathroom, setting the stage for future home improvement endeavors.
Congratulations on successfully replacing the toilet handle and embracing the rewarding experience of DIY home maintenance. As you enjoy the benefits of a rejuvenated toilet, may this project inspire you to continue exploring new opportunities for enhancing your living environment and honing your practical skills.