Home>Home and Garden>How To Replace Battery In Key Fob
Home and Garden
How To Replace Battery In Key Fob
Published: February 28, 2024
Learn how to easily replace the battery in your key fob with our step-by-step guide. Keep your home and garden secure with this simple maintenance task.
(Many of the links in this article redirect to a specific reviewed product. Your purchase of these products through affiliate links helps to generate commission for Noodls.com, at no extra cost. Learn more)
Table of Contents
Introduction
Replacing the battery in a key fob is a simple yet essential task that can save you from the inconvenience of being locked out of your car. Key fobs, also known as remote keyless entry systems, provide a convenient way to lock, unlock, and even start your vehicle without physically inserting a key into the door or ignition. However, when the battery in your key fob starts to weaken, you may notice a decrease in its range and responsiveness. This is a clear sign that it's time to replace the battery.
In this guide, we will walk you through the step-by-step process of replacing the battery in your key fob. Whether you drive a modern vehicle equipped with advanced keyless entry technology or an older model with a traditional remote, the procedure for replacing the battery is generally straightforward. By following these simple instructions, you can ensure that your key fob continues to function reliably, providing you with seamless access to your vehicle.
Now, let's gather the necessary tools and get ready to embark on this quick and practical maintenance task.
Read more: How To Change Nissan Key Fob Battery
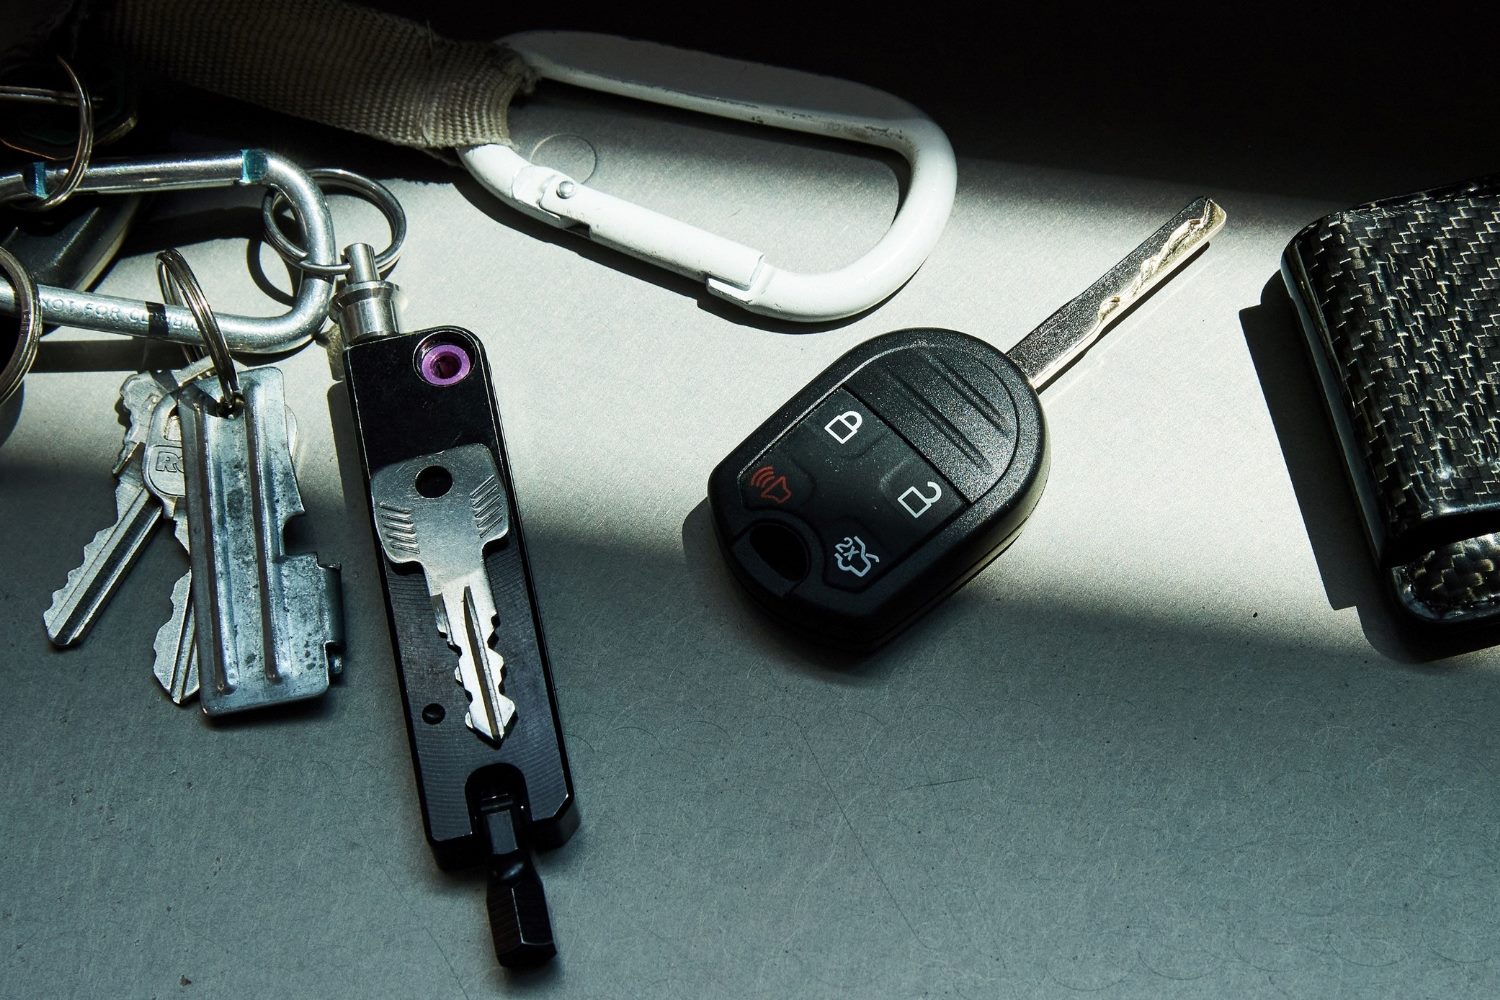
Step 1: Gather Necessary Tools
Before beginning the process of replacing the battery in your key fob, it's essential to gather the necessary tools to ensure a smooth and efficient experience. Here's what you'll need:
-
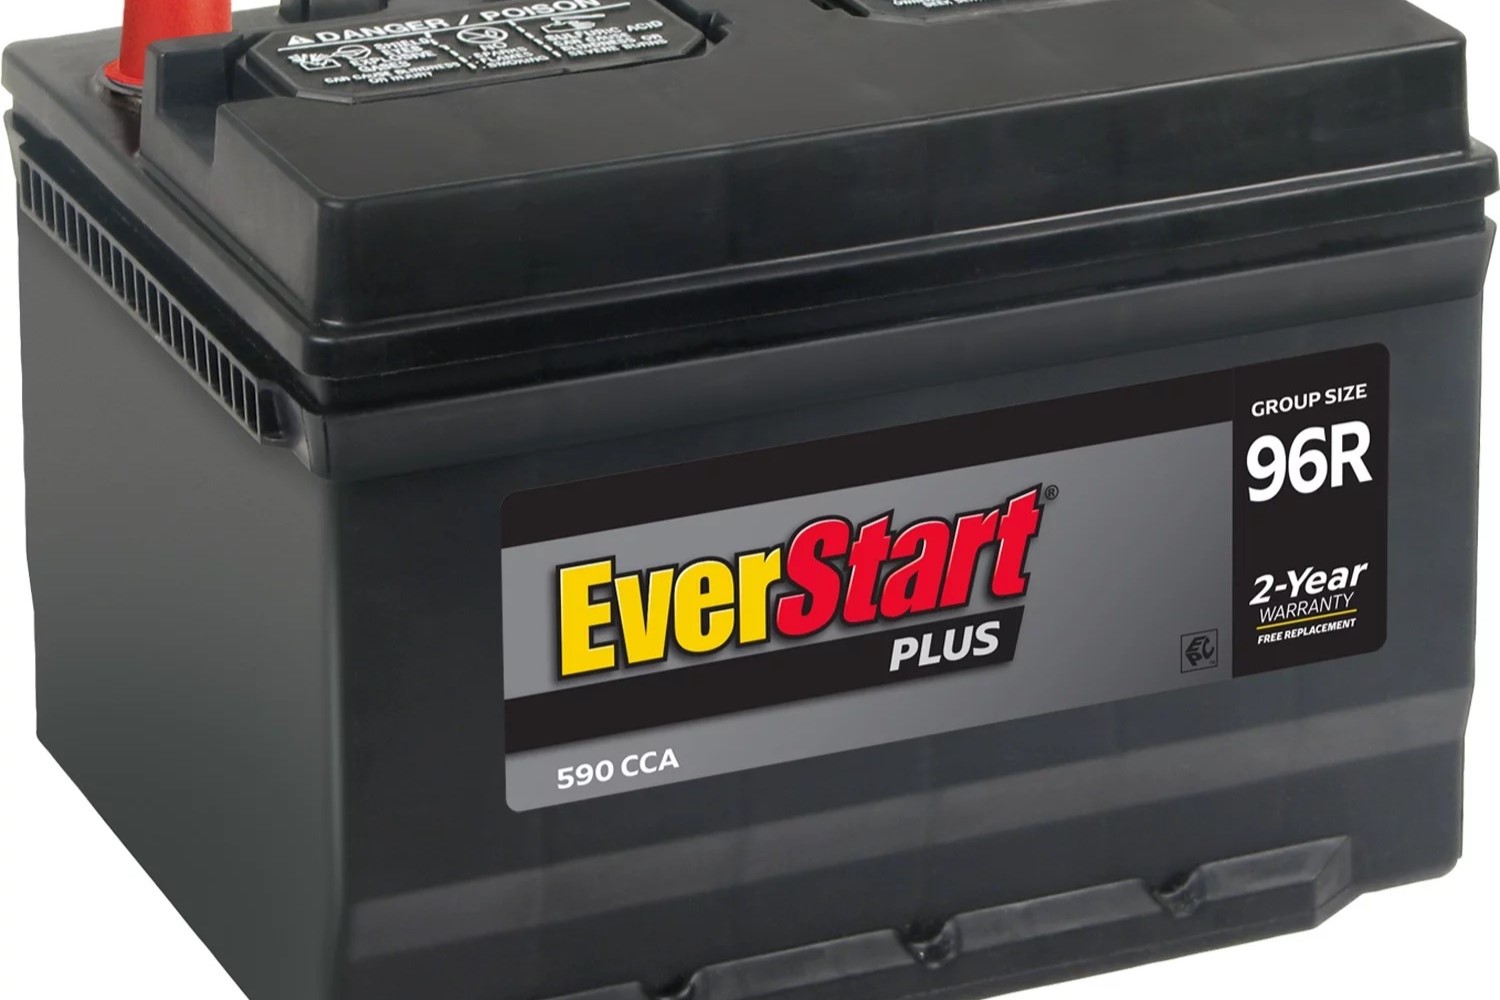
Replacement Battery: The first and most crucial item you'll need is the replacement battery for your specific key fob model. Key fob batteries come in various types, such as CR2032 or CR2025, depending on the make and model of your vehicle. It's important to verify the correct battery type to avoid any compatibility issues.
-
Small Flat-Head Screwdriver or Key Fob Opening Tool: In most cases, you'll require a small flat-head screwdriver or a specialized key fob opening tool to pry open the key fob casing. Some key fobs have a seam along the edge that can be gently pried open, while others may have a small screw securing the casing.
-
Clean Cloth or Tissue: Having a clean cloth or tissue on hand can be helpful for wiping any dust or debris from the key fob components, ensuring that the interior remains free from contaminants during the battery replacement process.
-
Work Surface: Find a well-lit and stable work surface to perform the battery replacement. This will help prevent small components from getting lost and provide a comfortable space to work on the key fob.
-
Optional: Magnifying Glass or Smartphone Camera: For individuals with visual impairments or those who prefer to document the disassembly process, a magnifying glass or smartphone camera can be useful for examining small details and capturing reference images.
By gathering these essential tools, you'll be well-prepared to proceed with confidence as you embark on the journey of replacing the battery in your key fob. With these items at your disposal, you can ensure a hassle-free experience and maintain the seamless functionality of your key fob.
Step 2: Open the Key Fob
Opening the key fob is the crucial first step in accessing the internal components and replacing the battery. While the specific method for opening a key fob can vary based on the make and model of your vehicle, the general process remains consistent. Here's a detailed guide to help you open your key fob safely and effectively:
-
Identify the Seam: Examine the perimeter of the key fob to locate the seam where the two halves of the casing meet. In some key fob models, the seam may be discreetly hidden along the edge, while others may have a visible separation point.
-
Use a Flat-Head Screwdriver or Key Fob Opening Tool: If the key fob has a visible seam, gently insert a small flat-head screwdriver or a specialized key fob opening tool into the seam. Apply gentle pressure to pry open the casing. Be cautious to avoid using excessive force, as this may damage the casing or internal components.
-
Check for Retaining Screws: In some key fob designs, particularly those with a more compact and secure casing, there may be small retaining screws holding the two halves together. If your key fob has retaining screws, use an appropriate screwdriver to carefully remove them before attempting to open the casing.
-
Mindful Separation: As the casing begins to open, proceed with care to prevent any internal components from falling out or becoming dislodged. Slowly work your way around the perimeter, gently separating the two halves of the key fob casing.
-
Inspect for Hidden Latches: Some key fobs may feature hidden latches or additional securing mechanisms within the casing. If you encounter resistance while attempting to open the key fob, inspect for any concealed latches or tabs that may require release before the casing can be fully opened.
-
Secure the Casing Halves: Once the key fob casing is open, take note of any buttons or internal components that may be loosely held in place. Ensure that the casing halves are secured to prevent accidental displacement of components.
By following these steps, you can successfully open your key fob without causing damage to the casing or internal components. Remember to exercise patience and precision throughout the process to maintain the integrity of your key fob. With the key fob casing open, you're now ready to proceed to the next step of replacing the battery, ensuring that your key fob continues to provide reliable access to your vehicle.
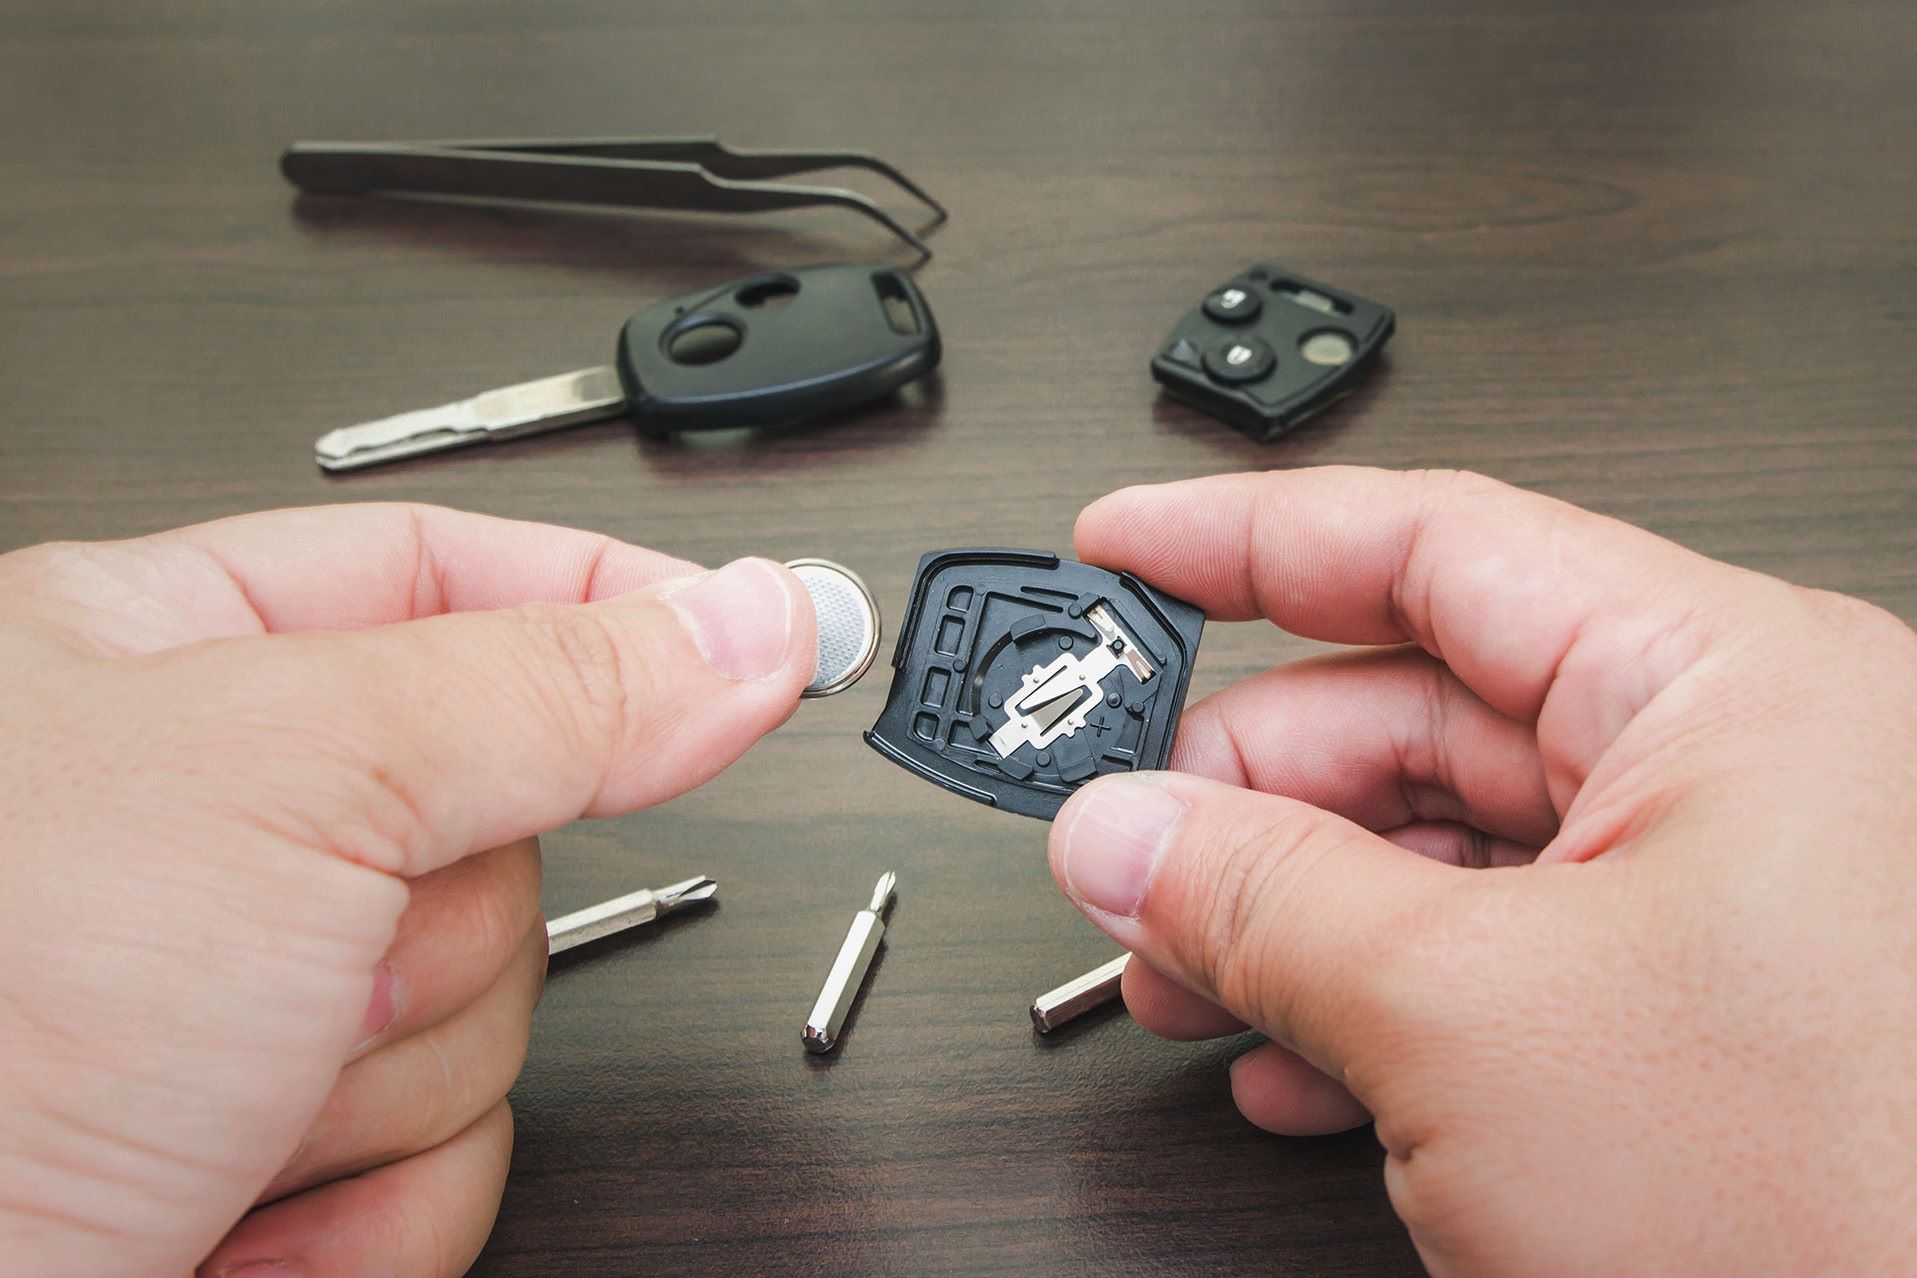
Step 3: Remove the Old Battery
With the key fob casing open, the next crucial step is to carefully remove the old battery from its housing. This process requires precision and attention to detail to prevent damage to the key fob components. Here's a detailed guide to help you navigate the removal of the old battery:
-
Identify the Battery Placement: Once the key fob casing is open, locate the position of the old battery within the housing. In most key fob models, the battery is readily visible and easily accessible once the casing is opened. Take note of the orientation of the battery, including its positive (+) and negative (-) terminals.
-
Use Caution: Before proceeding, it's essential to handle the key fob and its components with care. Avoid applying excessive force or using sharp tools that may cause damage to the battery or surrounding components. Additionally, be mindful of any small components or buttons within the key fob casing to prevent accidental displacement.
-
Remove the Old Battery: Depending on the design of the key fob, the old battery may be secured in place by a small retaining clip or housing. Gently release any securing mechanism, if present, to allow for the safe removal of the old battery. Using your fingers or a non-metallic tool, carefully lift the old battery out of its housing, taking care not to damage the surrounding components or circuitry.
-
Dispose of the Old Battery: Once the old battery has been removed, it's important to handle it according to proper disposal guidelines. Key fob batteries are typically lithium-based and should be disposed of in accordance with local regulations for hazardous waste. Consider recycling options for used batteries to minimize environmental impact.
-
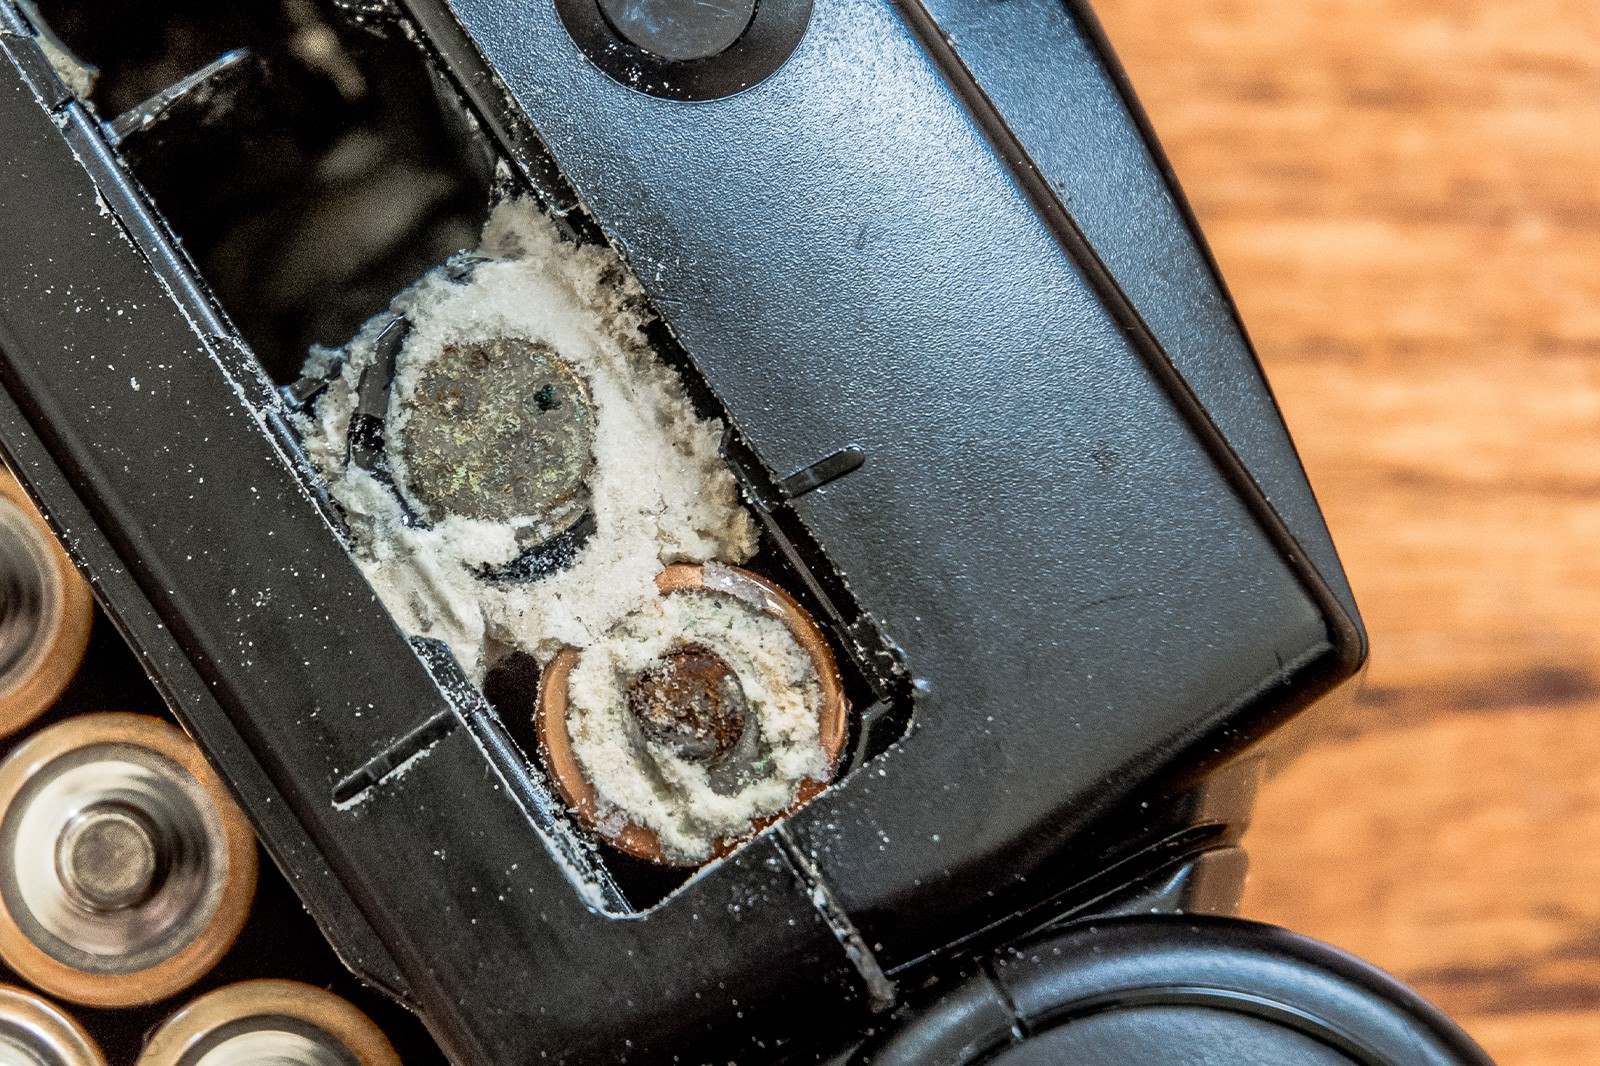
Inspect the Battery Compartment: With the old battery removed, take a moment to inspect the battery compartment for any signs of corrosion or debris. If any corrosion is present, use a cotton swab lightly dampened with rubbing alcohol to gently clean the contacts and ensure a clean connection for the new battery.
By following these steps, you can safely and effectively remove the old battery from your key fob, setting the stage for the next phase of the battery replacement process. With the old battery removed and proper disposal measures taken, you're now ready to proceed to the pivotal step of inserting the new battery into your key fob, restoring its functionality and ensuring seamless access to your vehicle.
Step 4: Insert the New Battery
With the old battery successfully removed from the key fob, the next critical step is to insert the new battery, restoring power to the device and ensuring its continued functionality. Follow these detailed instructions to seamlessly integrate the new battery into your key fob:
-
Verify Battery Orientation: Before inserting the new battery, carefully examine its positive (+) and negative (-) terminals. Ensure that you align the orientation of the new battery with the corresponding markings or indicators within the battery compartment. Placing the battery in the correct orientation is essential for proper functionality and prevents potential damage to the key fob circuitry.
-
Gently Place the New Battery: Using clean hands or non-metallic gloves, gently position the new battery into the designated housing within the key fob. Apply gentle pressure to ensure that the battery sits securely in place, making full contact with the electrical contacts within the compartment. Avoid using excessive force, as this may damage the battery or surrounding components.
-
Secure the Battery: If the key fob design incorporates a retaining clip or housing to secure the battery in place, carefully engage the securing mechanism to hold the new battery firmly within the compartment. Verify that the battery is stably positioned and does not move freely within the housing, as this could lead to intermittent connectivity issues.
-
Inspect for Proper Fit: After inserting the new battery, visually inspect the battery compartment to confirm that the battery is seated correctly and that there are no obstructions preventing the casing from closing securely. Ensure that the battery sits flush within the compartment, allowing the key fob casing to be reassembled without interference.
-
Test Key Fob Functionality: Before closing the key fob casing, take a moment to test the functionality of the key fob with the new battery in place. Press the buttons to verify that the key fob responds as expected, indicating that the new battery is providing adequate power. This simple test ensures that the battery replacement has been successful and that the key fob is ready for use.
By following these steps, you can seamlessly integrate the new battery into your key fob, restoring its power source and ensuring continued reliability. With the new battery securely in place, you're now prepared to proceed to the final step of closing the key fob casing, completing the battery replacement process and maintaining seamless access to your vehicle.
Step 5: Close the Key Fob
After successfully replacing the battery in your key fob, the final step is to securely close the key fob casing, ensuring that all components are properly aligned and protected. Follow these detailed instructions to complete the battery replacement process and restore your key fob to full functionality:
-
Align the Casing Halves: With the new battery in place, carefully align the two halves of the key fob casing, ensuring that the buttons, internal components, and battery sit comfortably within their designated spaces. Take care to align any key fob logos or markings to maintain a uniform appearance once the casing is closed.
-
Apply Gentle Pressure: Once aligned, apply gentle pressure around the perimeter of the key fob casing to encourage the two halves to come together. Be mindful of any resistance or misalignment, as this may indicate that internal components are not positioned correctly. Avoid using excessive force, as this can damage the casing or lead to misalignment of components.
-
Listen for Clicks or Snaps: As you gently press the casing halves together, listen for audible clicks or snaps, indicating that the casing is securely fastened. Some key fobs may feature locking tabs or mechanisms that produce a distinct sound when engaged, providing assurance that the casing is properly closed.
-
Verify Seamless Closure: After applying pressure and listening for secure fastening, visually inspect the key fob to ensure that the casing is closed seamlessly without any visible gaps or misalignment. A uniform and flush closure indicates that the internal components are protected and that the key fob is ready for use.
-
Test Key Fob Functionality: Once the key fob casing is closed, perform a final test of the key fob functionality to verify that all buttons respond as expected. Press each button to ensure that the key fob communicates with the vehicle, confirming that the battery replacement has been completed successfully.
By following these steps, you can confidently close the key fob casing, completing the battery replacement process and ensuring the continued reliability of your key fob. With the casing securely fastened and the key fob fully functional, you can enjoy seamless access to your vehicle, knowing that the battery replacement has been carried out with precision and care.
Conclusion
Congratulations! By following the step-by-step guide outlined in this article, you have successfully replaced the battery in your key fob, ensuring that it continues to provide reliable access to your vehicle. This simple yet essential maintenance task can save you from the inconvenience of being locked out of your car and ensures that your key fob functions seamlessly.
As you reflect on the process, it's important to recognize the significance of regular key fob maintenance. By staying proactive and addressing the battery replacement promptly, you have taken a proactive approach to preserving the functionality of your key fob. This proactive mindset can extend the lifespan of your key fob and prevent unexpected disruptions in its performance.
Moreover, the process of replacing the key fob battery serves as a reminder of the interconnectedness between modern vehicle technology and user maintenance. While key fobs offer unparalleled convenience and security, they rely on a reliable power source to function optimally. By understanding the key fob's internal components and taking the time to perform a battery replacement, you have gained valuable insight into the inner workings of this essential vehicle accessory.
Beyond the practical benefits, engaging in the battery replacement process fosters a sense of empowerment and self-sufficiency. By mastering this straightforward task, you have demonstrated your ability to maintain and care for an integral component of your vehicle, contributing to a sense of ownership and responsibility for its upkeep.
Looking ahead, remember to keep a watchful eye on the performance of your key fob. As the new battery powers the device, take note of its responsiveness and range, ensuring that it continues to meet your expectations. Additionally, consider setting a reminder to periodically check the battery status and replace it as needed, proactively addressing any signs of diminished performance.
In closing, the successful replacement of your key fob battery exemplifies your commitment to vehicle maintenance and your ability to navigate essential tasks with confidence. By staying attuned to the needs of your key fob and addressing them promptly, you can enjoy uninterrupted access to your vehicle, knowing that you are well-equipped to handle the maintenance needs of this indispensable device.