Home>Home and Garden>How To Replace The Battery In Your Smoke Detector
Home and Garden
How To Replace The Battery In Your Smoke Detector
Published: March 4, 2024
Learn how to replace the battery in your smoke detector with our easy step-by-step guide. Keep your home safe and secure with this simple home and garden maintenance task.
(Many of the links in this article redirect to a specific reviewed product. Your purchase of these products through affiliate links helps to generate commission for Noodls.com, at no extra cost. Learn more)
Table of Contents
Introduction
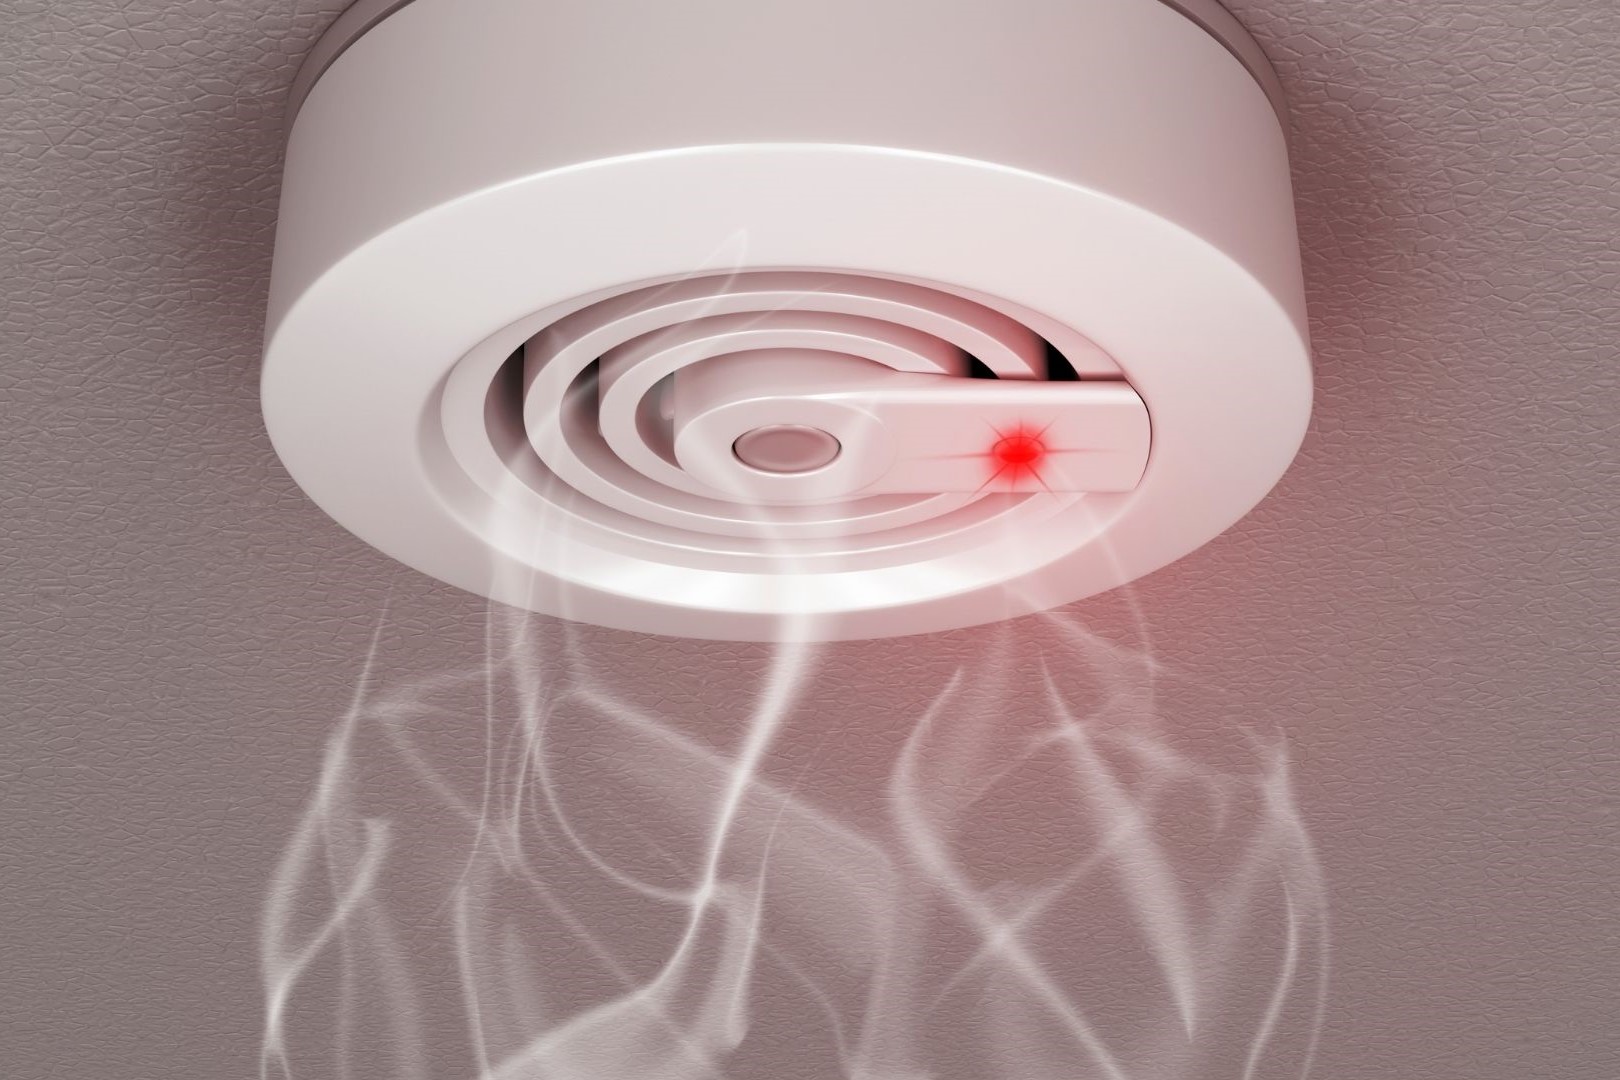
Smoke detectors are essential safety devices that provide early warnings of potential fires, helping to protect lives and property. Regular maintenance of smoke detectors, including battery replacement, is crucial to ensure their proper functioning. In this guide, we will walk you through the step-by-step process of replacing the battery in your smoke detector. By following these instructions, you can ensure that your smoke detector remains in optimal working condition, providing you and your loved ones with peace of mind.
A smoke detector's battery typically requires replacement at least once a year to guarantee reliable operation. However, it's important to note that some models may have different requirements, so it's always best to consult the manufacturer's instructions for specific guidance. By taking the time to perform this simple maintenance task, you can rest assured that your smoke detector will continue to effectively alert you to the presence of smoke or fire, allowing you to take prompt action and potentially avert a disaster.
Whether you're a new homeowner or have been living in your current residence for years, knowing how to replace the battery in your smoke detector is a fundamental skill that can make a significant difference in safeguarding your home and family. With the right tools and a clear understanding of the process, you can easily complete this task in just a few minutes. So, let's get started and ensure that your smoke detector is always ready to fulfill its vital role in protecting your household.
Step 1: Gather Necessary Tools and Materials
Before beginning the process of replacing the battery in your smoke detector, it's essential to gather the required tools and materials. By ensuring that you have everything at hand, you can streamline the task and avoid interruptions, making the process more efficient. Here's what you'll need:
Tools and Materials:
-
New Battery: Check the manufacturer's instructions for the specific type of battery recommended for your smoke detector. Common options include 9-volt or lithium batteries. Ensure that the replacement battery is fresh and has not expired to guarantee optimal performance.
-
Step Stool or Ladder: Depending on the placement of your smoke detector, you may need a step stool or ladder to safely access it. Ensure that the stool or ladder is stable and secure before climbing.
-
Screwdriver: In some models of smoke detectors, a screwdriver may be required to open the device and access the battery compartment. Verify the type and size of screwdriver needed based on the detector's design.
-
Cleaning Cloth: It's a good practice to have a cleaning cloth or tissue on hand to wipe any dust or debris from the smoke detector during the battery replacement process. This helps maintain the device's sensitivity and ensures accurate detection.
-
Safety Equipment: While not directly related to the battery replacement, it's always wise to have safety equipment nearby, such as gloves and a dust mask, especially if the smoke detector is located in a dusty or hard-to-reach area.
By gathering these essential tools and materials, you can prepare yourself for a smooth and hassle-free battery replacement process. Having everything readily available will minimize the chances of delays or complications, allowing you to focus on efficiently completing each step of the replacement procedure. Now that you have all the necessary items, you're ready to move on to the next step and begin the battery replacement process for your smoke detector.
Step 2: Remove the Smoke Detector from the Ceiling or Wall
Removing the smoke detector from its placement on the ceiling or wall is a crucial step in the battery replacement process. Before proceeding, it's important to ensure your safety by following best practices for working at heights and handling electrical devices. Here's a detailed guide on how to safely remove the smoke detector:
-
Turn Off the Power: If your smoke detector is hardwired to the electrical system, it's essential to turn off the power supply before attempting to remove it. Locate the circuit breaker or fuse that controls the smoke detector and switch it off to prevent any electrical hazards during the removal process.
-
Use a Stable Platform: If the smoke detector is mounted on the ceiling, use a sturdy step stool or ladder to reach it safely. Ensure that the ladder or stool is placed on a level surface and is secure before climbing. For wall-mounted detectors, position yourself comfortably to access the device without straining.
-
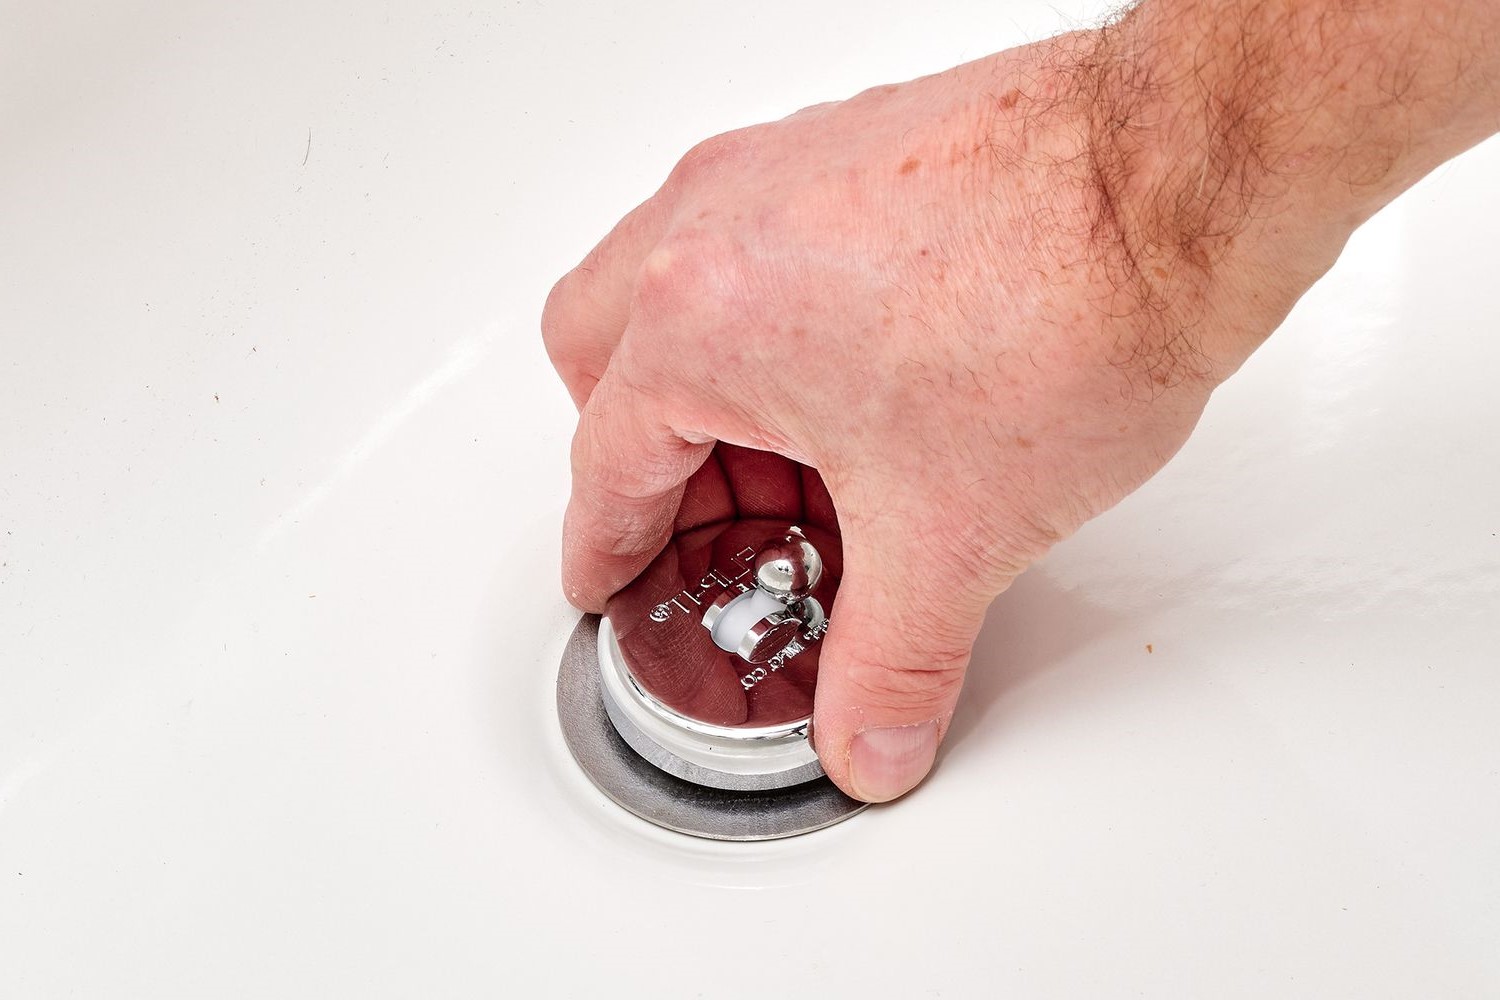
Twist and Release: Most smoke detectors are designed with a twist-and-lock mechanism for easy removal. Gently twist the detector counterclockwise to release it from its mounting base. If the detector is hardwired, carefully disconnect the electrical connector before fully detaching it from the base.
-
Handle with Care: As you remove the smoke detector, handle it with care to avoid damaging any internal components. If the detector is connected to electrical wires, ensure that you support the device while disconnecting the wiring to prevent strain on the connections.
-
Inspect for Dust or Debris: While the smoke detector is removed, take a moment to inspect it for any accumulated dust or debris. Use a cleaning cloth or tissue to gently wipe the exterior of the detector, ensuring that the sensor chamber and vents are free from obstructions. This simple maintenance step can enhance the detector's sensitivity and overall performance.
By following these steps, you can safely remove the smoke detector from the ceiling or wall, setting the stage for the subsequent battery replacement process. Taking the time to perform this task with caution and attention to detail ensures that the detector is handled properly and that you can proceed to the next steps confidently. Now that the smoke detector is in your hands, you're ready to move on to the next phase of the battery replacement process.
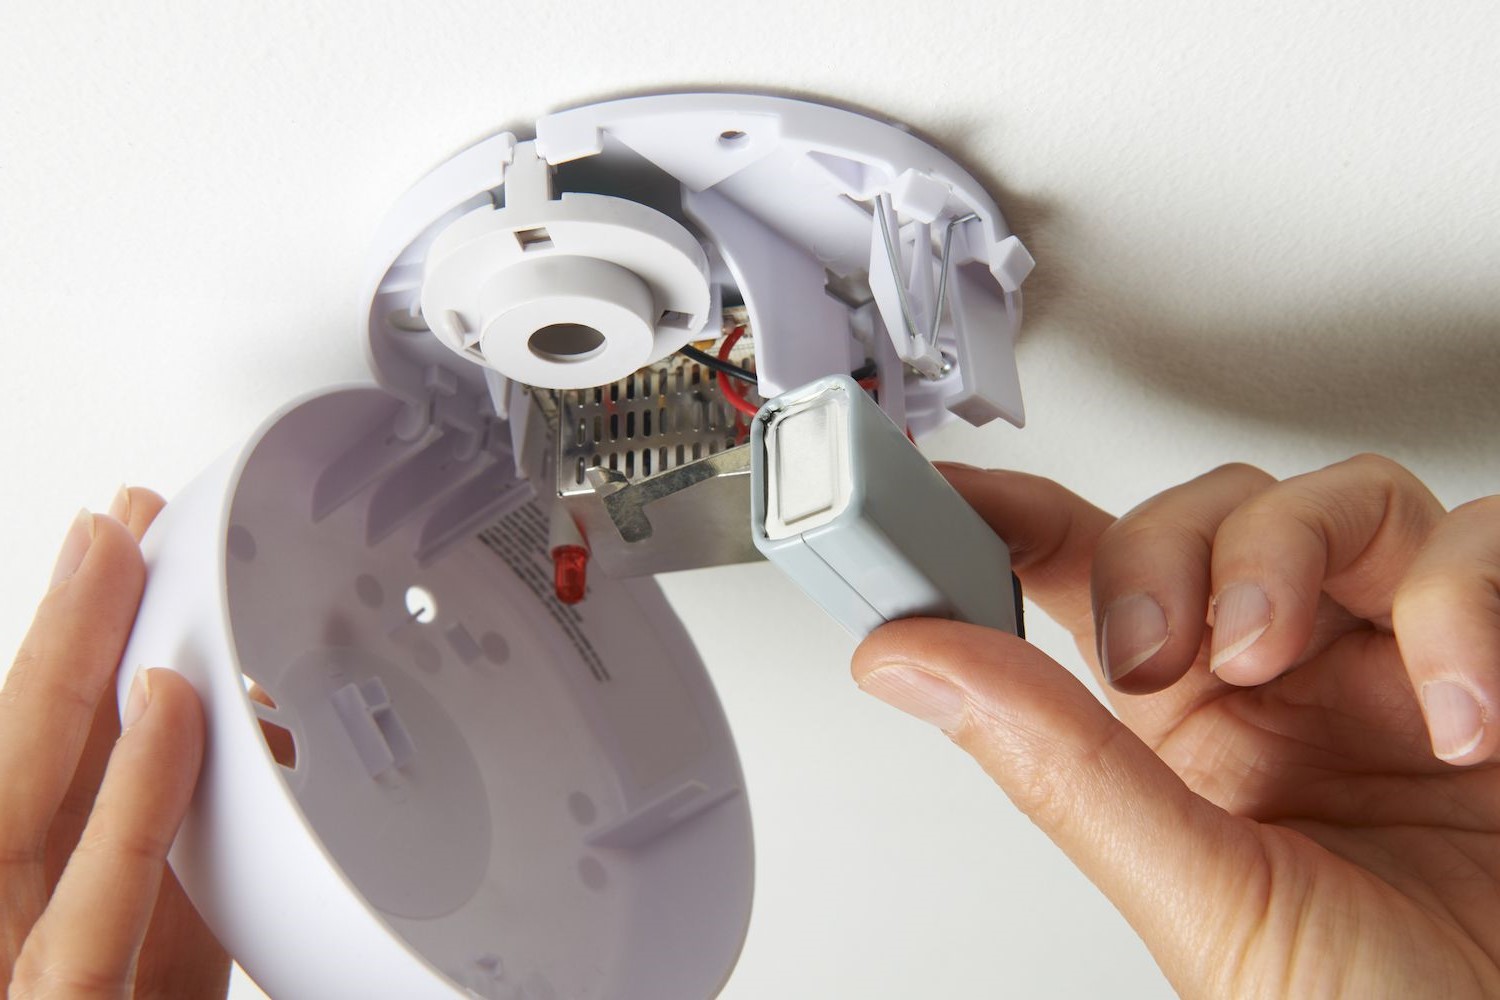
Step 3: Open the Smoke Detector and Remove the Old Battery
With the smoke detector safely removed from its mounting base, the next step is to open the device and access the old battery for replacement. This process may vary slightly depending on the model of your smoke detector, but the following general steps will guide you through the battery removal process:
-
Locate the Battery Compartment: Most smoke detectors have a clearly marked battery compartment, often located on the back or side of the device. In some models, the compartment may be secured with a small screw, while others feature a simple slide or push-to-open mechanism.
-
Open the Compartment: If the battery compartment has a screw, use the appropriate screwdriver to carefully loosen and remove it. For compartments with a slide or push-to-open design, follow the manufacturer's instructions to access the battery compartment.
-
Remove the Old Battery: Once the compartment is open, gently remove the old battery from its slot. Pay attention to the orientation of the battery and how it is positioned within the compartment, as this will guide you when inserting the new battery.
-
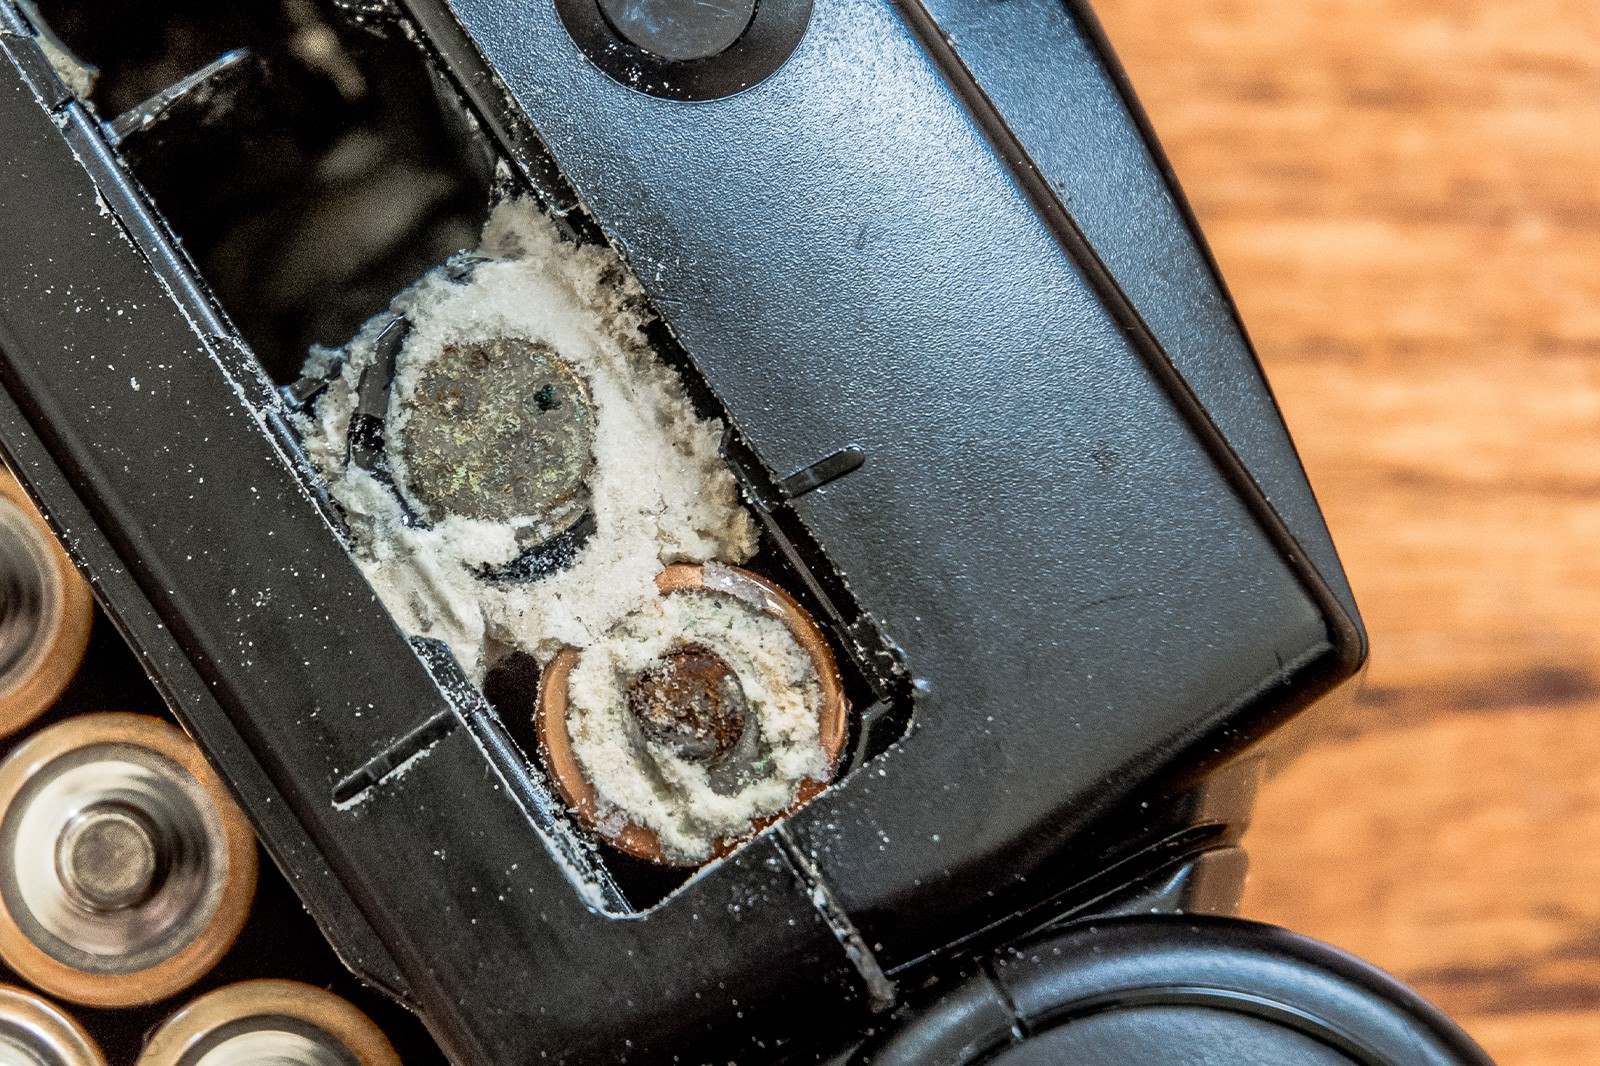
Inspect for Dust or Corrosion: While the battery is removed, take a moment to inspect the inside of the compartment for any signs of dust, corrosion, or debris. Use a clean, dry cloth to gently wipe the compartment, ensuring that it is free from any contaminants that may affect the performance of the new battery.
-
Dispose of the Old Battery Properly: It's important to dispose of the old battery in accordance with local regulations and guidelines. Many communities have designated recycling centers or drop-off locations for used batteries, ensuring that they are disposed of in an environmentally responsible manner.
By carefully following these steps, you can successfully open the smoke detector, remove the old battery, and prepare the device for the installation of a fresh, reliable power source. With the old battery safely removed, you're now ready to proceed to the next phase of the battery replacement process.
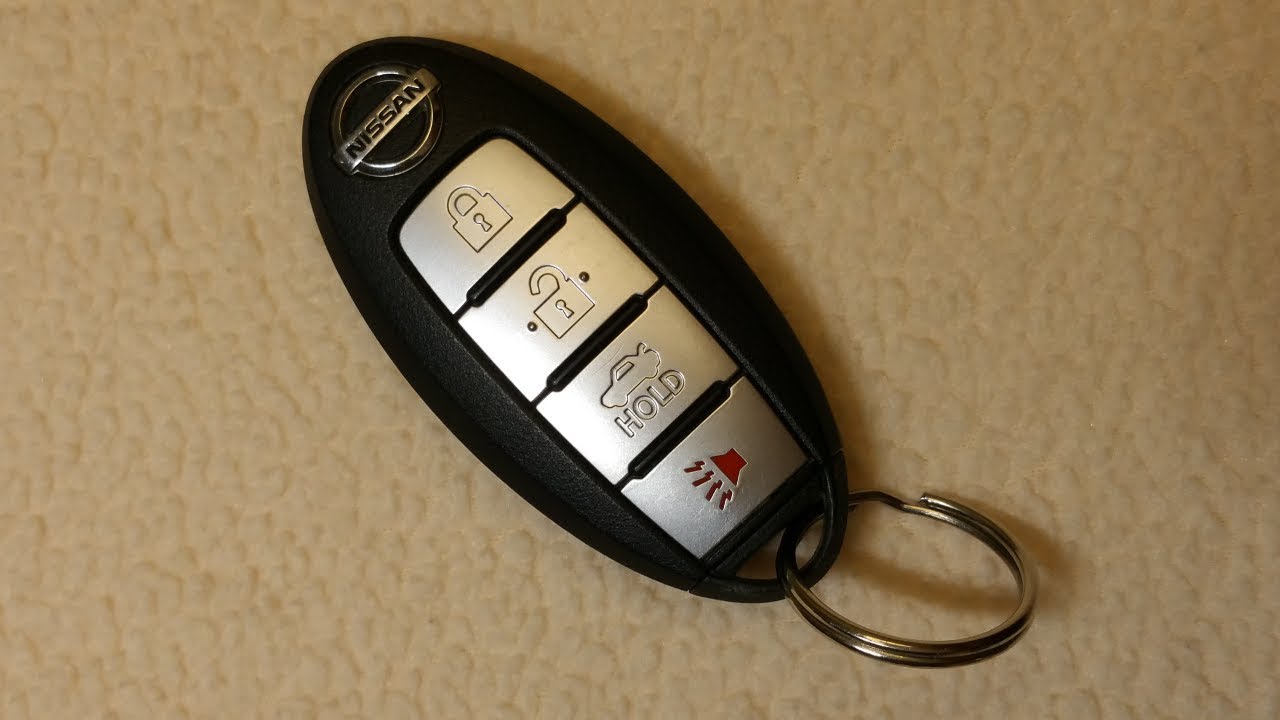
Read more: How To Replace Battery In Key Fob
Step 4: Insert the New Battery
With the old battery removed and the smoke detector's battery compartment accessible, it's time to insert the new battery. This step is crucial in ensuring that your smoke detector is equipped with a reliable power source to effectively detect smoke and alert you to potential fire hazards. Follow these detailed instructions to seamlessly install the new battery:
-
Select the Correct Battery: Refer to the manufacturer's instructions or the label inside the smoke detector to determine the specific type of battery required. Common options include 9-volt or lithium batteries. Ensure that the replacement battery is fresh and has not expired to guarantee optimal performance.
-
Position the New Battery: Orient the new battery according to the markings or diagram inside the battery compartment. Align the positive (+) and negative (-) terminals of the battery with the corresponding indicators in the compartment. Most smoke detectors have clear markings to guide you in positioning the battery correctly.
-
Secure the Battery: Gently place the new battery into the compartment, ensuring a snug fit. If the compartment features a snap-on cover or locking mechanism, follow the designated steps to secure the battery in place. Confirm that the battery is firmly seated and that there is no risk of it dislodging during reinstallation.
-
Close the Battery Compartment: If the battery compartment has a cover or door, carefully close and secure it according to the manufacturer's instructions. Ensure that the compartment is fully sealed to protect the battery and maintain the integrity of the smoke detector.
-
Test the Battery Connection: Before reassembling the smoke detector, it's advisable to briefly test the battery connection to confirm that the device powers on. Some smoke detectors emit a brief chirping sound when the battery is correctly installed, indicating that the power supply is established.
By meticulously following these steps, you can confidently insert the new battery into your smoke detector, setting the stage for the final phase of the battery replacement process. With the new battery in place, your smoke detector is poised to resume its critical role in safeguarding your home and loved ones from potential fire dangers.
Step 5: Reassemble the Smoke Detector and Test It
After successfully replacing the battery in your smoke detector, the final step involves reassembling the device and conducting a thorough test to ensure its proper functionality. This critical phase ensures that the smoke detector is securely reinstalled and ready to promptly alert you to any potential fire hazards. Follow these detailed instructions to complete the reassembly and testing process:
-
Secure the Smoke Detector: If the smoke detector features a twist-and-lock mounting mechanism, align it with the mounting base and gently twist it clockwise to secure it in place. For hardwired detectors, reconnect the electrical wiring in accordance with the manufacturer's instructions. Ensure that the detector is firmly attached to the mounting base and sits flush against the ceiling or wall.
-
Restore Power: If you had turned off the power supply before removing the smoke detector, carefully restore the power by switching the circuit breaker or fuse back on. This step is crucial for hardwired smoke detectors to ensure that they receive the necessary electrical supply for operation.
-
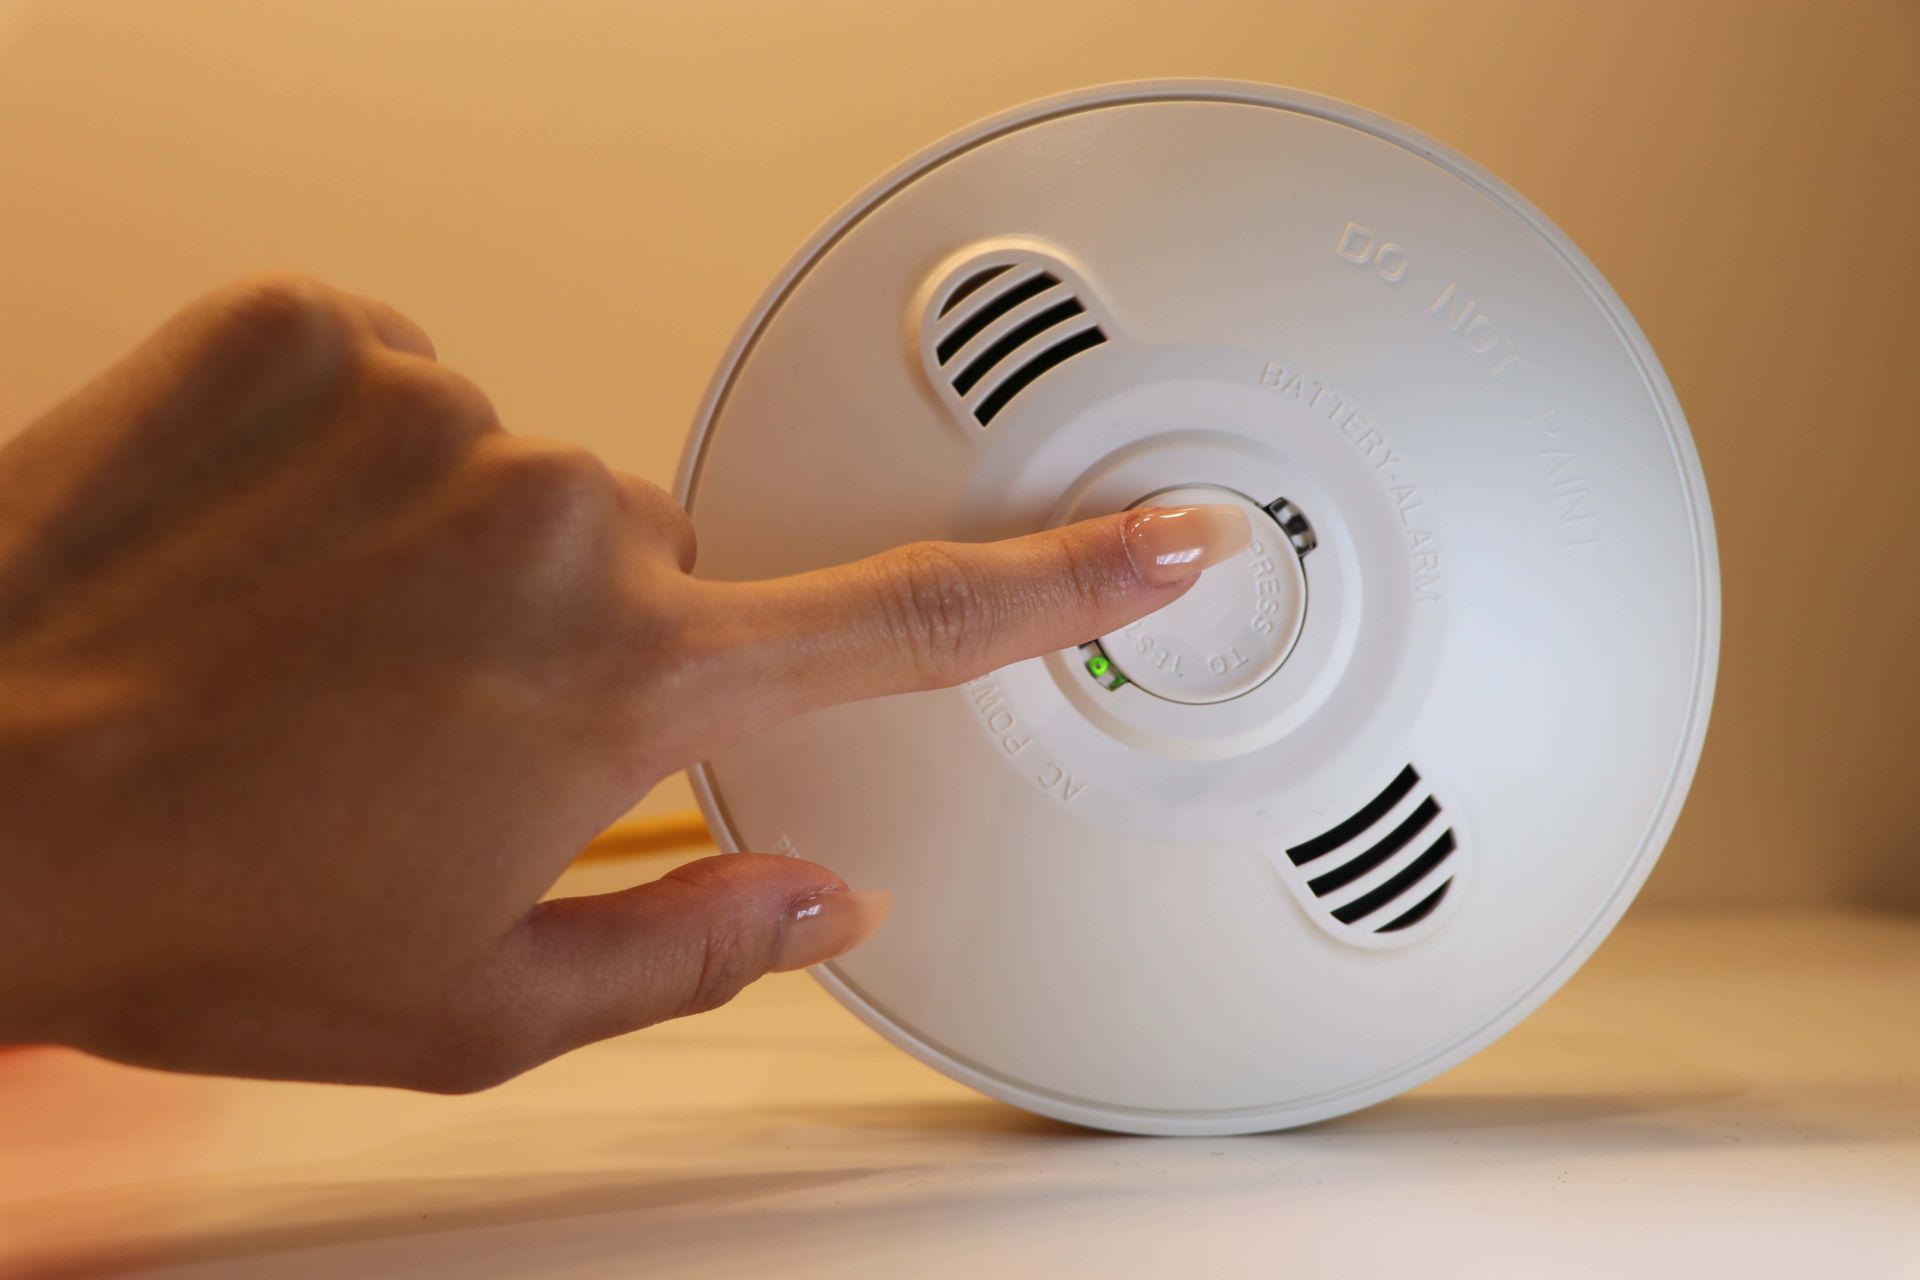
Perform a Test: Most smoke detectors are equipped with a test button that allows you to verify their functionality. Press and hold the test button on the detector to initiate a simulated alarm. If the detector is functioning correctly, it will emit a loud, piercing sound, indicating that the sensor and alarm system are operational. Additionally, some models may have a visual indicator, such as a flashing LED, to confirm the successful test.
-
Verify Audibility: While the test alarm is activated, move to different areas of your home to confirm that the sound emitted by the smoke detector is audible from various locations. This step ensures that the alarm can effectively alert occupants throughout the household, providing ample time to respond to a potential fire emergency.
-
Check for Interference: During the test, be attentive to any potential interference that may affect the detector's performance. Ensure that the alarm sound is clear and free from distortion, and that there are no unusual sounds or malfunctions during the testing process.
-
Record the Test Date: As a best practice, record the date of the battery replacement and the successful test of the smoke detector. This documentation serves as a helpful reference for future maintenance and ensures that you stay proactive in maintaining the device's operational status.
By meticulously following these steps, you can confidently reassemble the smoke detector and conduct a comprehensive test to verify its proper functioning. With the device securely reinstalled and validated through testing, you can rest assured that your home is equipped with a reliable early warning system to detect and alert you to potential fire dangers.
Conclusion
In conclusion, the process of replacing the battery in your smoke detector is a fundamental aspect of home safety maintenance. By following the step-by-step guide outlined in this article, you have taken a proactive approach to ensuring that your smoke detector remains in optimal working condition, ready to fulfill its crucial role in safeguarding your home and family.
Regular maintenance, including battery replacement, is essential to guarantee that your smoke detector can effectively detect the presence of smoke or fire, providing you with early warnings that are vital for prompt action. By adhering to the recommended annual battery replacement schedule and staying attentive to the manufacturer's guidelines, you can maintain the reliability and functionality of your smoke detector.
Furthermore, the thorough testing process conducted after replacing the battery serves as a critical validation of the smoke detector's operational status. By verifying the audibility of the alarm and ensuring that there are no interference issues, you have taken proactive measures to confirm that the device can effectively alert occupants throughout your home in the event of a fire emergency.
It's important to note that while this guide provides comprehensive instructions for replacing the battery in a standard smoke detector, some models may have specific requirements or features that necessitate additional considerations. Always refer to the manufacturer's instructions and guidelines for your particular smoke detector to ensure that you adhere to any unique specifications.
By incorporating the knowledge and skills gained from this guide into your home maintenance routine, you have demonstrated a commitment to prioritizing safety and preparedness. Your proactive approach to smoke detector maintenance contributes to creating a secure living environment for you and your loved ones, offering peace of mind and a heightened level of protection against potential fire hazards.
As you complete the battery replacement process and conduct regular testing of your smoke detector, you are actively contributing to the safety and security of your home. By staying vigilant and proactive in maintaining essential safety devices, you are better equipped to respond to unforeseen emergencies and protect what matters most – your family and your home.