Home>Home and Garden>How To Replace Bathtub Drain
Home and Garden
How To Replace Bathtub Drain
Published: March 4, 2024
Learn how to replace a bathtub drain with our step-by-step guide. Keep your home and garden in top shape with our expert tips.
(Many of the links in this article redirect to a specific reviewed product. Your purchase of these products through affiliate links helps to generate commission for Noodls.com, at no extra cost. Learn more)
Table of Contents
Introduction
Replacing a bathtub drain may seem like a daunting task, but with the right tools and a clear understanding of the process, it can be a manageable DIY project. Over time, bathtub drains can become corroded, clogged, or simply worn out, leading to leaks and drainage issues. By learning how to replace a bathtub drain, you can save money on hiring a professional and gain the satisfaction of completing a home improvement project on your own.
Whether you're dealing with a standard pop-up drain or a more complex trip lever drain, the process of replacing the drain follows a similar set of steps. By familiarizing yourself with the necessary tools and materials and understanding the removal and installation process, you can successfully tackle this project.
In this comprehensive guide, we will walk you through the step-by-step process of replacing a bathtub drain. From the tools and materials needed to the removal of the old drain and the installation of the new one, you will gain the knowledge and confidence to take on this task. By the end of this guide, you will be equipped with the skills to effectively replace your bathtub drain and restore proper functionality to your bathtub.
Let's dive into the details of the tools and materials required for this project and then move on to the step-by-step process of removing the old drain and installing the new one. With this guide, you'll be well on your way to a smoothly functioning bathtub drain in no time.
Read more: How To Unclog A Washer Drain
Tools and Materials Needed
Before embarking on the task of replacing a bathtub drain, it's essential to gather the necessary tools and materials to ensure a smooth and efficient process. Here's a comprehensive list of what you'll need:
Tools:
- Screwdriver Set: A set of screwdrivers, including both flathead and Phillips head, will be essential for removing screws and accessing the drain components.
- Adjustable Pliers: These will come in handy for gripping and turning various components during the removal and installation process.
- Plumbers' Putty Knife: This tool will aid in removing old putty and sealing the new drain components.
- Tub Drain Extractor Tool: Specifically designed for removing stubborn drains, this tool will make the extraction process much easier.
- Pipe Wrench: A pipe wrench will be necessary for loosening and tightening connections within the drain assembly.
- Plumbers' Putty: This waterproof sealant is crucial for creating a watertight seal between the new drain components and the bathtub.
- Silicone Caulk: Silicone caulk will be used to seal the edges of the drain flange, ensuring a secure and water-resistant fit.
- Safety Glasses: It's important to protect your eyes during the removal and installation process, especially when dealing with metal components.
Materials:
- New Bathtub Drain: Ensure that the new drain matches the specifications of your bathtub and is compatible with your existing plumbing setup.
- Replacement Gaskets or Washers: Depending on the type of drain, you may need new gaskets or washers to create a secure seal.
- Teflon Tape: This tape will be used to create a tight seal on threaded connections, preventing leaks.
- Rubbing Alcohol: Use rubbing alcohol to clean the surfaces around the drain area before applying new sealants.
- Rags or Towels: Keep rags or towels on hand to clean up any excess water or debris during the process.
- Bucket: Having a bucket nearby will be useful for catching any water that may spill out during the removal of the old drain.
By ensuring that you have all the necessary tools and materials at your disposal, you'll be well-prepared to tackle the task of replacing your bathtub drain. With these items in hand, you can proceed with confidence to the next steps of removing the old drain and installing the new one.
Removing the Old Drain
Removing the old bathtub drain is a crucial step in the process of replacement. It requires careful attention to detail and the proper use of tools to ensure a smooth transition to the new drain. Here's a detailed guide on how to effectively remove the old drain:
-
Prepare the Work Area: Before starting the removal process, it's essential to prepare the work area. Clear out any items from the bathtub and ensure that the surrounding area is clean and free of clutter. This will provide you with ample space to work and prevent any items from obstructing the removal process.
-
Access the Drain Components: Depending on the type of bathtub drain, you may need to access the underside of the tub to reach the drain components. This may involve removing an access panel or crawling into the space beneath the tub. Once you have clear access to the drain, you can proceed with the removal process.
-
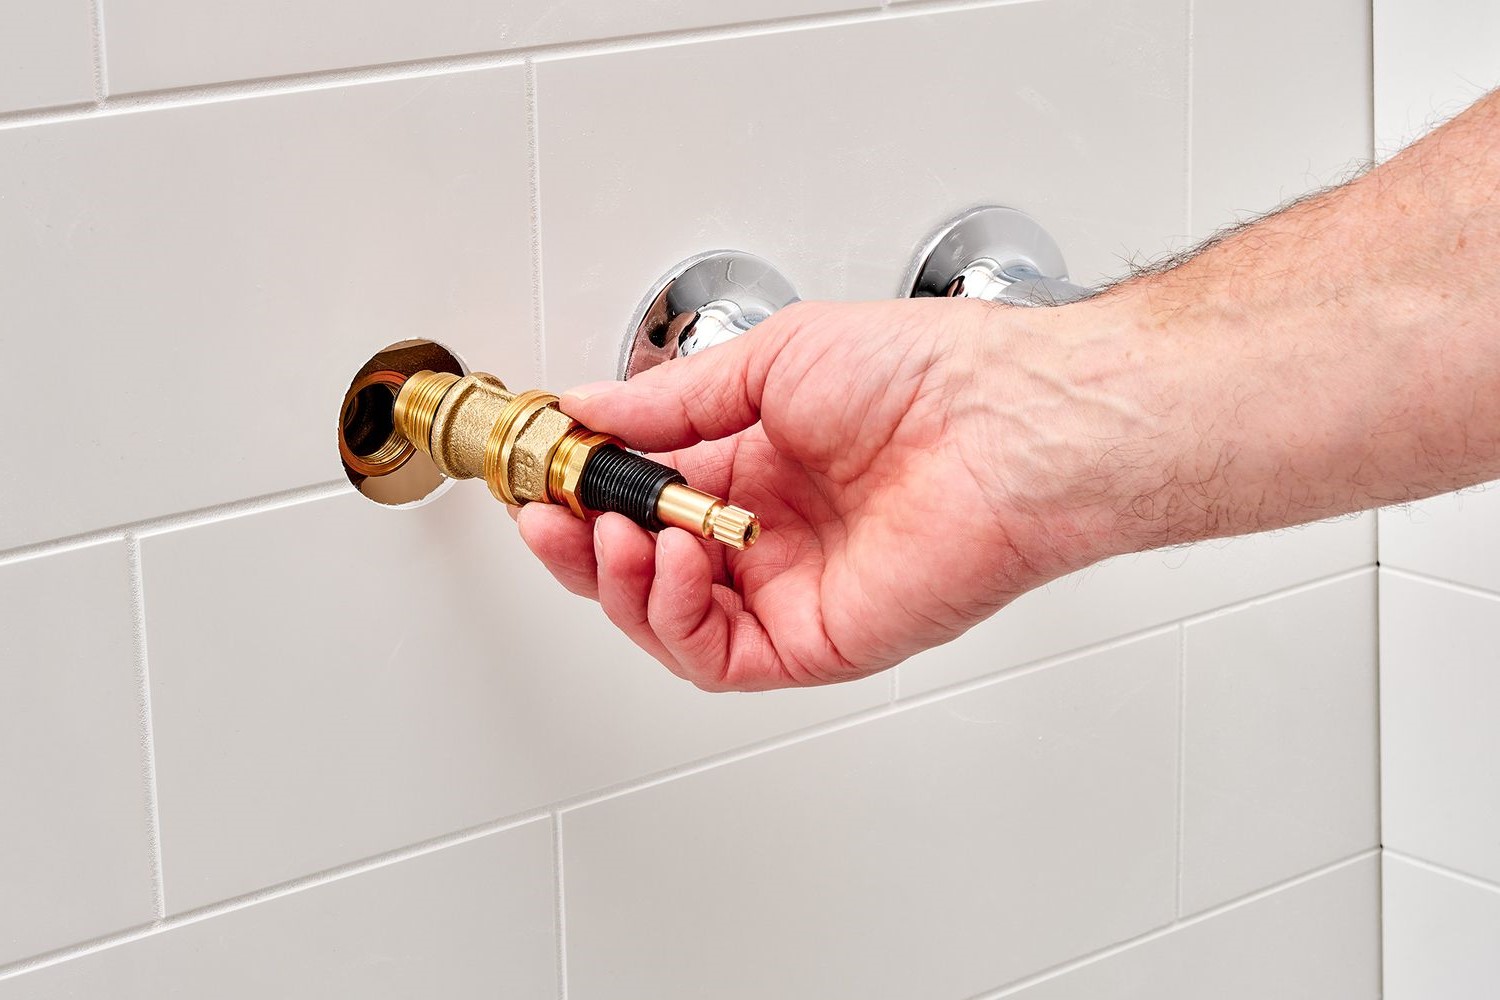
Loosen the Drain Flange: Using a screwdriver or a specialized tub drain extractor tool, carefully loosen the drain flange by turning it counterclockwise. This may require some effort, especially if the drain has been in place for an extended period. Take care not to damage the surrounding tub surface during this process.
-
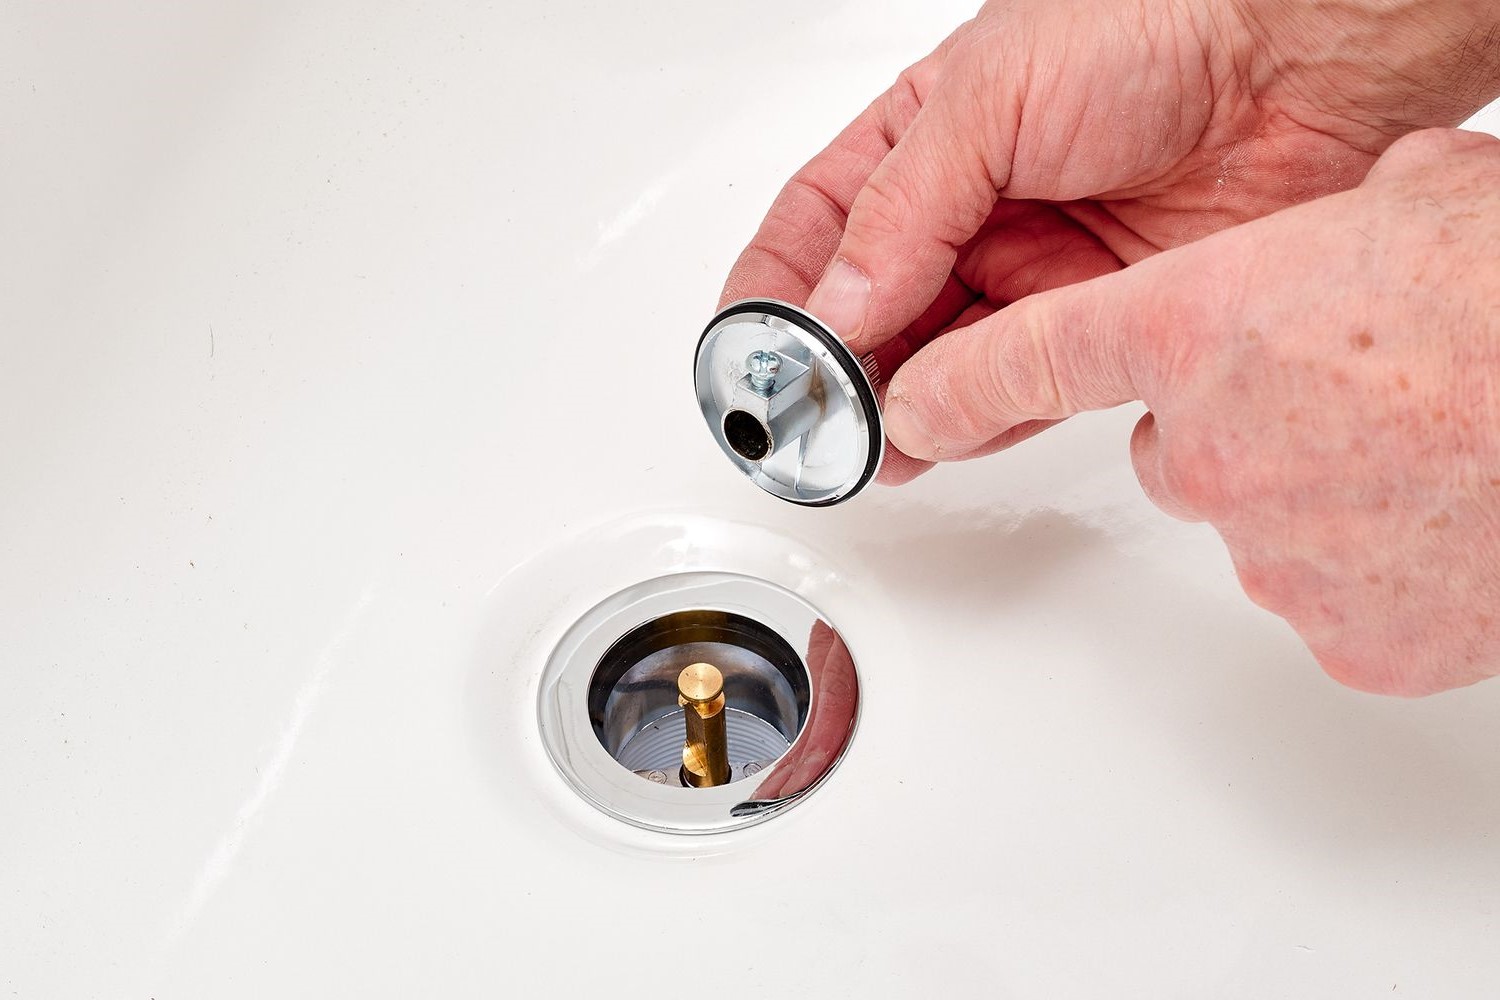
Remove the Drain Flange: Once the drain flange is loosened, carefully lift it out of the drain hole. Be mindful of any attached components, such as a stopper or linkage, and ensure that they are removed along with the flange. Set these components aside for inspection and potential reuse with the new drain.
-
Clean the Drain Opening: With the old drain components removed, take the opportunity to clean the drain opening thoroughly. Use a rag or brush to remove any accumulated debris, old putty, or sealant from the area. A clean surface will facilitate a secure fit for the new drain components.
-
Inspect the Drain Components: Before proceeding with the installation of the new drain, inspect the removed components, including the drain flange, stopper, and linkage. Check for any signs of damage or wear that may necessitate replacement. Additionally, ensure that the drain opening is free of any obstructions or buildup that could impede the installation of the new drain.
By following these steps, you can effectively remove the old bathtub drain in preparation for the installation of the new one. With the old components removed and the drain opening cleaned, you are now ready to proceed with the next phase of the replacement process.
Read more: How To Wash Clothes In Bathtub
Installing the New Drain
With the old bathtub drain successfully removed, the next crucial step is to install the new drain. This phase of the replacement process requires precision and attention to detail to ensure a secure and watertight fit. Here's a detailed guide on how to effectively install the new drain:
-
Prepare the New Drain Components: Before proceeding with the installation, carefully unpack the new drain and inspect its components. Ensure that all necessary parts, including the drain flange, gaskets, and any accompanying hardware, are present and in good condition. Familiarize yourself with the components to understand how they will fit together during the installation process.
-
Apply Plumbers' Putty: To create a watertight seal between the new drain components and the bathtub, roll a small amount of plumbers' putty into a rope-like shape. Carefully press the putty around the underside of the new drain flange. This will help prevent water from seeping between the drain and the bathtub, ensuring a secure and leak-free installation.
-
Insert the New Drain Flange: With the plumbers' putty in place, carefully insert the new drain flange into the drain opening. Ensure that it sits flush against the bathtub surface and aligns properly with the drain threads. Use gentle pressure to seat the flange securely, taking care not to dislodge the putty in the process.
-
Secure the Drain Flange: Once the drain flange is in position, use a drain key or a specialized tool designed for securing the flange. Turn the tool clockwise to tighten the flange, creating a snug fit against the bathtub surface. Take care not to overtighten, as this could damage the flange or the surrounding tub material.
-
Attach the Drain Components: Depending on the type of drain, you may need to attach additional components, such as a stopper or overflow plate. Follow the manufacturer's instructions to properly connect these elements to the new drain. Ensure that all connections are secure and properly aligned to prevent any issues with functionality or leaks.
-
Apply Silicone Caulk: To further reinforce the seal around the drain flange, apply a bead of silicone caulk along the outer edge where the flange meets the bathtub surface. Smooth the caulk with a damp finger or cloth to create a neat and effective seal. This additional layer of protection will help prevent water from seeping into the space between the drain and the bathtub.
By following these steps, you can effectively install the new bathtub drain, completing the replacement process and restoring proper functionality to your bathtub. With the new drain securely in place and properly sealed, you can proceed to the final phase of testing the drain to ensure that it operates as intended.
Testing the New Drain
Once the new bathtub drain has been installed, it is crucial to conduct thorough testing to ensure that it functions as intended and is free from any leaks or operational issues. Proper testing will provide peace of mind and validate the success of the replacement process. Here's a detailed guide on how to effectively test the new drain:
-
Run Water Through the Drain: Begin by running water into the bathtub and allowing it to drain completely. Observe the flow of water and listen for any unusual sounds that may indicate blockages or obstructions within the drain. A steady and unimpeded flow of water is a positive indication of a successful installation.
-
Check for Leaks: While the water is draining, carefully inspect the area around the new drain for any signs of leakage. Look for water seepage, drips, or moisture accumulation, especially around the drain flange and the connections to the bathtub. Use a dry cloth to wipe the area and check for any signs of dampness.
-
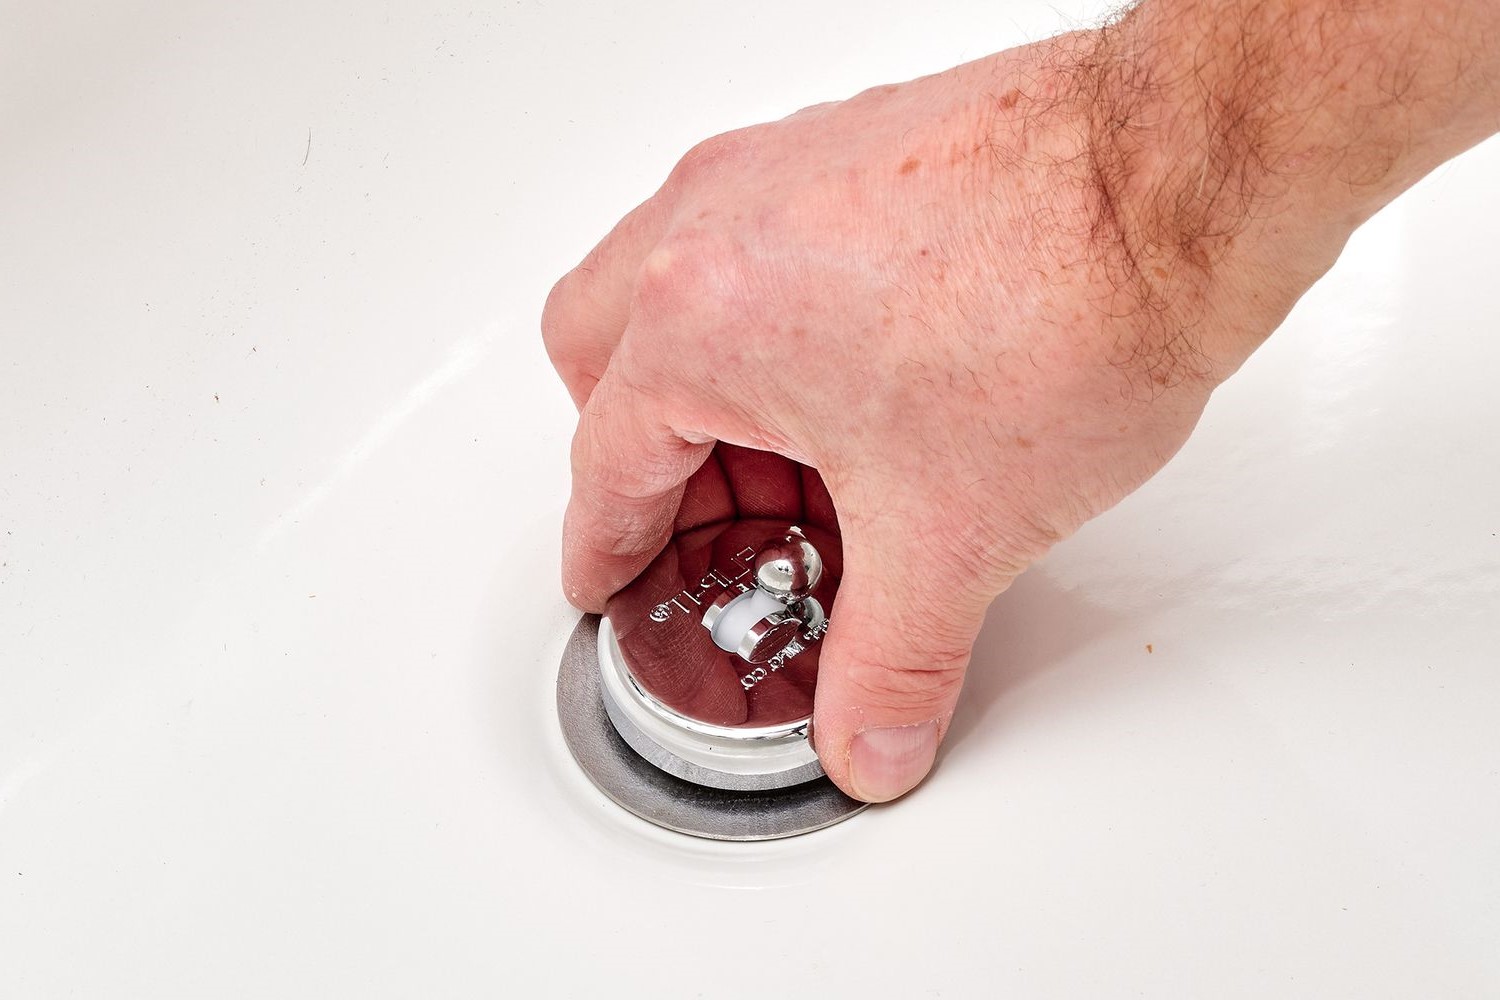
Test the Stopper Mechanism: If your bathtub drain includes a stopper or plunger mechanism, test its functionality by engaging and disengaging the stopper while the water is draining. Ensure that the stopper moves smoothly and creates a secure seal when closed, preventing water from escaping the drain.
-
Verify the Overflow System: For tubs equipped with an overflow drain, fill the bathtub to a level just below the overflow opening. Observe the overflow drain for any signs of leakage or improper drainage. The overflow system should effectively divert excess water to prevent overflow while maintaining a watertight seal.
-
Inspect the Seals and Caulking: After the testing process, carefully inspect the seals and caulking around the new drain. Look for any signs of displacement, cracking, or gaps that could compromise the integrity of the seal. Address any issues promptly by reapplying caulking or sealant as needed.
-
Repeat the Testing Process: It is advisable to repeat the testing process a few times to ensure consistency in the performance of the new drain. By running water through the drain and conducting thorough inspections, you can gain confidence in the reliability of the installation.
By following these testing procedures, you can effectively evaluate the performance of the new bathtub drain and address any potential issues before they escalate. A successful testing phase will provide assurance that the replacement process has been completed to a high standard, ensuring the long-term functionality and integrity of the bathtub drain.
Conclusion
In conclusion, the process of replacing a bathtub drain is a manageable DIY project that can yield significant benefits in terms of improved functionality and prevention of water damage. By following the step-by-step guide outlined in this comprehensive resource, you can successfully navigate the removal of the old drain and the installation of a new one, all while ensuring a watertight seal and optimal performance.
It's important to emphasize the significance of thorough preparation, which includes gathering the necessary tools and materials before initiating the replacement process. By having the right equipment at your disposal, you can streamline the project and minimize potential setbacks. Additionally, taking the time to inspect the new drain components and familiarize yourself with their assembly will contribute to a smoother installation process.
The removal of the old drain requires patience and attention to detail, especially when dealing with stubborn components that may have been in place for an extended period. By carefully loosening and removing the old drain flange, cleaning the drain opening, and inspecting the removed components, you set the stage for a successful installation of the new drain.
When installing the new drain, the application of plumbers' putty and silicone caulk plays a crucial role in creating a secure and watertight seal. Properly seating the new drain flange and securing it in place are essential steps that contribute to the long-term functionality of the bathtub drain. Additionally, testing the new drain through water flow, leak inspection, and functionality verification ensures that the replacement process has been executed effectively.
By successfully completing the replacement of your bathtub drain, you not only address existing issues such as leaks and drainage problems but also contribute to the overall maintenance and longevity of your bathtub. The satisfaction of accomplishing this DIY project and the potential cost savings compared to hiring a professional further underscore the value of mastering this skill.
In essence, the knowledge and confidence gained from learning how to replace a bathtub drain empower you to take proactive measures in maintaining your home. With the right approach and attention to detail, you can tackle this project with ease and enjoy the benefits of a properly functioning bathtub drain for years to come.