Home>Home and Garden>How To Replace A Bathroom Faucet
Home and Garden
How To Replace A Bathroom Faucet
Published: March 4, 2024
Learn how to replace a bathroom faucet with our step-by-step guide. Upgrade your home and garden with this easy DIY project.
(Many of the links in this article redirect to a specific reviewed product. Your purchase of these products through affiliate links helps to generate commission for Noodls.com, at no extra cost. Learn more)
Table of Contents
Introduction
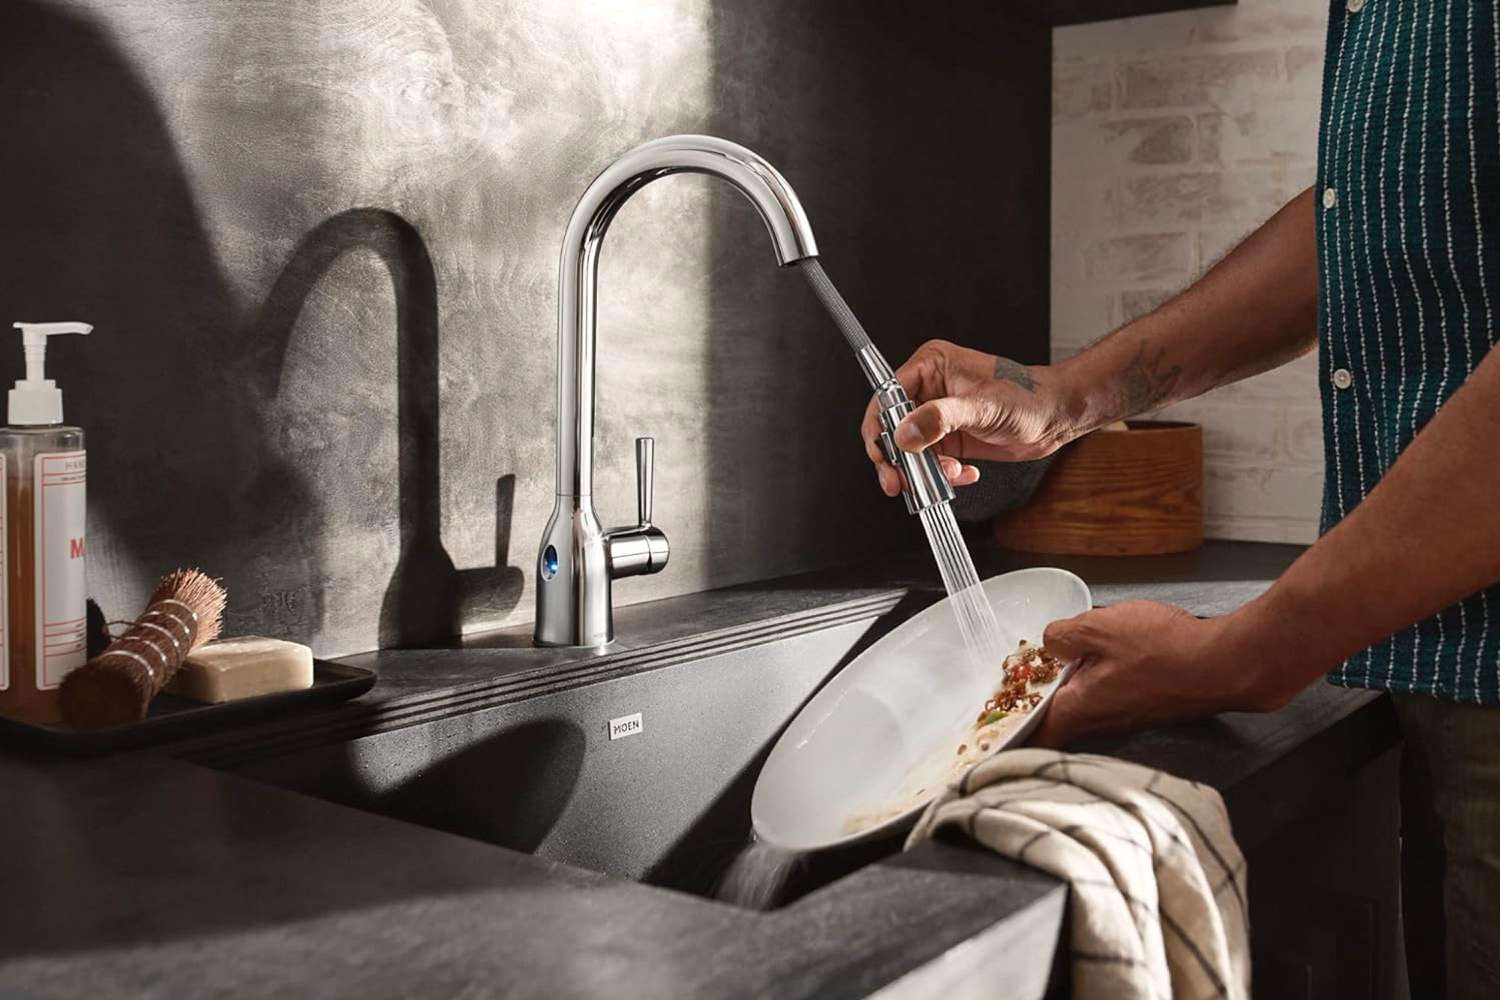
Replacing a bathroom faucet can breathe new life into your bathroom, enhancing both its functionality and aesthetics. Whether you're upgrading to a more modern design or simply need to fix a leaky faucet, this DIY project is a great way to revitalize your bathroom without breaking the bank.
In this comprehensive guide, we'll walk you through the step-by-step process of replacing a bathroom faucet. From gathering the necessary tools and materials to testing the new faucet, we've got you covered. By following these instructions, you can save money on hiring a professional plumber and gain the satisfaction of completing the task yourself.
Before diving into the project, it's important to familiarize yourself with the different types of bathroom faucets available. From single-handle faucets to widespread and wall-mounted options, there's a wide array of styles to choose from. Understanding the specific type of faucet you have and the one you intend to install is crucial for a successful replacement.
Additionally, it's essential to consider the finish of the new faucet to ensure it complements the existing bathroom decor. Whether you prefer a classic chrome finish, a warm brushed nickel, or a bold matte black, selecting the right finish can tie the entire bathroom together.
Furthermore, replacing a bathroom faucet is an excellent opportunity to upgrade to a more water-efficient model. With the increasing focus on sustainability, many modern faucets are designed to conserve water without sacrificing performance. By choosing a WaterSense-certified faucet, you can contribute to water conservation efforts while reducing your utility bills.
Now that you're equipped with an overview of what to expect, let's dive into the detailed steps of replacing your bathroom faucet. With the right tools, a bit of patience, and our expert guidance, you'll soon have a brand-new faucet gracing your bathroom sink.
Read more: How To Replace Outside Faucet
Step 1: Gather Necessary Tools and Materials
Before embarking on the task of replacing your bathroom faucet, it's essential to gather all the necessary tools and materials. Having everything at hand will streamline the process and prevent unnecessary interruptions. Here's a comprehensive list of items you'll need:
Tools:
- Adjustable wrench
- Basin wrench
- Plumber's putty or silicone sealant
- Screwdrivers (both flathead and Phillips)
- Pipe wrench
- Bucket or container
- Towels or rags
- Safety glasses
Materials:
- New bathroom faucet
- Teflon tape
- Replacement supply lines (if necessary)
- Cleaning solution
- Gloves
By ensuring that you have all the tools and materials listed above, you'll be well-prepared to tackle the faucet replacement project. It's important to note that the specific tools required may vary based on the type of faucet you're installing and the existing plumbing setup in your bathroom. Therefore, it's advisable to verify the manufacturer's instructions for any additional tools or materials that may be needed for your particular faucet model.
Additionally, it's a good idea to lay out all the tools and materials in an organized manner near the work area. This will save time and minimize the risk of misplacing essential items during the installation process. As you gather the tools and materials, take a moment to inspect the new faucet to ensure that all the components are included and that there are no visible defects or missing parts.
With the necessary tools and materials assembled, you're now ready to move on to the next step of the faucet replacement process. This preparation phase sets the stage for a smooth and efficient installation, allowing you to focus on the task at hand without unnecessary interruptions.
Step 2: Turn Off the Water Supply
Before beginning the process of replacing your bathroom faucet, it is crucial to turn off the water supply to the sink. This step is essential to prevent any water leakage or unexpected water flow during the installation. Here's a detailed guide on how to turn off the water supply and prepare the sink for the faucet replacement:
-
Locate the Shut-Off Valves: The shut-off valves are typically located beneath the sink, either inside the vanity cabinet or directly on the wall. These valves control the flow of water to the faucet, allowing you to shut off the supply for maintenance or repairs.
-
Turn Off the Hot and Cold Water Valves: Identify the hot and cold water shut-off valves connected to the water lines leading to the faucet. Turn each valve clockwise (to the right) until they are fully closed. This action will stop the flow of water to the faucet, ensuring that the plumbing system is isolated for the replacement process.
-
Test the Water Supply: After closing the shut-off valves, turn on the faucet handles to verify that the water flow has ceased. This step is crucial for confirming that the shut-off valves have effectively stopped the water supply. If water continues to flow, double-check the valves to ensure they are fully closed.
-
Release Pressure and Drain Remaining Water: Even after shutting off the water supply, there may be residual water in the lines. To release any remaining pressure and drain the water, turn on the faucet handles to allow the water to flow out. Place a bucket or container beneath the sink to catch any water that may drain out during this process.
-
Inspect for Leaks: While the water supply is turned off, take a moment to inspect the area around the shut-off valves and the faucet connections for any signs of leaks or moisture. Addressing any existing leaks before proceeding with the faucet replacement will prevent potential water damage and ensure a secure installation.
By following these steps to turn off the water supply, you'll create a safe and controlled environment for replacing your bathroom faucet. This proactive approach minimizes the risk of water-related mishaps and sets the stage for a successful installation process. With the water supply securely turned off, you can proceed to the next steps of removing the old faucet and installing the new one.
Read more: How To Unlock Bathroom Door
Step 3: Remove the Old Faucet
Removing the old faucet is a crucial step in the process of replacing a bathroom faucet. This task requires careful attention to detail and a systematic approach to disassembling the existing fixture. Here's a comprehensive guide on how to remove the old faucet and prepare the sink for the installation of the new one:
-
Disconnect the Water Supply Lines: Using an adjustable wrench, carefully loosen and disconnect the water supply lines from the faucet's hot and cold water valves. Place a towel or container beneath the connections to catch any residual water that may drain out.
-
Remove the Mounting Nuts or Bolts: Depending on the type of faucet, there will be mounting nuts or bolts securing the fixture to the sink. Use a basin wrench or an appropriate tool to loosen and remove these fasteners. It's important to support the faucet from underneath to prevent it from falling once the fasteners are removed.
-
Detach the Faucet from the Sink: With the mounting nuts or bolts removed, gently lift the old faucet away from the sink. If the faucet is stuck due to old sealant or grime, carefully wiggle it back and forth while lifting to release it from the sink's surface.
-
Clean the Sink Surface: Once the old faucet is removed, take the opportunity to clean the sink surface thoroughly. Use a mild cleaning solution and a rag to remove any residue, mineral deposits, or old sealant. This step will ensure a clean and smooth surface for installing the new faucet.
-
Inspect the Sink and Plumbing: While the old faucet is removed, inspect the sink and the exposed plumbing for any signs of damage, corrosion, or leaks. Addressing any underlying issues at this stage will prevent potential complications once the new faucet is installed.
-
Cover the Sink Holes: If the new faucet requires fewer installation holes than the old one, use hole covers or escutcheons to conceal any unused holes in the sink. This step is essential for achieving a neat and professional-looking installation.
By following these detailed steps to remove the old faucet, you'll effectively prepare the sink for the installation of the new fixture. Taking the time to disconnect the water supply lines, remove the mounting fasteners, and clean the sink surface sets the stage for a seamless transition to the next phase of the faucet replacement process. With the old faucet successfully removed, you're now ready to proceed to the exciting step of installing the new faucet and witnessing the transformation of your bathroom.
Step 4: Install the New Faucet
Installing the new faucet is an exciting phase that brings you one step closer to revitalizing your bathroom. This process requires precision and attention to detail to ensure a secure and functional installation. Here's a comprehensive guide on how to install the new faucet and complete the transformation of your bathroom sink:
-
Prepare the New Faucet: Before installing the new faucet, carefully review the manufacturer's instructions and familiarize yourself with the components included. Verify that all necessary parts are present and inspect the faucet for any visible defects or damage. Additionally, if the faucet requires assembly, follow the provided instructions to prepare it for installation.
-
Apply Sealant or Plumber's Putty: Depending on the type of faucet and the sink material, you may need to apply plumber's putty or silicone sealant to create a watertight seal. For sinks made of non-porous materials such as granite or marble, a thin bead of silicone sealant around the faucet's base is recommended. Conversely, for sinks with standard drain openings, plumber's putty can be used to seal the faucet's underside before installation.
-
Position the New Faucet: Carefully lower the new faucet into the pre-drilled holes on the sink, ensuring that it aligns properly and sits flush against the surface. If the faucet comes with a gasket or rubber seal, ensure that it is in place to provide a secure and watertight connection. Take care to avoid overtightening the faucet, as this can damage the sink or compromise the seal.
-
Secure the Mounting Hardware: Once the faucet is positioned correctly, secure it in place using the provided mounting hardware. Depending on the faucet type, this may involve tightening mounting nuts from underneath the sink or securing bolts from above. Use the appropriate tools, such as a basin wrench or adjustable wrench, to ensure a snug and stable fit without over-tightening.
-
Connect the Water Supply Lines: With the faucet securely installed, reconnect the hot and cold water supply lines to the corresponding valves. Use Teflon tape on the threaded connections to create a reliable seal and prevent leaks. Tighten the connections with an adjustable wrench, taking care not to overtighten and risk damaging the fittings.
-
Check for Leaks and Functionality: Once the new faucet is installed and the water supply lines are connected, turn on the shut-off valves to restore the water supply. Test the faucet by turning on the handles and checking for any leaks around the connections. Additionally, verify that both hot and cold water flow properly and that there are no unusual noises or irregularities.
By following these detailed steps to install the new faucet, you'll successfully complete the pivotal phase of the replacement process. With the new faucet securely in place and functioning flawlessly, you'll have transformed your bathroom sink with a fresh and stylish fixture. Now, with the installation complete, you can move on to the final step of testing the new faucet and ensuring its optimal performance.
Step 5: Turn On the Water Supply
With the new faucet successfully installed, the next crucial step is to turn on the water supply and restore the flow of water to the sink. This pivotal phase of the replacement process ensures that the newly installed faucet receives the necessary water supply and allows you to verify its functionality. Here's a detailed guide on how to turn on the water supply and complete this essential step:
-
Open the Shut-Off Valves: Locate the shut-off valves beneath the sink and ensure that they are fully closed. Turn each valve counterclockwise (to the left) to gradually open the flow of water to the faucet. It's important to open the valves slowly to allow the water to flow into the plumbing system without causing sudden pressure surges.
-
Check for Leaks: As you open the shut-off valves, closely monitor the connections between the water supply lines and the faucet for any signs of leaks. Inspect the areas around the valve connections and the base of the faucet to ensure that there are no water drips or seepage. Addressing any leaks at this stage will prevent potential water damage and ensure a secure installation.
-
Verify Water Flow: Once the shut-off valves are fully open, turn on the faucet handles to allow the water to flow. Test both the hot and cold water handles to confirm that the water flows smoothly and consistently. Additionally, check for any unusual noises or vibrations that may indicate air in the lines or other issues.
-
Purge Air from the Lines: In some cases, air may become trapped in the water lines during the installation process, leading to sputtering or irregular water flow. To purge any air from the lines, let the water run for a few minutes to allow the system to stabilize. This will ensure that the water flows steadily and without interruptions.
-
Inspect for Proper Functionality: With the water flowing from the faucet, assess its overall functionality. Verify that both hot and cold water handles operate smoothly and that there are no leaks or drips during operation. Additionally, check the water pressure and temperature to ensure that they meet your expectations.
By following these detailed steps to turn on the water supply, you'll complete the vital process of restoring water flow to the newly installed faucet. This phase allows you to verify the functionality of the faucet and address any potential issues related to water flow or leaks. With the water supply successfully turned on and the faucet operating flawlessly, you're now ready to proceed to the final step of testing the new faucet and ensuring its optimal performance.
Step 6: Test the New Faucet
Testing the new faucet is the final and crucial step in the process of replacing a bathroom faucet. This phase allows you to ensure that the newly installed fixture operates as intended, delivering a seamless and reliable water flow. Here's a detailed guide on how to test the new faucet and verify its optimal performance:
-
Operate the Handles: Begin by operating the handles of the new faucet to test its functionality. Turn both the hot and cold water handles on and off to verify that they operate smoothly without any stiffness or resistance. Pay attention to the handle movements and ensure that they provide precise control over the water flow and temperature.
-
Check for Leaks: While the faucet handles are in the off position, closely inspect the base of the faucet and the connections to the water supply lines for any signs of leaks. Run your fingers along the connections and use a dry cloth to check for moisture. Addressing any leaks at this stage will prevent potential water damage and ensure a secure and watertight installation.
-
Assess Water Pressure and Temperature: Turn on the faucet handles and assess the water pressure and temperature. Verify that the water flows consistently and at the expected pressure. Additionally, check the temperature of the hot and cold water to ensure that they align with your preferences. If the water pressure or temperature is not satisfactory, it may indicate underlying issues that require further attention.
-
Test the Sprayer or Additional Features: If the new faucet includes a sprayer or additional features, such as a pull-out nozzle or adjustable spray settings, test these functionalities. Ensure that the sprayer operates smoothly and that it retracts back into place securely. Test any additional features to verify that they function as intended and enhance the overall usability of the faucet.
-
Evaluate Drainage and Overflow: If the sink includes an overflow feature, fill the basin with water to test the overflow drainage. Verify that the overflow system functions properly and prevents water from spilling over. Additionally, assess the drainage of the sink by allowing the water to flow out and observing the speed and efficiency of drainage.
-
Final Inspection: Once the faucet has been thoroughly tested, perform a final visual inspection of the entire installation. Check the faucet's base, connections, and surrounding area for any signs of water seepage or moisture. Ensure that the faucet is securely mounted and that all components are in place.
By following these detailed steps to test the new faucet, you'll complete the essential process of verifying its optimal performance. This thorough evaluation ensures that the new faucet meets your expectations in terms of functionality, reliability, and water efficiency. With the faucet successfully tested and operating flawlessly, you can now enjoy the enhanced functionality and aesthetic appeal it brings to your bathroom.
Read more: How To Change Shower Faucet
Conclusion
Congratulations on successfully replacing your bathroom faucet! By following the comprehensive steps outlined in this guide, you've not only transformed the functionality of your bathroom sink but also added a touch of style and elegance to the space. The process of replacing a bathroom faucet may seem daunting at first, but with the right tools, materials, and guidance, you've accomplished a significant home improvement project.
As you stand back and admire your newly installed faucet, take pride in the fact that you've tackled a DIY task that not only enhances the aesthetics of your bathroom but also contributes to its overall functionality. The careful attention to detail and systematic approach you've applied throughout the process have resulted in a successful installation that will serve you well for years to come.
It's important to take a moment to appreciate the impact of your choice of faucet on the overall ambiance of your bathroom. Whether you've opted for a sleek modern design, a timeless classic style, or a water-efficient model, the new faucet has undoubtedly revitalized the space, adding a fresh and inviting element to your daily routine.
Furthermore, by embracing the DIY approach to replacing your bathroom faucet, you've not only saved on professional installation costs but also gained valuable hands-on experience. The satisfaction of completing a home improvement project on your own is a rewarding feeling that resonates with the sense of accomplishment and empowerment.
As you enjoy the enhanced functionality and visual appeal of your new faucet, take a moment to reflect on the impact of this upgrade. From water conservation benefits to the joy of a seamlessly operating fixture, the new faucet brings a multitude of advantages to your daily life.
In conclusion, the successful replacement of your bathroom faucet marks a significant achievement in your home improvement journey. By following the steps outlined in this guide, you've demonstrated resourcefulness, attention to detail, and a willingness to take on DIY projects. With your newly installed faucet, you've not only elevated the aesthetics and functionality of your bathroom but also empowered yourself with valuable skills and knowledge.
So, as you revel in the satisfaction of a job well done, take pride in the fact that you've successfully completed a project that has made a tangible difference in your home. Your bathroom now boasts a stylish and efficient faucet, a testament to your ability to take on and conquer DIY challenges. Cheers to your successful faucet replacement and the many more home improvement triumphs that lie ahead!