Home>Home and Garden>How To Change Shower Faucet

Home and Garden
How To Change Shower Faucet
Published: March 4, 2024
Learn how to change a shower faucet in your home and garden with our step-by-step guide. Upgrade your bathroom with these easy DIY tips.
(Many of the links in this article redirect to a specific reviewed product. Your purchase of these products through affiliate links helps to generate commission for Noodls.com, at no extra cost. Learn more)
Table of Contents
Introduction
Changing a shower faucet can breathe new life into your bathroom and enhance your daily shower experience. Over time, faucets can become worn, corroded, or outdated, leading to leaks and diminished functionality. By replacing your shower faucet, you can not only address these issues but also introduce a fresh, modern aesthetic to your bathroom space.
Whether you're a seasoned DIY enthusiast or a novice looking to tackle your first home improvement project, changing a shower faucet is a manageable task that can yield significant rewards. With the right tools, materials, and a clear understanding of the process, you can successfully upgrade your shower without the need for professional assistance.
In this guide, we will walk you through the step-by-step process of changing your shower faucet, providing detailed instructions and valuable tips to ensure a smooth and successful installation. By following these guidelines, you can take control of your bathroom's functionality and aesthetics, ultimately creating a more enjoyable and personalized shower experience.
From turning off the water supply to removing the old faucet and installing the new one, each step is crucial to the overall success of the project. By the end of this guide, you will have the knowledge and confidence to complete this task with ease, allowing you to enjoy the satisfaction of a job well done and a rejuvenated shower space.
So, gather your tools, prepare your workspace, and let's embark on this rewarding journey of transforming your shower faucet, revitalizing your bathroom, and elevating your daily routine. Let's get started!
Read more: How To Replace Outside Faucet
Tools and Materials Needed
Before embarking on the process of changing your shower faucet, it's essential to gather the necessary tools and materials to ensure a smooth and efficient installation. Here's a comprehensive list of what you'll need:
Tools:
- Adjustable wrench: This versatile tool will be used to loosen and tighten various fittings during the faucet replacement process.
- Phillips and flat-head screwdrivers: These will come in handy for removing screws and other fasteners securing the old faucet in place.
- Pipe wrench: If your shower faucet is connected to copper pipes, a pipe wrench will be essential for disconnecting the old fittings.
- Plumber's tape: Also known as Teflon tape, this thin, white tape is used to create a watertight seal when connecting the new faucet components.
- Allen wrench set: Some faucets may require an Allen wrench for specific installation steps, so having a set of these hexagonal wrenches on hand is advisable.
- Silicone caulk: This waterproof sealant will be used to secure the new faucet to the shower wall, preventing water from seeping behind the fixture.
Materials:
- New shower faucet: Select a replacement faucet that matches the existing configuration and style of your shower. Ensure that it includes all necessary components, such as handles, trim plates, and a showerhead, if applicable.
- Plumber's putty: If your new faucet requires a sealant for installation, plumber's putty can be used to create a watertight seal around the base of the faucet.
- Replacement washers and O-rings: It's a good idea to have a selection of washers and O-rings on hand in case any of these small components need to be replaced during the installation.
- Safety goggles: Protect your eyes from debris and water splashes during the removal and installation process by wearing safety goggles.
- Towels and rags: Keep a supply of clean towels and rags nearby to wipe up any water or debris that may accumulate during the faucet replacement.
By ensuring that you have all the necessary tools and materials at your disposal, you can approach the faucet replacement process with confidence and efficiency. With these items on hand, you'll be well-prepared to tackle each step of the installation, ultimately achieving a successful and satisfying outcome.
Step 1: Turn Off Water Supply
Before beginning the process of replacing your shower faucet, it is crucial to turn off the water supply to the shower. This step is essential to prevent any water flow during the faucet removal and installation, minimizing the risk of leaks and ensuring a safe working environment. Here's a detailed guide on how to turn off the water supply for your shower:
-
Locate the Water Shut-Off Valve: The water shut-off valve for your shower is typically located near the shower plumbing or in the vicinity of your home's main water supply. In some cases, it may be found in a utility room, basement, or crawl space. If you have difficulty locating the shut-off valve, consult your home's plumbing layout or seek assistance from a professional.
-
Turn Off the Water: Once you've located the shut-off valve, turn it clockwise (to the right) to close off the water supply to the shower. It's important to ensure that the valve is fully closed to prevent any water from flowing into the shower pipes.
-
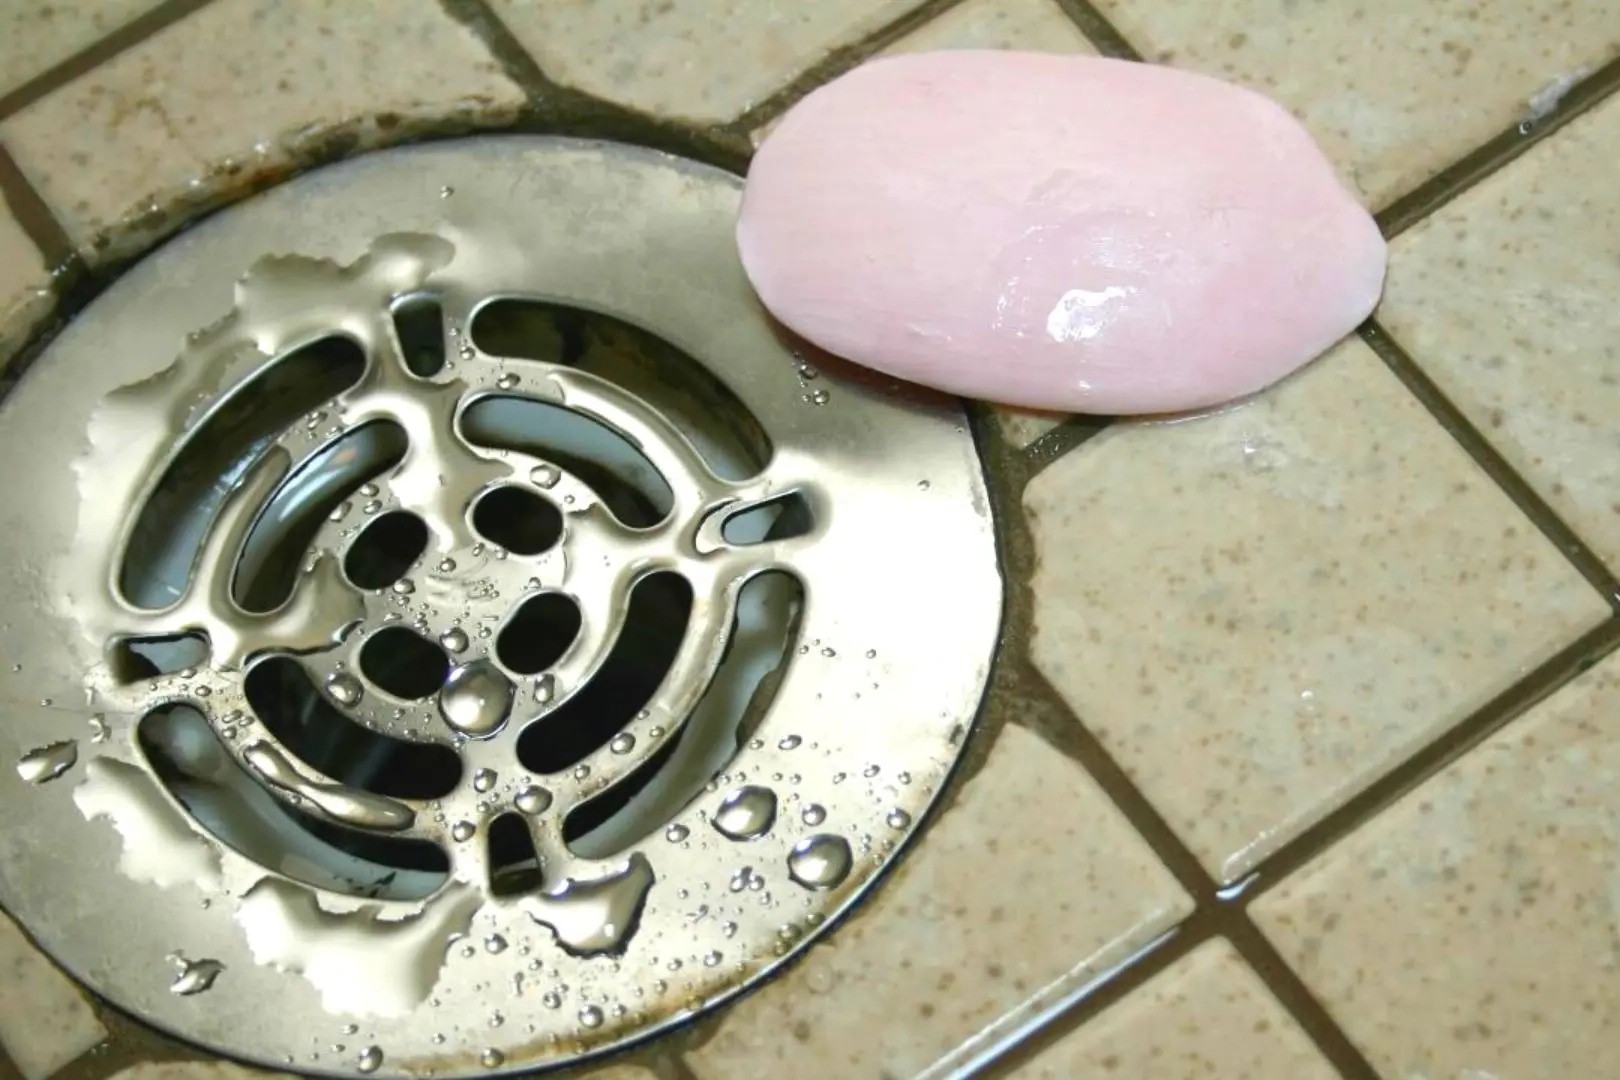
Drain Excess Water: After shutting off the water supply, it's advisable to open the shower faucet to drain any remaining water from the pipes. This will help minimize the amount of water that may escape when you disconnect the old faucet, reducing the potential for leaks and water damage.
By following these steps to turn off the water supply, you can create a safe and controlled environment for the faucet replacement process. With the water flow halted and any excess water drained from the pipes, you can proceed to the next steps of removing the old faucet and installing the new one with confidence and peace of mind.
Step 2: Remove the Old Faucet
Removing the old shower faucet is a crucial step in the process of replacing it with a new one. This step requires careful attention to detail and a systematic approach to ensure that the old faucet is safely and effectively disconnected from the shower plumbing. Here's a comprehensive guide on how to remove the old faucet:
-
Prepare the Workspace: Before beginning the removal process, it's essential to create a clear and accessible workspace around the shower area. Lay down towels or rags to protect the shower floor or tub surface from any dropped tools or debris. Additionally, ensure that you have proper lighting to clearly see and access the faucet components.
-
Access the Faucet Fittings: Depending on the type of shower faucet you have, access to the fittings may vary. In most cases, the faucet handles and trim plate will need to be removed to expose the valve and cartridge assembly. Use a screwdriver to carefully remove any screws or fasteners holding the handles and trim plate in place. Once removed, set these components aside for disposal or recycling.
-
Disconnect the Water Supply: With the faucet handles and trim plate removed, you will now have access to the water supply lines connected to the faucet. Using an adjustable wrench, carefully loosen and disconnect the water supply lines from the faucet fittings. Be prepared for some residual water to drain from the lines, so have a towel or container ready to catch any drips.
-
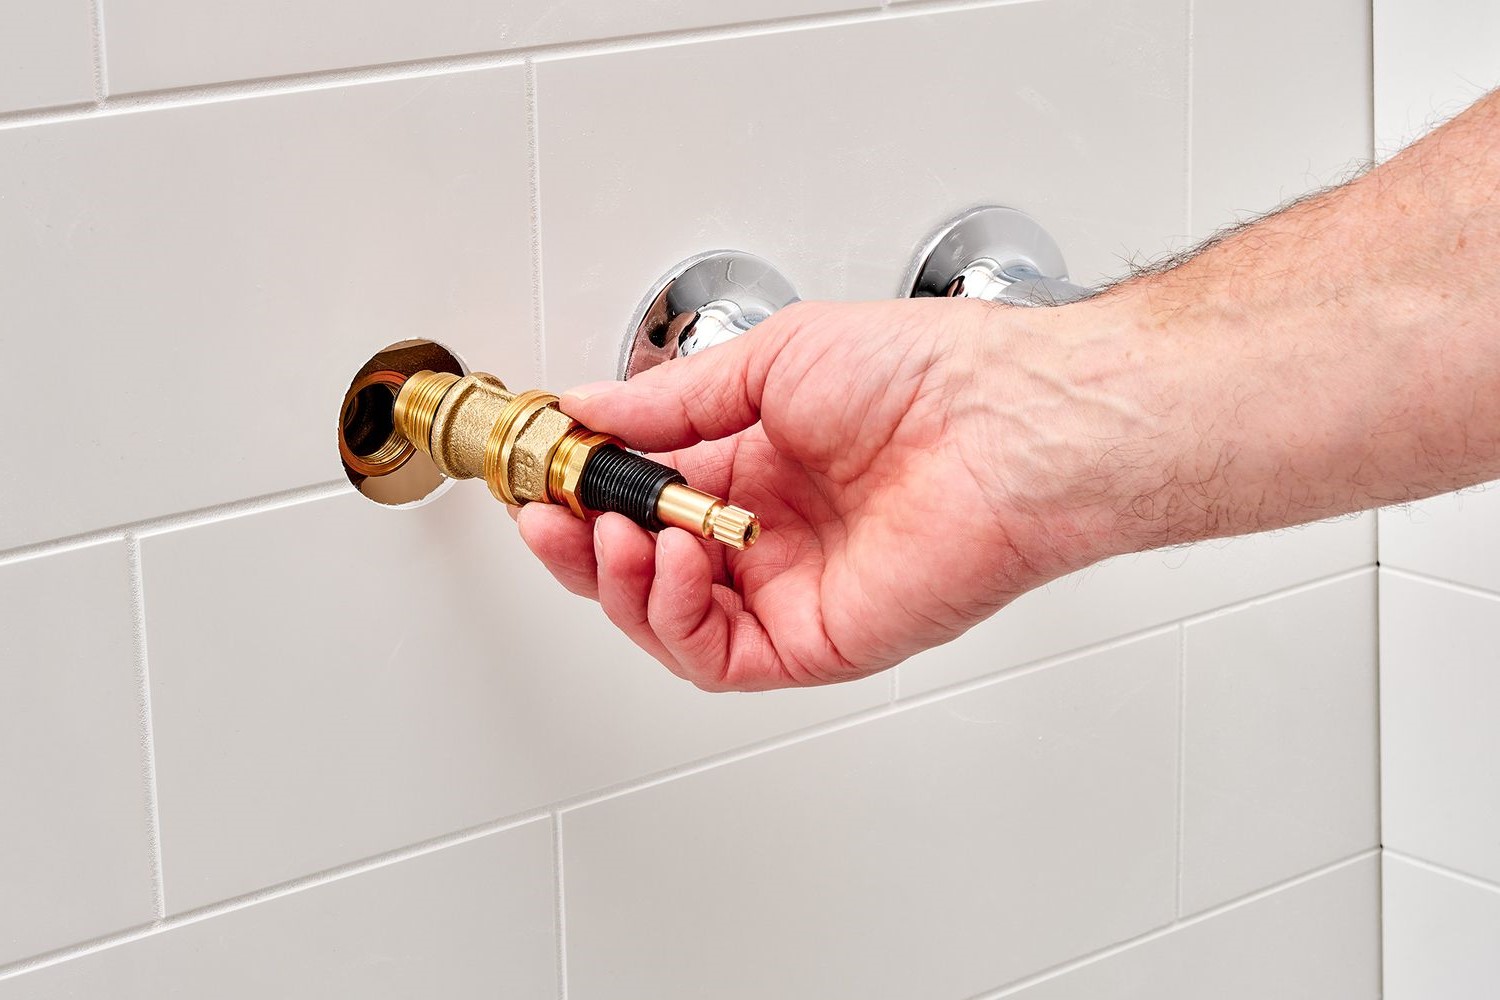
Remove the Old Faucet Assembly: Once the water supply lines are disconnected, you can proceed to remove the old faucet assembly from the shower wall. Depending on the type of faucet, this may involve unscrewing the mounting nuts or brackets securing the faucet in place. Use a wrench or screwdriver as needed to loosen and remove these fasteners, allowing you to detach the old faucet from the wall.
-
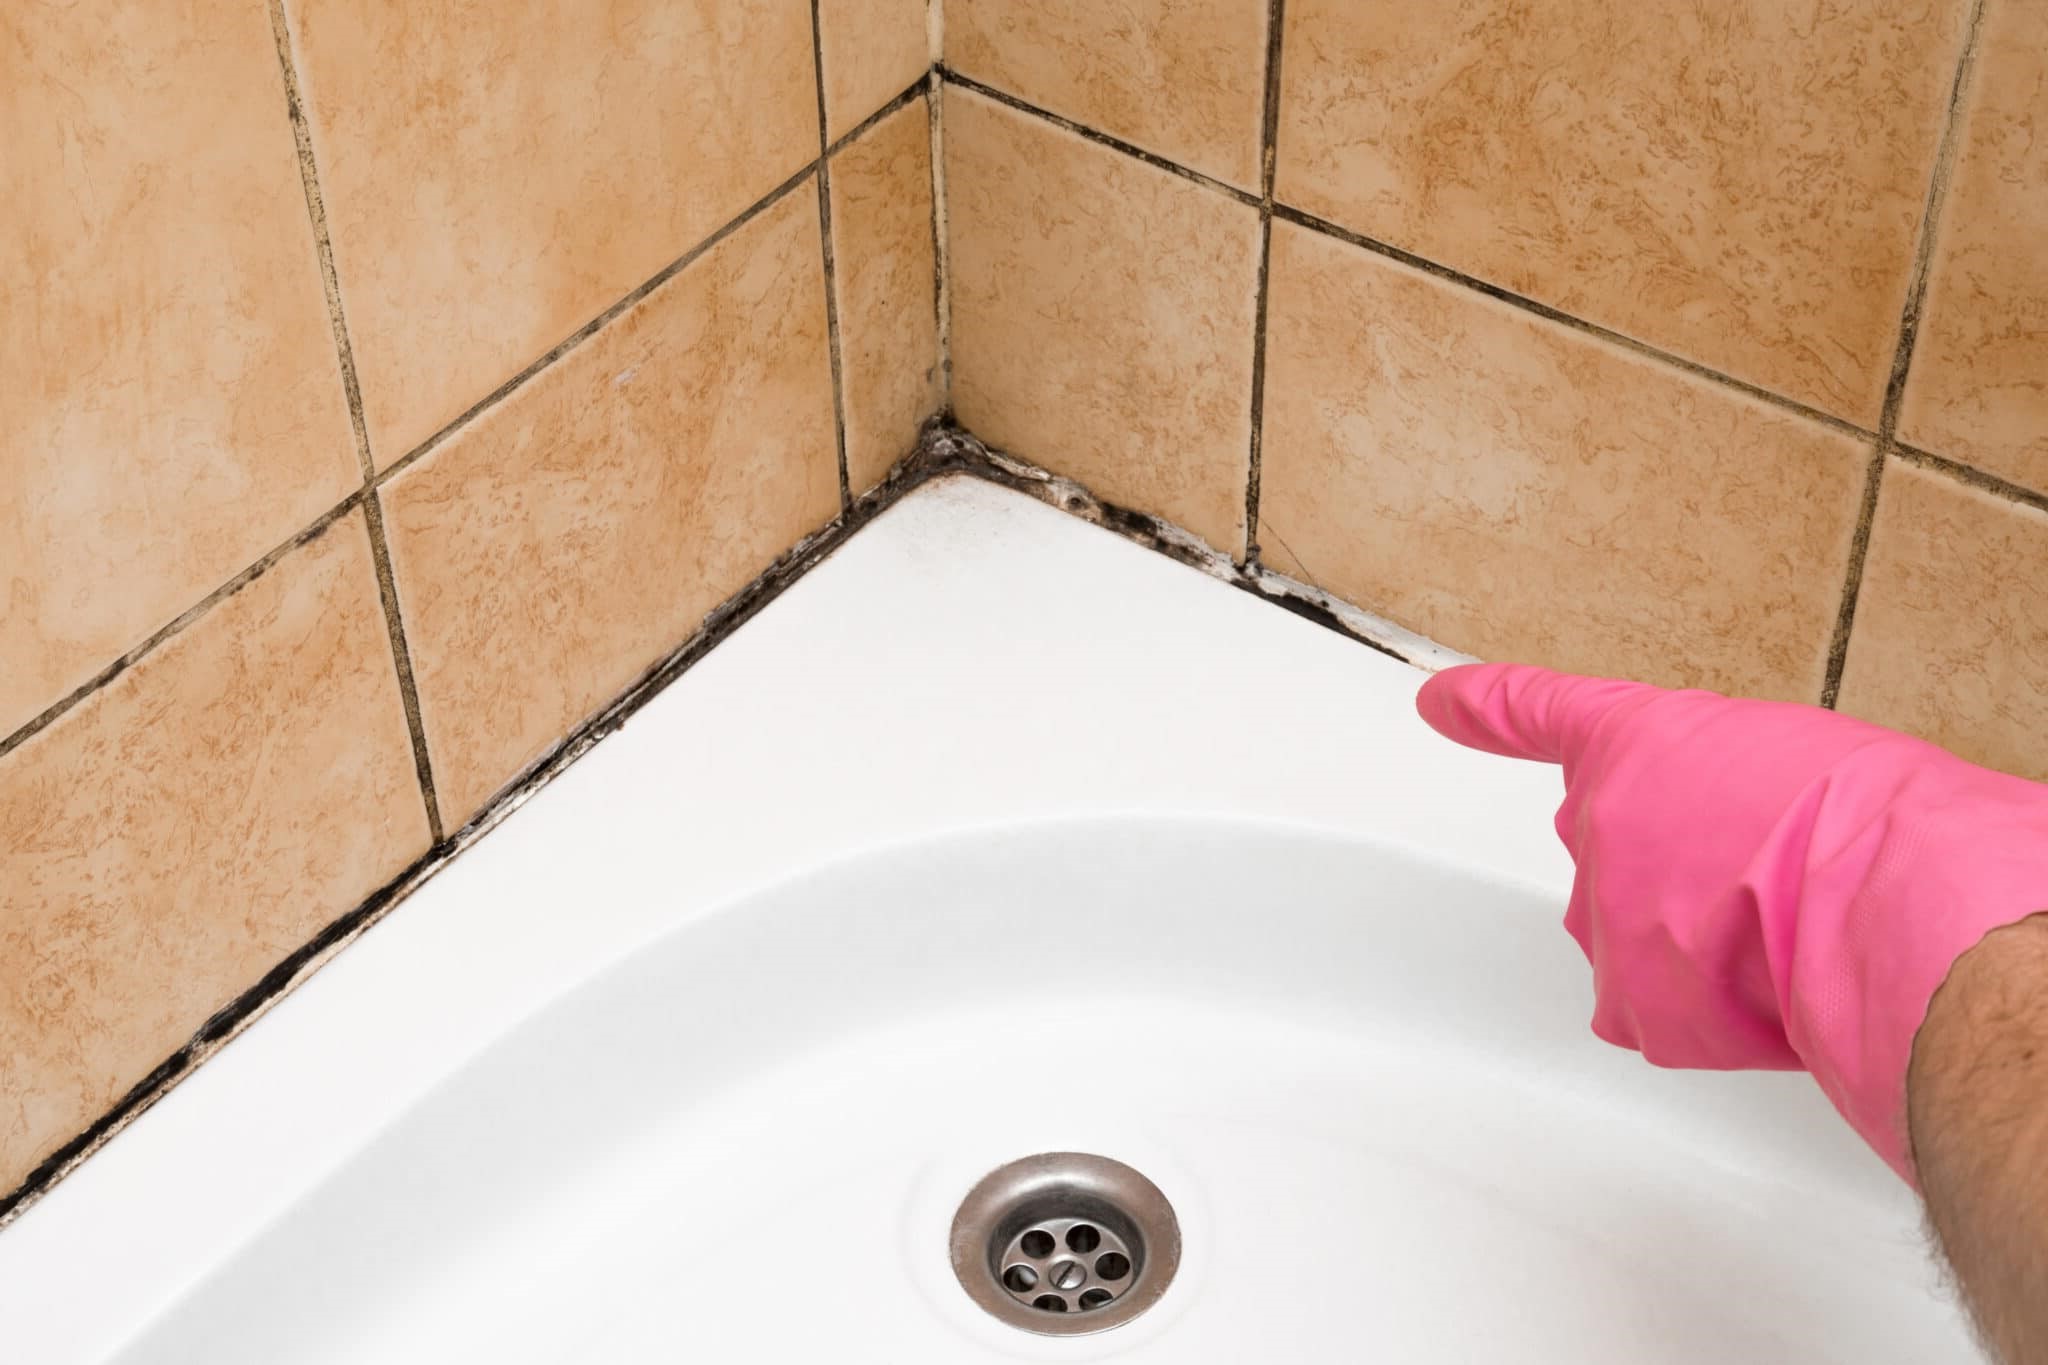
Inspect for Damage or Corrosion: As you remove the old faucet, take the opportunity to inspect the surrounding plumbing and wall surface for any signs of damage, corrosion, or mold. Address any issues as needed before proceeding with the installation of the new faucet to ensure a clean and secure foundation for the replacement.
By following these steps to remove the old shower faucet, you can effectively prepare the shower space for the installation of the new faucet. With the old faucet safely disconnected and removed, you are now ready to proceed to the next step of installing the new faucet, bringing you closer to the completion of this rewarding home improvement project.
Step 3: Install the New Faucet
With the old faucet successfully removed, it's time to install the new faucet and bring a fresh, updated look to your shower. The installation process involves securing the new faucet to the shower wall, connecting the water supply lines, and ensuring a watertight seal to prevent leaks. Here's a detailed guide on how to install the new faucet:
-
Prepare the New Faucet: Before installing the new faucet, carefully unpack the components and familiarize yourself with the included parts. Verify that all necessary pieces, including handles, trim plates, and any additional fixtures, are present and undamaged. If the new faucet requires any sealants or washers for installation, ensure that these are readily accessible.
-
Position the New Faucet: Align the new faucet with the existing openings in the shower wall, ensuring that it sits flush and level against the surface. If the faucet requires a gasket or plumber's putty for sealing, apply a thin, even layer around the base of the faucet to create a watertight seal when it is mounted.
-
Secure the Faucet: Once the new faucet is positioned correctly, secure it to the shower wall using the provided mounting hardware. Depending on the faucet design, this may involve tightening mounting nuts, screws, or brackets to firmly anchor the faucet in place. Use the appropriate tools, such as a wrench or screwdriver, to ensure a secure and stable installation.
-
Connect the Water Supply Lines: With the new faucet securely mounted, reconnect the water supply lines to the corresponding fittings on the faucet. Use an adjustable wrench to tighten the connections, ensuring that they are snug and leak-free. If the faucet includes hot and cold water handles, be sure to connect the appropriate supply lines to the corresponding sides of the faucet.
-
Apply Plumber's Tape and Sealants: If the new faucet connections require additional sealing, such as threaded fittings, apply plumber's tape (Teflon tape) to the male threads before making the connections. This tape helps create a tight, leak-resistant seal when the fittings are joined. Additionally, if the faucet manufacturer recommends the use of silicone caulk or plumber's putty for specific connections, apply these sealants as directed to prevent water seepage.
-
Test the Faucet: Once the new faucet is installed and the water supply lines are connected, turn on the water supply to the shower and test the faucet for leaks and proper functionality. Check for any signs of water leakage around the connections and handles, and ensure that the hot and cold water controls operate smoothly and without any issues.
By following these steps to install the new shower faucet, you can complete the transformation of your shower space with a stylish and functional upgrade. With the new faucet securely in place and the water flowing seamlessly, you can look forward to enjoying a rejuvenated shower experience, free from the concerns of leaks or outdated fixtures.
Step 4: Turn On Water Supply
With the new faucet successfully installed and tested, the final step in the process of changing your shower faucet is to turn on the water supply and restore water flow to the shower. This pivotal step ensures that the newly installed faucet functions as intended, allowing you to enjoy its benefits without delay. Here's a detailed guide on how to turn on the water supply and complete the faucet replacement process:
-
Locate the Water Shut-Off Valve: To turn on the water supply to the shower, you will need to locate the water shut-off valve that was previously closed during the faucet replacement process. The shut-off valve is typically found near the shower plumbing or in the vicinity of your home's main water supply. Once located, ensure that the valve is easily accessible and that there are no obstructions preventing you from reaching it.
-
Turn On the Water: Using a clockwise motion, carefully turn the water shut-off valve counterclockwise (to the left) to open the water supply to the shower. It's important to do this gradually to allow the water to flow back into the pipes without causing sudden pressure surges. As you open the valve, listen for the sound of water flowing into the pipes, indicating that the water supply has been successfully restored.
-
Check for Leaks: As the water supply is turned on, closely inspect the connections and fittings of the new faucet for any signs of leaks or drips. Pay particular attention to the areas where the water supply lines are connected to the faucet, as well as around the base of the faucet. If you notice any leaks, immediately turn off the water supply and address the issue by tightening the connections or applying additional sealant as needed.
-
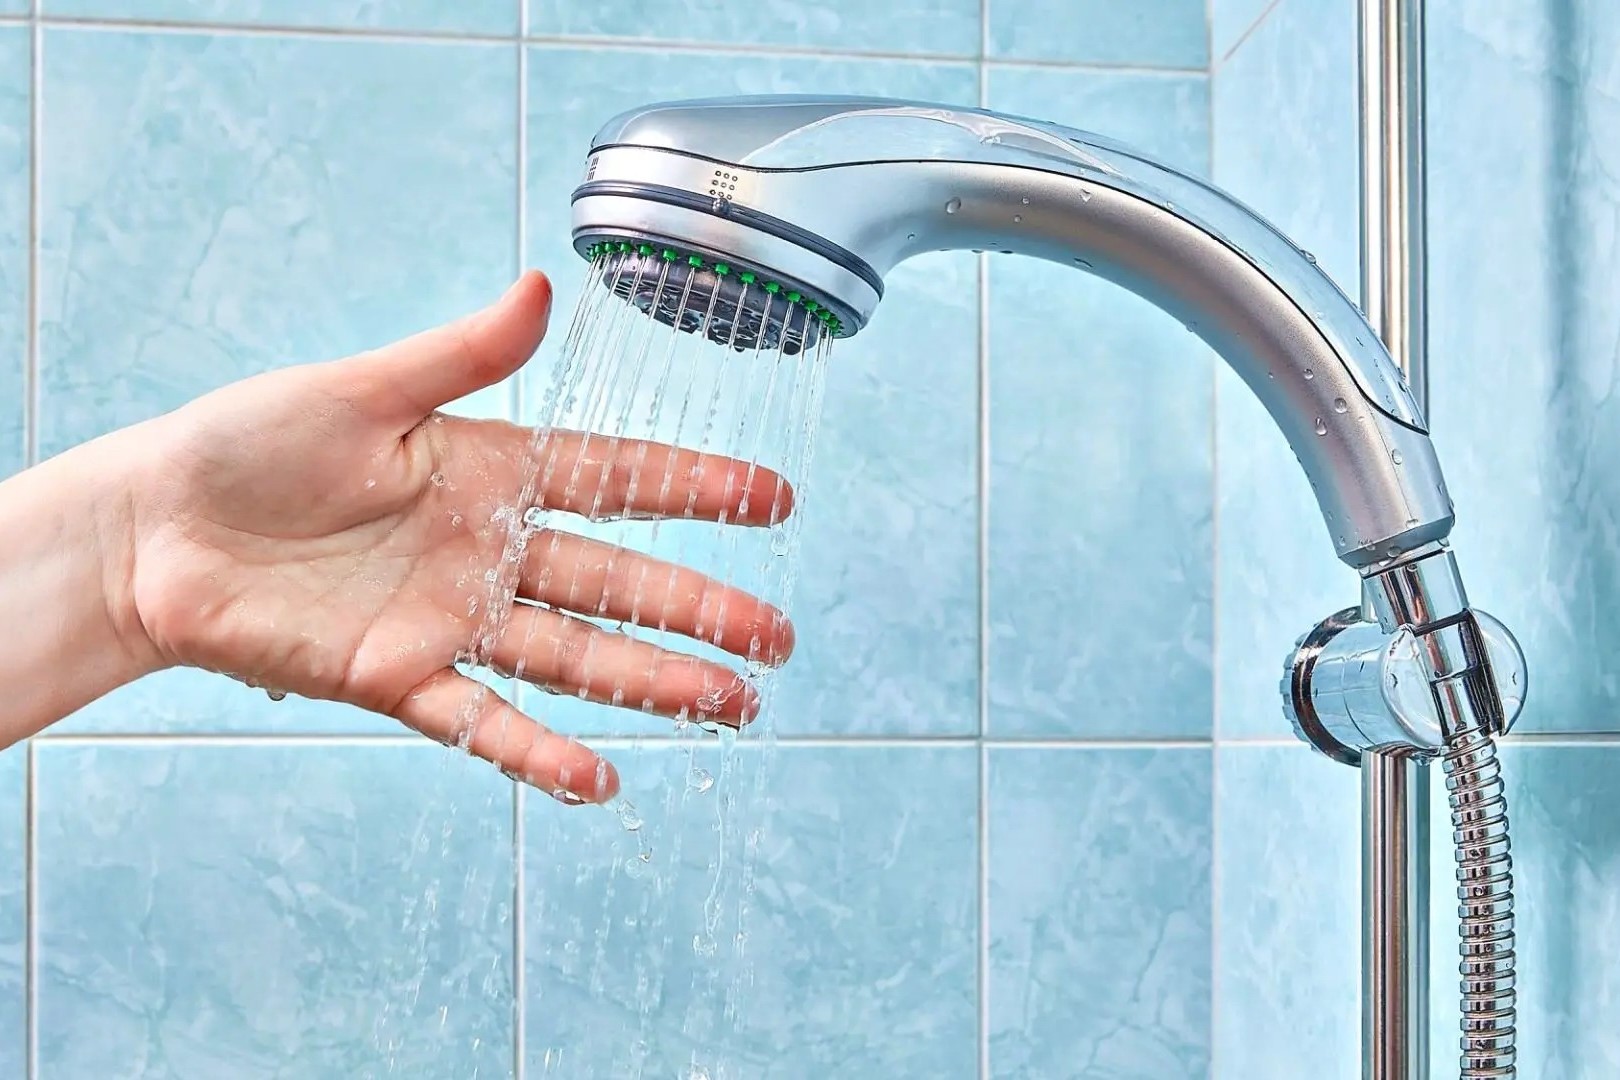
Test the Faucet: With the water supply restored and any potential leaks addressed, test the new faucet to ensure that it operates smoothly and without any issues. Turn the hot and cold water handles to verify that the water flows correctly and that the temperature control functions as expected. Additionally, check the showerhead, if applicable, to ensure that it provides a steady and even flow of water.
-
Inspect for Proper Functionality: After testing the faucet, assess its overall functionality, including the ease of use, the absence of unusual noises, and the absence of water pooling around the base. Run the water for a few minutes to flush out any air that may have accumulated in the pipes during the installation process, ensuring that the water flows consistently and without sputtering.
By following these steps to turn on the water supply and test the new faucet, you can complete the faucet replacement process with confidence and assurance. With the water flowing seamlessly and the new faucet enhancing your shower experience, you can take pride in the successful completion of this home improvement project.
Conclusion
Congratulations on successfully completing the process of changing your shower faucet! By following the step-by-step instructions outlined in this guide, you have not only revitalized your bathroom space but also gained valuable insights into DIY home improvement projects. As you stand back and admire your newly installed faucet, it's important to reflect on the journey you've undertaken and the benefits that come with this accomplishment.
First and foremost, the replacement of your shower faucet has brought a fresh and modern aesthetic to your bathroom. Outdated and worn fixtures have been replaced with a sleek and functional faucet, elevating the overall look and feel of the shower space. This transformation not only enhances the visual appeal of your bathroom but also contributes to a more enjoyable and inviting environment for your daily routines.
Moreover, by taking on this project, you have demonstrated a proactive approach to maintaining and improving your home. The ability to tackle a task such as changing a shower faucet empowers you to address household needs independently, saving time and resources that would have otherwise been spent on professional assistance. This newfound confidence in DIY home maintenance can extend to other areas of your living space, opening the door to further personalization and enhancement of your home environment.
Additionally, the successful installation of the new faucet ensures improved functionality and reliability in your shower. Leaks, drips, and outdated features are now a thing of the past, replaced by a well-sealed, efficient faucet that enhances your daily shower experience. With the assurance of a secure and leak-free installation, you can enjoy peace of mind and convenience in your bathroom activities.
As you reflect on the completion of this project, it's important to acknowledge the skills and knowledge you've gained throughout the process. From turning off the water supply to testing the new faucet, each step has contributed to your understanding of plumbing, installation techniques, and the importance of thorough preparation. These insights can serve as a foundation for future DIY endeavors, empowering you to take on new challenges with confidence and proficiency.
In conclusion, the successful replacement of your shower faucet represents more than just a home improvement task. It signifies your ability to take control of your living space, enhance its functionality and aesthetics, and embrace the satisfaction of a job well done. As you enjoy the benefits of your new faucet, may this experience inspire you to embark on further home improvement projects, each one contributing to the comfort, style, and personalization of your home.