Home>Home and Garden>How To Remove Shower Drain
Home and Garden
How To Remove Shower Drain
Published: March 4, 2024
Learn how to remove a shower drain easily with our step-by-step guide. Keep your home and garden in top condition with our expert tips.
(Many of the links in this article redirect to a specific reviewed product. Your purchase of these products through affiliate links helps to generate commission for Noodls.com, at no extra cost. Learn more)
Table of Contents
Introduction
Removing a shower drain may seem like a daunting task, but with the right tools and a bit of know-how, it can be a manageable DIY project. Over time, shower drains can become clogged with hair, soap scum, and other debris, leading to slow drainage and unpleasant odors. Additionally, if the drain is damaged or corroded, it may need to be replaced to prevent leaks and water damage.
In this comprehensive guide, we will walk you through the step-by-step process of removing a shower drain and installing a new one. Whether you're dealing with a clogged drain, a worn-out flange, or simply want to upgrade to a more modern drain design, this guide will equip you with the knowledge and confidence to tackle this home improvement task.
By following these instructions and using the recommended tools and materials, you can effectively remove and replace your shower drain, restoring proper drainage and preventing potential water damage in your bathroom. So, roll up your sleeves, gather your tools, and let's dive into the process of removing and replacing a shower drain.
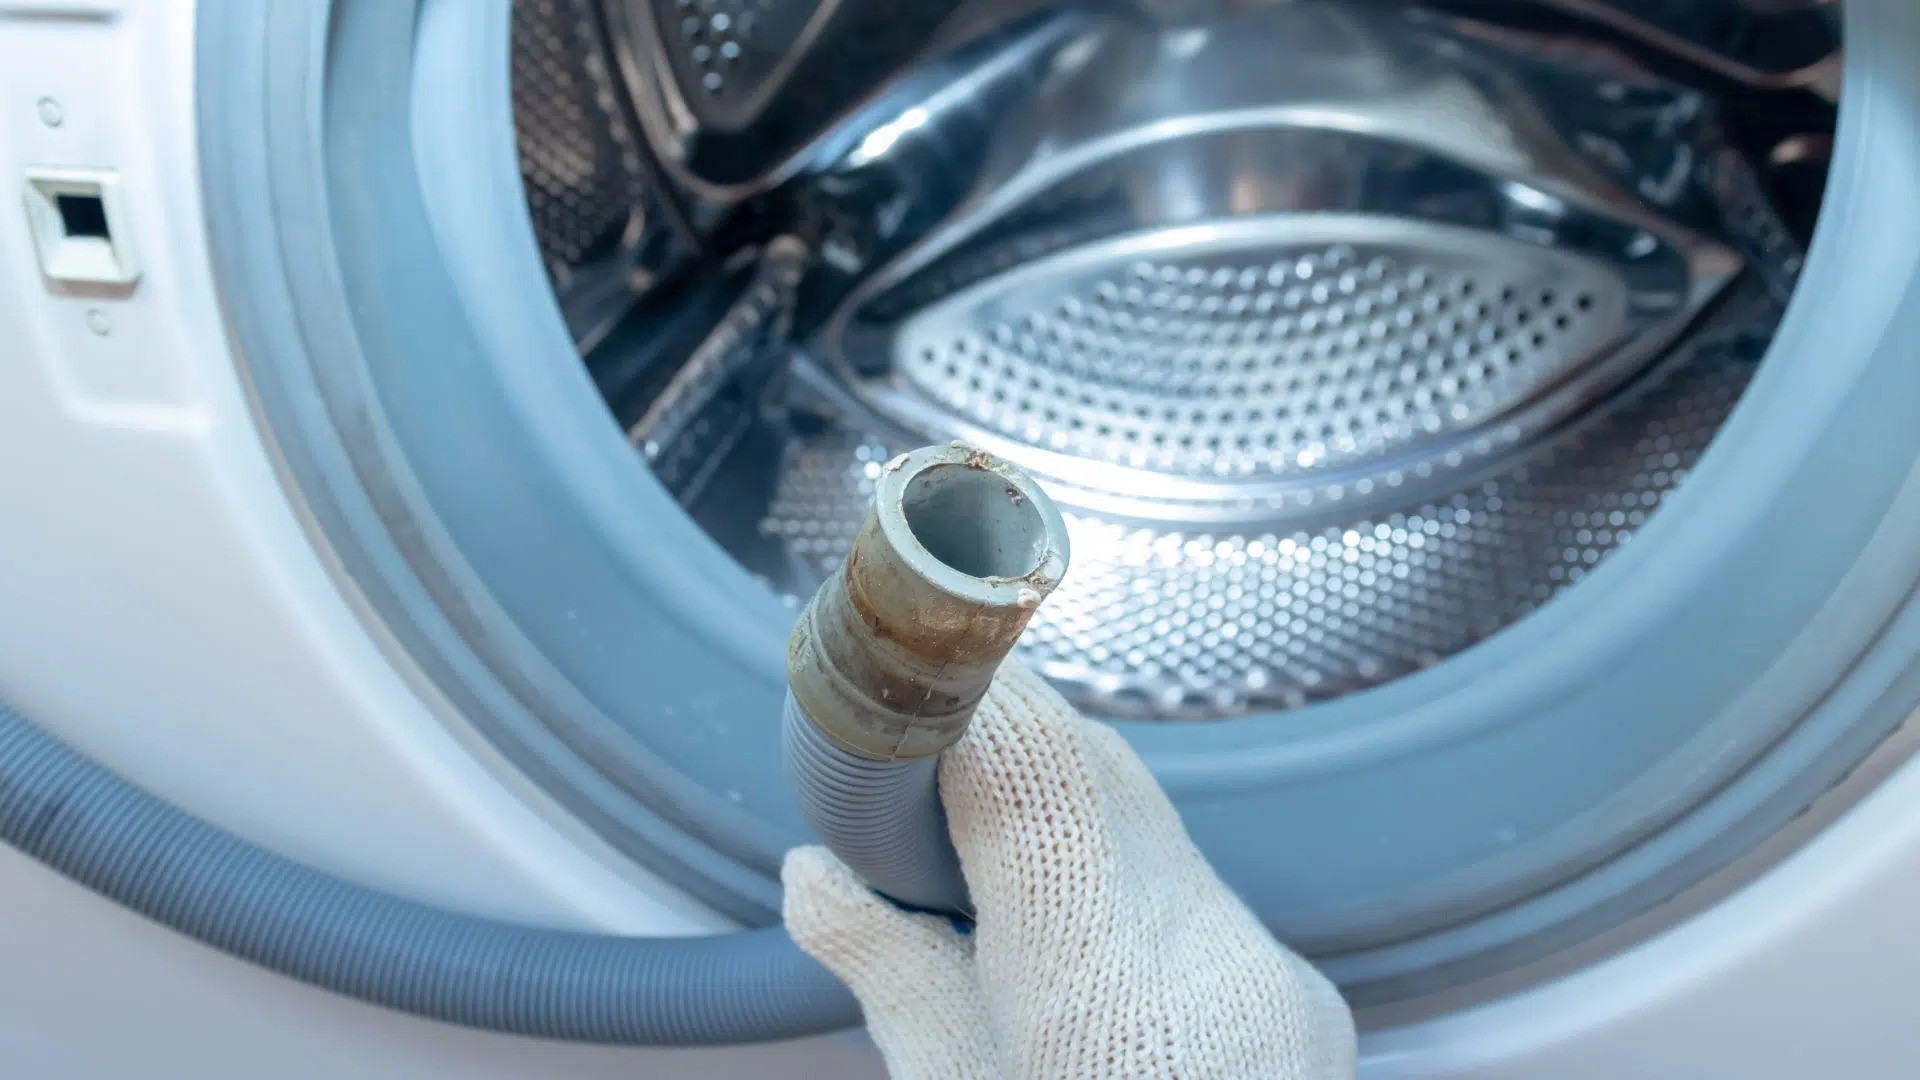
Read more: How To Remove Tub Drain
Tools and Materials Needed
Before embarking on the task of removing and replacing a shower drain, it's essential to gather the necessary tools and materials. Having the right equipment at your disposal will streamline the process and ensure that you can complete the project efficiently. Here's a comprehensive list of the tools and materials you'll need:
Tools:
- Screwdriver Set: A set of screwdrivers, including both flathead and Phillips head varieties, will be essential for removing screws and disassembling the drain components.
- Adjustable Wrench: An adjustable wrench will enable you to loosen and tighten nuts and bolts during the removal and installation of the drain.
- Needle-Nose Pliers: These will come in handy for reaching into tight spaces and manipulating small components within the drain.
- Putty Knife: A putty knife will aid in removing old caulking and sealing materials around the drain flange.
- Plumbers' Putty or Caulk: Depending on the type of drain and sealing method, you may need plumbers' putty or caulk to create a watertight seal during the installation of the new drain.
- Pipe Wrench: If your drain assembly includes threaded pipes, a pipe wrench will be necessary for loosening and tightening these connections.
- Safety Gloves and Goggles: It's important to protect your hands and eyes while working with plumbing components, so be sure to have a pair of safety gloves and goggles on hand.
Materials:
- New Shower Drain: Depending on your specific needs and preferences, you'll need to select a suitable replacement drain. This could be a traditional strainer-style drain or a more modern linear drain.
- Replacement Gaskets or Washers: To ensure a watertight seal, you may need replacement gaskets or washers for the drain components.
- Teflon Tape: If your drain assembly includes threaded connections, Teflon tape can help create a secure, leak-free seal.
- Cleaning Solution: A mild cleaning solution or drain cleaner can be useful for removing any buildup or debris within the drain before installation.
- Rags or Towels: Keep some rags or towels on hand to clean up any spills or excess water during the process.
By gathering these tools and materials before you begin, you'll be well-prepared to tackle the task of removing and replacing your shower drain. With everything at your fingertips, you can proceed with confidence, knowing that you have everything you need to complete the project successfully.
Step 1: Remove the Drain Cover
The first step in the process of removing a shower drain is to tackle the removal of the drain cover. This component is typically located at the surface level of the shower floor and is designed to prevent large debris from entering the drain while allowing water to flow through. Here's a detailed guide on how to remove the drain cover effectively:
-
Inspect the Drain Cover: Before proceeding, take a moment to inspect the drain cover. Depending on the type of drain, it may be held in place by screws or simply fit snugly into the drain opening. Look for any visible screws or fasteners securing the cover in place.
-
Use a Screwdriver: If the drain cover is secured with screws, use an appropriate screwdriver to carefully remove them. Place the screws in a safe location to prevent misplacement. In some cases, the screws may be concealed beneath a layer of grime or old caulking, so thorough inspection and cleaning may be necessary.
-
Apply Lubricant (If Needed): Over time, drain covers can become stuck due to the accumulation of debris and mineral deposits. If the cover seems difficult to remove, applying a small amount of lubricant around the edges can help loosen it. Allow the lubricant to penetrate for a few minutes before attempting to lift the cover again.
-
Lift the Cover: With the screws removed and any lubricant applied, gently lift the drain cover using your fingers or a flat tool, such as a putty knife. Take care not to force it, as excessive pressure could damage the cover or surrounding tiles.
-
Clean the Drain Opening: Once the cover is removed, take the opportunity to clean the drain opening thoroughly. Use a mild cleaning solution and a brush to remove any accumulated grime, hair, or soap scum. This will prepare the area for the subsequent steps of the removal process.
By following these steps, you can successfully remove the drain cover and prepare the drain for the next phase of the removal process. Taking the time to inspect, clean, and handle the cover with care will ensure that the rest of the removal and replacement process proceeds smoothly.
Remember, each step in this process contributes to the overall success of the project, so attention to detail and patience are key. With the drain cover removed, you're ready to move on to the next phase of the project, which involves cleaning the drain and preparing for the removal of the drain flange.
Read more: How To Remove Mold From Shower Grout
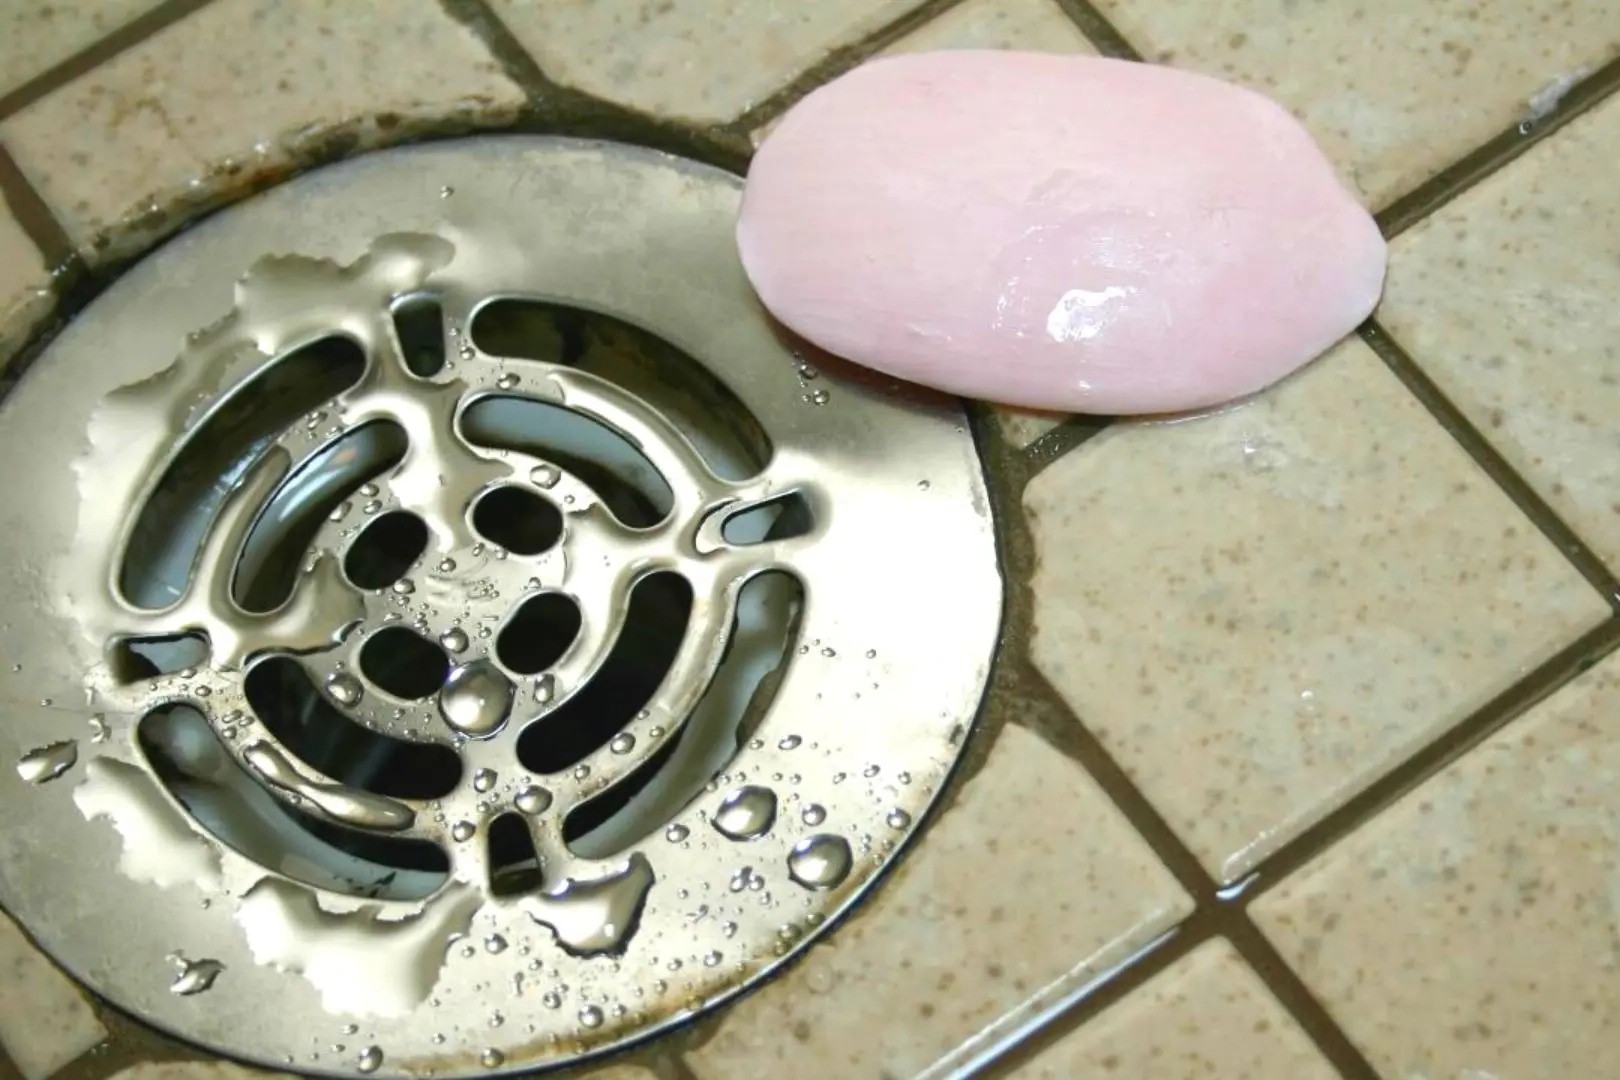
Step 2: Clean the Drain
After successfully removing the drain cover, the next crucial step in the process of removing a shower drain is to thoroughly clean the drain itself. Over time, shower drains can accumulate a buildup of hair, soap scum, and other debris, leading to slow drainage and unpleasant odors. By taking the time to clean the drain thoroughly, you can ensure that the new drain components will be installed in a clean and hygienic environment, promoting optimal drainage and preventing future issues.
Here's a detailed guide on how to clean the shower drain effectively:
-
Inspect the Drain: Before proceeding with cleaning, take a moment to inspect the drain opening. Use a flashlight to peer into the drain and assess the level of buildup and debris present. This visual inspection will provide valuable insight into the condition of the drain and the extent of cleaning required.
-
Use a Cleaning Solution: Select a mild cleaning solution suitable for use in plumbing applications. This could be a commercial drain cleaner or a homemade solution using vinegar and baking soda. Apply the cleaning solution generously to the interior of the drain, ensuring that it reaches all areas where buildup is present.
-
Agitate the Debris: Use a brush or a tool with bristles to agitate the debris within the drain. This will help loosen and dislodge the accumulated hair, soap scum, and other materials clinging to the walls of the drain. Take care not to apply excessive force, as this could potentially damage the drain components.
-
Flush with Water: Once the cleaning solution has had a chance to work its magic, flush the drain with hot water. The force of the water will help dislodge any remaining debris and carry it away, leaving the drain clean and free from obstructions.
-
Inspect and Repeat if Necessary: After flushing the drain, inspect the interior once again to ensure that it is clean and free from debris. If necessary, repeat the cleaning process to achieve the desired level of cleanliness.
By following these steps, you can effectively clean the shower drain, preparing it for the subsequent phases of the removal and replacement process. A clean and debris-free drain will facilitate the smooth installation of the new drain components, ensuring optimal functionality and longevity.
With the drain now clean and free from obstructions, you're ready to proceed to the next phase of the project, which involves the removal of the drain flange. This critical step will pave the way for the installation of the new drain, bringing you one step closer to a fully rejuvenated shower drainage system.
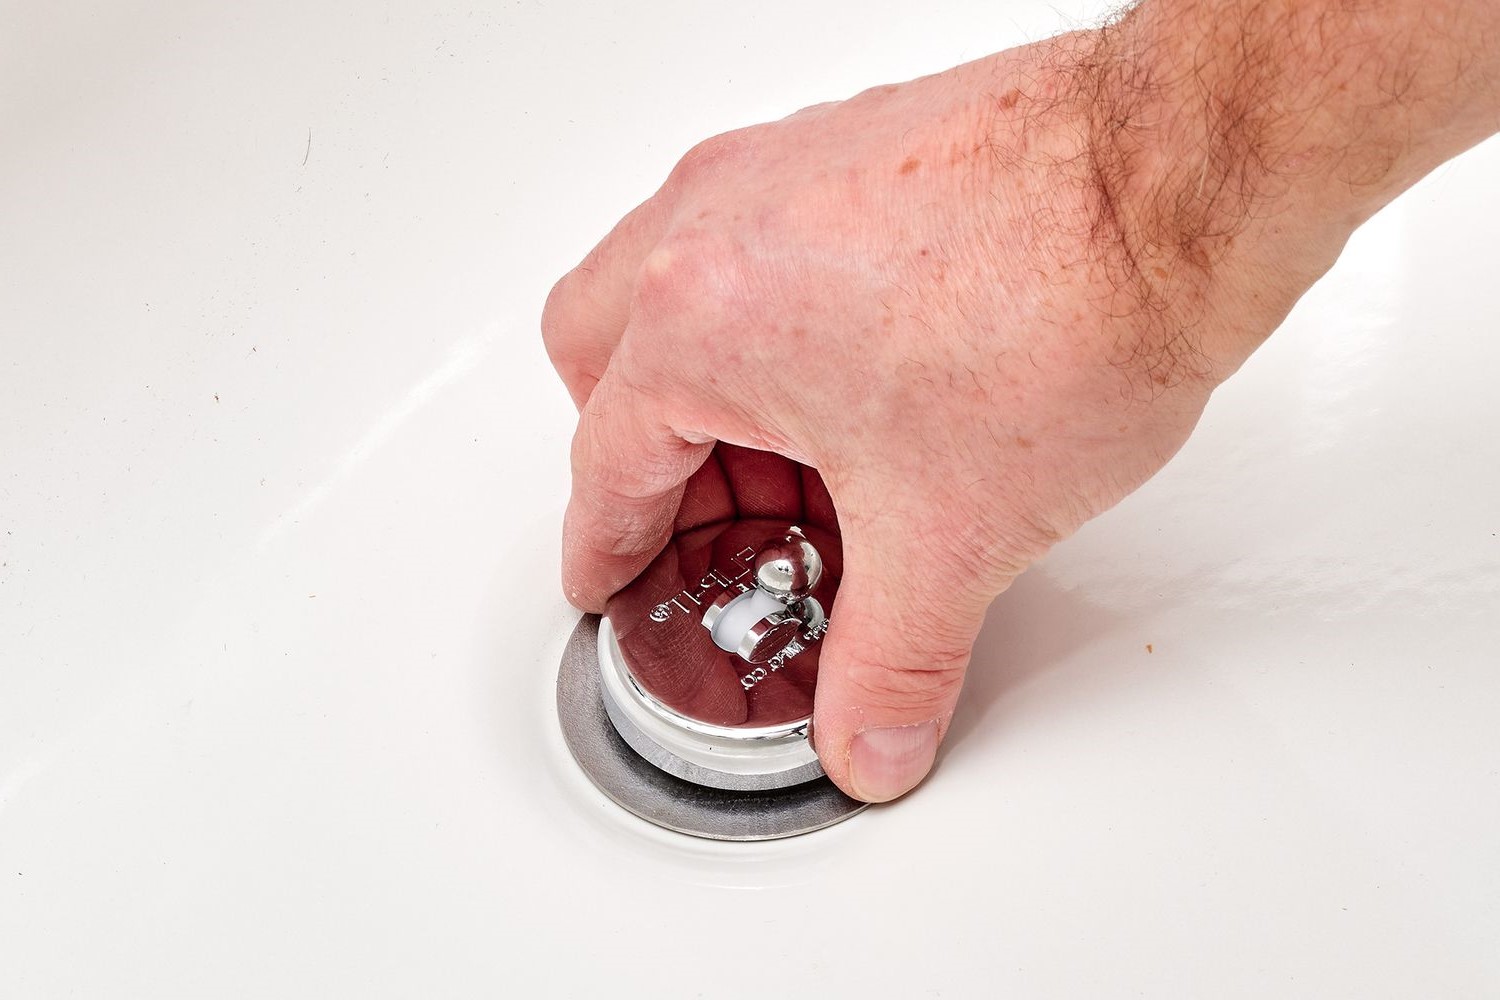
Step 3: Remove the Drain Flange
With the drain cover removed and the drain thoroughly cleaned, the next pivotal step in the process of removing a shower drain is to tackle the removal of the drain flange. The drain flange is the visible, round rim that surrounds the drain opening and is typically secured in place with screws or adhesive. Removing the drain flange is a crucial part of the process, as it allows access to the underlying components of the drain assembly and paves the way for the installation of the new drain. Here's a detailed guide on how to remove the drain flange effectively:
-
Inspect the Flange: Before proceeding with the removal, take a moment to inspect the drain flange. Depending on the type of installation, it may be secured with screws or adhesive. Look for any visible screws or fasteners holding the flange in place. If the flange is adhered to the shower pan, it may require gentle prying to release it.
-
Loosen the Screws: If the flange is secured with screws, use an appropriate screwdriver to carefully loosen and remove them. Take care to keep the screws in a safe location, as they will be needed for the installation of the new drain. In some cases, the screws may be concealed beneath a layer of grime or old caulking, so thorough inspection and cleaning may be necessary.
-
Break the Seal (If Adhered): If the flange is adhered to the shower pan, it may be necessary to break the seal to release it. Use a putty knife or a similar flat tool to gently pry the flange away from the surface. Take care to apply even pressure and avoid using excessive force, as this could damage the shower pan or surrounding tiles.
-
Lift and Remove the Flange: Once the screws are removed or the adhesive seal is broken, carefully lift and remove the drain flange. Take care to handle it gently, as the edges may be sharp. Set the old flange aside, as it will no longer be needed.
-
Clean the Flange Opening: With the old flange removed, take the opportunity to clean the flange opening thoroughly. Use a mild cleaning solution and a brush to remove any residual adhesive, grime, or debris. This will ensure a clean and smooth surface for the installation of the new drain components.
By following these steps, you can effectively remove the drain flange, clearing the way for the installation of the new drain. With the old flange out of the way and the opening cleaned, you're now ready to proceed to the next phase of the project, which involves the installation of the new drain. This marks a significant milestone in the process, bringing you closer to revitalizing your shower drainage system and ensuring optimal functionality for the future.
Step 4: Install the New Drain
With the old drain components successfully removed and the cleaning process completed, it's time to embark on the exciting phase of installing the new shower drain. This pivotal step will not only rejuvenate the functionality of your shower drainage system but also present an opportunity to upgrade to a more modern and efficient drain design. Here's a comprehensive guide on how to install the new drain effectively:
-
Select the New Drain: Before proceeding with the installation, ensure that you have the appropriate replacement drain on hand. Depending on your preferences and the specific requirements of your shower, you may opt for a traditional strainer-style drain or a sleek and contemporary linear drain. Ensure that the new drain is compatible with the dimensions and design of your shower, providing a snug and secure fit.
-
Prepare the Drain Components: If the new drain requires the installation of gaskets, washers, or other sealing components, ensure that these are in place before proceeding. Depending on the design of the drain, you may need to apply plumber's putty or caulk to create a watertight seal. Follow the manufacturer's instructions carefully to ensure proper installation.
-
Position the New Drain: Carefully position the new drain in the drain opening, ensuring that it sits flush and level with the shower floor. Take care to align the drain properly, as this will impact its functionality and aesthetic appeal once installed. If the drain includes threaded connections, ensure that these align with the corresponding pipes beneath the shower.
-
Secure the Drain in Place: If the new drain includes screws or fasteners for securing it in place, use the appropriate tools to tighten them. Ensure that the drain is firmly anchored and does not wobble or shift when pressure is applied. If the drain requires adhesive or sealant, apply it according to the manufacturer's instructions, creating a secure and watertight bond.
-
Test the Drain: With the new drain securely installed, it's crucial to test its functionality before proceeding with the final steps. Pour a small amount of water into the drain and observe its flow. Ensure that the water drains smoothly and efficiently, without any leaks or backups. This test will confirm that the new drain is installed correctly and is ready for regular use.
By following these steps, you can effectively install the new shower drain, revitalizing your shower drainage system and ensuring optimal functionality for the future. With the new drain in place, you can look forward to improved drainage, reduced maintenance, and a refreshed aesthetic in your shower. This marks a significant achievement in your DIY home improvement project, bringing you one step closer to a fully rejuvenated bathroom space.
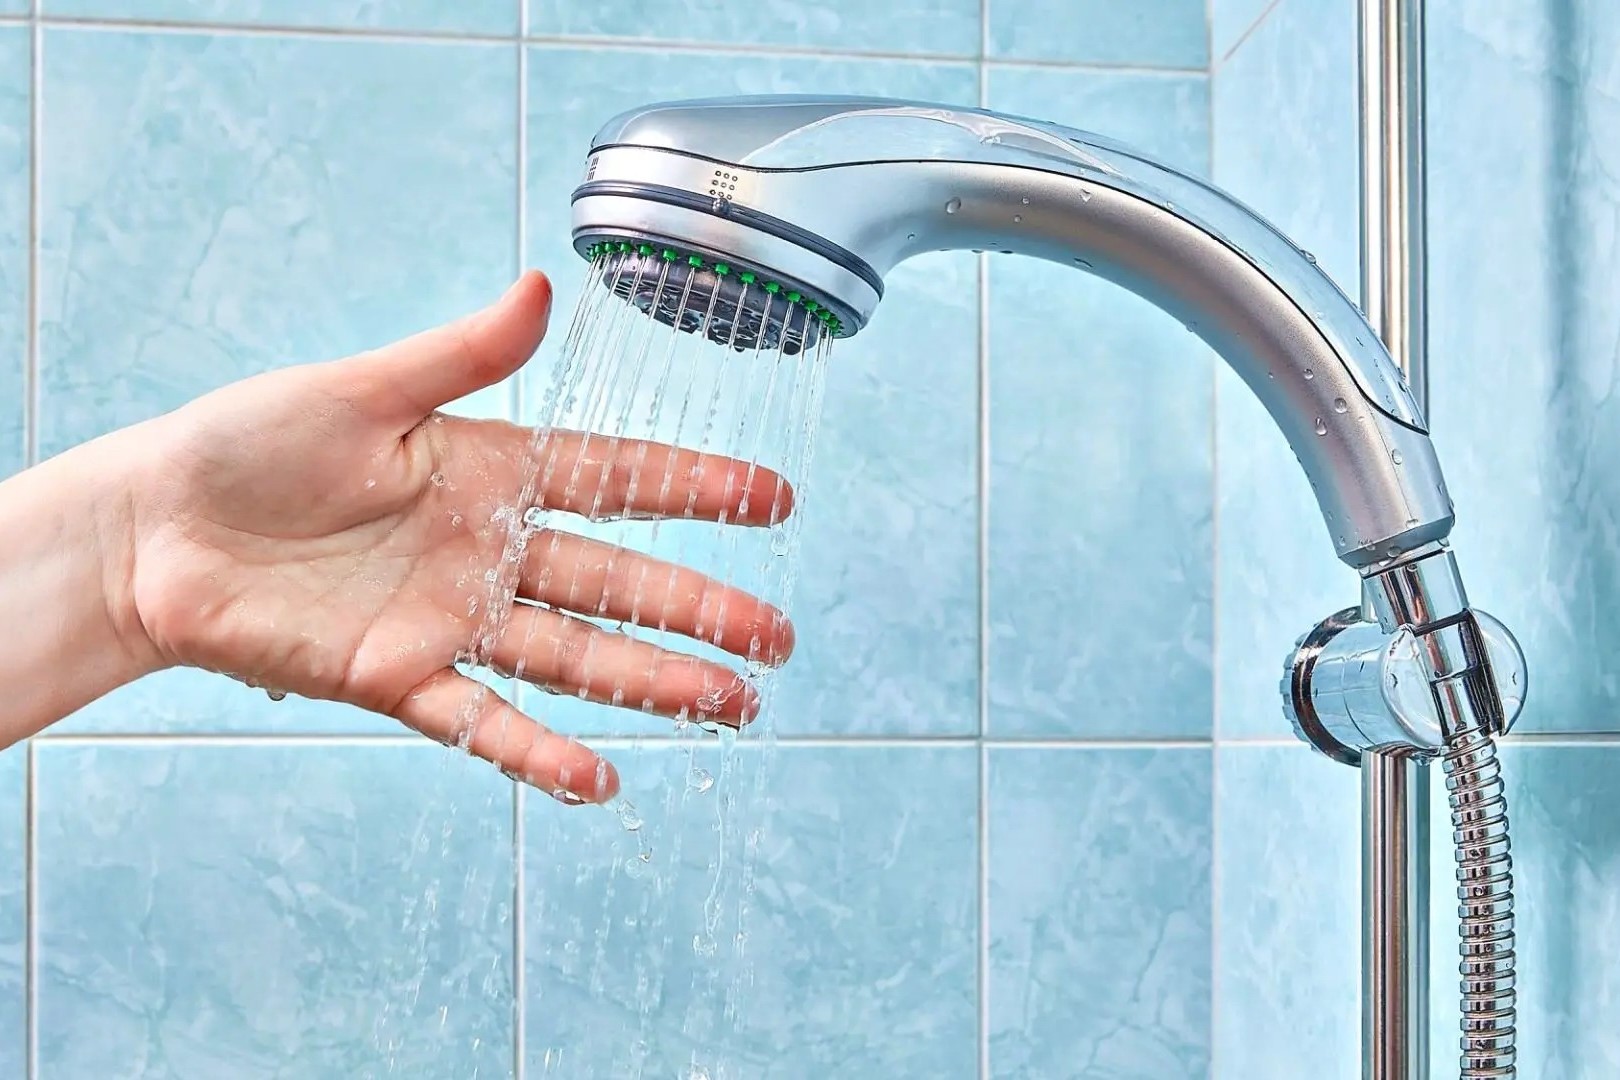
Step 5: Test the Drain
Testing the newly installed shower drain is a critical step in the process of replacing a shower drain. This phase ensures that the drain functions as intended, allowing water to flow smoothly and efficiently while detecting any potential issues such as leaks or inadequate drainage. By conducting a thorough test, you can verify the success of the installation and address any issues before completing the project.
To test the drain effectively, follow these detailed steps:
-
Pour Water Into the Drain: Begin by pouring a moderate amount of water into the drain. This can be done using a bucket or directly from a faucet. The goal is to simulate the flow of water during a typical shower, allowing you to observe how the drain handles the volume and speed of water entering the system.
-
Observe the Drainage: As the water flows into the drain, observe its drainage pattern. Ideally, the water should flow smoothly and steadily, without any signs of pooling or slow drainage. Pay attention to any gurgling sounds or unusual behaviors, as these could indicate potential issues within the drain system.
-
Check for Leaks: While the water is flowing into the drain, inspect the area surrounding the drain for any signs of leakage. Look for water seeping out from the edges of the drain or pooling on the shower floor. Additionally, check the underside of the shower pan or the area beneath the drain for any signs of moisture or water accumulation.
-
Verify Proper Sealing: Ensure that the seal around the drain is secure and watertight. If the drain requires the use of plumber's putty or caulk, check for any gaps or inconsistencies in the seal. A properly sealed drain will prevent water from seeping into the subfloor or surrounding areas, minimizing the risk of water damage.
-
Test Multiple Times: Conduct the drainage test multiple times to validate the consistency of the drain's performance. By testing the drain under varying flow rates and durations, you can gain a comprehensive understanding of its functionality and identify any intermittent issues that may arise.
-
Address Any Issues: If you observe any issues during the testing phase, such as slow drainage, leaks, or unusual sounds, take the time to address them promptly. This may involve adjusting the positioning of the drain, tightening connections, or resealing the drain to ensure optimal performance.
By meticulously testing the newly installed shower drain, you can confirm its functionality and address any potential issues, ensuring that your efforts result in a reliable and efficient drainage system. This phase serves as a crucial quality check, allowing you to complete the installation with confidence and peace of mind, knowing that your shower drain is ready to deliver reliable performance for years to come.
Read more: How To Unclog A Washer Drain
Conclusion
In conclusion, the process of removing and replacing a shower drain is a manageable DIY project that can yield significant benefits in terms of improved drainage, reduced maintenance, and a refreshed aesthetic in your bathroom. By following the step-by-step guide outlined in this comprehensive tutorial, you can effectively tackle this home improvement task with confidence and achieve a successful outcome.
The journey begins with the removal of the drain cover, a relatively straightforward step that sets the stage for the subsequent phases of the project. By carefully inspecting, removing, and cleaning the drain cover, you can prepare the drain opening for the next critical steps. The thorough cleaning of the drain itself is essential, as it ensures that the new drain components will be installed in a clean and hygienic environment, promoting optimal drainage and preventing future issues.
The pivotal phase of removing the drain flange paves the way for the installation of the new drain, marking a significant milestone in the rejuvenation of your shower drainage system. With the old flange out of the way and the opening cleaned, you're ready to embark on the exciting phase of installing the new drain. This step not only revitalizes the functionality of your shower but also presents an opportunity to upgrade to a more modern and efficient drain design.
The final phase of testing the newly installed drain ensures that it functions as intended, allowing water to flow smoothly and efficiently while detecting any potential issues such as leaks or inadequate drainage. By conducting a thorough test, you can verify the success of the installation and address any issues before completing the project.
In essence, the process of removing and replacing a shower drain is a rewarding endeavor that empowers homeowners to enhance the functionality and aesthetics of their bathroom space. By following the detailed steps outlined in this guide and utilizing the recommended tools and materials, you can achieve a successful outcome and enjoy the benefits of a rejuvenated shower drainage system.
With a renewed sense of confidence and a revitalized shower drain, you can look forward to improved drainage, reduced maintenance, and a fresh, inviting atmosphere in your bathroom. This DIY project not only enhances the functionality of your home but also provides a sense of accomplishment and pride in your ability to tackle essential home improvement tasks.