Home>Home and Garden>How To Remove A Ring Faceplate
Home and Garden
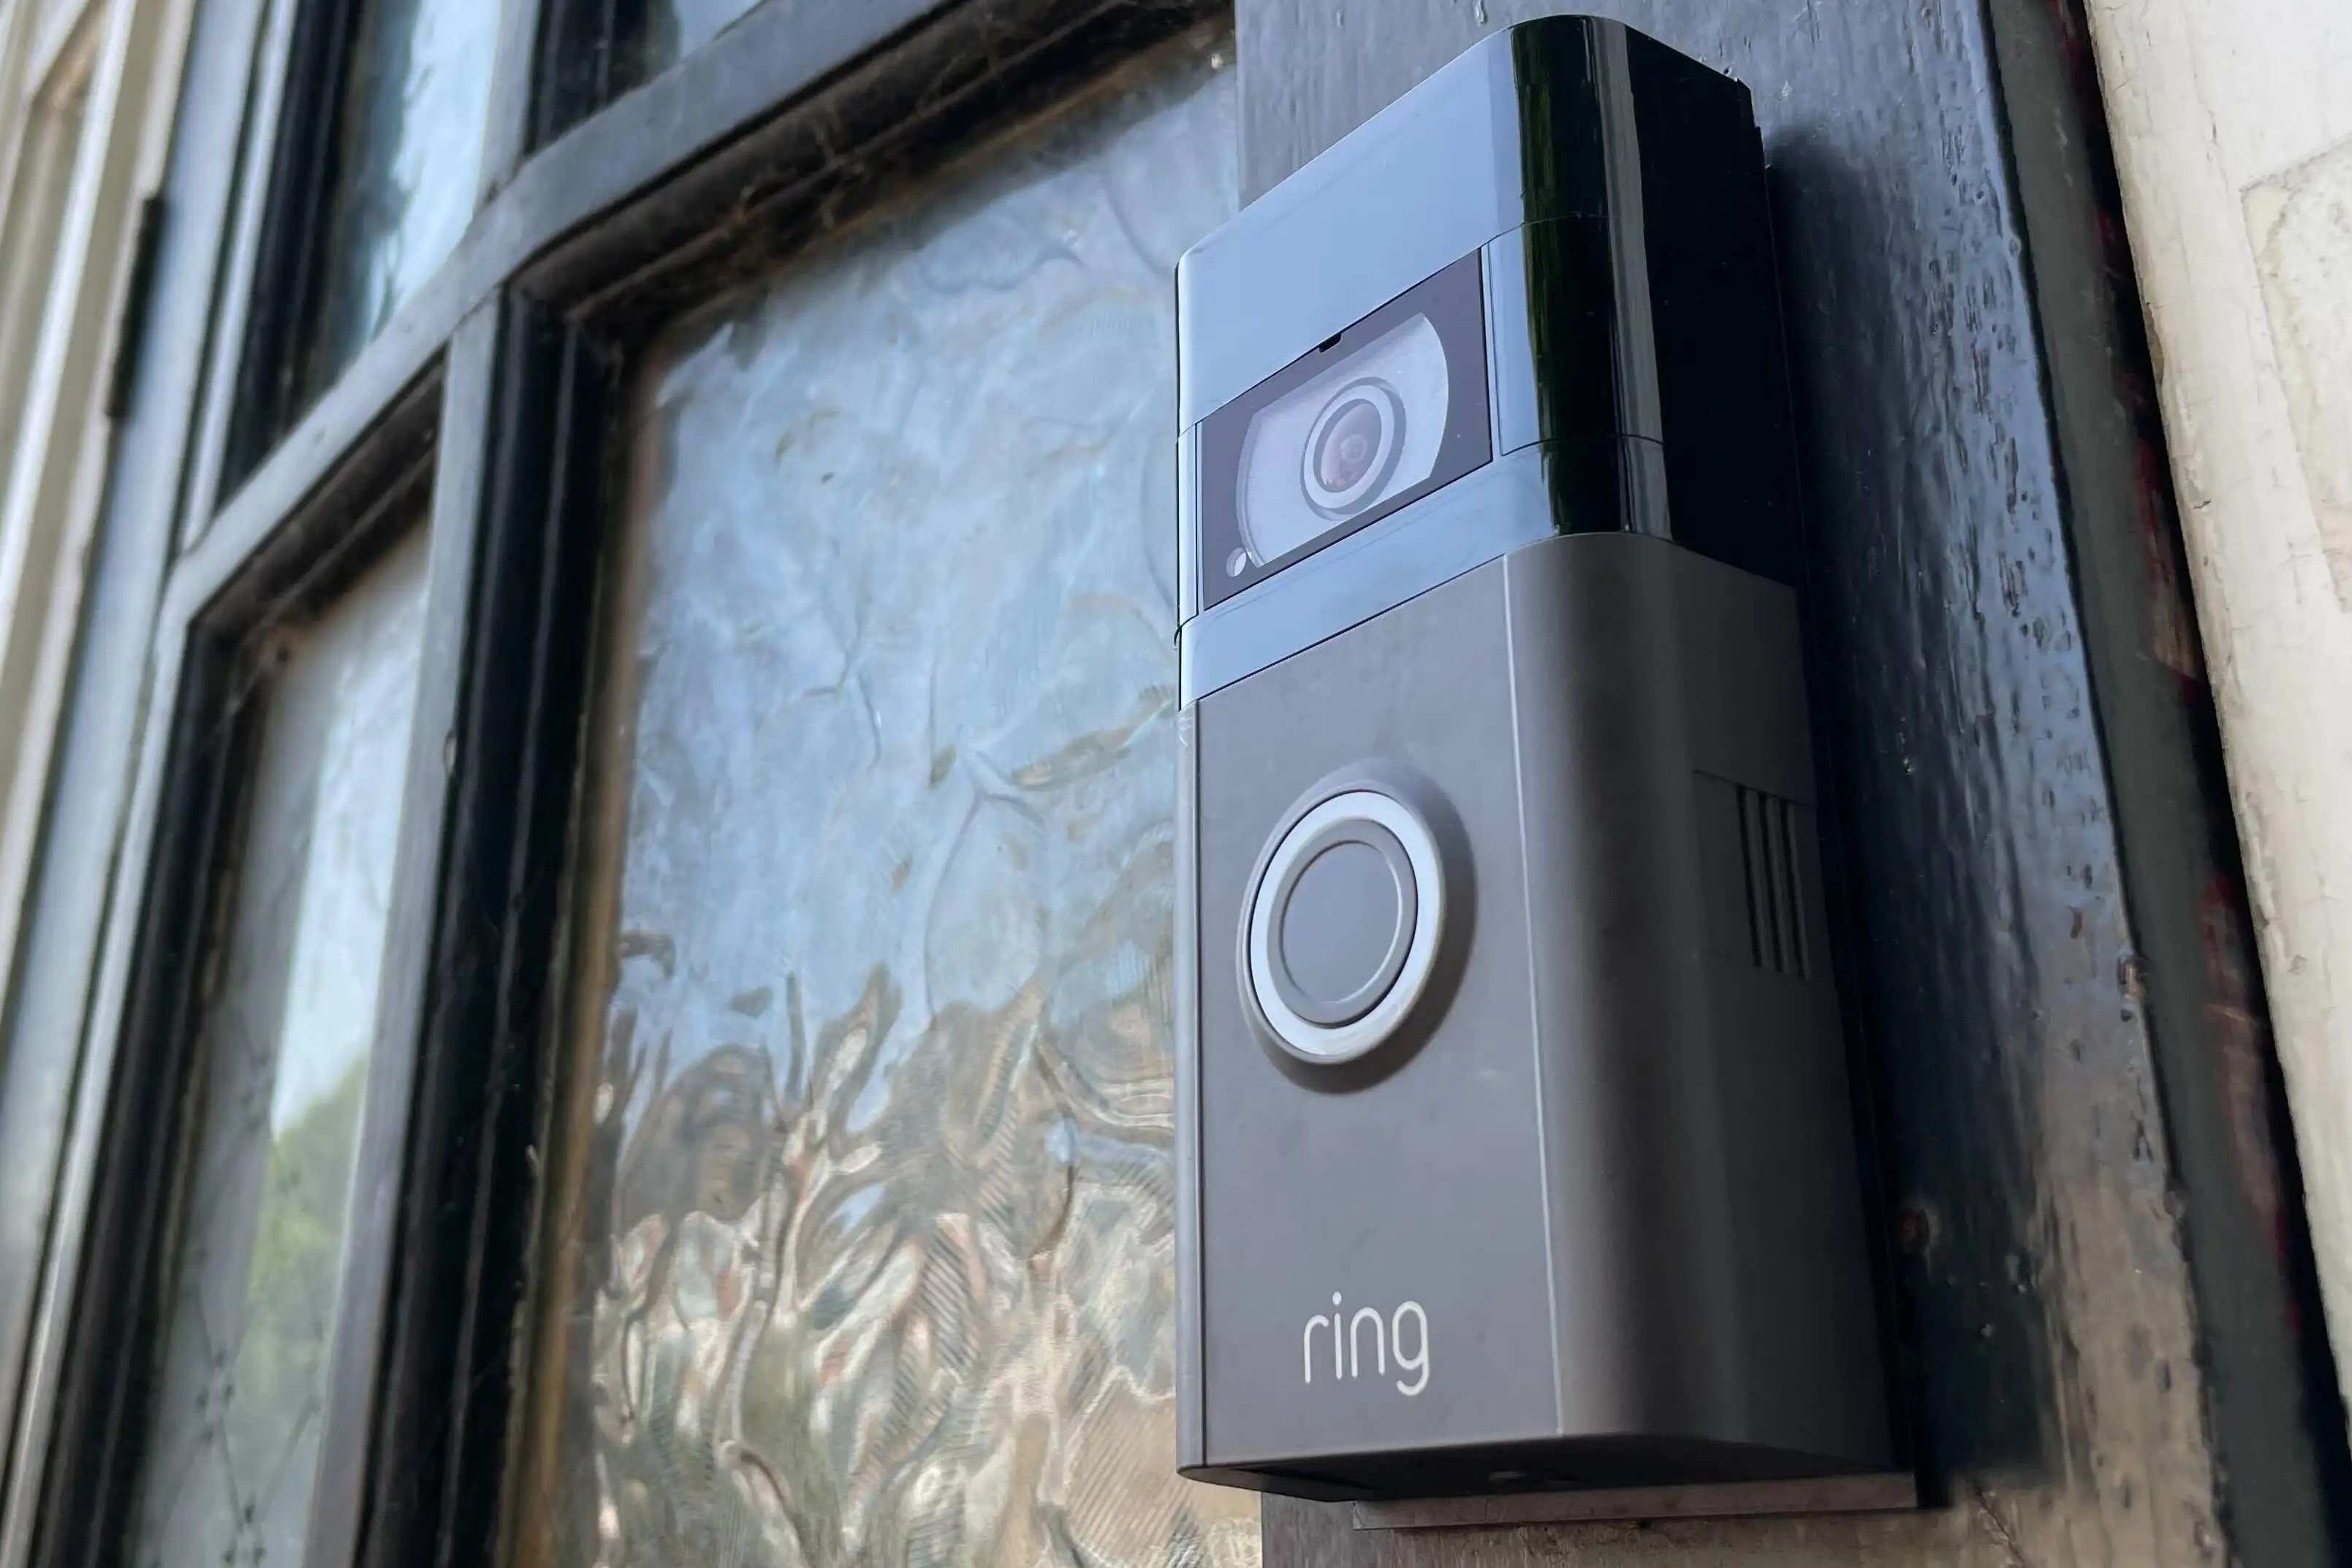
How To Remove A Ring Faceplate
Published: February 29, 2024
Learn how to remove a ring faceplate with our step-by-step guide. Keep your home and garden in top shape with our expert tips.
(Many of the links in this article redirect to a specific reviewed product. Your purchase of these products through affiliate links helps to generate commission for Noodls.com, at no extra cost. Learn more)
Table of Contents
Introduction
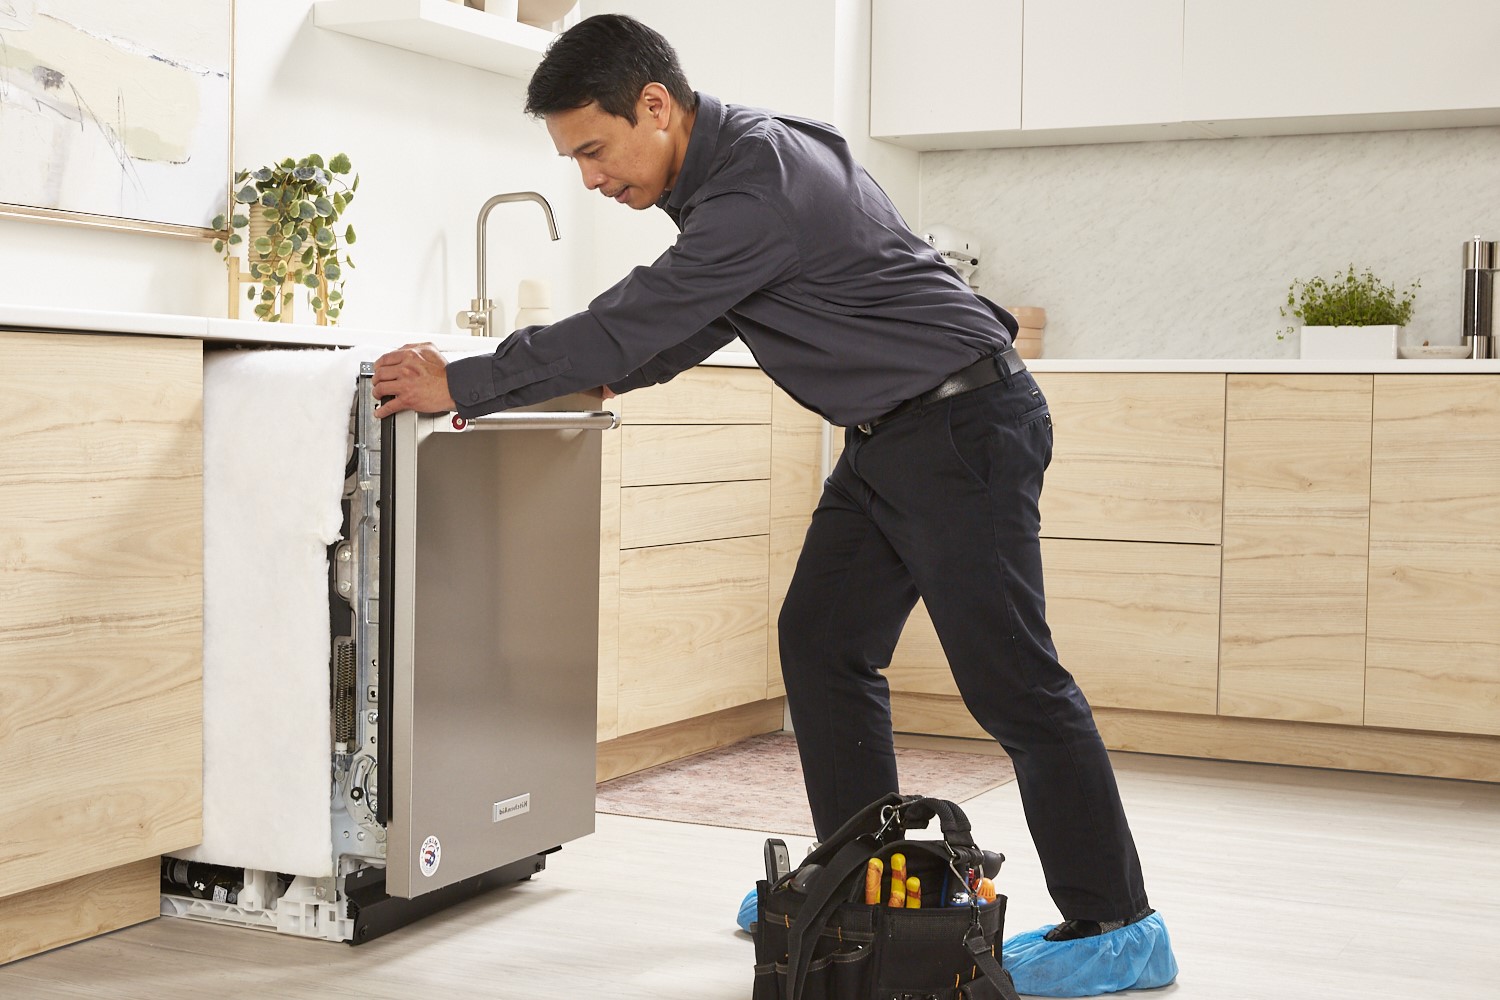
Removing a ring faceplate is a common task that may be necessary for various reasons, such as cleaning, maintenance, or replacement. Whether you are a homeowner or a DIY enthusiast, understanding the process of removing a ring faceplate is a valuable skill that can save time and money. By following a few simple steps, you can successfully remove the faceplate without causing damage to the underlying components.
In this comprehensive guide, we will walk you through the step-by-step process of removing a ring faceplate. From gathering the necessary tools to cleaning and reassembling the faceplate, each step is designed to help you complete the task with confidence and precision. By the end of this guide, you will have the knowledge and skills to tackle this project with ease.
So, let's dive into the process and learn how to remove a ring faceplate effectively. Whether you are a seasoned DIYer or a novice homeowner, this guide will equip you with the essential know-how to accomplish this task seamlessly. Let's get started!
Read more: How To Get Rid Of Toilet Ring
Step 1: Gather Necessary Tools
Before you begin the process of removing a ring faceplate, it's essential to gather the necessary tools to ensure a smooth and efficient experience. Having the right tools at your disposal will not only make the task easier but also minimize the risk of causing damage to the faceplate or surrounding components. Here's a comprehensive list of tools you'll need for this project:
-
Screwdriver Set: A set of screwdrivers with various head types, including Phillips and flathead, will be essential for removing the screws holding the faceplate in place.
-
Soft Cloth or Towel: Having a soft cloth or towel on hand is crucial for protecting the surface of the faceplate and the surrounding area from scratches or damage during the removal process.
-
Cleaning Solution: Depending on the condition of the faceplate, you may need a mild cleaning solution to remove any dirt, grime, or residue that has accumulated over time.
-
Small Container: A small container or bowl can be useful for holding the screws and small components removed from the faceplate, preventing them from getting lost.
-
Flashlight: In some cases, the area behind the faceplate may be dimly lit or difficult to see. A flashlight can help illuminate the space, making it easier to locate and remove the screws.
-
Safety Gloves (Optional): While not always necessary, wearing safety gloves can provide added protection for your hands, especially if the faceplate or surrounding area is sharp or rough.
By ensuring that you have these tools readily available, you'll be well-prepared to proceed with the subsequent steps of removing the ring faceplate. With the right tools in hand, you can approach the task with confidence, knowing that you have everything you need to complete the process effectively.
Now that you've gathered the necessary tools, it's time to move on to the next step: locating the screws holding the faceplate in place.
Step 2: Locate the Screws
Locating the screws that secure the ring faceplate is a crucial step in the process of removing it. The screws are typically positioned strategically to hold the faceplate firmly in place, ensuring its stability and functionality. Here's a detailed guide on how to locate the screws with precision:
-
Examine the Faceplate: Begin by closely examining the ring faceplate to identify any visible screws or fasteners. In most cases, the screws are located along the edges or corners of the faceplate, securing it to the underlying mechanism. Take note of the number of screws present, as this will inform your approach when removing them.
-
Refer to the User Manual: If you are having difficulty locating the screws, referring to the user manual or installation guide for the ring can provide valuable insights. The manual often includes detailed diagrams or instructions that highlight the placement of screws and the specific steps for removing the faceplate.
-
Use a Flashlight: In instances where the screws are not immediately visible, using a flashlight can help illuminate the area behind the faceplate. This is particularly useful if the space is dimly lit or if the screws are positioned in a recessed or hard-to-reach area. By shining the light at different angles, you can effectively spot the screws.
-
Inspect the Perimeter: Carefully inspect the perimeter of the faceplate, paying close attention to any indentations, small openings, or decorative covers that may conceal the screws. Some ring faceplates feature discreet coverings that can be gently removed to reveal the screws underneath.
-
Check for Hidden Fasteners: In certain models, the screws may be hidden behind a cover or panel that needs to be detached before accessing them. Look for any removable components or decorative elements that could be concealing the screws, and gently explore these areas to uncover the fasteners.
By following these steps, you can systematically locate the screws holding the ring faceplate in place. Once you have identified the precise positions of the screws, you will be ready to proceed to the next step of unscrewing the faceplate with confidence and accuracy.
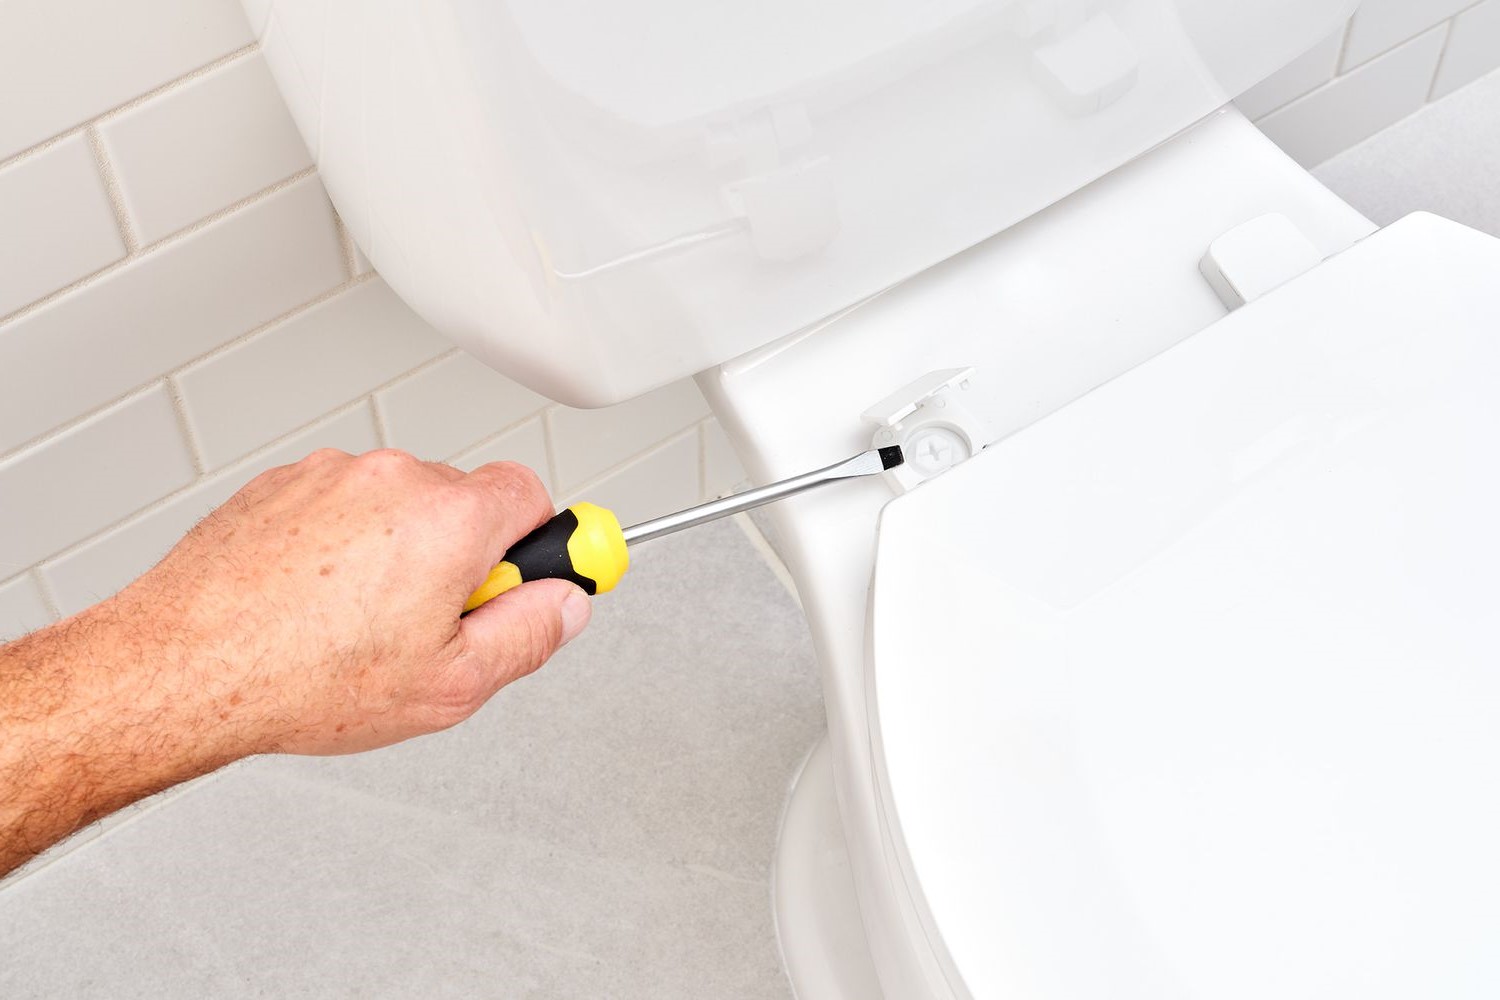
Step 3: Unscrew the Faceplate
With the screws located, the next step is to carefully unscrew the ring faceplate from its position. This process requires precision and attention to detail to avoid causing any damage to the faceplate or the surrounding area. Here's a detailed guide on how to effectively unscrew the faceplate:
-
Select the Appropriate Screwdriver: Based on the type of screws securing the faceplate, choose the corresponding screwdriver from your set. Ensure that the screwdriver head fits snugly into the screw to prevent slippage and potential damage to the screw head.
-
Steady and Controlled Rotation: Position the screwdriver securely onto the first screw and apply gentle, steady pressure in a counterclockwise direction to loosen the screw. It's important to maintain a controlled rotation to prevent the screwdriver from slipping and marring the surface of the faceplate.
-
Remove the Screws: Once the first screw is sufficiently loosened, carefully remove it from its position and place it in the small container or bowl to keep it secure. Proceed to unscrew the remaining screws in the same manner, ensuring that each screw is safely stored to prevent misplacement.
-
Inspect for Additional Fasteners: In some cases, there may be additional fasteners or clips securing the faceplate beyond the visible screws. Take a moment to inspect the perimeter of the faceplate for any hidden fasteners or retention mechanisms that may need to be disengaged before the faceplate can be fully removed.
-
Gently Release the Faceplate: With all the screws and fasteners removed, gently grasp the faceplate and carefully detach it from the underlying mechanism. Exercise caution to avoid applying excessive force, as the faceplate should come off smoothly once all the securing components have been released.
By following these steps, you can effectively unscrew the ring faceplate without encountering any complications. It's essential to approach this process with patience and precision, ensuring that each screw is removed methodically and that the faceplate is detached gently to prevent any unintended damage.
With the faceplate successfully unscrewed, you are now ready to proceed to the next step: removing the faceplate from its position.
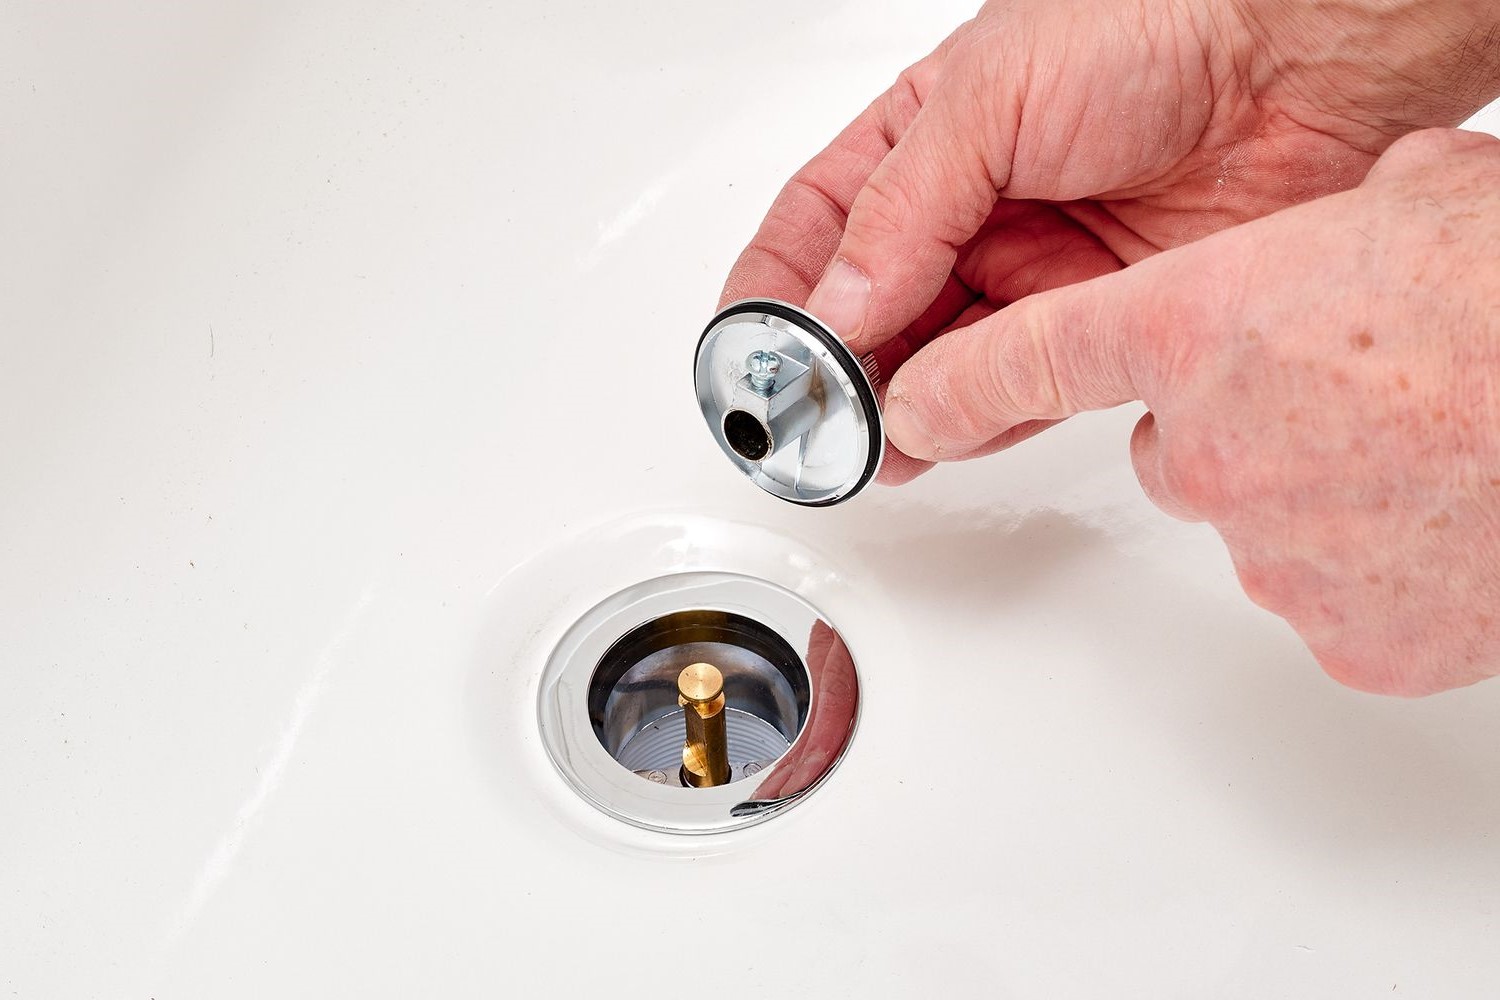
Step 4: Remove the Faceplate
With the ring faceplate successfully unscrewed, the next crucial step is to remove it from its position. This process requires a delicate touch to ensure that the faceplate is detached smoothly and without causing any damage to the surrounding area or the underlying components. Here's a detailed guide on how to effectively remove the faceplate:
-
Assess the Attachment Points: Before attempting to remove the faceplate, take a moment to assess the attachment points and any potential obstructions that may impede its removal. Look for any tabs, hooks, or additional fasteners that may be securing the faceplate in place, and make a mental note of their positions.
-
Gentle Maneuvering: With a firm yet gentle grip, carefully maneuver the faceplate away from the underlying mechanism. It's important to approach this step with patience, ensuring that the faceplate is released gradually without sudden or forceful movements.
-
Observe for Resistance: As you begin to detach the faceplate, pay close attention to any resistance or sticking points. If you encounter resistance, pause and reassess the attachment points to determine if there are any overlooked fasteners or retention features that need to be disengaged.
-
Maintain Alignment: While removing the faceplate, strive to maintain its alignment with the underlying components to prevent any undue stress or strain. By keeping the faceplate parallel to its original position, you can minimize the risk of bending or warping, especially in cases where the faceplate fits snugly against the mechanism.
-
Store the Faceplate Securely: Once the faceplate is successfully removed, place it in a safe and designated area to prevent accidental damage or misplacement. Using a soft cloth or towel to cushion the faceplate during storage can provide an added layer of protection, especially if the surface is prone to scratches or blemishes.
By following these steps, you can effectively remove the ring faceplate with precision and care. It's important to approach this process methodically, ensuring that the faceplate is detached smoothly and without causing any unintended damage. With the faceplate safely removed, you are now ready to proceed to the final step: cleaning and reassembling the components.
Now that the faceplate has been successfully removed, the next step is to clean and reassemble the components to complete the process.
Read more: How To Remove Blinds
Step 5: Clean and Reassemble
After successfully removing the ring faceplate, the final step involves cleaning the components and reassembling them to restore the ring to its original state. This critical phase ensures that the faceplate and underlying mechanism are free from dirt, grime, or any residual buildup that may have accumulated over time. Additionally, reassembling the components with care and precision is essential for the seamless functionality and aesthetic appeal of the ring. Here's a detailed guide on how to effectively clean and reassemble the components:
-
Cleaning the Faceplate: Begin by inspecting the faceplate for any dirt, dust, or residue that may have accumulated on its surface. Using a mild cleaning solution and a soft cloth, gently wipe the faceplate to remove any impurities. Pay attention to intricate details and crevices, ensuring that all areas are thoroughly cleaned. For stubborn stains or buildup, a gentle scrub with a soft-bristled brush can be employed, taking care not to scratch the surface.
-
Inspecting the Underlying Mechanism: While the faceplate is removed, take the opportunity to inspect the underlying mechanism for any signs of debris or wear. Use a flashlight to illuminate the area and carefully examine the components for cleanliness and functionality. If necessary, gently remove any accumulated debris using a soft brush or compressed air, being mindful of delicate components.
-
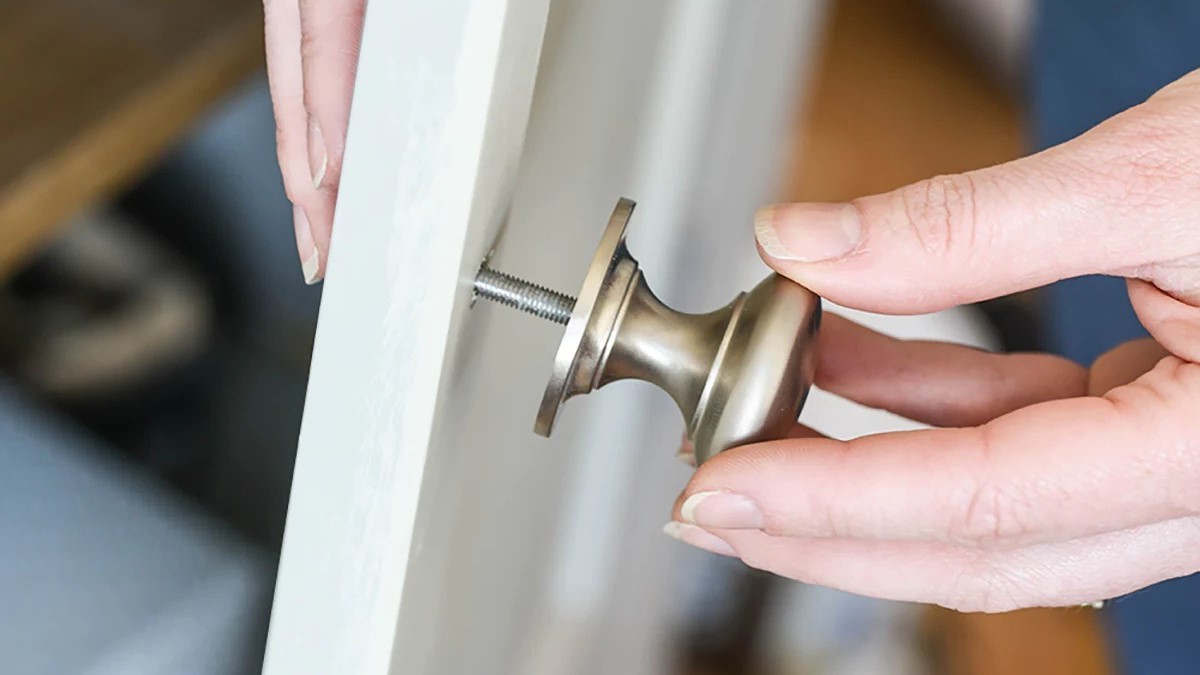
Reassembling with Care: Once the cleaning process is complete, carefully reposition the faceplate onto the underlying mechanism, ensuring that it aligns properly with the attachment points. Take note of any tabs, hooks, or fasteners that secure the faceplate in place, and maneuver it with precision to achieve a snug fit. If the faceplate features decorative covers or additional panels, reattach them securely to complete the reassembly.
-
Securing the Screws: With the faceplate in position, reinsert the screws into their respective locations and use the appropriate screwdriver to tighten them securely. Exercise caution to avoid over-tightening, as this can potentially damage the threads or the faceplate itself. Ensure that each screw is snugly fastened, contributing to the stability and integrity of the ring assembly.
-
Final Inspection: Once the faceplate is reassembled and the screws are secured, conduct a final inspection to verify that the components are aligned, clean, and free from any visible defects. Test the functionality of the ring to ensure that all features operate smoothly and that the faceplate remains securely in place.
By following these steps, you can effectively clean and reassemble the ring components, restoring its functionality and visual appeal. This meticulous approach ensures that the ring is maintained in optimal condition, ready to serve its purpose effectively.