Home>Home and Garden>How To Replace The Batteries In Your Honeywell Thermostat
Home and Garden
How To Replace The Batteries In Your Honeywell Thermostat
Published: March 4, 2024
Learn how to easily replace the batteries in your Honeywell thermostat with our step-by-step guide. Keep your home comfortable and running smoothly. Ideal for home and garden enthusiasts.
(Many of the links in this article redirect to a specific reviewed product. Your purchase of these products through affiliate links helps to generate commission for Noodls.com, at no extra cost. Learn more)
Table of Contents
Introduction
Your Honeywell thermostat plays a crucial role in maintaining a comfortable temperature within your home, ensuring that you can relax and unwind in the perfect environment. However, to keep your thermostat functioning optimally, it's essential to pay attention to its power source. The batteries in your Honeywell thermostat are the lifeblood that keeps it running smoothly, allowing it to regulate the temperature and provide you with the comfort you deserve.
Over time, the batteries in your thermostat will inevitably lose their charge, potentially leading to malfunctions or a complete shutdown of the device. When this occurs, it's important to know how to replace the batteries efficiently to restore your thermostat's functionality.
In this guide, we will walk you through the simple yet essential process of replacing the batteries in your Honeywell thermostat. By following these steps, you can ensure that your thermostat continues to operate reliably, keeping your home at the perfect temperature without any interruptions. So, let's dive into the step-by-step process of replacing the batteries in your Honeywell thermostat and ensure that your home remains a haven of comfort and relaxation.
Step 1: Turn off the Thermostat
Before you begin the process of replacing the batteries in your Honeywell thermostat, it's crucial to ensure that the device is safely powered down. This step is essential for your safety and to prevent any potential damage to the thermostat during the battery replacement process.
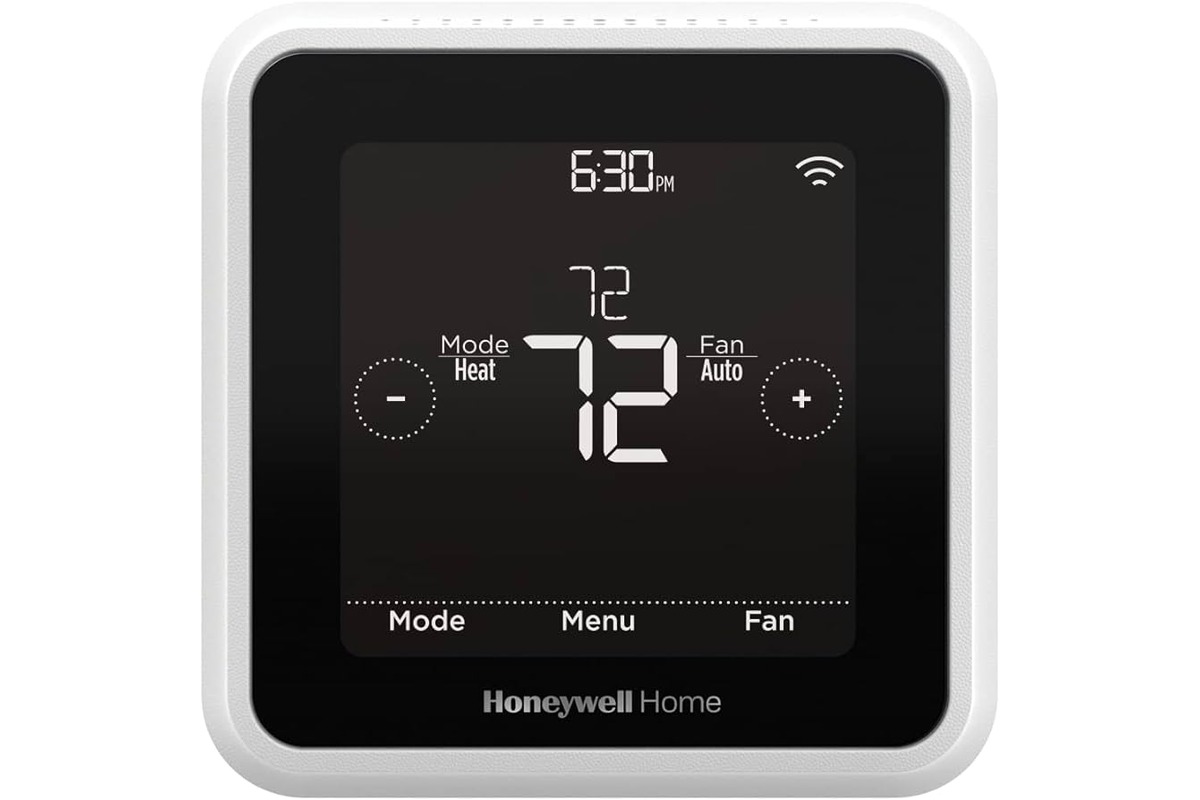
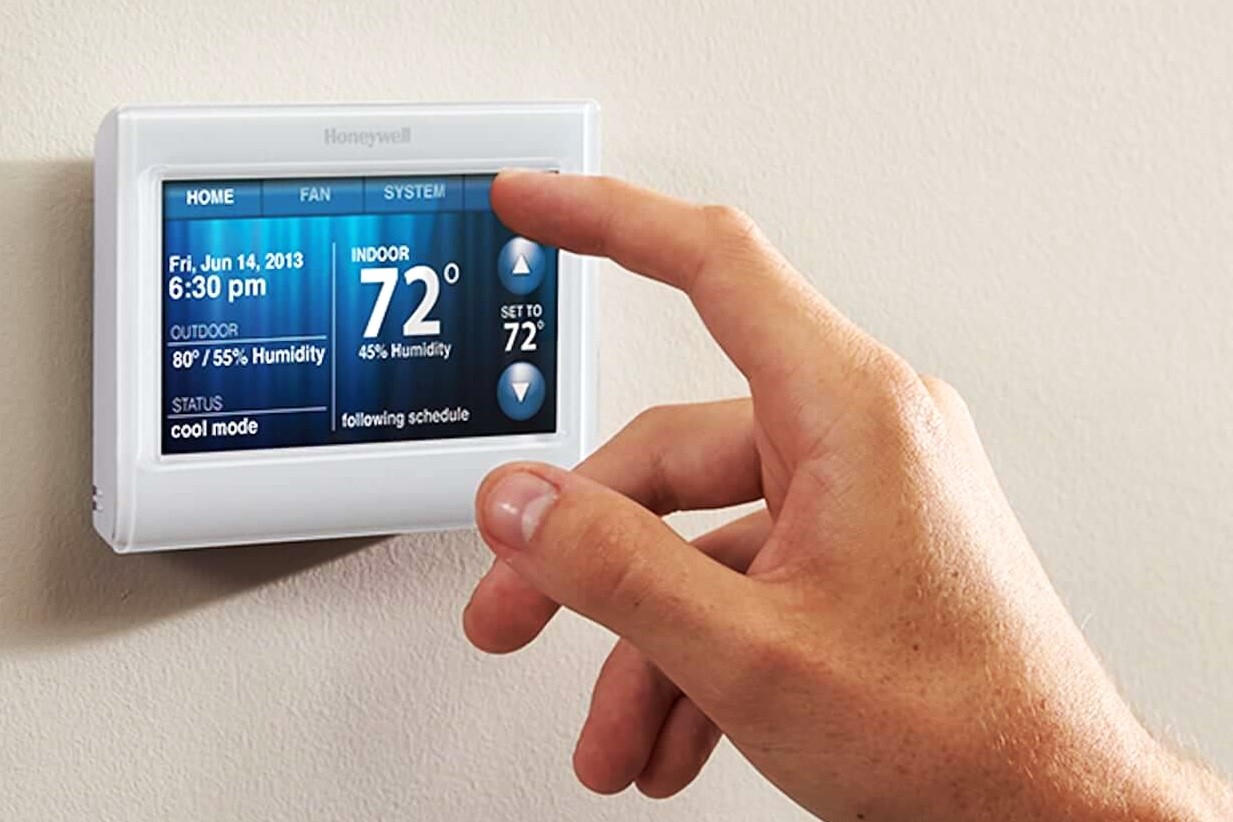
To turn off the thermostat, start by locating the control panel or interface on the device. Depending on the model of your Honeywell thermostat, you may find a touch screen or physical buttons that allow you to access the settings and controls. Once you have located the control panel, look for the power or on/off button.
Press and hold the power or on/off button for a few seconds until the display on the thermostat turns off. This action effectively shuts down the thermostat and ensures that there is no power running through the device during the battery replacement process.
Alternatively, if your Honeywell thermostat doesn't have a dedicated power button, you can turn off the device by adjusting the temperature settings to the lowest setting. By lowering the temperature setting to the minimum, you effectively deactivate the thermostat, preparing it for the battery replacement procedure.
It's important to note that turning off the thermostat before replacing the batteries is a critical safety measure. This ensures that you can handle the device without the risk of electrical shock or interference from the thermostat's normal operation.
By following this initial step and turning off the thermostat, you create a safe and controlled environment for the subsequent stages of the battery replacement process. With the thermostat safely powered down, you can proceed to the next steps with confidence, knowing that you have taken the necessary precautions to ensure a smooth and successful battery replacement experience.
Step 2: Remove the Thermostat Cover
With the thermostat safely powered down, the next crucial step in replacing the batteries in your Honeywell thermostat is to remove the thermostat cover. The cover serves as a protective housing for the internal components of the thermostat, including the battery compartment. By carefully removing the cover, you gain access to the batteries, allowing you to proceed with the replacement process.
Start by identifying the specific type of cover on your Honeywell thermostat. Some models feature covers that can be easily removed by applying gentle pressure or using a small tool to release the latches or clips securing the cover in place. Other models may have covers that are secured with screws, requiring a screwdriver for removal.
If your thermostat cover is designed to be removed by applying pressure, use your fingertips to gently press on the designated release points, typically located along the edges of the cover. As you apply pressure, you should feel the cover begin to loosen from its position. Continue to apply gentle pressure and carefully lift the cover away from the thermostat, taking care not to force or damage the cover during the removal process.
For thermostats with covers secured by screws, use a suitable screwdriver to carefully loosen and remove the screws holding the cover in place. Once the screws are removed, gently lift the cover away from the thermostat, ensuring that you keep track of the screws to facilitate reassembly later in the process.
As you remove the thermostat cover, it's important to handle it with care to avoid any damage to the internal components or the cover itself. Take note of any specific latches, clips, or alignment points that may be present, as these will guide you when reattaching the cover after replacing the batteries.
By successfully removing the thermostat cover, you have now gained access to the battery compartment, setting the stage for the next crucial step in the battery replacement process. With the cover removed, you can proceed confidently to the subsequent steps, knowing that you have navigated this essential phase with precision and care.
Step 3: Replace the Batteries
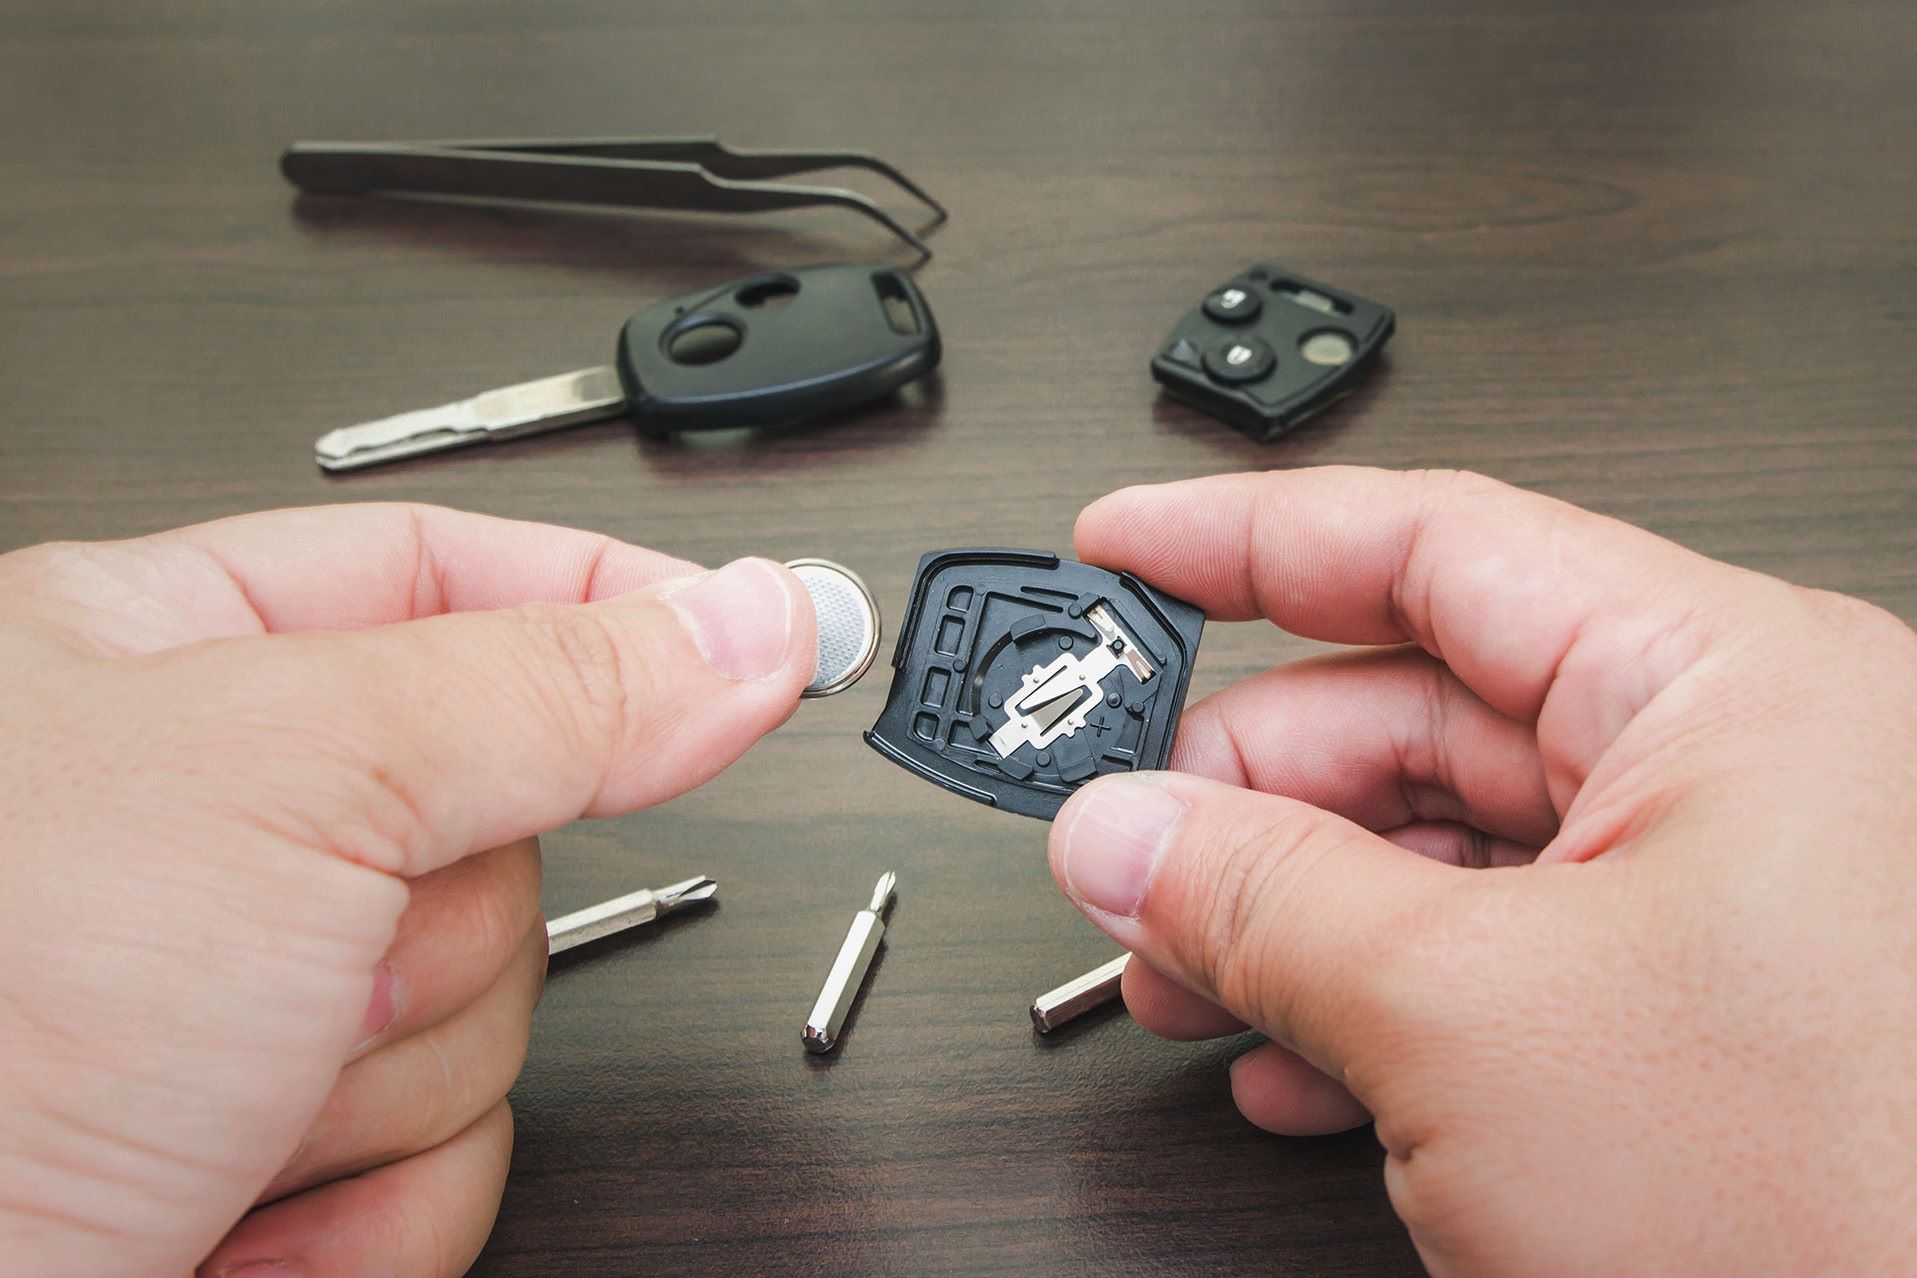
With the thermostat cover successfully removed, you are now ready to replace the batteries in your Honeywell thermostat. The battery compartment, now exposed, is where you will find the existing batteries that require replacement. Before proceeding, it's essential to identify the type and quantity of batteries required for your specific thermostat model. Honeywell thermostats typically utilize AA or AAA batteries, but it's important to consult the user manual or the label inside the battery compartment to confirm the exact battery type and quantity needed.
Once you have confirmed the battery type and quantity, proceed to remove the existing batteries from the compartment. Carefully observe the orientation of the batteries and take note of any markings indicating the polarity, such as positive (+) and negative (-) symbols. This information is crucial for correctly installing the new batteries and ensuring that they align with the required polarity.
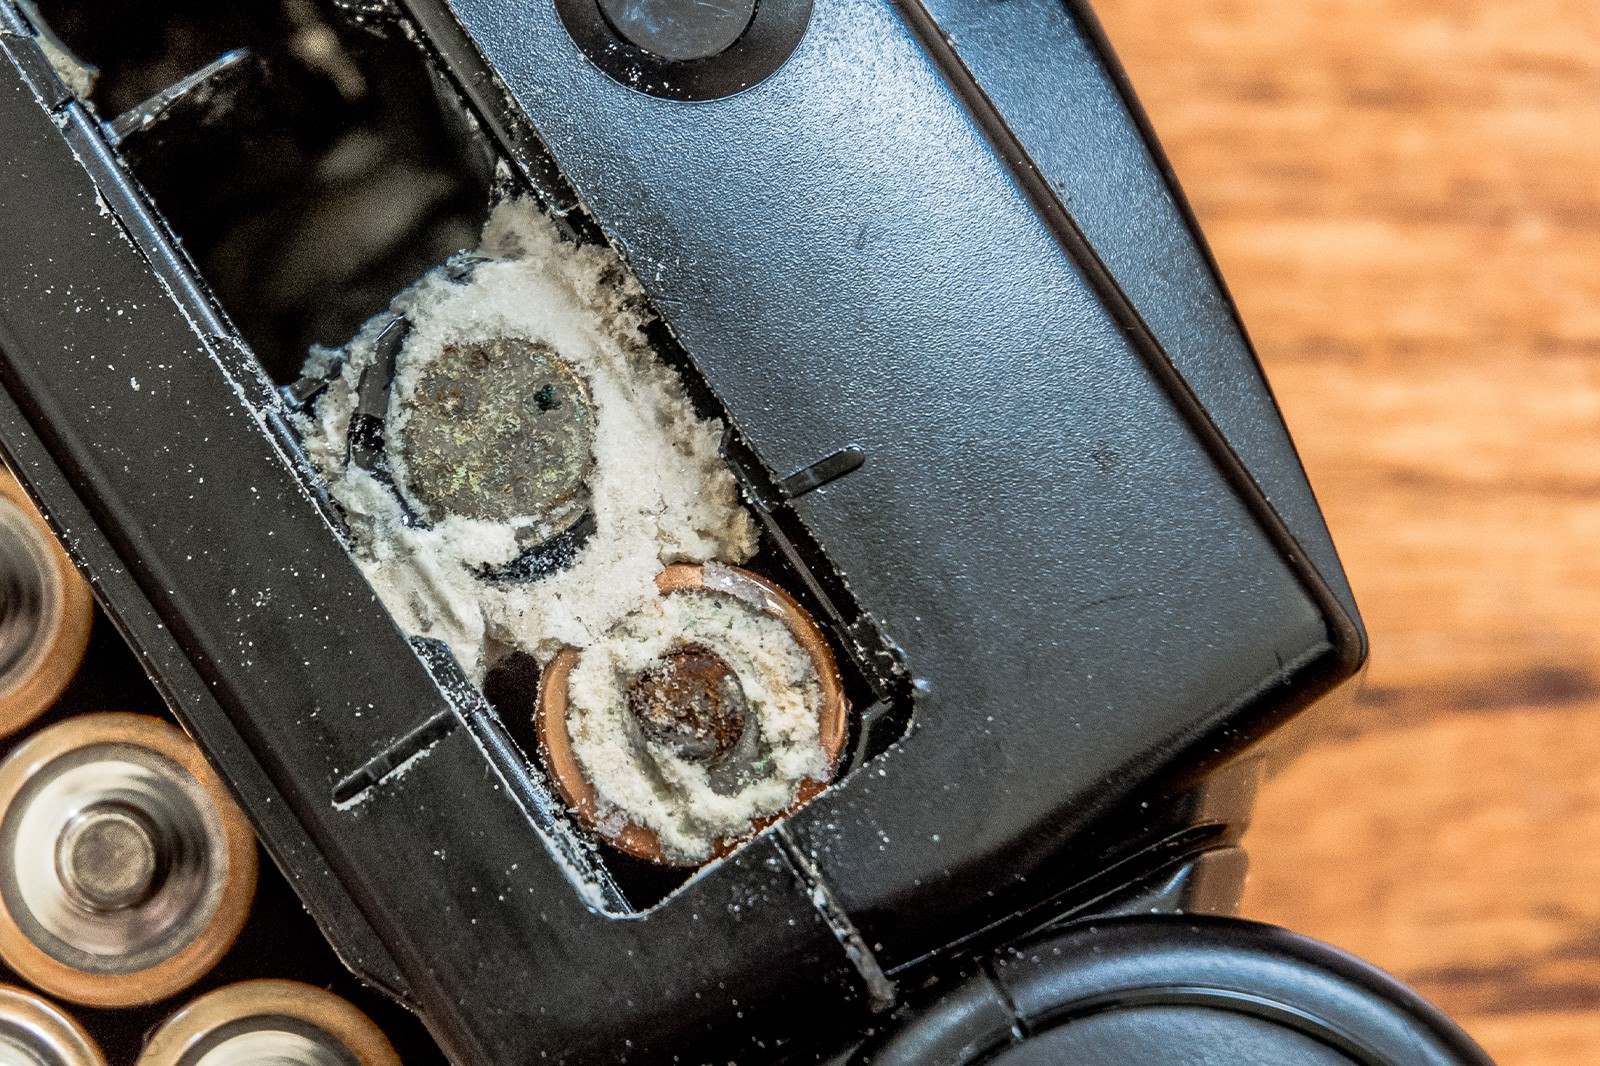
After removing the old batteries, take a moment to inspect the battery compartment for any signs of corrosion or debris. If you notice any corrosion, use a clean, dry cloth to gently wipe the compartment and remove any buildup. It's important to ensure that the battery compartment is clean and free from any obstructions before installing the new batteries.
Next, take the fresh batteries of the correct type and carefully insert them into the battery compartment, ensuring that they align with the correct polarity as indicated by the markings or labels. Press the batteries firmly into place, making sure they are secure and properly seated within the compartment. Proper installation of the batteries is essential for reliable power supply to the thermostat, ensuring uninterrupted operation.
As you complete the battery replacement process, take a moment to double-check the alignment and positioning of the new batteries. Confirm that they are securely in place and that the polarity is correct to avoid any potential issues once the thermostat is operational again.
By successfully replacing the batteries in your Honeywell thermostat, you have taken a crucial step in maintaining the functionality and performance of the device. With the new batteries installed, you are now prepared to reattach the thermostat cover and proceed to the final steps of the battery replacement process.
Step 4: Reattach the Thermostat Cover
With the batteries successfully replaced, the next pivotal step in the process of maintaining your Honeywell thermostat is to reattach the thermostat cover. The cover serves as a protective shield for the internal components of the thermostat, safeguarding the newly installed batteries and ensuring the device's overall integrity.
Begin by carefully aligning the thermostat cover with the main body of the device. Take note of any specific latches, clips, or alignment points that facilitate the proper positioning of the cover. Ensuring that the cover is correctly aligned is essential for a secure and seamless reattachment process.
If your thermostat cover features latches or clips, gently press the cover against the main body of the thermostat, applying even pressure to engage the latches or clips securely. You should feel and hear a subtle click or snap as the cover locks into place, indicating that it is properly secured.
For thermostat covers secured with screws, align the cover with the main body and carefully insert the screws into their respective positions. Use a suitable screwdriver to tighten the screws, ensuring that the cover is firmly and evenly secured without over-tightening, which could potentially damage the cover or the threading within the device.
As you reattach the thermostat cover, pay close attention to the alignment and fit of the cover, ensuring that it sits flush and secure against the main body of the thermostat. A properly reattached cover provides essential protection for the internal components and contributes to the overall aesthetic appeal of the device.
By successfully reattaching the thermostat cover, you have completed the physical aspect of the battery replacement process, ensuring that the internal components, including the newly installed batteries, are safeguarded within the device. With the cover securely in place, you are now ready to proceed to the final step of the battery replacement process, bringing your Honeywell thermostat back to full functionality.
With the thermostat cover securely reattached, you have effectively safeguarded the internal components of the device, ensuring that the newly installed batteries are protected and the thermostat's overall integrity is maintained. This sets the stage for the final step in the battery replacement process, allowing you to restore power to the thermostat and verify its seamless operation.
Step 5: Turn on the Thermostat
After successfully replacing the batteries and reattaching the thermostat cover, the final step in the battery replacement process is to turn on the thermostat. This pivotal step ensures that the device is powered up, allowing it to resume its essential function of regulating the temperature within your home.
To turn on the thermostat, locate the power or on/off button on the control panel of the device. If your Honeywell thermostat features a touch screen interface, look for the power button icon or a designated area on the screen that allows you to power on the device. For thermostats with physical buttons, the power or on/off button is typically located within easy reach on the control panel.
Press the power or on/off button to activate the thermostat. As you do so, you should see the display on the thermostat illuminate, indicating that the device is powering up and preparing to resume its normal operation. Depending on the model of your Honeywell thermostat, you may also hear a subtle beep or chime as the device initializes.
Once the thermostat is powered on, take a moment to verify that the display is functioning correctly and that the device responds to your inputs. Check the temperature settings and ensure that the thermostat is ready to regulate the climate within your home effectively.
As the thermostat powers up, it's essential to observe its initial behavior to confirm that the battery replacement process has been successful. Look for any error messages or indicators that may appear on the display, as these could signal potential issues with the battery replacement or the overall functionality of the device.
If the thermostat powers on without any issues and displays the expected information, such as the current temperature and operational status, you can be confident that the battery replacement process has been completed successfully. Your Honeywell thermostat is now ready to resume its vital role in maintaining a comfortable and inviting environment within your home.
By turning on the thermostat and verifying its seamless operation, you have effectively completed the battery replacement process, ensuring that your Honeywell thermostat is powered up and ready to regulate the temperature in your home reliably. With the device back in action, you can enjoy the comfort and convenience that it provides, knowing that you have successfully maintained its functionality through the simple yet essential task of replacing the batteries.
Conclusion
In conclusion, the process of replacing the batteries in your Honeywell thermostat is a straightforward yet essential task that ensures the continued functionality and reliability of this vital home device. By following the step-by-step guide outlined in this article, you have gained valuable insights into the precise and efficient manner in which the battery replacement process can be carried out.
The initial step of turning off the thermostat sets the stage for a safe and controlled environment, allowing you to proceed with the subsequent steps without the risk of electrical interference. Removing the thermostat cover, the next crucial step, grants access to the battery compartment, enabling you to proceed with the replacement process with precision and care.
Replacing the batteries themselves involves careful attention to detail, ensuring that the correct battery type and quantity are utilized, and that the new batteries are installed with the proper polarity. This step is essential for maintaining uninterrupted power to the thermostat, ensuring its seamless operation.
Reattaching the thermostat cover not only safeguards the internal components, including the newly installed batteries, but also contributes to the overall aesthetic appeal of the device. This step completes the physical aspect of the battery replacement process, ensuring that the thermostat is protected and visually appealing.
Finally, turning on the thermostat and verifying its seamless operation marks the successful completion of the battery replacement process. Observing the device as it powers up and confirming its normal functionality provides assurance that the replacement has been carried out effectively.
By successfully replacing the batteries in your Honeywell thermostat, you have taken a proactive step in maintaining the comfort and convenience of your home environment. The smooth and efficient operation of your thermostat, facilitated by the fresh batteries, ensures that you can continue to enjoy the perfect temperature settings without any interruptions.
In essence, the process of replacing the batteries in your Honeywell thermostat is a fundamental aspect of home maintenance, contributing to the overall functionality and reliability of this essential device. By following the steps outlined in this guide, you have demonstrated a proactive approach to ensuring that your home remains a haven of comfort and relaxation, with your Honeywell thermostat playing a pivotal role in maintaining the ideal indoor climate.