Home>Home and Garden>How To Measure A Door
Home and Garden
How To Measure A Door
Published: March 4, 2024
Learn how to accurately measure a door for your home improvement project with our comprehensive guide. Get expert tips and advice for your home and garden needs.
(Many of the links in this article redirect to a specific reviewed product. Your purchase of these products through affiliate links helps to generate commission for Noodls.com, at no extra cost. Learn more)
Table of Contents
Introduction
Measuring a door may seem like a straightforward task, but it is a crucial step in ensuring a seamless and accurate installation process. Whether you are replacing an old door or installing a new one, precise measurements are essential for a perfect fit. In this guide, we will walk you through the step-by-step process of measuring a door, covering everything from the width and height to the jamb width and door thickness. By following these instructions and using the right tools, you can confidently measure your door and proceed with your home improvement project with confidence.
A common misconception is that all doors are standard in size. However, doors come in various dimensions, and accurate measurements are vital to avoid the frustration of purchasing a door that does not fit your doorway. Additionally, precise measurements ensure that the door functions properly and provides the desired level of security and insulation.
Whether you are a seasoned DIY enthusiast or a homeowner embarking on your first home improvement project, understanding how to measure a door is a fundamental skill. By mastering this process, you can save time and money by avoiding the inconvenience of ill-fitting doors and the need for costly adjustments.
Now, let's gather the necessary tools and materials and dive into the step-by-step process of measuring a door accurately.
Read more: How To Open A Locked Door
Tools and Materials Needed
Before you begin measuring your door, it's essential to gather the necessary tools and materials to ensure accurate and precise measurements. Here's what you'll need:
Tools:
- Tape Measure: A reliable tape measure is the most crucial tool for this task. Ensure that it is long enough to measure the door's height and width comfortably.
- Pencil: A sharp pencil will allow you to mark the measurements clearly on the door frame or a piece of paper.
- Notebook or Paper: Having a notebook or paper handy will enable you to record the measurements as you go, preventing any confusion or potential mix-ups.
- Level: While not mandatory, a level can be helpful for ensuring that the door frame is plumb and level, which is essential for accurate measurements.
Materials:
- Assistance: Depending on the size and weight of the door, you may need an extra pair of hands to assist you in holding the tape measure and ensuring accurate measurements.
- Step Ladder: If you are measuring an exterior door or a door in a hard-to-reach area, a step ladder will make the process safer and more manageable.
- Calculator: While not a physical material, a calculator can be useful for double-checking measurements and performing any necessary calculations, especially if you are dealing with non-standard door sizes.
By having these tools and materials at your disposal, you can approach the door measuring process with confidence, knowing that you have everything you need to obtain precise measurements. Now that you have gathered the necessary tools and materials, let's move on to the step-by-step process of measuring your door accurately.
Step 1: Measure the Width of the Door
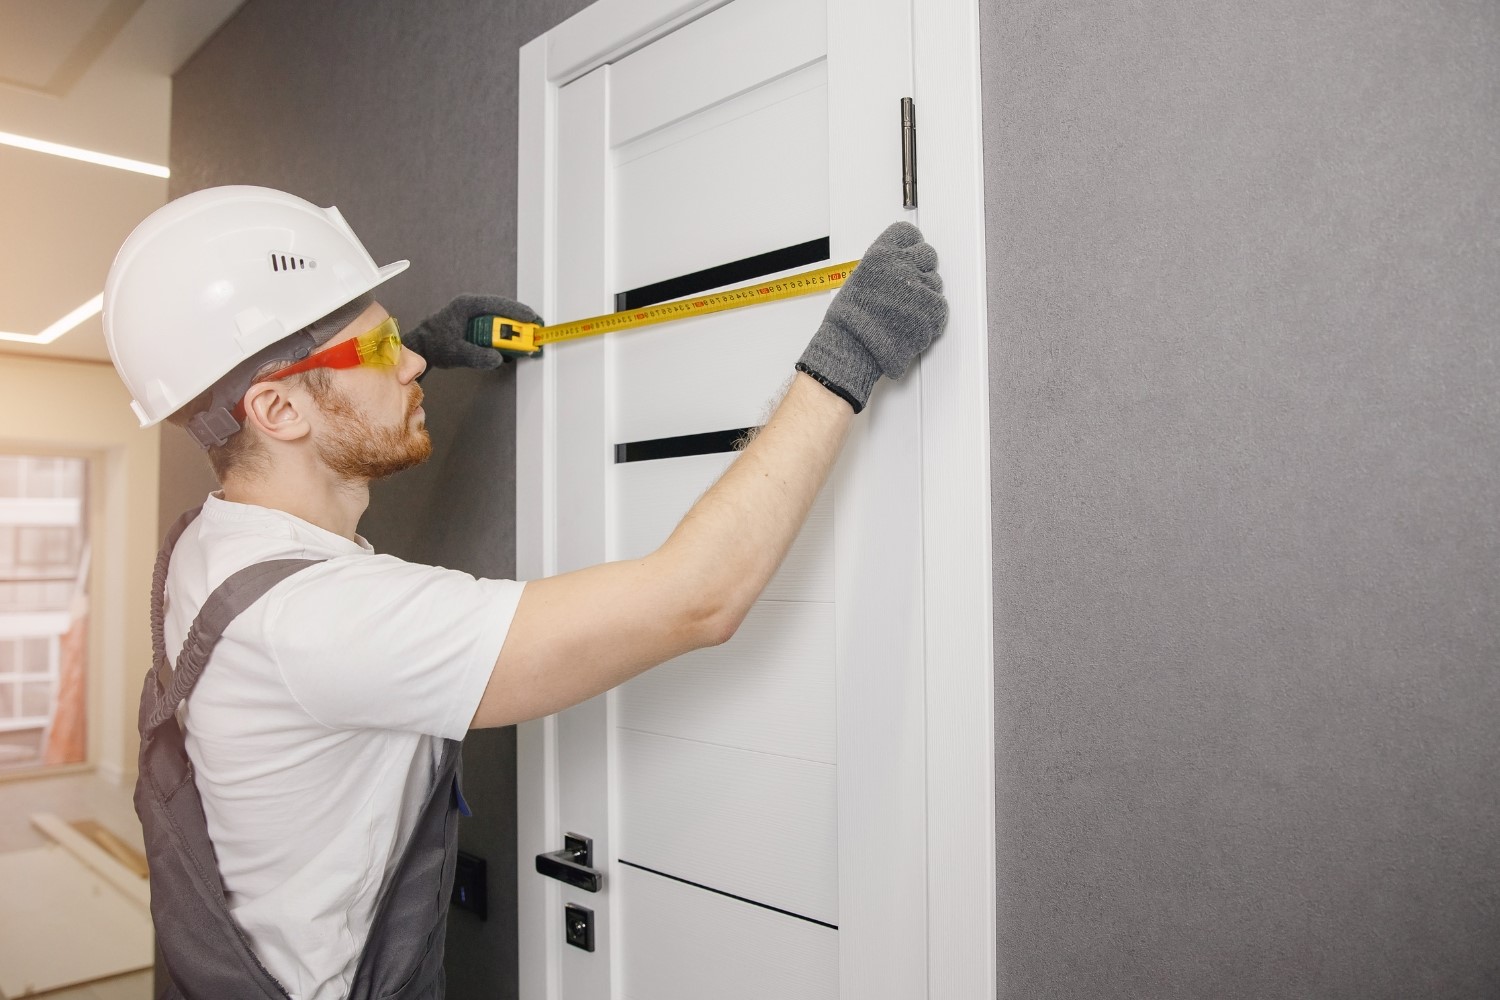
Measuring the width of a door is the first crucial step in ensuring a proper fit. To begin, position yourself in front of the door, ensuring that it is closed securely. Using your tape measure, locate the topmost point of the door frame, known as the head jamb. Place the end of the tape measure at the inner edge of the head jamb and extend it to the opposite inner edge. Take note of the measurement in inches, rounding it to the nearest 1/16th of an inch for accuracy.
It's important to measure the width of the door at three different points: the top, middle, and bottom. This is particularly essential for older homes where settling may have caused the door frame to become slightly uneven. By taking measurements at multiple points, you can identify any discrepancies and ensure that the new door will fit snugly.
Once you have obtained the three width measurements, record the smallest value. This ensures that the new door will fit comfortably within the narrowest part of the door frame. Additionally, it's advisable to double-check the width measurement to eliminate the possibility of errors.
When measuring the width of the door, it's crucial to account for any trim or molding that may be present. If the door frame features trim, measure from the outer edge of one trim piece to the outer edge of the opposite trim piece to capture the actual width of the door opening.
By following these steps and taking precise measurements, you can confidently move on to the next phase of the door installation process. Accurate width measurements lay the foundation for a successful door replacement or installation, ensuring a seamless fit and a polished end result.
Read more: How To Unlock Bathroom Door
Step 2: Measure the Height of the Door
Measuring the height of the door is a critical step in ensuring a precise and seamless installation process. To begin, position yourself facing the door, ensuring it is securely closed. Using your tape measure, locate the highest point of the door frame, known as the head jamb. Place the end of the tape measure at the inner edge of the head jamb and extend it down to the inner edge of the door's bottom jamb. Record this measurement in inches, rounding it to the nearest 1/16th of an inch for accuracy.
Similar to measuring the width, it's essential to measure the height of the door at three different points: the left side, center, and right side. This comprehensive approach accounts for any potential unevenness in the door frame, ensuring that the new door will fit perfectly, even in older homes where settling may have occurred.
After obtaining the three height measurements, record the smallest value. This ensures that the new door will fit comfortably within the shortest part of the door frame. Additionally, it's advisable to double-check the height measurement to eliminate the possibility of errors.
When measuring the height of the door, it's crucial to consider any flooring materials, such as carpet or tiles, that may be present. If the door frame sits on top of a finished floor, measure from the finished floor to the underside of the head jamb to capture the accurate height of the door opening.
It's important to note that the door's height measurement should include the space between the top of the door and the upper jamb. This gap allows for smooth operation and prevents the door from rubbing against the frame.
By meticulously following these steps and obtaining precise height measurements, you can proceed with confidence to the next stage of the door installation process. Accurate height measurements are fundamental in ensuring a proper fit, smooth operation, and a visually appealing end result.
Step 3: Measure the Thickness of the Door
Measuring the thickness of the door is a crucial step in ensuring that the replacement or new door aligns seamlessly with the door frame. The thickness of a door can vary based on its design and the specific requirements of the installation area. To accurately measure the door's thickness, follow these steps:
-
Locate the Door: Position yourself in front of the door, ensuring that it is securely closed within the frame. This step is essential to obtain an accurate measurement of the door's thickness without any obstructions.
-
Use the Tape Measure: With the door in a closed position, take your tape measure and place it at the edge of the door, near the hinge. Extend the tape measure across the width of the door to the opposite edge. Record the measurement in inches, ensuring precision by rounding to the nearest 1/16th of an inch.
-
Consider Unusual Features: Some doors may have unusual features, such as raised panels or decorative elements, which can affect the overall thickness. If the door has any protruding elements, measure the thickness at the widest point to capture the door's true thickness accurately.
-
Account for Weather Stripping: If the door is equipped with weather stripping, it's essential to include this in the thickness measurement. The weather stripping contributes to the overall width of the door and should be considered when selecting a replacement or new door.
-
Verify the Measurement: To ensure accuracy, double-check the thickness measurement by taking a second measurement at a different point along the width of the door. This redundancy helps eliminate the possibility of errors and ensures that the recorded thickness is precise.
By meticulously following these steps and obtaining an accurate measurement of the door's thickness, you can proceed with confidence to the next phase of the installation process. The thickness measurement is a critical factor in selecting the appropriate door and ensuring a seamless fit within the door frame. Additionally, understanding the door's thickness is essential for any modifications or adjustments required to accommodate the new door effectively.
Step 4: Measure the Jamb Width
Measuring the jamb width is a crucial step in ensuring that the new or replacement door fits seamlessly within the door frame. The jamb width refers to the vertical space between the interior and exterior framing of the doorway, encompassing the thickness of the wall and any additional trim or molding. To accurately measure the jamb width, follow these detailed steps:
-
Locate the Jamb: Position yourself facing the door, ensuring that it is securely closed within the frame. This step is essential to obtain an accurate measurement of the jamb width without any obstructions.
-
Use the Tape Measure: With the door in a closed position, take your tape measure and place it at the interior edge of the door frame, near the top. Extend the tape measure vertically down to the floor, capturing the full height of the jamb. Record this measurement in inches, rounding it to the nearest 1/16th of an inch for precision.
-
Measure Both Sides: It's important to measure the jamb width on both sides of the door to account for any potential variations. Place the tape measure at the interior edge of the door frame on one side and extend it to the opposite side, recording the measurement. Repeat this process on the other side of the door to ensure consistency.
-
Consider Trim and Molding: If the door frame features trim or molding, measure the jamb width from the inner edge of the trim on one side to the inner edge of the trim on the opposite side. This comprehensive approach captures the actual width of the jamb, accounting for any decorative elements that may affect the door's fit.
-
Account for Plaster or Drywall: In some cases, the interior walls may feature plaster or drywall, which contributes to the overall jamb width. When measuring the jamb width, ensure that the tape measure captures the full thickness of the wall, including any finishing materials.
-
Verify the Measurements: To ensure accuracy, double-check the jamb width measurements on both sides of the door. This redundancy helps eliminate the possibility of errors and ensures that the recorded jamb width is precise.
By meticulously following these steps and obtaining accurate measurements of the jamb width, you can proceed with confidence to the next phase of the installation process. Understanding the jamb width is essential for selecting a door that fits snugly within the door frame, ensuring a visually appealing and structurally sound result. Additionally, precise jamb width measurements provide valuable information for any necessary adjustments or modifications to accommodate the new door effectively.
Conclusion
In conclusion, mastering the art of measuring a door is a fundamental skill for any homeowner or DIY enthusiast embarking on a door replacement or installation project. By following the step-by-step process outlined in this guide and utilizing the necessary tools and materials, you can obtain precise measurements that lay the foundation for a seamless and successful installation.
Accurate measurements of the door's width, height, thickness, and jamb width are essential for ensuring a proper fit within the door frame. These measurements serve as the blueprint for selecting the right door and making any necessary adjustments to accommodate the new or replacement door effectively.
Furthermore, understanding the nuances of door measurements is crucial for addressing potential challenges, such as uneven door frames or non-standard door sizes. By taking comprehensive measurements at multiple points and accounting for any decorative elements, trim, or molding, you can mitigate the risk of ill-fitting doors and ensure a polished end result.
Additionally, the precision of these measurements directly impacts the functionality, security, and insulation of the door. A well-fitted door not only enhances the aesthetic appeal of your home but also contributes to energy efficiency and overall comfort.
By embracing the process of measuring a door with diligence and attention to detail, you can approach your home improvement project with confidence, knowing that the foundation is laid for a successful installation. Whether you are replacing an old door, installing a new one, or undertaking a renovation project, the ability to measure a door accurately is a valuable skill that empowers you to achieve professional-quality results.
In essence, the journey of measuring a door is not merely a technical task but a foundational step that sets the stage for a visually appealing, functional, and secure entryway. With the knowledge and skills gained from this guide, you are well-equipped to embark on your door installation journey with confidence and precision.