Home>Technology and Computers>Unlock The Hidden Screen Record Option On Your IPhone With This Simple Trick

Technology and Computers
Unlock The Hidden Screen Record Option On Your IPhone With This Simple Trick
Published: February 12, 2024
Discover how to unlock the hidden screen record option on your iPhone with this simple technology and computer trick. Capture your screen effortlessly and share your knowledge with ease. Unlock the potential of your device today!
(Many of the links in this article redirect to a specific reviewed product. Your purchase of these products through affiliate links helps to generate commission for Noodls.com, at no extra cost. Learn more)
Table of Contents
Introduction
Have you ever wanted to capture a video of your iPhone screen to share a tutorial, showcase a new app, or simply record a memorable moment? While the ability to record your screen is a valuable feature, it's not immediately visible on the iPhone's interface. However, with a simple trick, you can unlock the hidden screen record option and start creating screen recordings with ease.
In this article, we'll guide you through the process of accessing the screen record option on your iPhone. Whether you're a tech enthusiast, a social media content creator, or someone who simply wants to explore the full potential of their device, this step-by-step tutorial will empower you to unleash the screen recording capability of your iPhone.
By following the instructions provided, you'll gain the ability to capture on-screen activities, share insightful demonstrations, and preserve memorable interactions with friends and family. With the hidden screen record option at your fingertips, you'll be equipped to elevate your iPhone experience and leverage its full range of functionalities.
Now, let's embark on this journey to uncover the hidden gem within your iPhone's settings and unlock the power of screen recording. Get ready to discover a new dimension of creativity and convenience as we delve into the simple yet impactful process of enabling screen recording on your iPhone.
Read more: How To Screen Record On IPhone
Step 1: Accessing the Control Center
Accessing the Control Center is the first step towards unlocking the hidden screen record option on your iPhone. The Control Center is a centralized hub that provides quick access to essential functions and settings, including the screen record feature. To access the Control Center, follow these simple steps:
-
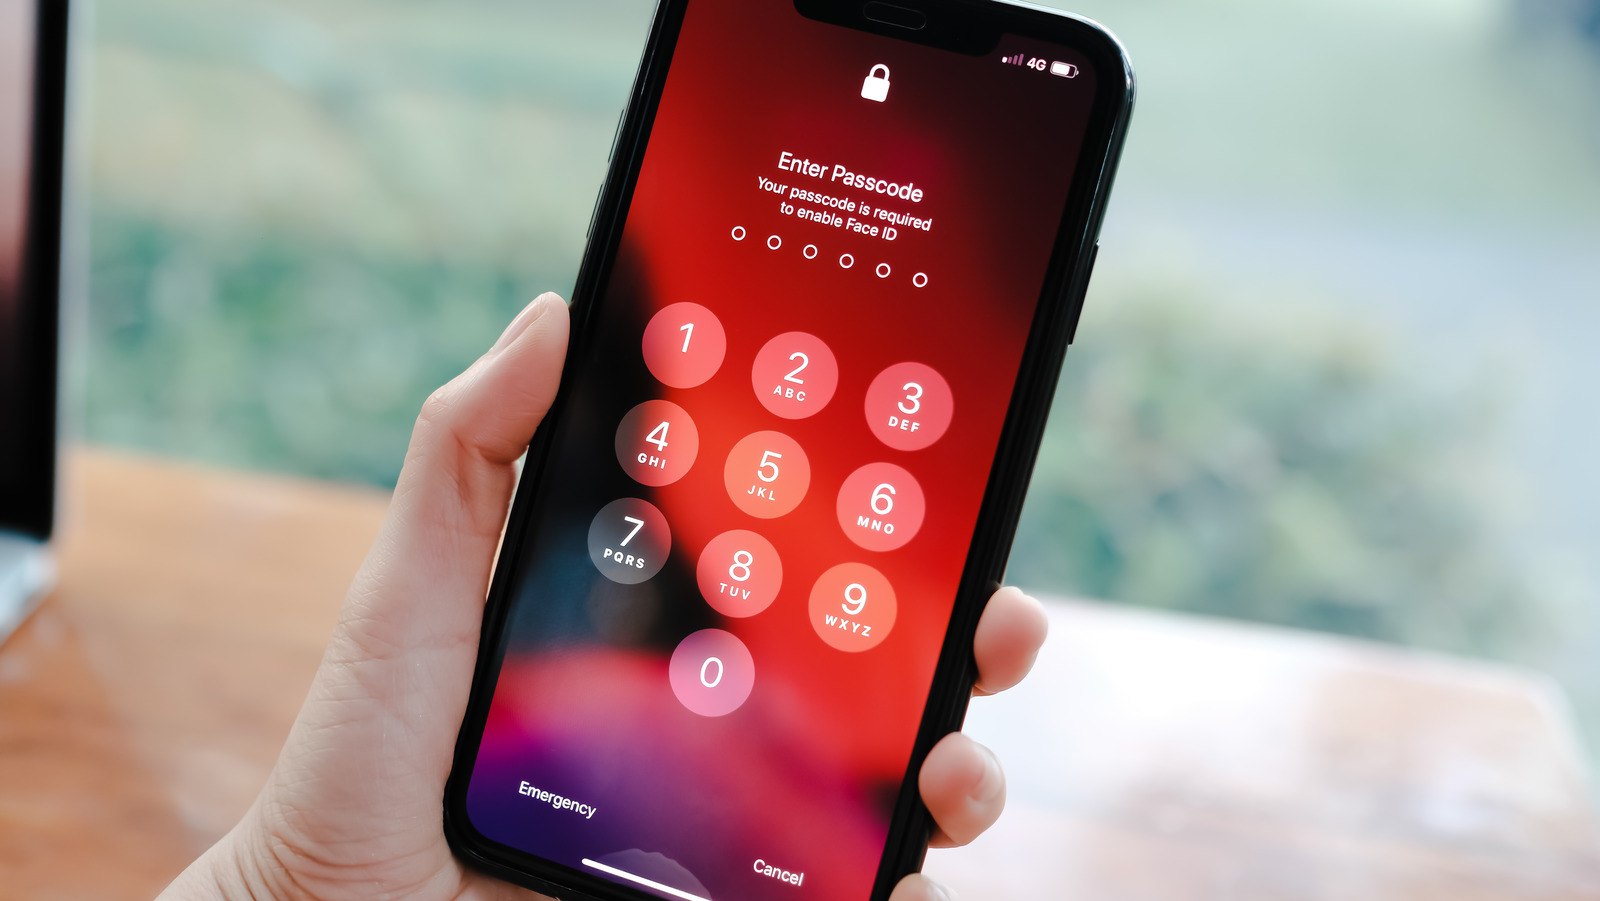
Unlock Your iPhone: If your iPhone is locked, unlock it by entering your passcode, using Face ID, or Touch ID.
-
Navigate to the Home Screen: Press the Home button or swipe up from the bottom of the screen to return to the Home screen.
-
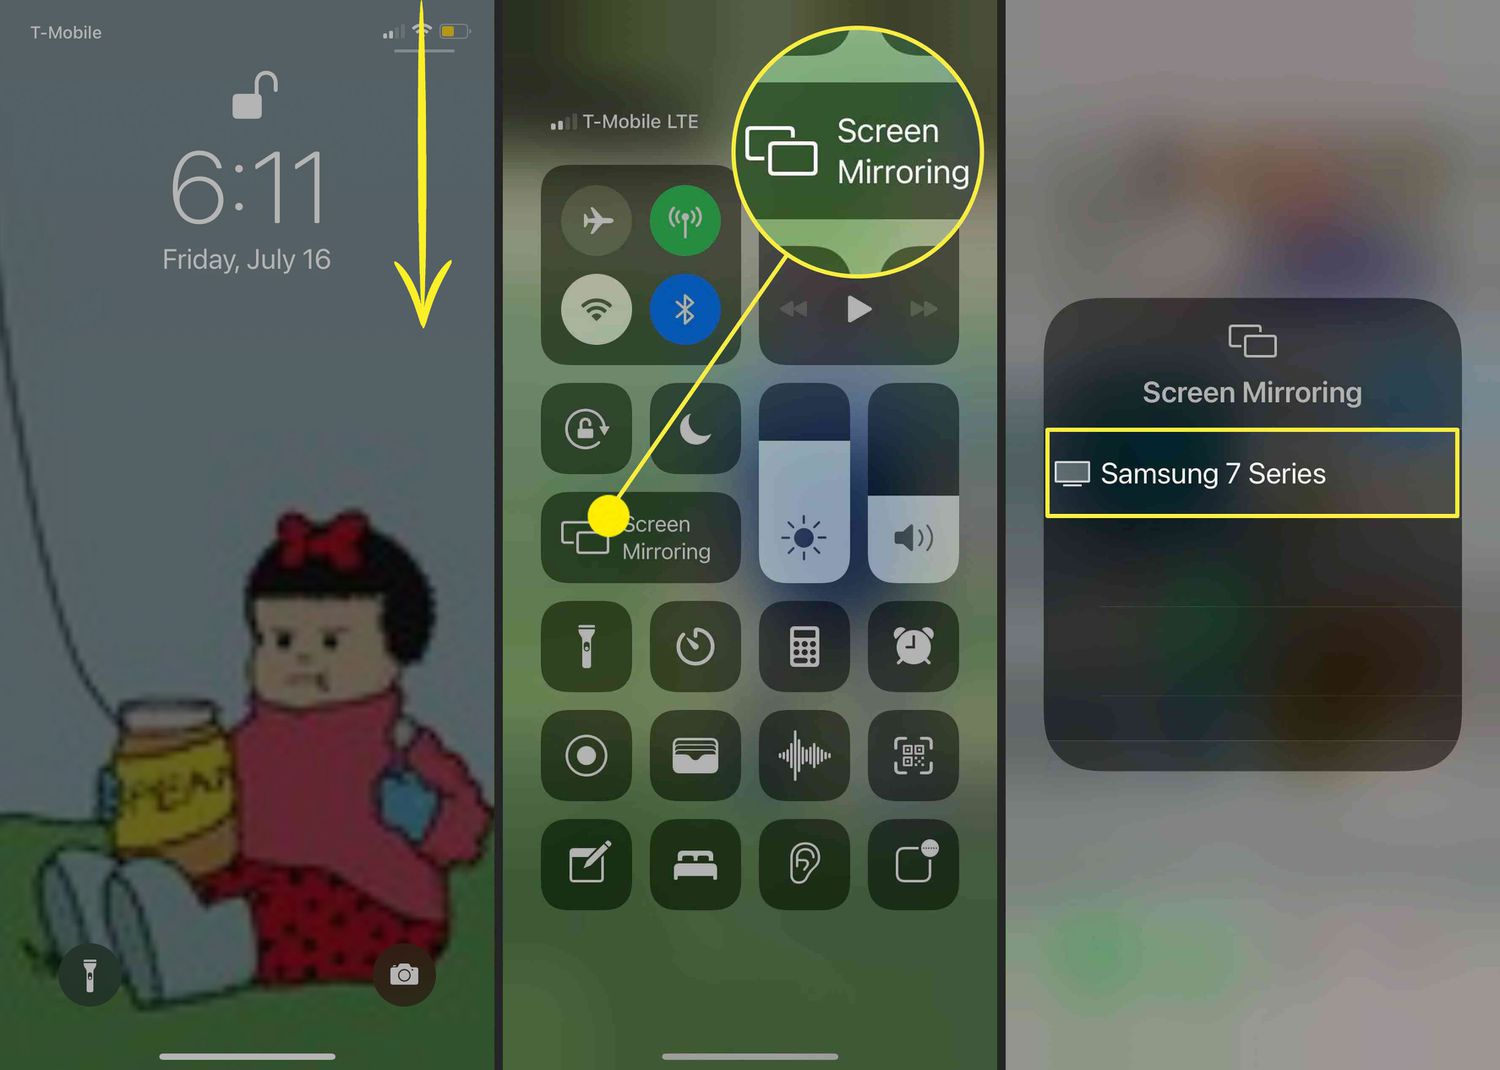
Locate the Control Center: On the Home screen, swipe down from the top-right corner of the display. This action will reveal the Control Center, which houses a collection of shortcuts and toggles for various functions.
-
Familiarize Yourself with the Control Center: Take a moment to explore the Control Center and familiarize yourself with its layout. You'll find a range of icons representing different features and settings, such as Wi-Fi, Bluetooth, brightness controls, and more.
-
Identify the Screen Record Icon: Within the Control Center, look for the screen record icon, which resembles a solid circle surrounded by a ring. If you don't see the screen record icon, don't worry – we'll cover how to add it in the next step.
By successfully accessing the Control Center, you've taken the crucial first step towards enabling the screen record option on your iPhone. The Control Center serves as a convenient gateway to essential functions, and it's where you'll initiate the screen recording process once the option is available. With the Control Center at your disposal, you're now ready to proceed to the next step and add the screen record option to this accessible menu.
Now that you've accessed the Control Center, let's move on to the next step and learn how to add the screen record option, bringing you closer to harnessing the full potential of screen recording on your iPhone.
Step 2: Adding the Screen Record Option
Now that you've accessed the Control Center, it's time to add the screen record option to this convenient menu. By adding the screen record feature to the Control Center, you'll ensure quick and easy access to this powerful functionality whenever the need arises. Follow these straightforward steps to add the screen record option to your Control Center:
-
Open the Settings App: Navigate to the Home screen of your iPhone and locate the Settings app. The Settings app is represented by a gear icon and serves as the central hub for customizing various aspects of your device.
-
Scroll to Control Center: Within the Settings app, scroll down and look for the "Control Center" option. Tap on "Control Center" to access a range of customization settings related to this essential feature.
-
Customize Controls: Under the "Control Center" settings, you'll find the "Customize Controls" option. Tap on "Customize Controls" to view a list of controls that can be added to the Control Center.
-
Add Screen Recording: Scroll through the list of available controls until you locate the "Screen Recording" option. Once you find it, tap the green plus icon (+) next to "Screen Recording" to add it to the "Include" section at the top of the screen. This action will ensure that the screen record option is readily accessible from the Control Center.
-
Rearrange if Desired: If you wish to rearrange the order of controls in the Control Center, you can do so by pressing and holding the "≡" icon next to a control and dragging it to the desired position. This allows you to prioritize the placement of the screen record option for seamless access.
By following these steps, you've successfully added the screen record option to your Control Center, empowering you to initiate screen recordings with a simple tap. With the screen record feature now integrated into the Control Center, you're poised to effortlessly capture on-screen activities, create engaging tutorials, and preserve memorable moments directly from your iPhone.
Now that you've added the screen record option to the Control Center, you're ready to move on to the next step and learn how to initiate and customize screen recordings on your iPhone. Let's proceed to the final step and uncover the process of recording your screen with ease and precision.
Step 3: Recording Your Screen
Now that you've added the screen record option to the Control Center, you're ready to embark on the exciting journey of recording your iPhone screen. Whether you're demonstrating a new app, sharing a tutorial, or capturing a memorable interaction, the screen recording feature empowers you to preserve on-screen activities with ease. Follow these steps to initiate and customize screen recordings on your iPhone:
-
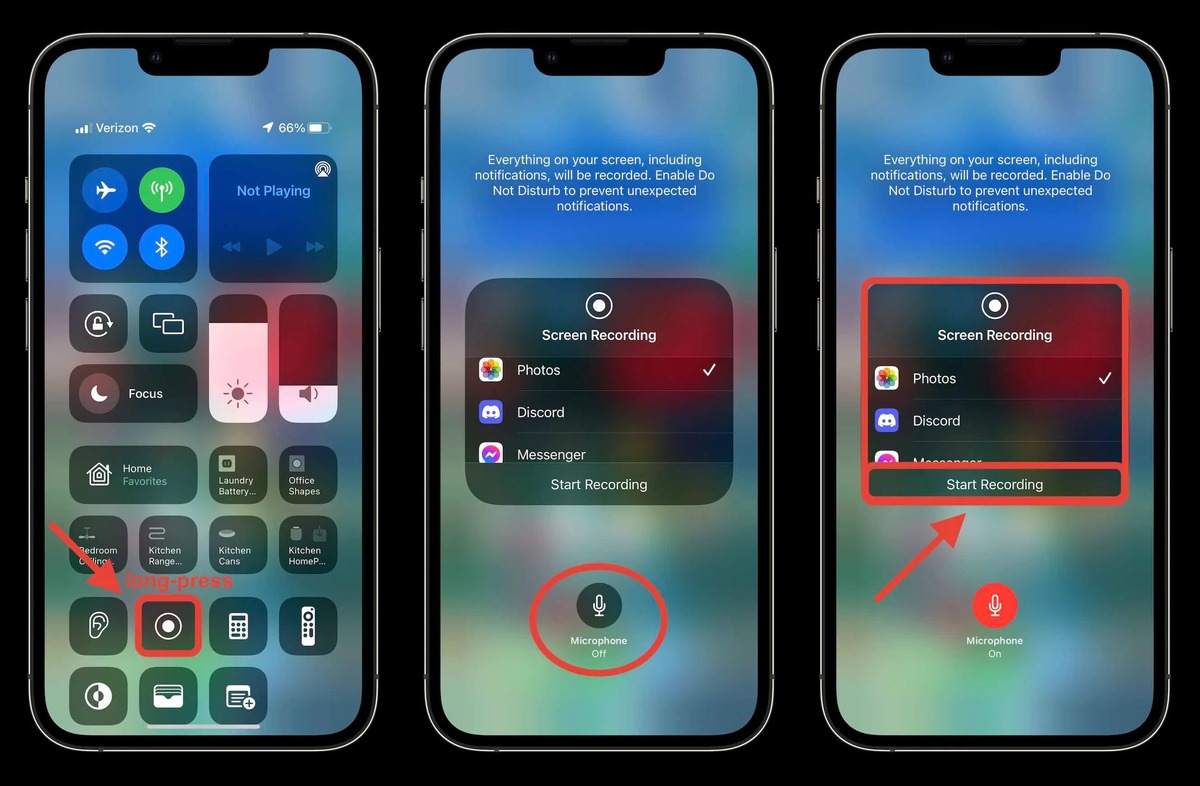
Access the Control Center: From any screen on your iPhone, access the Control Center by swiping down from the top-right corner of the display. This action will reveal the Control Center, where you'll find the newly added screen record option represented by the circular icon surrounded by a ring.
-
Initiate Screen Recording: To start a screen recording, simply tap the screen record icon within the Control Center. Upon tapping the icon, a countdown timer of 3 seconds will appear, providing you with a brief window to prepare for the recording. Once the countdown concludes, the screen recording will commence, capturing everything displayed on your iPhone screen.
-
Monitor the Recording: While the screen recording is in progress, a red status bar will appear at the top of the screen, indicating that the recording is active. This visual cue serves as a reminder that your on-screen activities are being captured, ensuring that you're aware of the recording status at all times.
-
Customize Recording Settings (Optional): If you wish to customize the recording settings, such as enabling or disabling microphone audio, you can do so by pressing and holding the screen record icon within the Control Center. This action will prompt a pop-up window where you can toggle the microphone audio on or off according to your preferences.
-
End the Recording: Once you've captured the desired on-screen content, you can end the recording by tapping the red status bar at the top of the screen. Alternatively, you can return to the Control Center and tap the screen record icon again to stop the recording. Upon ending the recording, a notification will appear, informing you that the screen recording has been saved to your Photos app.
By following these steps, you've successfully initiated and customized a screen recording on your iPhone. Whether you're showcasing a new feature, providing tech support, or preserving a memorable interaction, the screen recording feature empowers you to capture and share on-screen activities with precision and convenience. With the ability to record your iPhone screen at your fingertips, you're now equipped to explore a myriad of creative possibilities and enhance your digital communication through engaging visual content.
Conclusion
Congratulations! By following the simple yet impactful steps outlined in this tutorial, you've successfully unlocked the hidden screen record option on your iPhone and gained the ability to capture on-screen activities with ease. The journey from accessing the Control Center to adding the screen record option and finally initiating screen recordings has equipped you with a powerful tool for creating engaging content, sharing insightful demonstrations, and preserving memorable interactions directly from your iPhone.
With the screen record feature now readily accessible from the Control Center, you're empowered to unleash your creativity and leverage the full potential of screen recording. Whether you're a tech enthusiast, a social media content creator, or someone who simply wants to explore the diverse capabilities of their iPhone, the ability to record your screen opens up a world of possibilities.
From sharing tutorials and app demonstrations to preserving memorable moments and capturing on-screen interactions, the screen recording feature offers a versatile and convenient way to communicate visually. By seamlessly integrating screen recordings into your digital communication, you can enhance your ability to convey information, provide tech support, and engage your audience with compelling visual content.
Furthermore, the customization options available during screen recordings, such as the ability to toggle microphone audio on or off, provide you with flexibility and control over the content you capture. This level of customization ensures that your screen recordings align with your specific needs and preferences, allowing you to tailor each recording to suit its intended purpose.
As you continue to explore the capabilities of screen recording on your iPhone, consider the myriad of creative opportunities it presents. Whether you're a teacher sharing educational content, a gamer showcasing gameplay, or a professional providing visual instructions, the screen recording feature empowers you to communicate with clarity and impact.
In conclusion, the hidden screen record option on your iPhone is a valuable asset that enhances your ability to create, communicate, and share experiences. By unlocking this feature and familiarizing yourself with its capabilities, you've taken a significant step towards maximizing the potential of your iPhone and embracing the power of visual storytelling. Embrace the opportunities that screen recording offers, and let your creativity flourish as you capture and share meaningful moments with the world.