Home>Technology and Computers>How To Screen Record On IPhone
Technology and Computers
How To Screen Record On IPhone
Published: March 4, 2024
Learn how to screen record on iPhone with our easy step-by-step guide. Capture technology and computer tutorials effortlessly on your device.
(Many of the links in this article redirect to a specific reviewed product. Your purchase of these products through affiliate links helps to generate commission for Noodls.com, at no extra cost. Learn more)
Table of Contents
Introduction
Screen recording has become an essential feature for many iPhone users, allowing them to capture and share their device's screen activities with ease. Whether you want to create a tutorial, demonstrate a new app, or simply record a memorable moment on your device, the screen recording function offers a convenient way to do so. With just a few simple steps, you can unleash the power of screen recording on your iPhone and unlock a world of possibilities.
In this comprehensive guide, we will walk you through the process of screen recording on your iPhone, providing clear and easy-to-follow instructions that will enable you to master this valuable tool. By the end of this tutorial, you will have the knowledge and confidence to effortlessly capture and share your iPhone screen, opening up a realm of creative and practical applications.
So, whether you're a tech enthusiast looking to explore new features or a casual user seeking to harness the full potential of your iPhone, this guide is designed to equip you with the skills to make the most of screen recording. Let's dive in and discover the simple yet powerful art of capturing your iPhone screen in action.
Read more: How To Use IPhone Screen Recording Feature
Step 1: Accessing the Control Center
Accessing the Control Center is the first step towards initiating a screen recording on your iPhone. The Control Center is a centralized hub that provides quick access to various settings and features, including screen brightness, volume controls, and essential shortcuts. To begin the screen recording process, you will need to navigate to the Control Center using the following steps:
-
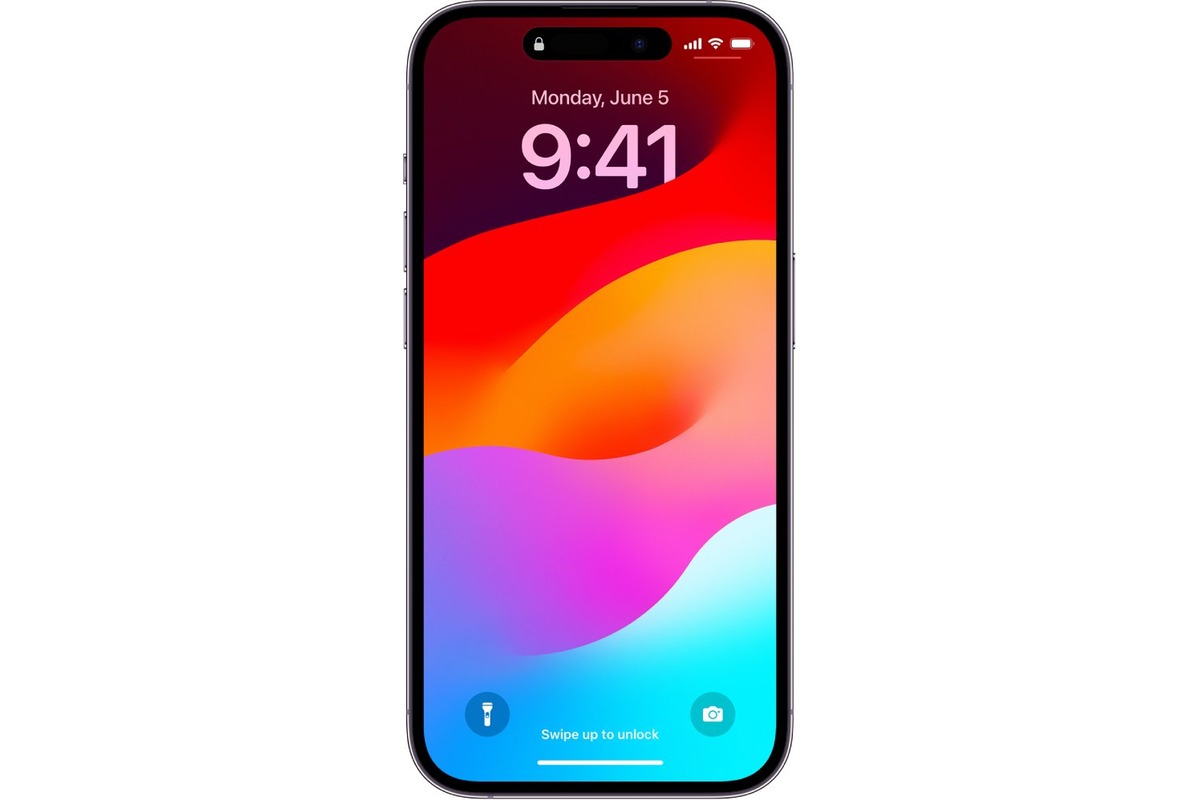
Unlock Your iPhone: If your iPhone is locked, unlock it by entering your passcode, using Face ID, or Touch ID.
-
Navigate to the Home Screen: If your iPhone is not already on the Home Screen, press the Home button or swipe up from the bottom of the screen to access it.
-
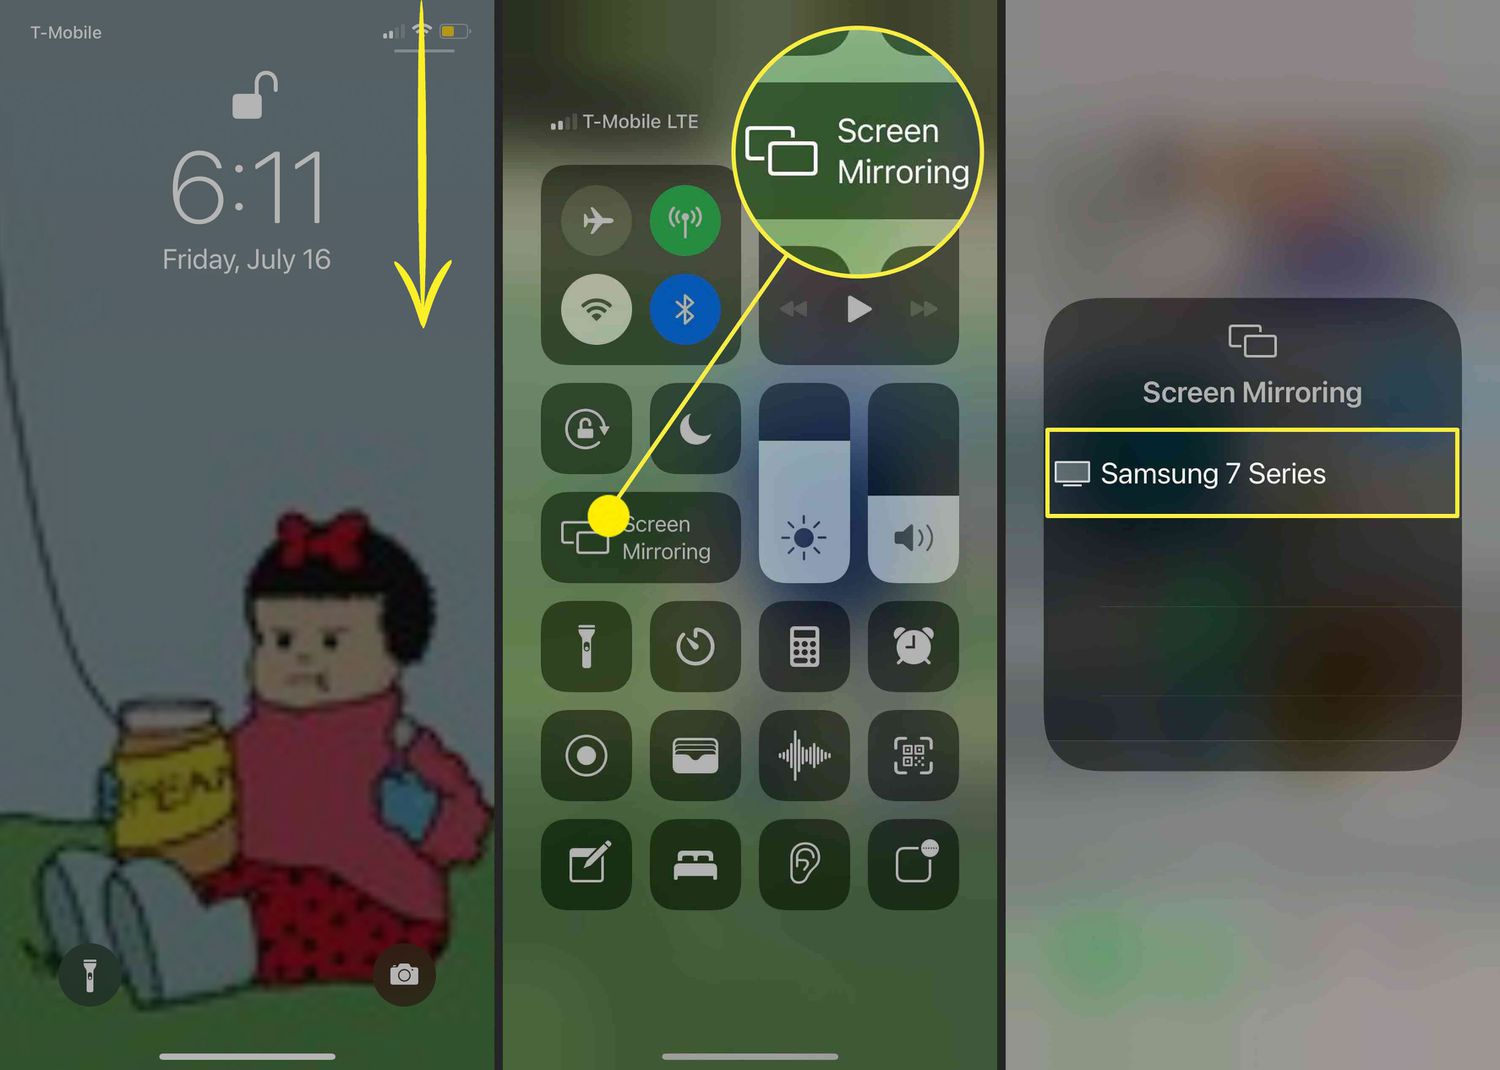
Locate the Control Center: On older iPhone models, swipe up from the bottom of the screen to reveal the Control Center. For iPhone X and later models, including the iPhone 11 and iPhone 12 series, swipe down from the top-right corner of the screen to access the Control Center.
-
Familiarize Yourself with the Control Center: Once the Control Center is visible, take a moment to familiarize yourself with its layout and the various shortcuts and settings it offers. The Control Center provides quick access to essential functions, making it a convenient tool for managing your iPhone's features and settings.
By following these simple steps, you can easily access the Control Center on your iPhone, setting the stage for the next phase of the screen recording process. With the Control Center at your fingertips, you are ready to proceed to the next step and add the screen recording function to its array of shortcuts, further expanding the capabilities of your iPhone.
Step 2: Adding Screen Recording to Control Center
Adding the screen recording function to the Control Center is a pivotal step that empowers you to quickly initiate screen recordings with a single tap. By incorporating this feature into the Control Center's array of shortcuts, you can seamlessly access the screen recording tool whenever the need arises. Follow these straightforward instructions to add the screen recording function to your Control Center:
-
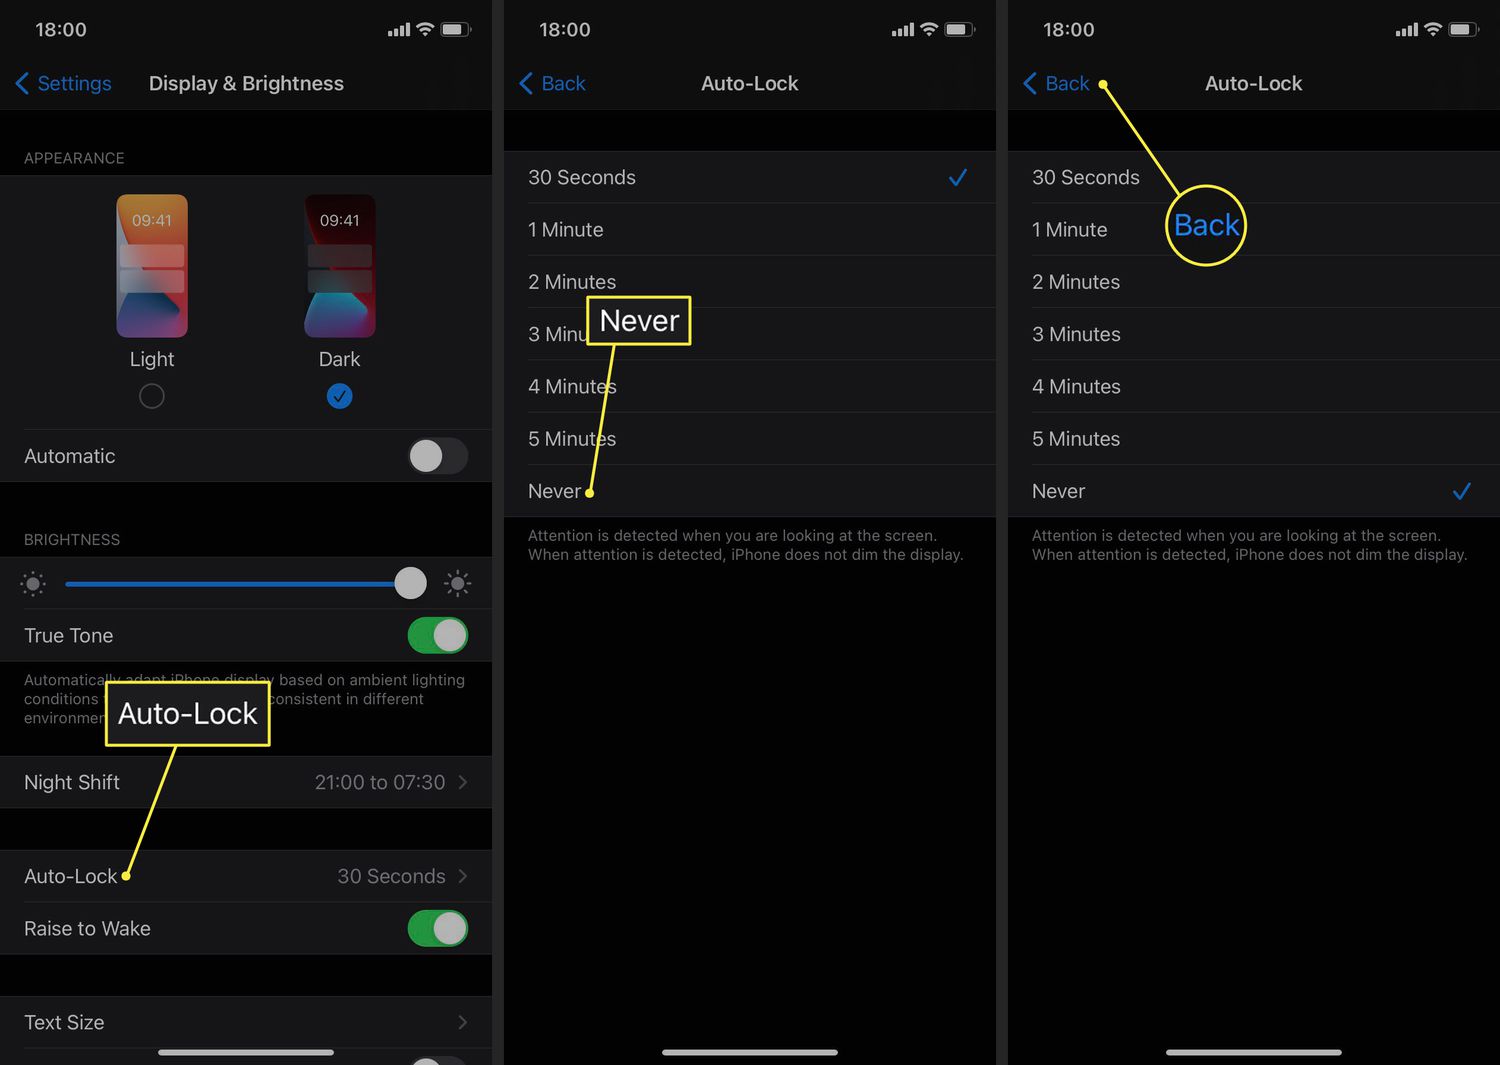
Open the Settings App: Begin by locating and tapping the "Settings" app on your iPhone's home screen. The Settings app serves as the central hub for customizing and managing various aspects of your device's functionality.
-
Navigate to Control Center Settings: Within the Settings app, scroll and locate the "Control Center" option. Tap on "Control Center" to access a range of customization settings related to the Control Center's layout and included functions.
-
Add Screen Recording: Under the "Control Center" settings, you will find an option to "Customize Controls." Tap on this option to proceed to the screen where you can add or remove shortcuts from the Control Center.
-
Locate Screen Recording: In the "Customize Controls" menu, look for the "Screen Recording" option. It is represented by an icon featuring a solid circle within a circle outline. This is the official symbol for the screen recording function on your iPhone.
-
Add Screen Recording to Control Center: To add the screen recording function to the Control Center, tap the green "+" icon located next to the "Screen Recording" option. This action will add the screen recording shortcut to the "Included Controls" section, ensuring that it is readily accessible from the Control Center.
-
Arrange the Order (Optional): If desired, you can rearrange the order of shortcuts in the Control Center by pressing and holding the "≡" icon next to the "Screen Recording" option and dragging it to your preferred position. This allows you to customize the layout of the Control Center based on your usage preferences.
By following these steps, you have successfully added the screen recording function to your Control Center, streamlining the process of capturing your iPhone's screen activities. With the screen recording shortcut now integrated into the Control Center, you are poised to effortlessly initiate and manage screen recordings with unparalleled convenience.
Step 3: Initiating the Screen Recording
With the screen recording function seamlessly integrated into your Control Center, you are now equipped to initiate the recording process with remarkable ease. Whether you wish to capture a tutorial, preserve a memorable in-app moment, or demonstrate a feature to a friend, the screen recording feature empowers you to do so effortlessly. Follow these simple steps to initiate a screen recording on your iPhone:
-
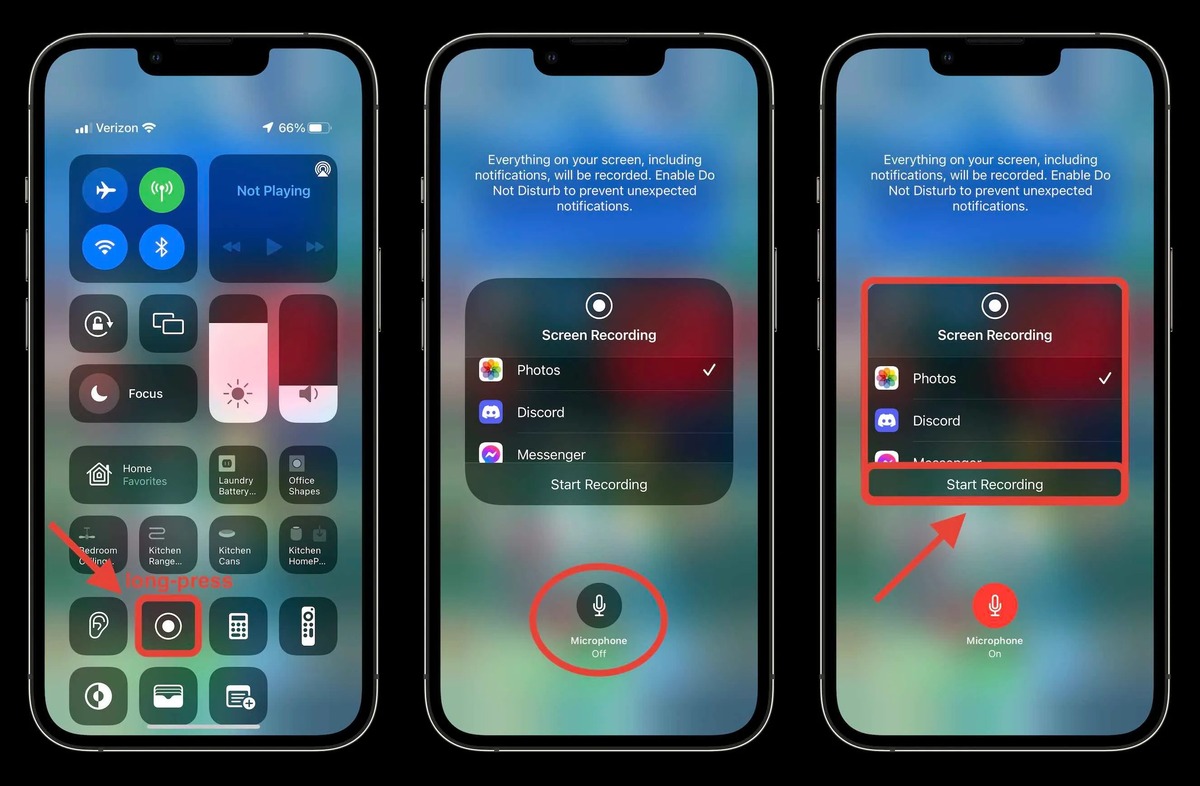
Access the Control Center: Begin by accessing the Control Center on your iPhone. Depending on your device model, swipe down from the top-right corner (iPhone X and later) or swipe up from the bottom of the screen (older models) to reveal the Control Center.
-
Locate the Screen Recording Icon: Within the Control Center, identify the screen recording icon, represented by a solid circle enclosed within a circle outline. This icon serves as the gateway to the screen recording feature and enables you to commence the recording process with a single tap.
-
Initiate the Screen Recording: Tap the screen recording icon to initiate the recording process. Upon tapping the icon, a countdown timer may appear, providing you with a brief moment to prepare before the recording officially commences. Once the countdown concludes, the screen recording will commence, capturing all on-screen activities and audio.
-
Confirmation of Recording: When the screen recording is in progress, a red status bar will appear at the top of the screen, indicating that the recording is active. This visual cue serves as a reminder that your screen activities are being captured, ensuring that you are aware of the ongoing recording process.
-
Navigate and Interact: With the screen recording underway, navigate through apps, interact with content, or demonstrate specific features as desired. The screen recording function captures all on-screen actions and audio, allowing you to effortlessly document your iPhone's activities.
-
Pause or Stop the Recording (Optional): If necessary, you can pause the recording at any time by accessing the Control Center and tapping the red recording indicator. To conclude the recording, tap the "Stop" button, typically found within the red status bar at the top of the screen.
By following these straightforward steps, you can effortlessly initiate a screen recording on your iPhone, capturing your device's screen activities with precision and convenience. Whether you are a content creator, educator, or simply seeking to preserve noteworthy moments, the screen recording feature empowers you to effortlessly document and share your iPhone's screen activities with unparalleled ease.
Step 4: Stopping the Screen Recording
Once you have successfully initiated a screen recording on your iPhone, it is essential to understand the process of stopping the recording to ensure that your captured content is saved and accessible for future use. Whether you have completed the recording or need to pause and resume at a later time, stopping the screen recording is a straightforward yet crucial step in the overall process. Here's a detailed guide on how to stop a screen recording on your iPhone:
-
Access the Control Center: To stop the screen recording, access the Control Center on your iPhone. Depending on your device model, swipe down from the top-right corner (iPhone X and later) or swipe up from the bottom of the screen (older models) to reveal the Control Center.
-
Identify the Recording Indicator: Within the Control Center, locate the red recording indicator at the top of the screen. This indicator serves as a visual cue, signaling that a screen recording is currently in progress.
-
Stop the Recording: To stop the screen recording, tap the red recording indicator in the Control Center. This action will prompt a confirmation dialog, asking if you want to stop the recording. Confirm by tapping "Stop" to conclude the screen recording process.
-
Save and Access the Recording: Upon stopping the screen recording, the captured content is automatically saved to your device's Photos app. You can access the recorded video by navigating to the Photos app and locating the "Screen Recordings" album, where all screen recordings are conveniently stored.
-
Review and Edit (Optional): If desired, you can review and edit the recorded video within the Photos app. This allows you to trim the recording, add annotations, or share it with others directly from your iPhone.
By following these steps, you can effectively stop a screen recording on your iPhone, ensuring that your captured content is securely saved and readily accessible for viewing, editing, and sharing. Whether you are documenting a tutorial, preserving a memorable moment, or capturing important on-screen activities, mastering the process of stopping a screen recording empowers you to seamlessly manage and leverage your recorded content with confidence and ease.
Conclusion
In conclusion, mastering the art of screen recording on your iPhone opens up a world of creative and practical possibilities. By following the simple yet powerful steps outlined in this guide, you have gained the knowledge and confidence to effortlessly capture and share your device's screen activities with precision and convenience.
The ability to access the Control Center, add the screen recording function, initiate the recording process, and seamlessly stop the recording empowers you to harness the full potential of your iPhone's screen recording feature. Whether you are a content creator, educator, or casual user seeking to document memorable moments, the screen recording function serves as a versatile tool that enhances your iPhone experience.
With screen recording at your fingertips, you can create engaging tutorials, demonstrate app functionalities, preserve in-app achievements, or capture cherished memories with unparalleled ease. The intuitive nature of the screen recording process, coupled with the seamless integration into the Control Center, ensures that you can effortlessly capture and manage your iPhone's screen activities without any technical barriers.
Furthermore, the ability to access and edit your recorded content within the Photos app provides a streamlined workflow for reviewing, enhancing, and sharing your screen recordings. Whether you wish to trim the recording, add annotations, or share it with friends and colleagues, the post-recording capabilities offer a comprehensive suite of tools to refine and distribute your captured content.
By mastering the screen recording process, you have unlocked a valuable feature that enriches your iPhone experience, allowing you to document, share, and engage with your device's screen activities in a seamless and impactful manner. Whether for personal, educational, or professional purposes, the screen recording function stands as a testament to the iPhone's versatility and empowers you to unleash your creativity and productivity in new and exciting ways.
In essence, the journey from accessing the Control Center to stopping the screen recording represents a transformative experience, equipping you with the skills to leverage this powerful feature to its fullest potential. As you continue to explore the myriad applications of screen recording, may this guide serve as a valuable companion, empowering you to capture, create, and share with confidence and ease.