Home>Arts and Culture>How To Draw A Brain
Arts and Culture
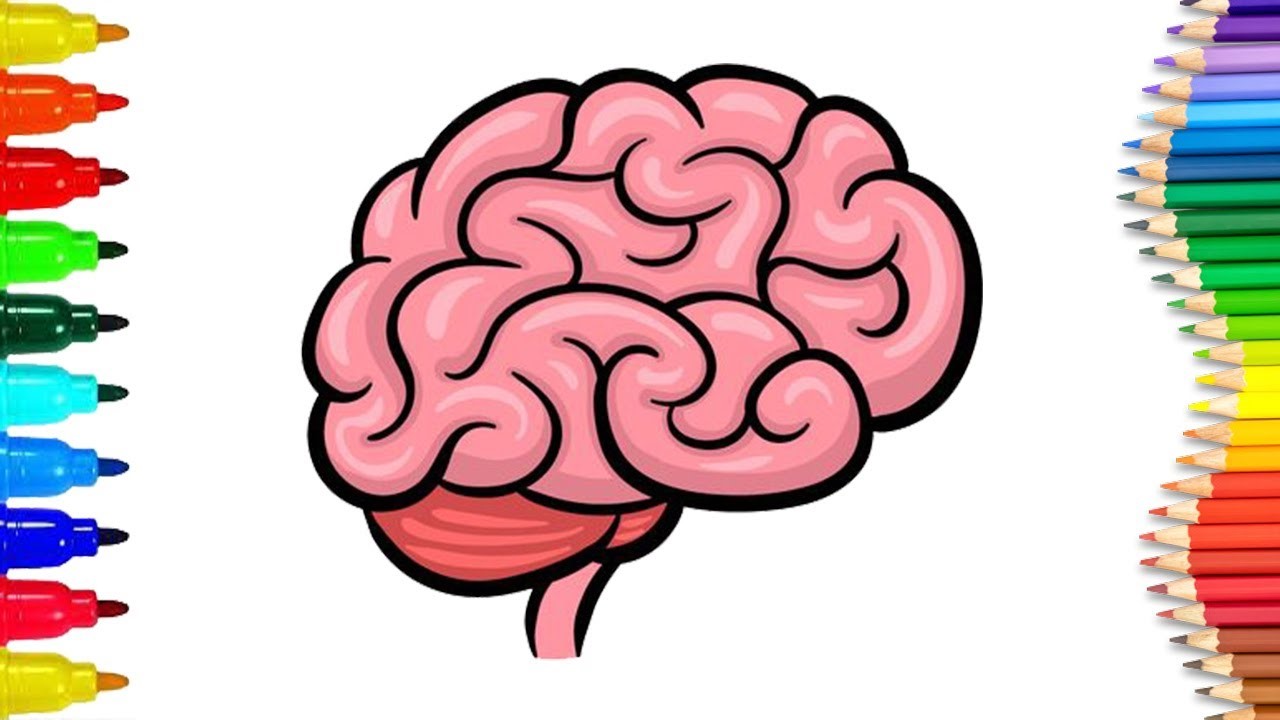
How To Draw A Brain
Published: February 28, 2024
Learn how to draw a realistic brain with step-by-step instructions. Explore the intersection of arts and culture with this fascinating artistic endeavor.
(Many of the links in this article redirect to a specific reviewed product. Your purchase of these products through affiliate links helps to generate commission for Noodls.com, at no extra cost. Learn more)
Table of Contents
Introduction
Drawing a brain may seem like a daunting task, but with the right guidance and a bit of creativity, it can be an enjoyable and rewarding experience. The brain, often referred to as the command center of the human body, is a complex and fascinating organ. Depicting its intricate structure on paper allows for a deeper understanding of its form and function.
In this step-by-step guide, you will learn how to draw a realistic representation of the brain, complete with its distinct regions and features. Whether you are an aspiring artist, a student studying anatomy, or simply curious about the brain's anatomy, this tutorial will provide you with the essential techniques to bring this remarkable organ to life on the page.
By following the detailed instructions and utilizing basic drawing materials, you will embark on a creative journey that not only hones your artistic skills but also deepens your appreciation for the marvels of the human brain. So, grab your pencils, erasers, and paper, and let's delve into the fascinating process of capturing the complexity and beauty of the brain through art.
Read more: How To Draw People
Materials Needed
Before embarking on the artistic endeavor of drawing a brain, it's essential to gather the necessary materials to ensure a smooth and enjoyable creative process. Here's a list of items you'll need to bring your brain illustration to life:
-
Drawing Paper: Select a smooth, sturdy paper that can withstand various drawing techniques and erasures. A medium-weight paper with a slight texture is ideal for capturing the details of the brain's anatomy.
-
Pencils: A set of high-quality drawing pencils ranging from 2H to 6B will provide the versatility needed to achieve different tones and textures in your brain drawing. The harder pencils (2H to 2B) are suitable for creating precise outlines and lighter shading, while the softer pencils (4B to 6B) allow for darker shading and depth.
-
Eraser: A soft, kneaded eraser is essential for correcting mistakes and refining details in your brain illustration. Additionally, a precision eraser or eraser pencil can be useful for erasing smaller areas with precision.
-
Blending Stump or Tortillon: To achieve smooth transitions and subtle gradients in your drawing, a blending stump or tortillon can be used to blend and soften pencil strokes, particularly when shading the various regions of the brain.
-
Reference Images: While drawing from imagination is a valuable skill, having reference images of the brain's anatomy can provide valuable guidance and ensure anatomical accuracy in your illustration. Utilize anatomy books, online resources, or 3D models to study the structure of the brain.
-
Light Source: Adequate lighting is crucial for creating a well-rendered brain drawing. Whether natural or artificial, a consistent and adjustable light source will help you observe the subtle shadows and highlights as you work on your illustration.
-
Optional: Colored Pencils or Markers: If you wish to add color to your brain drawing, a set of colored pencils or markers can be used to enhance the visual impact of the illustration. This is particularly beneficial if you want to highlight specific brain regions or add a creative touch to your artwork.
By ensuring that you have these essential materials at your disposal, you'll be well-prepared to embark on the artistic journey of drawing a detailed and visually captivating representation of the brain. With these tools in hand, you can proceed to the next steps of bringing the brain to life on paper.
Step 1: Draw the Basic Shape
To begin the process of drawing a realistic representation of the brain, it is essential to establish the basic shape that forms the foundation of the entire illustration. The brain, with its distinct lobes and structures, can initially be simplified into a three-dimensional oval form. This foundational shape serves as a guide for adding the intricate details of the brain's anatomy in subsequent steps.
Start by lightly sketching a medium-sized oval in the center of your drawing paper. This oval will represent the overall outline of the brain. It's important to keep the initial lines light and easily erasable, as they will serve as a framework for the more refined details to come.
Next, divide the oval shape into two hemispheres, mimicking the left and right sides of the brain. The line that separates the two hemispheres should be slightly curved, reflecting the natural division between the brain's distinct halves. This division sets the stage for accurately depicting the brain's lateralization, where different functions and abilities are associated with each hemisphere.
Once the basic outline of the brain's hemispheres is established, consider adding a slight bulge at the bottom of the oval to represent the brainstem. This protrusion signifies the connection between the brain and the spinal cord, a vital component of the brain's overall structure.
As you refine the basic shape, take the opportunity to observe reference images of the brain to ensure that the proportions and overall form align with anatomical accuracy. Pay attention to the relative sizes of the hemispheres and the positioning of the brainstem within the overall structure.
Throughout this process, maintain a light touch with your pencil, allowing for adjustments and modifications as needed. The goal of this initial step is to lay the groundwork for the intricate details that will bring the brain illustration to life.
By focusing on capturing the fundamental shape of the brain with precision and attention to detail, you set the stage for the subsequent steps, where the specific regions and features of the brain will be added with increasing complexity and depth. With the basic shape in place, you are ready to progress to the next stage of drawing the cerebrum, the largest and most prominent part of the brain.
Step 2: Add the Cerebrum
With the foundational shape of the brain established, the next crucial step in drawing a realistic representation involves adding the cerebrum, the largest and most prominent part of the brain. The cerebrum, often referred to as the "seat of intelligence," is responsible for higher brain functions, including sensory perception, voluntary muscle movement, and cognitive processes such as thinking, learning, and memory.
Begin by focusing on the top portion of the brain's outline, where the cerebrum is situated. The cerebrum is characterized by its distinctive convoluted surface, known as the cerebral cortex, which is responsible for the brain's remarkable cognitive abilities. To depict this intricate feature, start by sketching a series of gentle, curved lines within the upper portion of each hemisphere, following the general contours of the brain's outline. These lines represent the folds and grooves of the cerebral cortex, known as sulci and gyri, respectively.
As you add these defining features, pay attention to the overall symmetry between the left and right hemispheres, ensuring that the cerebral cortex appears balanced and proportionate on both sides. The cerebrum's surface is divided into four main lobes: the frontal lobe, parietal lobe, temporal lobe, and occipital lobe. Each lobe plays a distinct role in processing different types of sensory information and coordinating various cognitive functions.
To convey the presence of these lobes, refine the curved lines within the cerebrum to delineate the boundaries of each lobe. The frontal lobe, positioned at the front of the brain, is associated with decision-making, problem-solving, and voluntary movement. The parietal lobe, located behind the frontal lobe, is involved in processing sensory information and spatial awareness. The temporal lobe, situated on the sides of the brain, plays a key role in auditory processing and memory. Lastly, the occipital lobe, positioned at the back of the brain, is primarily responsible for visual processing.
As you add these details, refer to reference images of the brain to ensure accuracy in capturing the distinct features of the cerebrum. Pay close attention to the subtle variations in the cerebral cortex's texture and the positioning of the lobes within the overall structure of the brain.
By methodically incorporating these intricate details, you bring depth and authenticity to your brain illustration, effectively capturing the complexity and significance of the cerebrum in shaping human cognition and perception. With the cerebrum now integrated into the drawing, you are ready to proceed to the next step, where the addition of the cerebellum further enriches the anatomical accuracy and visual impact of the brain illustration.
Step 3: Draw the Cerebellum
As we continue to refine our representation of the brain, the next critical component to incorporate is the cerebellum. Situated beneath the posterior portion of the cerebrum, the cerebellum plays a pivotal role in coordinating voluntary movements, balance, and posture. Its distinctive structure and vital functions make it an essential feature to include in our brain illustration.
To begin drawing the cerebellum, shift your focus to the lower back section of the brain's outline. The cerebellum is characterized by its unique, finely-ridged surface, which contributes to its role in fine-tuning motor movements and maintaining equilibrium. Start by sketching a rounded, protruding area at the lower back of each hemisphere, representing the general shape of the cerebellum.
As you refine the shape, pay attention to the intricate texture of the cerebellar surface. Depict the ridges and folds known as folia, which give the cerebellum its distinctive appearance. These folia are essential for increasing the surface area of the cerebellum, allowing for a greater number of connections and interactions within this crucial brain region.
Furthermore, the cerebellum is divided into distinct lobes, including the anterior lobe, posterior lobe, and flocculonodular lobe. Each lobe contributes to specific aspects of motor control and coordination. To accurately represent these divisions, refine the shape of the cerebellum to delineate the boundaries of each lobe, ensuring that the proportions and positioning align with anatomical accuracy.
As you add these details, refer to reference images of the brain to capture the nuanced features of the cerebellum. Pay close attention to the relative size of the cerebellum in relation to the rest of the brain and the specific characteristics of its surface texture and lobular divisions.
By methodically integrating the cerebellum into your brain illustration, you enhance the comprehensive portrayal of the brain's anatomy, showcasing the intricate structures that underpin essential motor functions and coordination. With the cerebellum now intricately depicted, we are ready to progress to the subsequent step, where the addition of the brainstem further enriches the anatomical accuracy and visual impact of our brain illustration.
Read more: How To Draw A Chicken
Step 4: Add the Brainstem
The brainstem, a vital component of the brain's anatomy, serves as a bridge between the higher brain centers and the spinal cord, playing a fundamental role in regulating essential bodily functions such as breathing, heart rate, and consciousness. As we delve into the intricate process of drawing a realistic representation of the brain, incorporating the brainstem is crucial for capturing the complete structure and functionality of this remarkable organ.
To begin adding the brainstem to our illustration, shift your focus to the lower portion of the brain's outline, directly beneath the cerebellum. The brainstem consists of three main regions: the medulla oblongata, the pons, and the midbrain. These regions collectively facilitate the transmission of neural signals between the brain and the rest of the body, exerting control over a myriad of involuntary physiological processes.
Start by sketching the elongated structure of the brainstem, extending downward from the cerebellum. The medulla oblongata, positioned at the lowest part of the brainstem, connects the brain to the spinal cord and is responsible for regulating vital autonomic functions, including breathing, heart rate, and blood pressure. Depict the distinct bulge of the medulla oblongata, emphasizing its critical role in sustaining life-sustaining processes.
Moving upward from the medulla oblongata, add the pons, a rounded protrusion that serves as a relay center for transmitting signals between the cerebrum and the cerebellum. The pons also plays a crucial role in regulating breathing and controlling various facial muscles, contributing to essential functions such as chewing, swallowing, and facial expressions.
Finally, incorporate the midbrain, situated above the pons, which serves as a conduit for sensory and motor pathways, playing a pivotal role in visual and auditory processing, as well as the coordination of involuntary reflexes. The midbrain's compact and intricate structure adds depth and complexity to the brainstem, underscoring its significance in facilitating essential neural functions.
As you add these details, refer to reference images of the brainstem to ensure precision in capturing its distinct regions and overall structure. Pay close attention to the relative proportions and positioning of the medulla oblongata, pons, and midbrain within the context of the entire brain illustration.
By meticulously integrating the brainstem into our brain drawing, we enrich the comprehensive portrayal of the brain's anatomy, highlighting the interconnected regions that collectively orchestrate vital physiological processes. With the brainstem now intricately depicted, we are ready to progress to the subsequent step, where the addition of details and shading further enhances the visual impact and realism of our brain illustration.
Step 5: Add Details and Shading
As we approach the final stage of our brain drawing, the addition of intricate details and shading plays a pivotal role in elevating the realism and visual impact of the illustration. By incorporating subtle nuances and textures, we bring depth and dimension to the various regions of the brain, enhancing the overall portrayal of this remarkable organ.
Begin by focusing on the cerebral cortex, the outer layer of the cerebrum characterized by its convoluted surface. Emphasize the sulci and gyri, the folds and grooves that define the cerebral cortex, by adding subtle shading to create depth and dimension. Utilize a range of pencils, from 2H for lighter areas to 6B for darker recesses, to capture the intricate texture of the cerebral cortex, ensuring that the transitions between light and shadow are rendered with precision.
Moving to the cerebellum, accentuate the ridges and folds, known as folia, that adorn its surface. By delicately shading along the contours of the folia, you can convey the three-dimensional quality of the cerebellum, enhancing its visual prominence within the brain illustration. Pay attention to the interplay of light and shadow, using blending stumps or tortillons to achieve a seamless transition between the raised ridges and the recessed areas of the cerebellar surface.
When addressing the brainstem, focus on delineating the distinct regions—the medulla oblongata, pons, and midbrain—by employing subtle variations in shading to differentiate each segment. Emphasize the cylindrical structure of the medulla oblongata, the rounded prominence of the pons, and the compact nature of the midbrain, ensuring that each region is rendered with anatomical accuracy and attention to detail.
Throughout this process, reference images of the brain and observe how light interacts with the brain's surfaces, casting shadows and highlighting its intricate features. By carefully studying these nuances, you can effectively replicate the interplay of light and form, imbuing your brain illustration with a sense of realism and authenticity.
As you refine the details and shading, take the time to step back and assess the overall composition of the brain drawing. Ensure that the transitions between light and shadow are harmonious, and that the intricate features of the brain are accurately represented. By infusing the illustration with meticulous details and nuanced shading, you bring the brain to life on the page, capturing its complexity and beauty with artistic finesse.
Conclusion
In conclusion, the process of drawing a realistic representation of the brain is a captivating journey that combines artistic expression with a deep appreciation for the intricacies of human anatomy. By following the step-by-step guide outlined in this tutorial, you have embarked on a creative exploration that not only hones your drawing skills but also fosters a profound understanding of the brain's structure and significance.
Throughout this artistic endeavor, you have learned to capture the fundamental shape of the brain, incorporating the distinct regions such as the cerebrum, cerebellum, and brainstem with precision and attention to detail. Each step of the drawing process has allowed you to delve into the remarkable complexities of the brain, from the convoluted surface of the cerebral cortex to the finely-ridged texture of the cerebellum and the interconnected regions of the brainstem.
As you meticulously added details and shading, you infused your brain illustration with depth, dimension, and a sense of realism, effectively bringing the intricate features of the brain to life on the page. The careful observation of light and shadow, coupled with the utilization of various drawing techniques, has resulted in a visually captivating representation that honors the remarkable intricacies of the brain.
Beyond the artistic achievement, this creative endeavor has provided a unique opportunity to deepen your understanding of the brain's anatomy and function. By referencing anatomical images and studying the nuanced features of the brain, you have gained valuable insights into the interconnected regions that collectively orchestrate essential physiological and cognitive processes.
As you reflect on the completed brain illustration, take pride in the fusion of artistic creativity and anatomical accuracy that has culminated in a visually striking portrayal of this extraordinary organ. Whether you are an aspiring artist, a student of anatomy, or simply curious about the wonders of the brain, this experience has enriched your perspective and fostered a deeper connection to the marvels of human biology.
In essence, the process of drawing the brain transcends the realm of art, serving as a celebration of human anatomy and a testament to the intricate beauty of the brain. Through your artistic endeavor, you have not only created a stunning visual representation but also gained a newfound appreciation for the complexities and significance of the brain—a testament to the profound intersection of art and science.