Home>Arts and Culture>How To Draw A Deer
Arts and Culture
How To Draw A Deer
Published: February 28, 2024
Learn how to draw a deer with step-by-step instructions and tips. Explore your artistic skills and create beautiful wildlife art. Perfect for art enthusiasts and nature lovers.
(Many of the links in this article redirect to a specific reviewed product. Your purchase of these products through affiliate links helps to generate commission for Noodls.com, at no extra cost. Learn more)
Table of Contents
Introduction
Drawing a deer can be a rewarding and enjoyable experience for artists of all skill levels. Whether you're a beginner looking to hone your artistic abilities or an experienced artist seeking a new challenge, capturing the grace and beauty of a deer on paper can be a fulfilling endeavor.
In this step-by-step guide, we will explore the process of drawing a deer in a way that is both approachable and engaging. By breaking down the drawing process into manageable steps, you'll gain the confidence and skills needed to create a stunning depiction of this majestic creature.
From outlining the deer's body to adding intricate details such as antlers and shading, each step will build upon the last, resulting in a finished drawing that reflects the natural elegance of the deer. Whether you plan to use pencil, charcoal, or another medium, this guide will provide you with the foundational knowledge to bring your deer drawing to life.
So, gather your art supplies, find a comfortable space, and let's embark on this artistic journey together. By the end of this guide, you'll have the satisfaction of creating a beautiful representation of a deer, and perhaps, a newfound appreciation for the art of drawing. Let's dive in and unleash your creativity as we embark on this artistic adventure.
Read more: How To Field Dress A Deer
Materials Needed
Before embarking on the artistic endeavor of drawing a deer, it's essential to gather the necessary materials to ensure a smooth and enjoyable creative process. Here's a list of the materials you'll need to bring your deer drawing to life:
-
Drawing Paper: Select a high-quality drawing paper that is suitable for the medium you plan to use. The paper should have a smooth surface to allow for precise lines and shading.
-
Drawing Pencils: Invest in a range of drawing pencils with varying degrees of hardness, such as 2H, HB, 2B, 4B, and 6B. These will enable you to achieve different line weights and shading effects.
-
Eraser: A soft, kneaded eraser is ideal for gently lifting graphite and creating highlights in your drawing. Additionally, a precision eraser can be useful for refining details.
-
Blending Stump: A blending stump or tortillon is essential for seamlessly blending and smudging graphite to create smooth transitions and realistic textures.
-
Reference Image: Whether it's a photograph or a live deer, having a reference image is invaluable for capturing the intricate details and proportions of the deer accurately.
-
Drawing Board: Using a drawing board or a firm surface to support your paper will provide stability and prevent unwanted creases or smudges.
-
Pencil Sharpener: Keep your drawing pencils sharp to maintain precision and control while sketching and shading.
-
Light Source: Ensure that your workspace is well-lit to accurately perceive values and details in your drawing.
-
Optional: Charcoal or Graphite Sticks: If you prefer working with charcoal or graphite sticks, consider including them in your materials for achieving bold, expressive strokes and textures.
By assembling these materials, you'll be well-equipped to begin the artistic journey of drawing a deer with confidence and creativity. With your workspace prepared and your materials at hand, you're ready to delve into the first step of bringing the graceful form of a deer to life on paper.
Step 1: Draw the Deer's Body
To commence the process of drawing a deer, begin by sketching the basic outline of the deer's body. Using a light drawing pencil, such as 2H or HB, lightly map out the general shape and proportions of the deer. Pay close attention to the curvature of the body, considering the gentle slope of the back and the proportions of the torso and hindquarters.
Start by drawing a simple oval or egg shape to represent the deer's body, ensuring that it captures the graceful contours and posture of this elegant creature. From there, add a smaller oval to indicate the position of the deer's head, keeping in mind the angle at which it connects to the body.
As you refine the body's shape, consider the position and angle of the deer. Whether it's standing, walking, or grazing, the posture will influence the curvature of the spine and the positioning of the legs. Take your time to capture the fluidity and poise of the deer's form, as this will serve as the foundation for the rest of the drawing.
Next, lightly indicate the placement of the legs using simple lines to denote the length and positioning. Remember to consider the proportions and angles of the legs in relation to the body, ensuring that they align harmoniously with the overall structure. Pay attention to the joints and angles of the legs, as these details will contribute to the deer's natural and graceful stance.
Throughout this initial stage, maintain a light touch with your pencil, focusing on capturing the fundamental shape and proportions of the deer's body. This step lays the groundwork for the subsequent details and refinements that will bring the deer drawing to life. With the body sketched out, you're ready to progress to the next step and continue building upon the foundational structure of the deer's form.
Step 2: Add the Head and Neck
With the foundational outline of the deer's body in place, the next step is to add the intricate details of the head and neck. These features are crucial in capturing the distinct elegance and character of the deer. Begin by refining the previously sketched oval that represents the deer's head, ensuring that it aligns harmoniously with the body's proportions.
Pay close attention to the placement of the head in relation to the body, considering the angle at which it connects to the neck. Deer are known for their graceful necks, so take the time to depict the gentle curvature and proportions accurately. The neck should flow seamlessly from the head to the body, conveying the deer's natural poise and elegance.
As you refine the shape of the head and neck, focus on capturing the deer's facial features with precision and attention to detail. Start by sketching the placement of the eyes, taking note of their size and positioning. Deer are characterized by their large, expressive eyes, which contribute to their gentle and alert demeanor. Ensure that the eyes are positioned in a way that conveys the deer's characteristic grace and awareness.
Next, add the ears, carefully observing their size, shape, and positioning in relation to the head. Deer's ears are distinctive and play a significant role in conveying their alert and sensitive nature. Pay attention to the subtle details of the ears, such as the curvature and the presence of fur or tufts, as these nuances contribute to the overall authenticity of the drawing.
Once the eyes and ears are in place, proceed to sketch the deer's muzzle and nose. Capture the proportions and contours of the muzzle, paying attention to its length and shape. The nose should be depicted with delicacy, reflecting the deer's gentle and refined features. Take the time to add subtle details, such as the nostrils and the division of the muzzle, to convey the deer's natural beauty and expression.
As you refine the head and neck, remember to maintain a light touch with your pencil, allowing for adjustments and refinements as needed. This stage sets the foundation for capturing the deer's distinctive elegance and expression, laying the groundwork for the subsequent steps of adding the legs, antlers, and intricate details. With the head and neck sketched with care and precision, you're ready to progress further in bringing the deer drawing to life.
This step is crucial in capturing the distinct elegance and character of the deer. The head and neck are key features that contribute to the deer's natural poise and grace, and by focusing on the intricate details of these features, you'll bring a sense of life and authenticity to your drawing.
Step 3: Draw the Legs
As we delve into the next phase of drawing a deer, attention to detail and proportion becomes paramount in capturing the graceful stance and movement of this majestic creature. The legs play a pivotal role in conveying the deer's natural poise and elegance, and by focusing on their intricate structure, we can infuse the drawing with a sense of life and authenticity.
Begin by carefully observing the positioning and proportions of the deer's legs in relation to the body. Whether the deer is standing, walking, or in motion, the placement of the legs will influence the overall posture and grace of the animal. With a light drawing pencil, such as 2H or HB, lightly sketch the basic structure of the legs, considering the length and angles with precision.
Pay close attention to the joints and proportions of the legs, ensuring that they align harmoniously with the body's contours. Deer are known for their slender and agile legs, so capturing the graceful curvature and proportions is essential in conveying their natural beauty. Take the time to depict the gentle slope of the legs, considering the positioning of the knees and hooves to reflect the deer's elegant form.
As you refine the structure of the legs, focus on adding subtle details such as the musculature and fur texture. These nuances contribute to the authenticity and realism of the drawing, enhancing the portrayal of the deer's natural grace and strength. Consider the subtle contours and shapes of the muscles, using light, delicate strokes to convey the supple and agile nature of the deer's legs.
Next, proceed to add the delicate features of the deer's hooves, paying attention to their size and shape. Deer hooves are distinctive and play a significant role in conveying the animal's agility and grace. Capture the proportions and details of the hooves with precision, ensuring that they align seamlessly with the legs and contribute to the overall elegance of the deer's form.
Throughout this stage, maintain a light touch with your pencil, allowing for adjustments and refinements as needed. By focusing on the intricate details of the legs, you'll bring a sense of life and authenticity to your drawing, capturing the essence of the deer's natural poise and elegance. With the legs sketched with care and precision, you're ready to progress further in bringing the deer drawing to life.
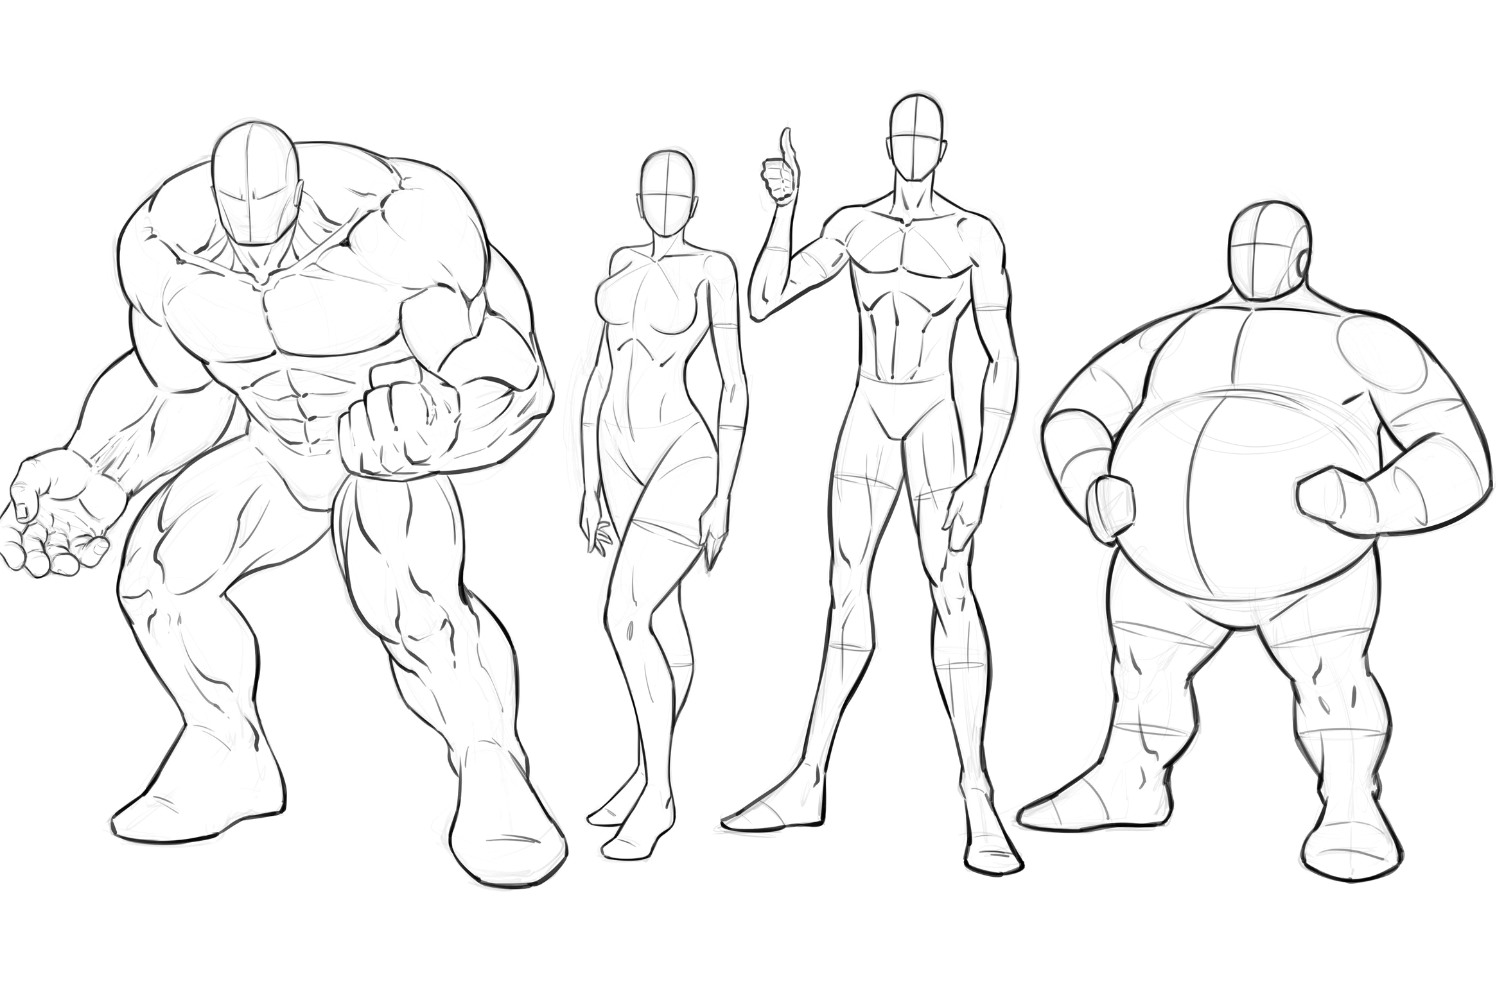
Read more: How To Draw People
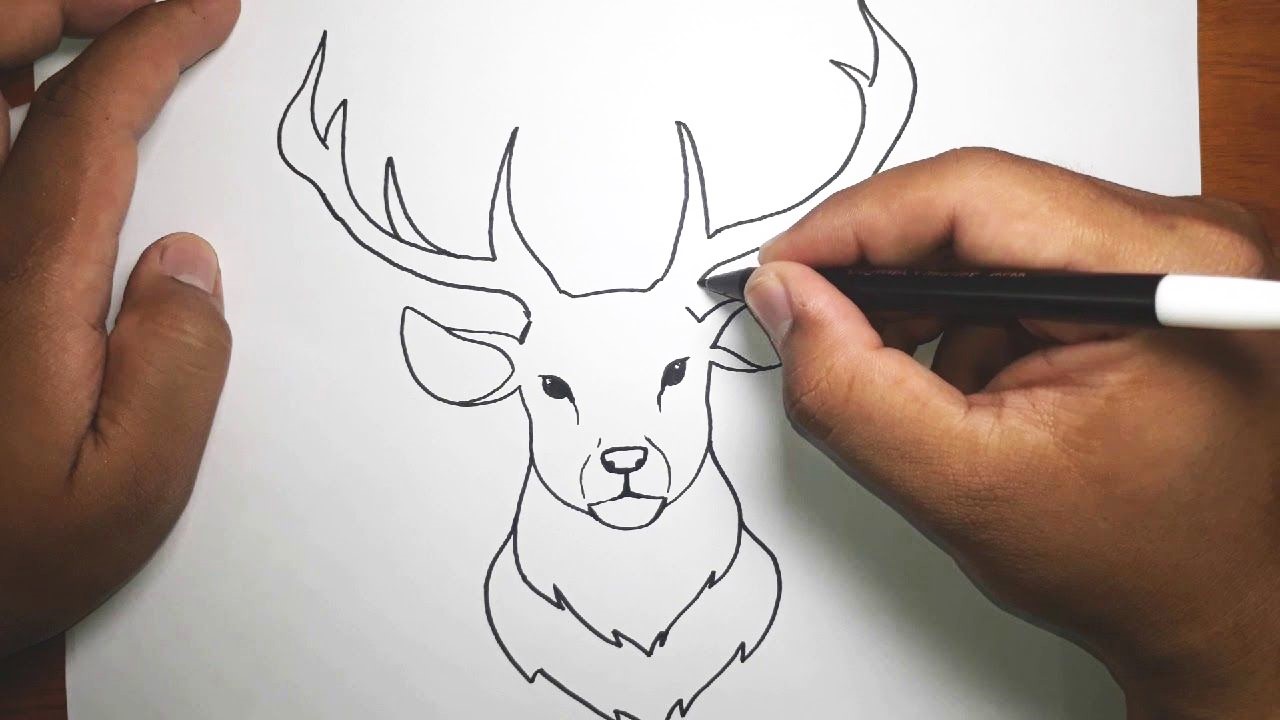
Step 4: Add the Antlers
The addition of antlers is a defining feature that encapsulates the majestic allure of a deer. These intricate structures not only serve as a symbol of strength and vitality but also contribute to the overall grace and beauty of the animal. As we embark on this crucial step in drawing a deer, attention to detail and precision will play a pivotal role in capturing the essence of the antlers.
Begin by carefully observing the shape and proportions of the antlers, taking note of their curvature and the branching patterns. Using a light drawing pencil, such as 2H or HB, lightly sketch the foundational structure of the antlers, ensuring that they align harmoniously with the deer's head and the overall composition of the drawing. Pay close attention to the positioning of the antlers, considering the angle at which they extend from the head and the space they occupy within the composition.
As you refine the shape of the antlers, focus on capturing the intricate details and textures that define these remarkable formations. Deer antlers exhibit a unique blend of elegance and strength, characterized by the branching tines and the velvety texture that adorns them. Take the time to depict the graceful curvature of the antlers, using delicate strokes to convey the natural flow and contours. Pay attention to the branching patterns, ensuring that they reflect the organic and symmetrical nature of the antlers.
Next, add depth and dimension to the antlers by incorporating shading and subtle details. Consider the interplay of light and shadow on the antlers, using varying degrees of pressure with your pencil to create nuanced transitions. By delicately shading the recessed areas and emphasizing the highlights, you can imbue the antlers with a sense of three-dimensionality, enhancing their visual impact within the drawing.
Throughout this process, maintain a light touch with your pencil, allowing for adjustments and refinements as needed. By focusing on the intricate details of the antlers, you'll bring a sense of vitality and authenticity to your drawing, capturing the essence of the deer's natural grandeur and allure. With the antlers sketched with care and precision, you're ready to progress further in bringing the deer drawing to life.
This step is crucial in capturing the distinct elegance and character of the deer. The antlers are a defining feature that contributes to the deer's natural allure and strength, and by focusing on the intricate details of these formations, you'll infuse your drawing with a sense of vitality and authenticity.
Step 5: Add Details and Shading
As we approach the final stage of drawing a deer, the addition of intricate details and shading will elevate the drawing, infusing it with depth, texture, and a heightened sense of realism. This pivotal step allows for the refinement of the deer's features, from its fur to its expressive eyes, and the application of shading to create a sense of volume and dimension.
Begin by focusing on the deer's fur, paying close attention to its texture and the subtle variations in its coat. Using a range of drawing pencils, such as 2B, 4B, and 6B, delicately sketch the fur, taking into account the direction of the hair growth and the areas of light and shadow. By employing a combination of short, controlled strokes and strategic blending, you can emulate the softness and density of the deer's fur, imbuing the drawing with a tactile quality that invites the viewer to engage with its visual richness.
Next, turn your attention to the deer's eyes, which serve as windows to its soul and convey its innate grace and sensitivity. With precision and care, depict the eyes with a keen focus on capturing their expressive depth and luminosity. Utilize subtle gradations of shading to render the irises and pupils, infusing them with a captivating sense of vitality and emotion. Pay attention to the reflective qualities of the eyes, using highlights to evoke a lifelike gleam that draws the viewer into the deer's gaze, establishing a profound connection between the artwork and its audience.
Furthermore, consider the application of shading to enhance the three-dimensional quality of the drawing. By strategically darkening certain areas and leaving others untouched, you can create a sense of form and volume, bringing the deer to life on the page. Pay close attention to the interplay of light and shadow, observing how it defines the contours of the deer's body and accentuates its graceful form. Through the skillful manipulation of shading, you can evoke a sense of depth and presence, elevating the drawing from a two-dimensional representation to a compelling and immersive portrayal of the deer.
In this final stage, meticulous attention to detail and the artful application of shading will breathe life into the drawing, imbuing it with a sense of vitality and authenticity. By infusing the deer with intricate details and employing shading techniques to create depth and dimension, you will bring the drawing to its full realization, capturing the natural elegance and beauty of this magnificent creature.
Conclusion
In conclusion, the process of drawing a deer is a captivating journey that invites artists to immerse themselves in the natural beauty and grace of this majestic creature. From the initial sketch of the deer's body to the intricate details of its antlers and the artful application of shading, each step in the drawing process contributes to the creation of a compelling and authentic portrayal of the deer.
As artists, we have the opportunity to not only capture the physical likeness of the deer but also to convey its innate elegance, vitality, and sensitivity through our artistic interpretation. The careful observation of the deer's form, the delicate rendering of its features, and the skillful use of shading all play a pivotal role in bringing the drawing to life, infusing it with a sense of vitality and authenticity.
Moreover, the process of drawing a deer offers a space for artistic exploration and expression, allowing artists to hone their skills in observation, proportion, and rendering. It provides a platform for creativity and self-expression, inviting artists to engage with the natural world and translate its beauty onto the canvas or paper.
Through the act of drawing a deer, artists can cultivate a deeper appreciation for the intricate details and nuances of the natural world, fostering a sense of connection and reverence for the graceful creatures that inhabit it. The process encourages patience, attention to detail, and a keen eye for capturing the essence of the subject, skills that are invaluable in the practice of art and beyond.
Ultimately, drawing a deer is not merely a technical exercise but a profound and enriching artistic endeavor that allows artists to celebrate the splendor of nature and the art of observation. It is a testament to the power of art to evoke emotion, tell stories, and forge connections with the world around us. As we conclude this artistic journey, may the experience of drawing a deer inspire a continued exploration of the natural world and a deep appreciation for the beauty that surrounds us.