Home>Automotive>How To Repair A Head Gasket
Automotive
How To Repair A Head Gasket
Published: February 25, 2024
Learn how to repair a head gasket in your automotive vehicle with our step-by-step guide. Save time and money with our expert tips and advice.
(Many of the links in this article redirect to a specific reviewed product. Your purchase of these products through affiliate links helps to generate commission for Noodls.com, at no extra cost. Learn more)
Table of Contents
Introduction
Repairing a faulty head gasket is a critical task that requires precision and attention to detail. The head gasket plays a crucial role in the functioning of an internal combustion engine, sealing the cylinders to ensure maximum compression and prevent the leakage of coolant or engine oil. When a head gasket fails, it can lead to a range of issues, including overheating, loss of engine power, and the mixing of oil and coolant. Addressing a faulty head gasket in a timely manner is essential to prevent further damage to the engine and ensure the vehicle's optimal performance.
In this comprehensive guide, we will delve into the step-by-step process of repairing a head gasket, equipping you with the knowledge and skills necessary to tackle this challenging task. From identifying the signs of a faulty head gasket to the tools and materials required for the repair, we will cover every aspect of the repair process in detail. Whether you are a seasoned automotive enthusiast or a DIY enthusiast looking to expand your skill set, this guide will provide you with the insights and instructions needed to successfully repair a head gasket and restore your vehicle's performance.
By following the detailed steps outlined in this guide, you will gain a deeper understanding of the intricate workings of an internal combustion engine and develop the confidence to undertake complex automotive repairs. Additionally, mastering the art of head gasket repair will empower you to save on costly repair bills and take pride in maintaining and enhancing the performance of your vehicle.
Now, let's embark on this journey to unravel the intricacies of head gasket repair and equip ourselves with the knowledge and skills to conquer this challenging automotive endeavor.
Signs of a Faulty Head Gasket
Detecting the early warning signs of a faulty head gasket is crucial for preventing extensive engine damage and addressing issues before they escalate. Here are the key indicators that may point to a compromised head gasket:
-
Overheating: One of the most common signs of a faulty head gasket is engine overheating. If the temperature gauge consistently shows higher-than-normal readings or if you notice steam emanating from the engine compartment, it could indicate a compromised head gasket.
-
White Exhaust Smoke: When a head gasket fails, it can allow coolant to seep into the combustion chamber, resulting in the emission of white smoke from the exhaust. This distinctive white smoke is often accompanied by a sweet, antifreeze-like odor.
-
Loss of Coolant: A sudden and unexplained loss of coolant without any visible leaks could be indicative of a head gasket leak. Keep an eye on the coolant levels and check for any signs of coolant pooling under the vehicle.
-
Milky Oil: Inspect the engine oil dipstick or the underside of the oil filler cap. If you notice a milky or frothy residue, it could signify the mixing of coolant and oil, a telltale sign of a compromised head gasket.
-
Poor Engine Performance: A faulty head gasket can lead to a decrease in engine performance, including reduced power, rough idling, and hesitation during acceleration. If you notice a significant drop in engine efficiency, it may be attributed to a compromised head gasket.
-
Combustion Chamber Pressure Test: A professional mechanic can conduct a combustion chamber pressure test to detect any leaks in the head gasket. This test involves pressurizing the cooling system and observing for pressure drops, which can indicate a leak in the head gasket.
-
External Coolant Leaks: While not always a definitive sign of a faulty head gasket, external coolant leaks around the engine block or cylinder head can indicate potential issues with the gasket.
By remaining vigilant and promptly addressing these warning signs, you can mitigate the risk of extensive engine damage and take proactive measures to repair the head gasket before further complications arise. Understanding these indicators empowers vehicle owners to intervene early, safeguarding the engine's integrity and preserving the vehicle's overall performance.
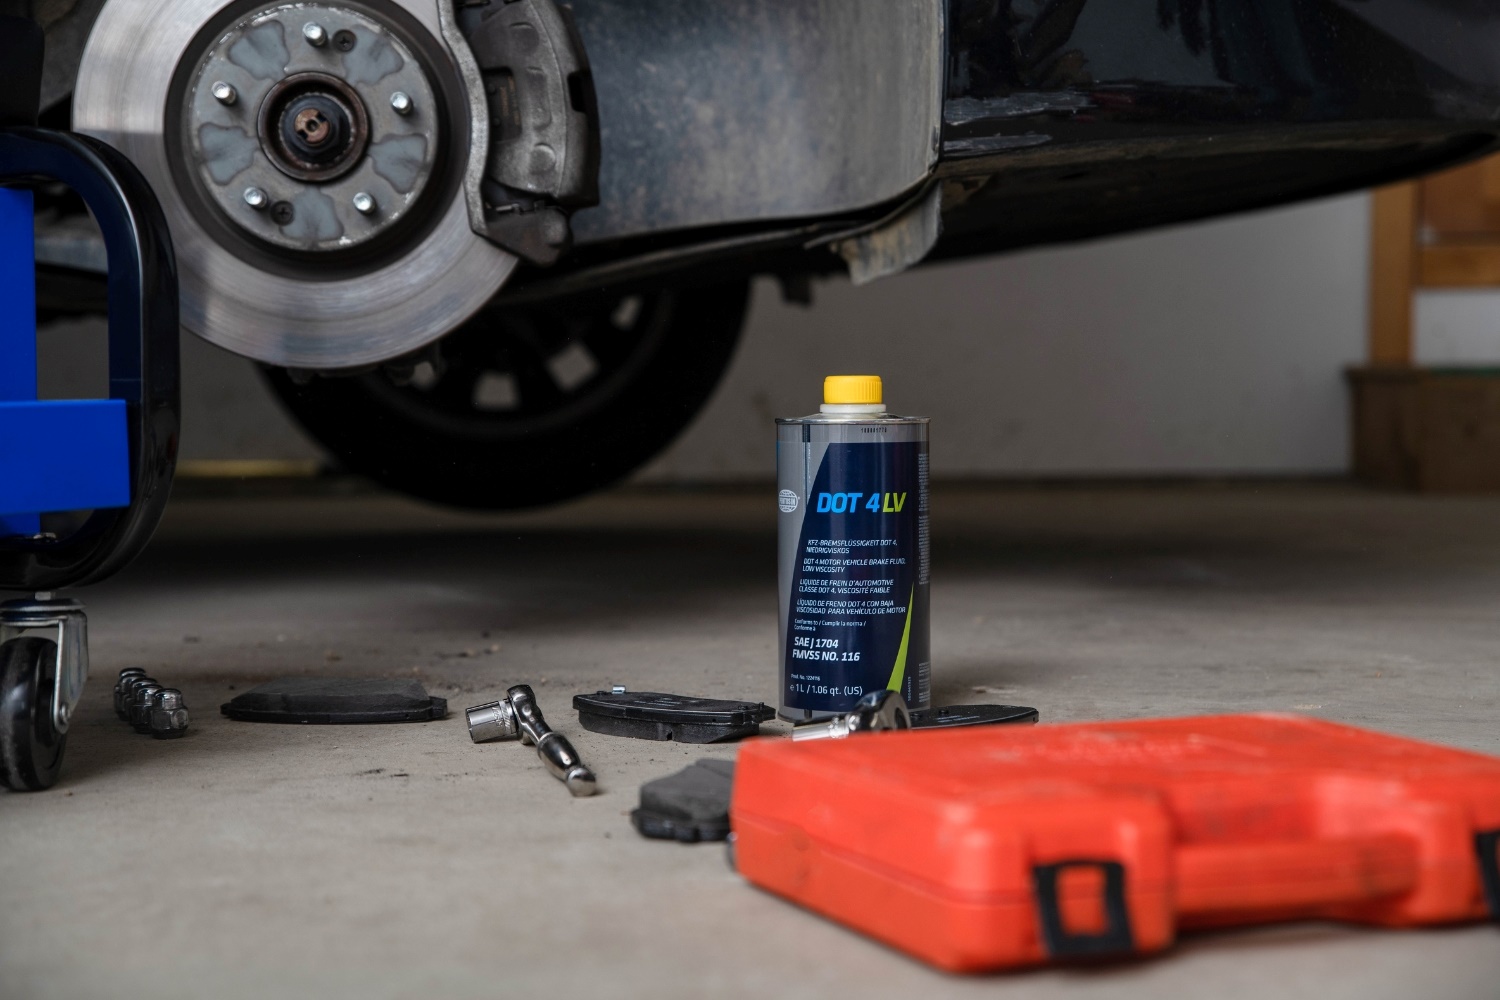
Tools and Materials Needed
Before embarking on the head gasket repair process, it is essential to gather the necessary tools and materials to ensure a smooth and efficient repair experience. Equipping yourself with the right resources will not only streamline the repair process but also contribute to the precision and accuracy required for this intricate task. Here's a comprehensive list of tools and materials needed for repairing a head gasket:
Tools:
-
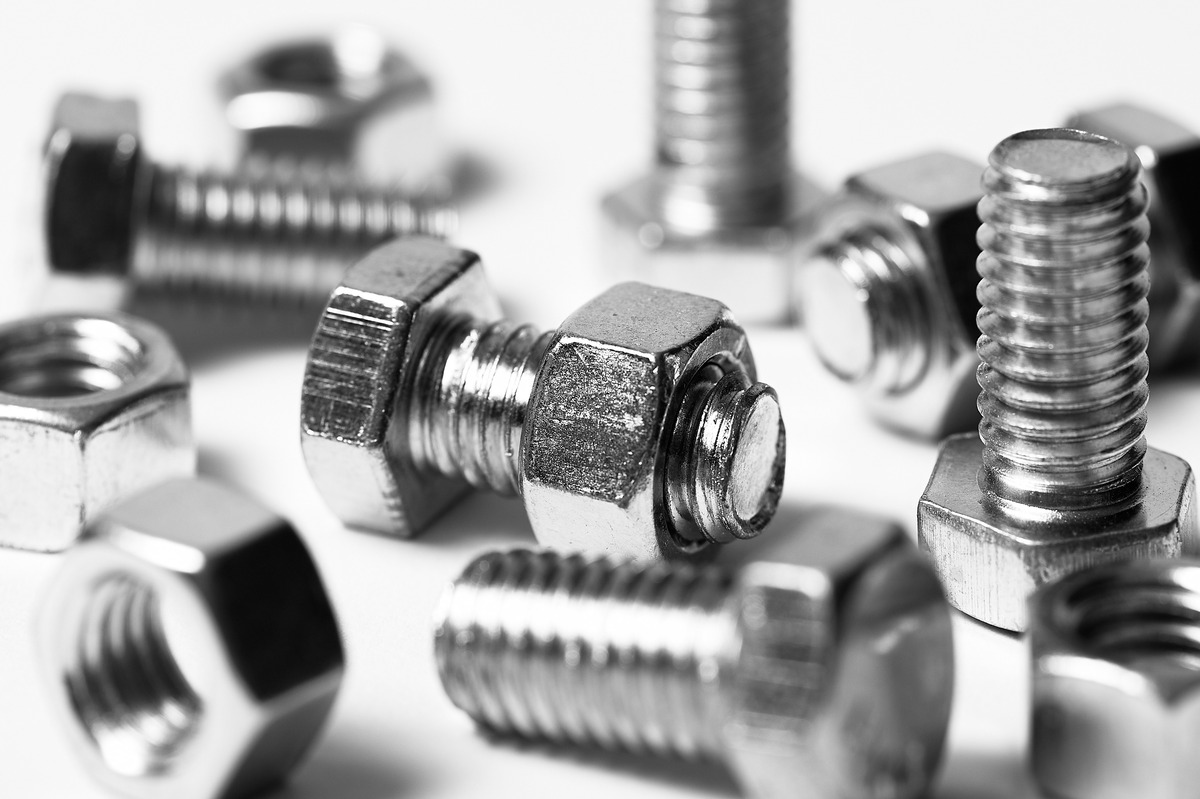
Socket Set and Ratchet: A versatile socket set with a ratchet will be indispensable for removing various engine components, including the cylinder head bolts and other fasteners.
-
Torque Wrench: A torque wrench is essential for tightening the cylinder head bolts to the manufacturer's specified torque settings, ensuring proper sealing and structural integrity.
-
Combustion Leak Tester: This specialized tool allows for the detection of combustion gases in the cooling system, aiding in the diagnosis of a faulty head gasket.
-
Gasket Scraper: To effectively remove the old gasket material from the engine block and cylinder head surfaces, a gasket scraper is indispensable for achieving a clean and smooth mating surface.
-
Engine Hoist or Lift: Depending on the vehicle's design, an engine hoist or lift may be required to safely remove the cylinder head from the engine block.
-
Piston Ring Compressor: When reassembling the engine, a piston ring compressor facilitates the installation of pistons into the cylinders, ensuring proper alignment and compression.
-
Sealant and Lubricants: High-temperature sealants and lubricants designed for engine components will aid in the assembly process, providing a secure and reliable seal.
-
Safety Equipment: Personal protective equipment, including gloves, safety goggles, and a face mask, is essential to ensure safety during the repair process.
Materials:
-
Replacement Head Gasket: Acquire a high-quality replacement head gasket that matches the specifications of your vehicle's engine, ensuring a proper fit and reliable performance.
-
Engine Coolant and Oil: It is advisable to have fresh coolant and engine oil on hand for refilling the system after the repair is complete.
-
Cleaning Solvent: A suitable cleaning solvent or degreaser will be necessary for thoroughly cleaning the engine block and cylinder head surfaces before installing the new head gasket.
-
Replacement Fasteners: Depending on the manufacturer's recommendations, replacement cylinder head bolts or studs may be required to ensure proper clamping force and structural integrity.
-
Shop Towels and Cleaning Rags: Keeping a supply of clean shop towels and rags handy will aid in maintaining a tidy work environment and wiping down components as needed.
By assembling these essential tools and materials, you will be well-prepared to undertake the head gasket repair process with confidence and precision. This comprehensive array of resources will empower you to navigate the intricate steps of the repair, ultimately restoring the engine's functionality and ensuring the long-term reliability of your vehicle.
Read more: How To Repair Drywall
Step 1: Prepare the Vehicle
Before commencing the intricate task of repairing a faulty head gasket, thorough preparation of the vehicle is essential to ensure a smooth and efficient repair process. Proper preparation sets the stage for the subsequent steps, laying the foundation for a successful repair endeavor. Here's a detailed breakdown of the essential tasks involved in preparing the vehicle for head gasket repair:
1.1. Drain the Coolant and Engine Oil
Begin by draining the engine coolant and oil from the vehicle. This involves locating the drain plugs or valves for the coolant and oil reservoirs and carefully draining the fluids into suitable containers for proper disposal. It is crucial to adhere to environmentally responsible disposal practices when handling used coolant and oil.
1.2. Disconnect the Battery
To prevent electrical mishaps and ensure safety during the repair process, disconnect the vehicle's battery by removing the negative terminal connection. This precautionary measure minimizes the risk of electrical hazards and safeguards against accidental activation of engine components.
1.3. Remove Engine Components
Depending on the vehicle's design and the accessibility of the cylinder head, it may be necessary to remove certain engine components to create ample working space. This can include the air intake system, throttle body, and associated hoses and wiring harnesses. Carefully label and organize the removed components to facilitate reassembly.
Read more: How To Repair An Oil Leak
1.4. Access and Secure the Cylinder Head
Once the relevant engine components are removed, access the cylinder head by locating and unbolting the cylinder head cover or valve cover. With the cover removed, inspect the cylinder head and associated components, ensuring that the area is clear of debris and obstructions. Secure the timing belt or chain to prevent accidental misalignment during the repair process.
1.5. Clean the Work Area
Thoroughly clean the work area surrounding the engine, removing any accumulated dirt, grease, or debris. A clean work environment minimizes the risk of contamination and ensures precision during the repair process. Utilize suitable cleaning solvents and shop towels to achieve a pristine work surface.
By meticulously executing these preparatory steps, you will establish an optimal working environment and set the stage for the subsequent phases of head gasket repair. This meticulous preparation not only enhances safety and efficiency but also contributes to the overall success of the repair endeavor. With the vehicle meticulously prepared, you are now poised to progress to the next critical phase of the head gasket repair process.
Step 2: Remove the Cylinder Head
Removing the cylinder head is a pivotal phase in the head gasket repair process, requiring precision and meticulous attention to detail. This intricate task involves disassembling critical engine components to access the cylinder head and address the underlying issues. Here's a comprehensive breakdown of the detailed steps involved in removing the cylinder head:
2.1. Unbolt the Cylinder Head Fasteners
Begin by carefully identifying and unbolting the cylinder head fasteners, which secure the cylinder head to the engine block. Utilize a suitable socket set and ratchet to systematically loosen and remove the fasteners, ensuring a methodical approach to prevent damage and facilitate smooth disassembly.
Read more: How To Adjust Sprinkler Heads
2.2. Remove the Timing Components
If the vehicle is equipped with a timing belt or chain that interfaces with the cylinder head, it is essential to remove these components with precision. This involves aligning the timing marks, if applicable, and carefully detaching the timing belt or chain from the camshaft sprockets and crankshaft. Exercise caution to avoid misalignment or damage to the timing components.
2.3. Disconnect Engine Accessories and Components
Prior to lifting the cylinder head from the engine block, disconnect and remove any associated engine accessories and components that may obstruct the removal process. This can include the intake and exhaust manifolds, camshaft position sensors, and other ancillary components that interface with the cylinder head.
2.4. Lift and Secure the Cylinder Head
With the fasteners, timing components, and associated accessories removed, carefully lift the cylinder head from the engine block, taking care to avoid damage to the mating surfaces. Utilize an engine hoist or lift, if necessary, to facilitate the safe and controlled removal of the cylinder head. Once lifted, securely support the cylinder head to prevent accidental damage or misalignment.
2.5. Inspect and Clean the Cylinder Head and Engine Block
Upon successful removal of the cylinder head, meticulously inspect the cylinder head and engine block mating surfaces for signs of damage, warping, or irregularities. Additionally, thoroughly clean the mating surfaces to ensure a pristine foundation for the subsequent steps of the repair process. Utilize a gasket scraper and suitable cleaning solvents to achieve a smooth and debris-free surface.
By methodically executing these steps, you will successfully remove the cylinder head, paving the way for the subsequent phases of the head gasket repair process. This meticulous disassembly process sets the stage for addressing the underlying issues and ultimately restoring the engine's functionality and performance.
Read more: How To Adjust A Rain Bird Sprinkler Head
Step 3: Clean the Engine Block and Cylinder Head
Thoroughly cleaning the engine block and cylinder head surfaces is a critical step in the head gasket repair process, ensuring proper sealing and optimal performance upon reassembly. This meticulous cleaning phase involves the removal of residual gasket material, debris, and contaminants from the mating surfaces, creating an ideal foundation for the installation of the new head gasket. Here's a detailed breakdown of the essential tasks involved in cleaning the engine block and cylinder head:
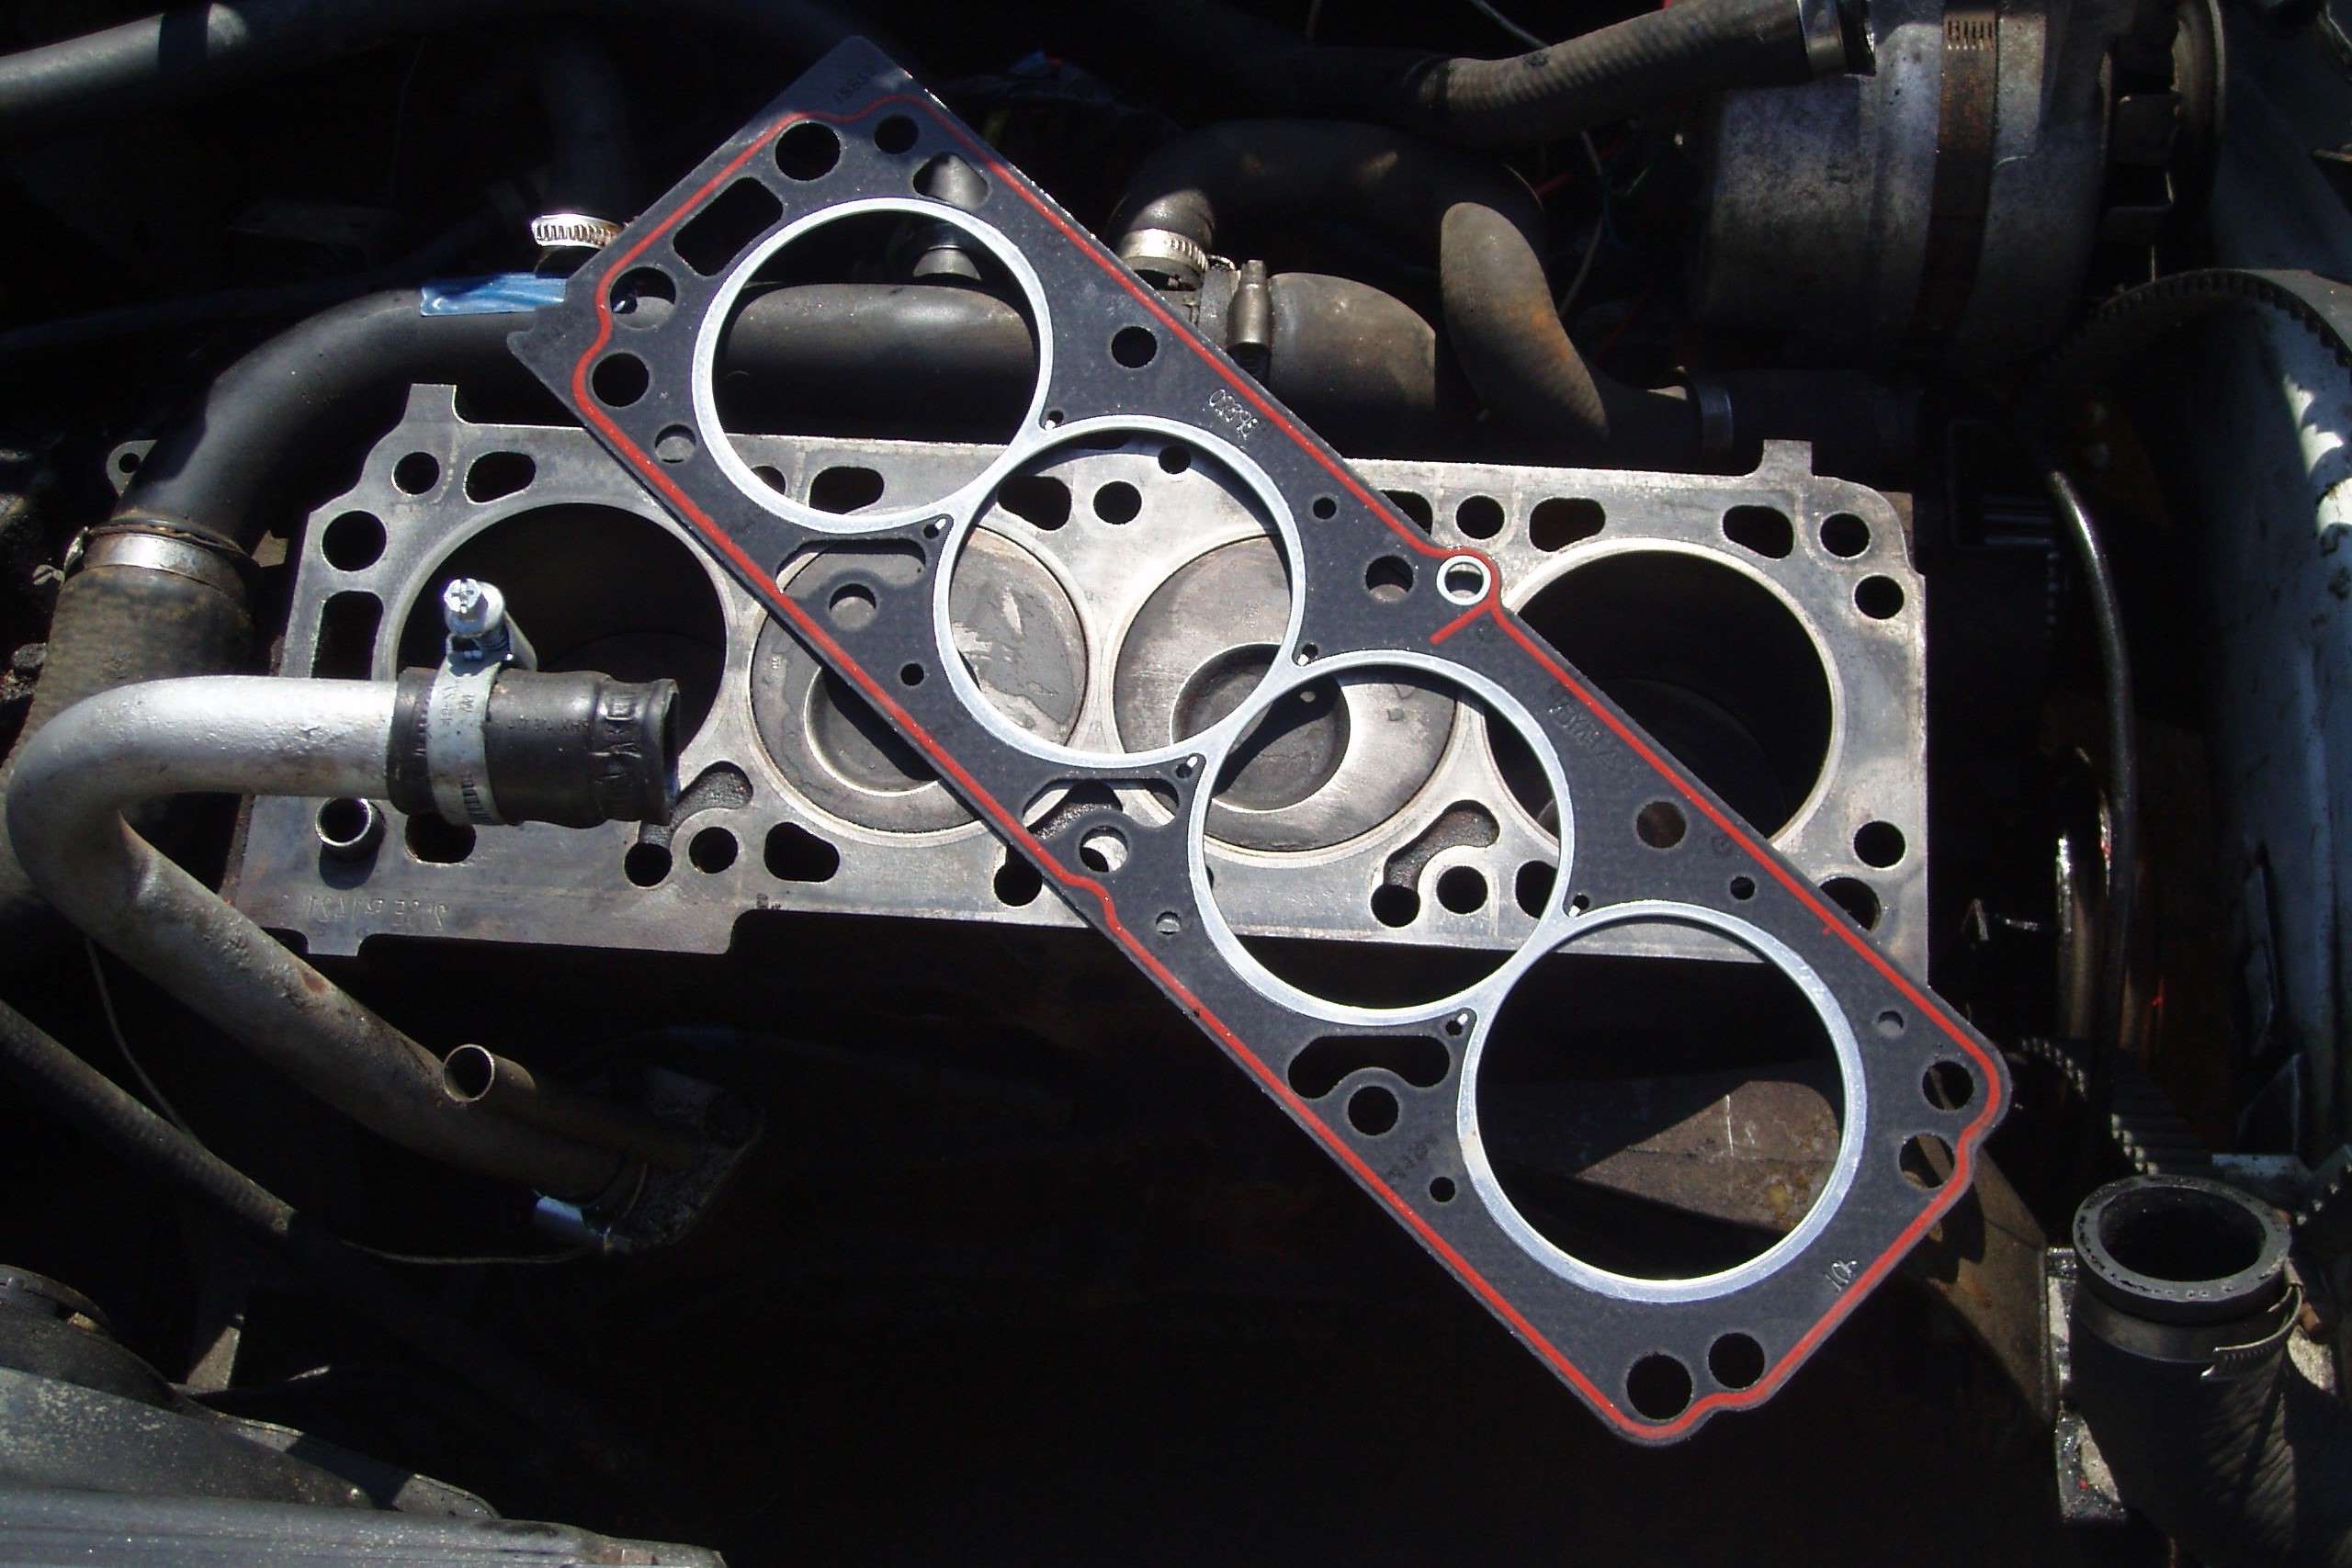
3.1. Remove Old Gasket Material
Using a high-quality gasket scraper or a suitable scraping tool, meticulously remove the remnants of the old head gasket from the engine block and cylinder head surfaces. Exercise caution to avoid gouging or damaging the metal surfaces, maintaining a steady and controlled motion to achieve a clean and smooth finish. It is imperative to eliminate all traces of the old gasket material to ensure a proper seal and prevent potential leaks.
3.2. Clean with Suitable Solvent
Utilize a recommended cleaning solvent or degreaser to thoroughly clean the engine block and cylinder head surfaces, effectively removing any residual oil, coolant, or debris. Apply the solvent to a clean shop towel or rag and meticulously wipe down the mating surfaces, ensuring the removal of all contaminants. This meticulous cleaning process is essential to promote optimal adhesion and sealing of the new head gasket.
3.3. Inspect for Irregularities
After cleaning the mating surfaces, meticulously inspect the engine block and cylinder head for any signs of warping, pitting, or irregularities. Any surface imperfections can compromise the effectiveness of the new head gasket and lead to potential leaks. If irregularities are detected, consider consulting a professional machinist to assess and rectify the surfaces as needed.
Read more: How To Wash O-Cedar Mop Head
3.4. Ensure Proper Alignment
Prior to installing the new head gasket, verify that the engine block and cylinder head are properly aligned and free of any obstructions. Any misalignment or foreign particles can impede the proper seating of the head gasket, potentially leading to sealing issues and subsequent complications. Take the time to ensure precise alignment and cleanliness before proceeding with the installation.
By meticulously executing these cleaning steps, you will establish pristine mating surfaces for the installation of the new head gasket, laying the groundwork for a reliable and durable seal. This meticulous cleaning phase is instrumental in ensuring the long-term integrity and performance of the engine, setting the stage for the subsequent reassembly and restoration of the vehicle's functionality.
Step 4: Install the New Head Gasket
With the engine block and cylinder head meticulously cleaned and prepared, the installation of the new head gasket marks a pivotal phase in the head gasket repair process. This critical component serves as a vital seal between the engine block and cylinder head, facilitating optimal compression and preventing the leakage of coolant or engine oil. The precise installation of the new head gasket is essential to ensure a reliable and durable seal, safeguarding the engine's integrity and performance. Here's a detailed breakdown of the essential steps involved in installing the new head gasket:
4.1. Verify Gasket Orientation and Compatibility
Before proceeding with the installation, carefully verify the orientation and compatibility of the new head gasket. Ensure that the gasket matches the specifications of the vehicle's engine and is aligned in the correct orientation to correspond with the cylinder head and engine block. This meticulous verification minimizes the risk of misalignment and ensures a proper fit.
4.2. Position the New Head Gasket
Gently position the new head gasket onto the clean and prepared mating surface of the engine block. Exercise caution to align the gasket accurately with the corresponding openings and passages, ensuring a precise fit that matches the configuration of the cylinder head and engine block. Take care to avoid any distortion or damage to the gasket during the positioning process.
Read more: How To Remove O Cedar Mop Head
4.3. Verify Alignment and Seating
Once the new head gasket is positioned, meticulously verify its alignment and seating on the engine block. Ensure that the gasket lies flat and flush against the mating surface, without any wrinkles, folds, or misalignments. This meticulous verification is essential to guarantee a uniform and reliable seal across the entire gasket surface.
4.4. Prepare for Cylinder Head Installation
With the new head gasket accurately positioned and seated, prepare the cylinder head for installation. Carefully lower the cylinder head onto the engine block, taking care to align it with the corresponding dowel pins or alignment guides. Exercise caution to prevent any displacement or damage to the head gasket during the cylinder head installation process.
4.5. Verify Torque Specifications
Prior to tightening the cylinder head bolts, meticulously verify the manufacturer's specified torque settings for the particular engine and cylinder head configuration. Utilize a calibrated torque wrench to apply the prescribed torque in a sequential and methodical manner, ensuring uniform clamping force and proper compression across the head gasket.
By meticulously executing these steps, you will successfully install the new head gasket, establishing a reliable and durable seal between the engine block and cylinder head. This meticulous installation process is instrumental in ensuring the long-term integrity and performance of the engine, setting the stage for the subsequent reassembly and restoration of the vehicle's functionality.
Step 5: Reassemble the Engine
With the new head gasket successfully installed and the cylinder head securely fastened to the engine block, the reassembly phase marks a pivotal stage in the head gasket repair process. This intricate task involves meticulously reinstating critical engine components, ensuring proper alignment, torque specifications, and adherence to manufacturer guidelines. The meticulous reassembly of the engine components is essential to restore the vehicle's functionality and performance, culminating in the successful completion of the head gasket repair endeavor.
5.1. Reconnect Engine Accessories and Components
Begin the reassembly process by reconnecting the engine accessories and components that were removed during the disassembly phase. This can include the intake and exhaust manifolds, throttle body, and associated hoses and wiring harnesses. Exercise caution to ensure proper alignment and secure fastening of the components, minimizing the risk of misalignment or interference.
5.2. Install Timing Components
If the vehicle is equipped with a timing belt or chain, meticulously reinstall these critical components with precision. Align the timing marks, if applicable, and carefully position the timing belt or chain onto the camshaft sprockets and crankshaft. Verify proper tension and alignment, adhering to manufacturer specifications to prevent timing discrepancies.
5.3. Refill Coolant and Engine Oil
With the engine components reinstated, refill the cooling system with fresh coolant and replenish the engine with the appropriate grade of engine oil. Adhere to the manufacturer's recommendations regarding coolant mixture ratios and oil specifications, ensuring optimal lubrication and thermal regulation upon engine startup.
5.4. Reconnect the Battery and Perform System Checks
Reconnect the vehicle's battery by reattaching the negative terminal connection, restoring electrical power to the engine and associated systems. Perform a comprehensive system check, verifying the functionality of critical components, including the cooling system, electrical systems, and engine operation. Address any anomalies or irregularities promptly to ensure the vehicle's optimal performance.
Read more: Genius Hacks To Remove A Rounded Bolt Head!
5.5. Test Run and Inspection
Upon completing the reassembly process, initiate a test run of the engine to verify its functionality and performance. Monitor the engine for any signs of irregularities, including coolant leaks, abnormal noises, or fluctuations in temperature. Conduct a thorough visual inspection of the engine compartment, confirming the integrity of the repair and the absence of any issues.
By meticulously executing the reassembly phase, you will successfully restore the engine to its operational state, culminating in the comprehensive completion of the head gasket repair process. This meticulous reassembly process is instrumental in ensuring the long-term integrity and performance of the engine, affirming the successful resolution of the head gasket issue and the restoration of the vehicle's functionality.
Conclusion
In conclusion, the successful repair of a faulty head gasket represents a significant achievement in the realm of automotive maintenance and repair. Throughout this comprehensive guide, we have delved into the intricate process of diagnosing, removing, cleaning, and reinstalling a head gasket, equipping enthusiasts and DIY enthusiasts with the knowledge and skills necessary to undertake this challenging endeavor.
The journey of head gasket repair begins with a keen awareness of the warning signs that indicate a compromised head gasket. From engine overheating and white exhaust smoke to the mixing of oil and coolant, these indicators serve as crucial beacons, prompting proactive intervention to prevent further damage to the engine.
Armed with a comprehensive array of tools and materials, enthusiasts can meticulously prepare the vehicle for the repair process, ensuring a safe and conducive working environment. The meticulous removal of the cylinder head, coupled with the thorough cleaning of the engine block and cylinder head surfaces, sets the stage for the precise installation of the new head gasket.
The installation of the new head gasket represents a pivotal phase, demanding precision and adherence to manufacturer specifications. The meticulous alignment, seating, and torque application are essential to ensure a reliable and durable seal, safeguarding the engine's integrity and performance.
Finally, the meticulous reassembly of the engine components, including the reconnection of accessories, installation of timing components, and system checks, culminates in the successful restoration of the vehicle's functionality. The comprehensive test run and inspection validate the effectiveness of the repair, affirming the vehicle's renewed performance and reliability.
By mastering the art of head gasket repair, enthusiasts and DIY enthusiasts not only gain a deeper understanding of internal combustion engines but also empower themselves to tackle complex automotive challenges with confidence and precision. The successful repair of a faulty head gasket exemplifies the fusion of knowledge, skill, and dedication, ultimately contributing to the longevity and optimal performance of the vehicle.
In essence, the journey of head gasket repair transcends the realm of mechanical intricacies, embodying the spirit of resilience, problem-solving, and the unwavering pursuit of automotive excellence. As enthusiasts embark on this transformative journey, they embrace the opportunity to elevate their automotive prowess and contribute to the preservation and enhancement of their vehicles' performance.