Home>Home and Garden>How To Remove O Cedar Mop Head
Home and Garden
How To Remove O Cedar Mop Head
Published: March 3, 2024
Learn how to easily remove the O Cedar mop head and replace it with a new one. Keep your home and garden clean and tidy with this simple maintenance task.
(Many of the links in this article redirect to a specific reviewed product. Your purchase of these products through affiliate links helps to generate commission for Noodls.com, at no extra cost. Learn more)
Table of Contents
Introduction
Removing the O-Cedar mop head is a simple yet essential task that allows you to maintain the cleanliness and effectiveness of your cleaning tool. Whether you need to replace the mop head, clean it thoroughly, or store it separately from the handle, knowing how to remove and reattach the mop head is a valuable skill for any home or business owner. By following a few straightforward steps, you can ensure that your O-Cedar mop remains in optimal condition, ready to tackle any cleaning task with ease.
In the following guide, we will walk you through the process of removing the O-Cedar mop head from the handle, cleaning it, and reattaching it for future use. With a few basic materials and a little bit of time, you can maintain the hygiene and functionality of your O-Cedar mop, prolonging its lifespan and ensuring that it continues to deliver exceptional cleaning results.
So, let's dive into the step-by-step process of removing, cleaning, and reattaching the O-Cedar mop head, empowering you to keep your cleaning arsenal in top-notch condition. Whether you're a cleaning enthusiast, a homeowner, or a professional cleaner, mastering this simple maintenance task will undoubtedly prove beneficial in the long run.
Read more: How To Wash O-Cedar Mop Head
Step 1: Prepare the materials
Before embarking on the process of removing and cleaning the O-Cedar mop head, it's essential to gather the necessary materials. By ensuring that you have everything at hand, you can streamline the entire procedure and avoid interruptions. Here's what you'll need:
-
O-Cedar Mop: The first and most crucial item you'll need is the O-Cedar mop itself. Ensure that it is in a stable position, either leaning against a wall or placed securely on the floor.
-
Cleaning Solution: Depending on the level of dirt and grime on the mop head, you may require a suitable cleaning solution. This could be a mild detergent, a specialized mop cleaner, or a homemade cleaning solution such as a mixture of water and vinegar.
-
Bucket or Sink: You'll need a bucket or a sink to prepare the cleaning solution and to rinse the mop head thoroughly. Ensure that the bucket or sink is clean and spacious enough to accommodate the mop head.
-
Gloves: To protect your hands from any potential dirt or cleaning solution, it's advisable to wear a pair of gloves during the cleaning process.
-
Clean Towels or Rags: Having clean towels or rags on hand will allow you to dry the mop head effectively after cleaning, ensuring that it is ready for reattachment.
-
Space for Drying: Once the mop head is cleaned, it will need to air dry before reattaching it to the handle. Ensure that you have a suitable space for this purpose, such as a drying rack or an outdoor area with good ventilation.
By gathering these materials beforehand, you can proceed with the subsequent steps smoothly and efficiently. Preparation is key to a successful cleaning process, and having the right materials at hand will make the task of removing and cleaning the O-Cedar mop head a seamless experience.
Step 2: Remove the mop head from the handle
To begin the process of removing the O-Cedar mop head from the handle, ensure that you have a clear and spacious area to work in. Follow these steps to safely detach the mop head:
-
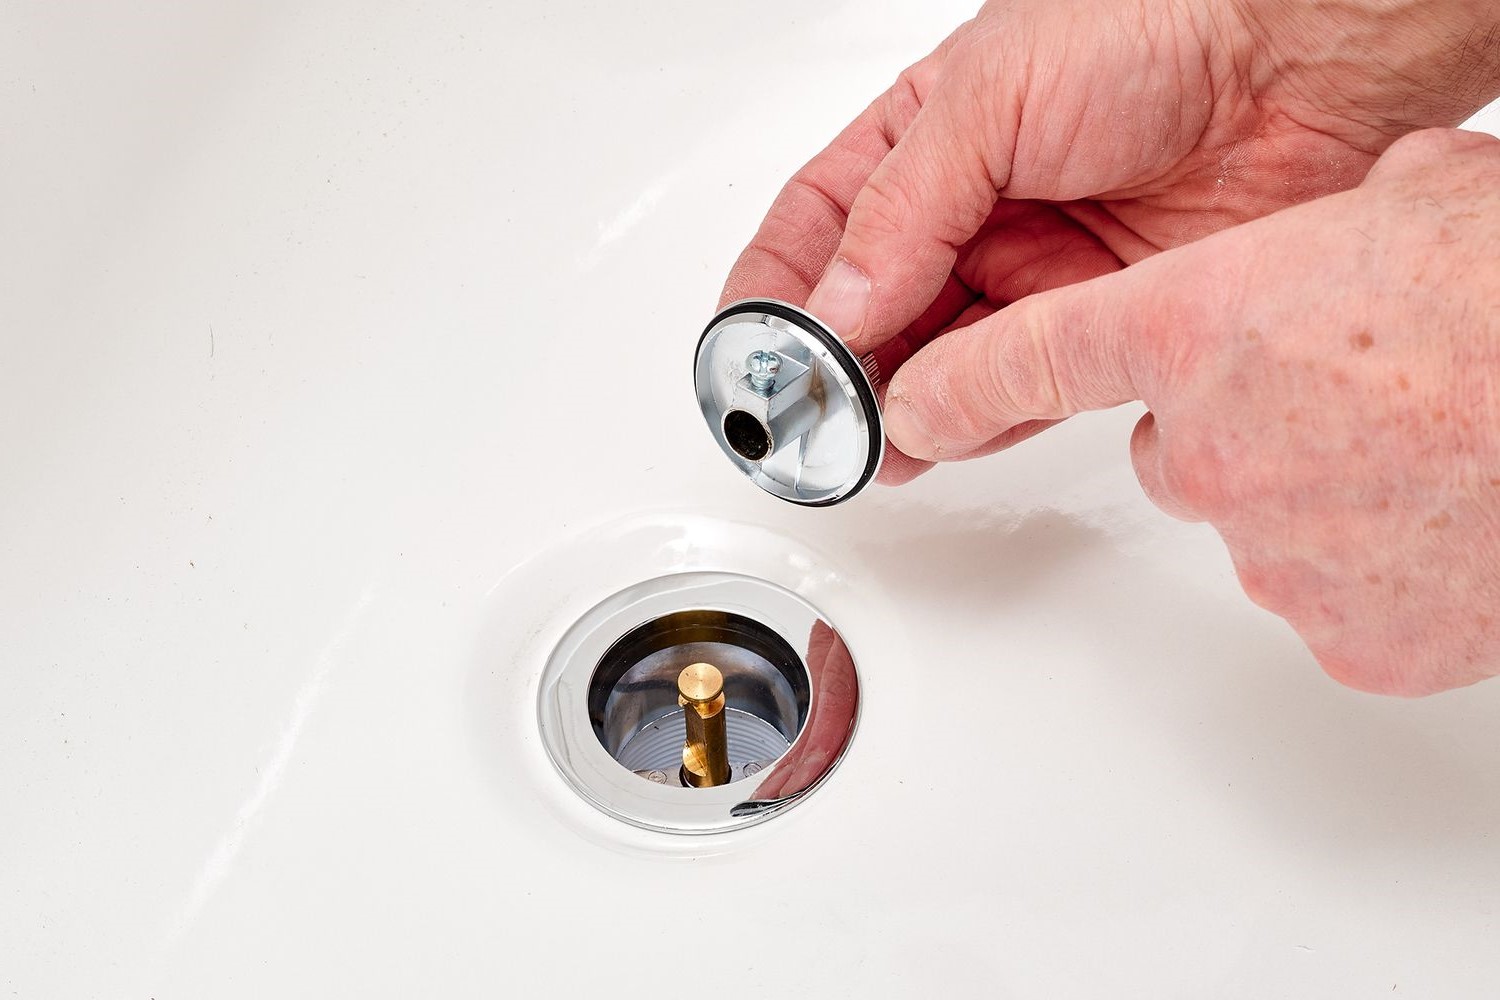
Locate the Fastening Mechanism: Examine the top of the mop head where it connects to the handle. You will typically find a plastic fastening mechanism or a screw that secures the mop head in place.
-
Release the Fastening Mechanism: Depending on the specific model of your O-Cedar mop, you may need to press a release button, turn a locking mechanism, or unscrew a fastening component. Follow the manufacturer's instructions for your particular mop model to safely release the mop head from the handle.
-
Apply Gentle Pressure: Once the fastening mechanism is disengaged, apply gentle downward pressure on the mop head while holding the handle firmly. This should allow the mop head to slide off the handle smoothly.
-
Inspect for Residue: After removing the mop head, take a moment to inspect the area where it was attached to the handle. Clear away any accumulated dirt, debris, or residue that may have built up over time. This will ensure a clean and secure reattachment later on.
By following these steps, you can safely and effectively remove the O-Cedar mop head from the handle, setting the stage for the subsequent cleaning and reattachment process. With the mop head successfully detached, you can proceed to the next step of cleaning it thoroughly to maintain its optimal performance.
Step 3: Clean the mop head
Cleaning the mop head is a crucial step in maintaining the effectiveness and hygiene of your O-Cedar mop. Over time, the mop head can accumulate dirt, grime, and various residues from cleaning solutions, which can diminish its cleaning performance and potentially harbor bacteria. Follow these detailed steps to ensure a thorough cleaning process:
-
Prepare the Cleaning Solution: Depending on the level of dirt and grime on the mop head, prepare a suitable cleaning solution. This can be a mild detergent, a specialized mop cleaner, or a homemade solution such as a mixture of water and vinegar. Fill a bucket or sink with the cleaning solution, ensuring that it is well-diluted and suitable for the material of the mop head.
-
Soak the Mop Head: Submerge the mop head in the cleaning solution, ensuring that it is fully immersed. Allow it to soak for a few minutes to loosen any embedded dirt and grime. If the mop head is particularly soiled, you may gently agitate it in the solution to help dislodge the dirt.
-
Hand Wash or Machine Wash: Depending on the care instructions for your specific O-Cedar mop head, you can either hand wash it or machine wash it. If hand washing, use a gentle scrubbing brush or your hands to work the cleaning solution into the mop head, paying attention to any heavily soiled areas. If machine washing, place the mop head in a mesh laundry bag to protect it during the wash cycle.
-
Rinse Thoroughly: After washing, thoroughly rinse the mop head with clean water to remove any residual cleaning solution and dirt. Ensure that the water runs clear, indicating that the mop head is clean and free of any lingering residues.
-
Air Dry Completely: Once cleaned and rinsed, allow the mop head to air dry completely. Hang it on a drying rack or line, or lay it flat on a clean surface. Ensure that it is exposed to good air circulation to prevent mildew or musty odors from developing.
-
Inspect for Stains or Residues: After drying, inspect the mop head for any remaining stains or residues. If necessary, repeat the cleaning process to ensure that the mop head is thoroughly clean and ready for reattachment.
By following these detailed steps, you can effectively clean the O-Cedar mop head, removing dirt, grime, and residues to maintain its cleaning efficiency and hygiene. Once the mop head is clean and dry, you can proceed to the final step of reattaching it to the handle, ensuring that your O-Cedar mop is ready for future cleaning tasks.
Step 4: Reattach the mop head to the handle
After successfully removing and cleaning the O-Cedar mop head, the final step involves reattaching it to the handle. This process ensures that your mop is restored to its fully functional state, ready to tackle cleaning tasks with efficiency and effectiveness. Follow these steps to securely reattach the mop head to the handle:
-
Align the Mop Head: Position the mop head in alignment with the handle, ensuring that it is oriented correctly for reattachment. The fastening mechanism should be visible and accessible for the next step.
-
Engage the Fastening Mechanism: Depending on the specific design of your O-Cedar mop, engage the fastening mechanism to secure the mop head to the handle. This may involve pressing a release button, turning a locking mechanism, or screwing the fastening component back into place. Follow the manufacturer's instructions to ensure a secure and stable attachment.
-
Apply Firm Pressure: Once the fastening mechanism is engaged, apply firm upward pressure on the mop head while holding the handle securely. This will ensure that the mop head is firmly and securely attached to the handle, ready for use.
-
Test for Stability: After reattaching the mop head, gently test its stability by giving it a few light shakes. Ensure that it remains securely attached to the handle without any wobbling or detachment. This step verifies that the reattachment process has been completed successfully.
-
Inspect for Cleanliness: Take a moment to inspect the entire mop assembly, ensuring that both the mop head and the handle are clean and free of any residual dirt or cleaning solution. This final inspection ensures that your O-Cedar mop is in optimal condition for future use.
By following these steps, you can confidently reattach the O-Cedar mop head to the handle, completing the maintenance process and ensuring that your cleaning tool is ready for action. With the mop head securely in place, you can store the mop or immediately put it to use, knowing that it is in prime condition for delivering exceptional cleaning results.
Remember, maintaining the cleanliness and functionality of your cleaning tools, such as the O-Cedar mop, is essential for achieving efficient and hygienic cleaning outcomes. By mastering the process of removing, cleaning, and reattaching the mop head, you can prolong the lifespan of your O-Cedar mop and continue to enjoy its reliable performance in various cleaning tasks.
Read more: Genius Hacks To Remove A Rounded Bolt Head!
Conclusion
In conclusion, mastering the process of removing, cleaning, and reattaching the O-Cedar mop head is a valuable skill that empowers individuals to maintain the cleanliness and functionality of their cleaning tools. By following the step-by-step guide outlined in this article, you can ensure that your O-Cedar mop remains in optimal condition, ready to tackle various cleaning tasks with efficiency and effectiveness.
The importance of proper maintenance for cleaning tools cannot be overstated. Regularly removing and cleaning the mop head allows you to eliminate dirt, grime, and residues that can accumulate over time, potentially compromising the cleaning performance and hygiene of the mop. By taking the time to clean the mop head thoroughly, you can uphold the highest standards of cleanliness in your home or business environment.
Furthermore, reattaching the clean mop head to the handle ensures that your O-Cedar mop is ready for immediate use or storage. The secure attachment of the mop head to the handle guarantees stability and reliability during cleaning tasks, allowing you to maneuver the mop with confidence and precision.
By preparing the necessary materials, carefully removing the mop head, cleaning it with a suitable solution, and reattaching it to the handle, you demonstrate a commitment to maintaining a clean and healthy living or working space. The attention to detail and the effort invested in maintaining your cleaning tools reflect a proactive approach to cleanliness and hygiene, contributing to a comfortable and inviting environment for yourself, your family, or your clients.
In essence, the process of removing, cleaning, and reattaching the O-Cedar mop head is not merely a maintenance task; it is a demonstration of your dedication to cleanliness and the preservation of your cleaning tools. By incorporating this simple yet essential practice into your cleaning routine, you can extend the lifespan of your O-Cedar mop and continue to enjoy its reliable performance in various cleaning applications.
So, the next time you reach for your O-Cedar mop, remember the importance of maintaining its cleanliness and functionality. By following the steps outlined in this guide, you can ensure that your O-Cedar mop remains a dependable ally in your pursuit of a clean and healthy environment.