Home>Automotive>How To Identify And Fix Bad CV Axle Symptoms
Automotive
How To Identify And Fix Bad CV Axle Symptoms
Published: February 25, 2024
Learn how to recognize and resolve common bad CV axle symptoms in your vehicle with this comprehensive guide. Keep your automotive system running smoothly.
(Many of the links in this article redirect to a specific reviewed product. Your purchase of these products through affiliate links helps to generate commission for Noodls.com, at no extra cost. Learn more)
Table of Contents
Common Symptoms of a Bad CV Axle
A constant velocity (CV) axle plays a crucial role in transferring power from the engine to the wheels. Over time, these components can wear down, leading to a range of symptoms that indicate potential issues. Recognizing these signs early can prevent further damage and ensure a safe driving experience. Here are the common symptoms of a bad CV axle:
-
Clicking or Popping Noises: One of the most prevalent signs of a failing CV axle is a clicking or popping sound when turning. This occurs due to worn-out CV joints, which can no longer maintain smooth articulation during cornering. The noise may become more pronounced during sharp turns or when accelerating.
-
Vibration: A vibrating sensation, particularly during acceleration, can indicate a damaged CV axle. This vibration is often felt in the steering wheel or the vehicle's floor and can intensify as the vehicle gains speed. It is a clear indication of an imbalance or misalignment within the CV axle assembly.
-
Grease on the Inner Edge of the Tire: A damaged CV axle boot can lead to the leakage of grease onto the inner edge of the tire. This grease may appear as a splattered or slung substance around the wheel well or on the tire itself. The presence of grease indicates a compromised CV joint, which requires immediate attention to prevent further damage.
-
Excessive CV Joint Play: When inspecting the CV axle, excessive play or movement in the CV joint is a red flag. This can be tested by firmly gripping the axle and attempting to move it in various directions. Any noticeable play suggests wear and tear within the joint, necessitating a thorough inspection and potential replacement.
-
Steering Difficulty: A failing CV axle can lead to difficulty in steering, especially during low-speed maneuvers. This may manifest as a stiff or jerky sensation when turning the steering wheel, indicating compromised functionality within the CV axle assembly.
-
Uneven Tire Wear: A bad CV axle can cause uneven tire wear, particularly on the front tires. This is attributed to the compromised ability of the CV axle to maintain consistent power transfer to the wheels, resulting in irregular tire patterns.
Recognizing these symptoms is crucial for addressing potential CV axle issues promptly. By identifying and addressing these signs early on, vehicle owners can prevent further damage and maintain optimal driving performance.
Read more: How To Fix A Bad Starter Sound
How to Identify a Bad CV Axle
Identifying a bad CV axle is essential for maintaining the safety and performance of a vehicle. Several key indicators can help diagnose potential issues with the CV axle assembly. Here's how to identify a bad CV axle:
Visual Inspection
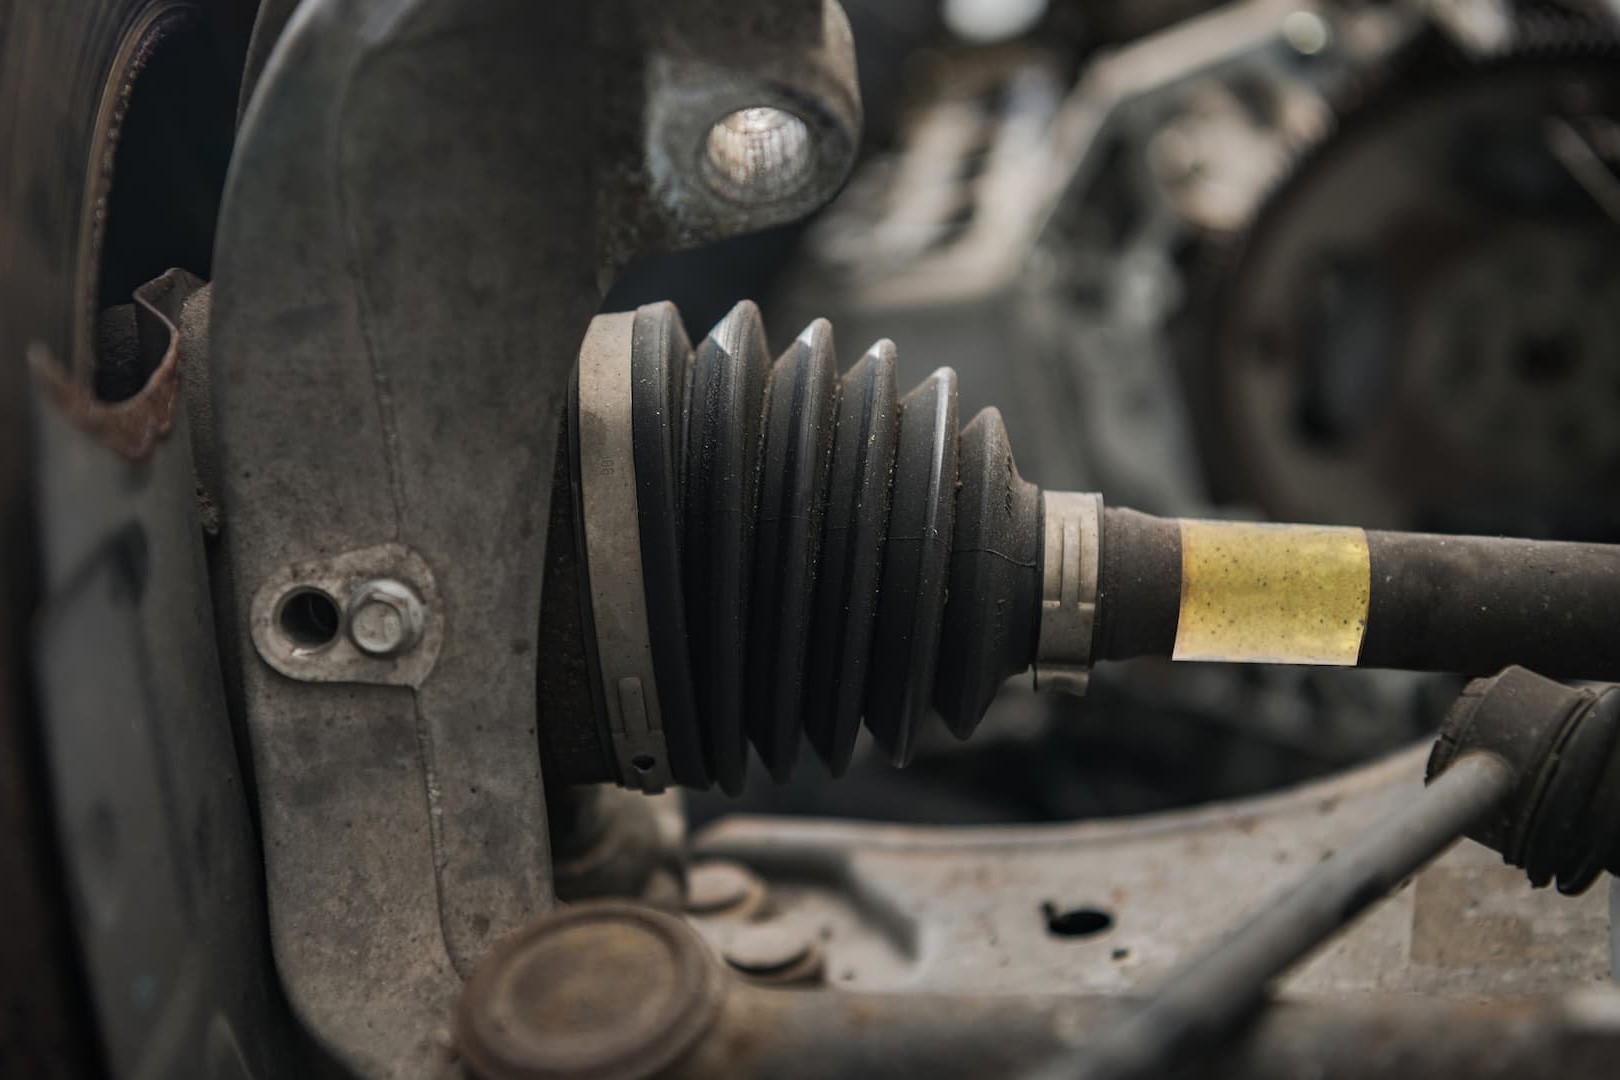
A visual inspection of the CV axle can reveal crucial signs of wear and damage. Start by examining the CV axle boots, which are designed to protect the CV joints from debris and moisture. Cracks, tears, or grease leakage around the boots indicate potential damage to the CV axle assembly. Additionally, inspecting the axle for any signs of physical damage, such as dents or bends, can provide valuable insights into its condition.
Road Test
Conducting a road test can help detect symptoms associated with a bad CV axle. Listen for clicking or popping noises when making sharp turns, as these indicate worn-out CV joints. Additionally, pay attention to any vibrations felt through the steering wheel or the vehicle's floor during acceleration. These vibrations can signal an imbalance or misalignment within the CV axle assembly, warranting further inspection.
CV Joint Play
Checking for excessive play or movement in the CV joints is crucial for identifying a bad CV axle. This can be done by firmly gripping the axle and attempting to move it in various directions. Any noticeable play or clunking suggests wear and tear within the CV joint, indicating potential issues with the CV axle assembly.
Inspection of Tire Wear
Examining the tire wear patterns can offer valuable clues about the condition of the CV axle. Uneven tire wear, particularly on the front tires, may indicate a bad CV axle. Look for irregular tread patterns or signs of excessive wear on one side of the tire, as this can be attributed to compromised power transfer from the CV axle.
Professional Inspection
Seeking a professional inspection from a qualified mechanic or technician can provide a comprehensive assessment of the CV axle's condition. A skilled professional can utilize specialized tools and diagnostic techniques to accurately identify any underlying issues with the CV axle assembly, ensuring a thorough evaluation.
By being attentive to these key indicators, vehicle owners can effectively identify a bad CV axle and take proactive measures to address potential issues. Early detection of CV axle problems can prevent further damage, ensuring a safe and reliable driving experience.
Steps to Fix Bad CV Axle Symptoms
Addressing bad CV axle symptoms promptly is crucial to maintain the safety and performance of a vehicle. Here are the steps to effectively fix bad CV axle symptoms:
-
Diagnosis and Inspection: Begin by diagnosing the specific issues affecting the CV axle. This involves a comprehensive inspection of the axle assembly, including the CV joints, boots, and related components. Look for signs of damage, wear, or leakage of grease. Additionally, assess the extent of play or movement in the CV joints to determine the severity of the issue.
-
Replacement of CV Axle: If the inspection reveals significant damage or wear within the CV axle assembly, it is advisable to proceed with a complete replacement. This involves removing the affected CV axle and installing a new, high-quality replacement unit. Ensure that the replacement axle is compatible with the vehicle's make and model to guarantee a proper fit and functionality.
-
CV Axle Boot Replacement: In cases where the symptoms are attributed to damaged or torn CV axle boots, replacing the boots can be a viable solution. This involves removing the old boots, cleaning the CV joints, and installing new, durable boots to protect the joints from debris and moisture. Properly securing the new boots is essential to prevent future damage to the CV axle assembly.
-
Grease and Lubrication: During the repair process, it is essential to apply the appropriate grease or lubricant to the CV axle components. This ensures smooth articulation and reduces friction within the axle assembly, promoting longevity and optimal performance. Proper lubrication also helps maintain the integrity of the CV joints and boots.
-
Alignment and Torque: After installing a new CV axle or replacing the boots, it is crucial to align the components correctly and torque the fasteners to the manufacturer's specifications. This ensures that the CV axle assembly is securely in place and operates within the designated parameters, minimizing the risk of future issues.
-
Professional Verification: Following the repair process, it is advisable to seek professional verification of the CV axle assembly's functionality. A qualified mechanic or technician can conduct a thorough inspection and road test to ensure that the symptoms have been effectively addressed. This verification provides peace of mind and confirms the successful resolution of the bad CV axle symptoms.
By following these steps, vehicle owners can effectively address bad CV axle symptoms and restore the functionality and safety of the vehicle's drivetrain. Timely and comprehensive repairs are essential to prevent further damage and ensure a reliable driving experience.