Home>Home and Garden>How To Get Gum Out Of Carpet
Home and Garden
How To Get Gum Out Of Carpet
Published: March 5, 2024
Learn effective methods for removing gum from your carpet with these simple home and garden tips. Keep your floors looking clean and fresh with these easy solutions.
(Many of the links in this article redirect to a specific reviewed product. Your purchase of these products through affiliate links helps to generate commission for Noodls.com, at no extra cost. Learn more)
Table of Contents
Introduction
Dealing with a sticky situation like gum stuck in your carpet can be quite a frustrating experience. Whether it's a result of an accidental misstep or a playful mishap, the presence of gum on your carpet can be a real eyesore. However, fear not, as there are effective methods to tackle this issue and restore your carpet to its pristine condition. In this comprehensive guide, we will walk you through the step-by-step process of removing gum from your carpet, using simple household items and a little bit of elbow grease.
When gum becomes embedded in the fibers of your carpet, it can seem like an insurmountable challenge. The sticky nature of gum makes it adhere firmly to the carpet, causing a mess that seems impossible to clean. However, with the right approach and a few handy tips, you can effectively eliminate this pesky problem without causing damage to your carpet.
By following the methods outlined in this guide, you can regain the cleanliness and aesthetic appeal of your carpet, saving you the hassle and expense of replacing it. Whether you're a homeowner, a renter, or a business owner, knowing how to remove gum from your carpet is a valuable skill that can come in handy when unexpected accidents occur.
So, roll up your sleeves and get ready to bid farewell to that unsightly gum stuck in your carpet. With a positive attitude and the right techniques at your disposal, you'll soon have your carpet looking as good as new. Let's dive into the step-by-step process of gum removal and restore the beauty of your carpeted floors.
Read more: How To Get Slime Out Of Carpet
Step 1: Scrape off excess gum
When you discover gum stuck to your carpet, the first step is to address the situation promptly. Begin by assessing the extent of the gum's adhesion to the carpet fibers. If the gum is still soft and malleable, avoid touching it with your hands to prevent further spreading. Instead, opt for a plastic bag or a pair of disposable gloves to protect your hands from the sticky residue.
To initiate the removal process, gently scrape off as much excess gum as possible using a blunt tool, such as a butter knife or a spoon. Hold the tool at a shallow angle to avoid damaging the carpet fibers, and carefully work your way around the gum, applying minimal pressure to prevent pushing it deeper into the carpet. As you scrape, periodically check the tool for gum buildup, and continue until you've removed the majority of the gum from the carpet's surface.
It's important to exercise patience during this step, as rushing the process may result in the gum becoming more firmly embedded in the carpet. By methodically scraping off the excess gum, you'll pave the way for subsequent removal techniques to be more effective.
Remember, the goal at this stage is to minimize the amount of gum adhering to the carpet, making it easier to proceed with the following steps. Once you've successfully removed as much excess gum as possible, you'll be ready to move on to the next phase of the gum removal process.
By taking the time to carefully scrape off the excess gum, you're setting the stage for a successful gum removal endeavor. With this initial step completed, you're well on your way to restoring your carpet to its original pristine condition.
Step 2: Apply ice to harden the gum
After successfully removing the excess gum from the carpet, the next step involves using a simple household item to tackle the remaining gum residue. Ice can be remarkably effective in hardening the gum, making it easier to manipulate and remove from the carpet fibers.
To begin, take a few ice cubes from your freezer and place them in a resealable plastic bag. This will prevent any moisture from seeping into the carpet, ensuring that the focus remains on hardening the gum. Once the ice cubes are secured in the bag, gently press the bag against the gum stuck in the carpet. The cold temperature of the ice will cause the gum to solidify, reducing its stickiness and making it less pliable.
Allow the ice to remain in contact with the gum for approximately 15-20 minutes, giving it ample time to harden. During this period, the gum will gradually lose its adhesive properties, making it easier to handle in the subsequent steps of the removal process.
As the ice works its magic, you may notice the gum becoming stiffer and less tacky to the touch. This transformation is a testament to the effectiveness of the ice in altering the gum's consistency, ultimately preparing it for removal without causing damage to the carpet fibers.
Once the allotted time has passed, carefully remove the ice from the carpet and proceed to the next step in the gum removal process. The hardened gum will now be more manageable, setting the stage for the following techniques to be implemented with greater ease and effectiveness.
By utilizing the power of ice to harden the gum, you're taking a proactive approach to resolving the issue at hand. This simple yet impactful method sets the foundation for successful gum removal, bringing you one step closer to restoring the pristine appearance of your carpet.
With the gum now hardened and ready for the next phase of removal, you're well-equipped to proceed with confidence, knowing that you've effectively neutralized the gum's sticky grip on your carpet.
Step 3: Use a butter knife to gently pry the gum off
With the gum now hardened, it's time to employ a gentle yet effective technique to pry it off the carpet fibers. A butter knife, with its flat and smooth edge, serves as an ideal tool for this purpose. Before proceeding, ensure that the hardened gum is dry to the touch, indicating that it has reached a manageable state for removal.
Begin by carefully positioning the butter knife at the edge of the hardened gum, taking care to avoid pressing it too forcefully against the carpet. The goal is to gently lift the gum from the carpet fibers without causing any damage. Using a slow and deliberate motion, apply light pressure to the butter knife, gradually lifting the edges of the gum away from the carpet.
As you work your way around the perimeter of the gum, maintain a steady hand and exercise patience to prevent any accidental tearing or snagging of the carpet fibers. The hardened gum should begin to loosen from its grip on the carpet, allowing you to carefully lift it away in small sections.
If you encounter resistance during this process, refrain from applying excessive force, as this may lead to unintended damage to the carpet. Instead, adjust your approach by repositioning the butter knife and continuing to gently pry the gum off the carpet. By exercising caution and precision, you can effectively detach the gum from the carpet without leaving behind any remnants.
As the gum gradually releases its hold on the carpet fibers, continue to work methodically, ensuring that each section is lifted and removed with care. Take your time and pay close attention to any areas where the gum may be more stubborn, adjusting your technique as needed to achieve a thorough and seamless removal.
Throughout this process, it's important to maintain a gentle touch, allowing the butter knife to serve as a precise instrument for lifting the gum without causing any harm to the carpet. By approaching the task with a steady hand and a meticulous mindset, you can successfully pry the gum off the carpet, paving the way for the final stages of the removal process.
With the gum now lifted from the carpet, you've made significant progress in restoring the cleanliness and appearance of the affected area. By utilizing the butter knife with finesse and patience, you've effectively removed the gum without compromising the integrity of the carpet fibers. With this step completed, you're ready to proceed to the next phase of the gum removal process, bringing you closer to achieving a gum-free and revitalized carpet.
Step 4: Apply a carpet cleaner or vinegar solution
Once the gum has been successfully lifted from the carpet fibers, it's time to address any residual stickiness and discoloration that may remain. To effectively tackle these lingering effects, the application of a carpet cleaner or a vinegar solution can work wonders in restoring the affected area to its original state.
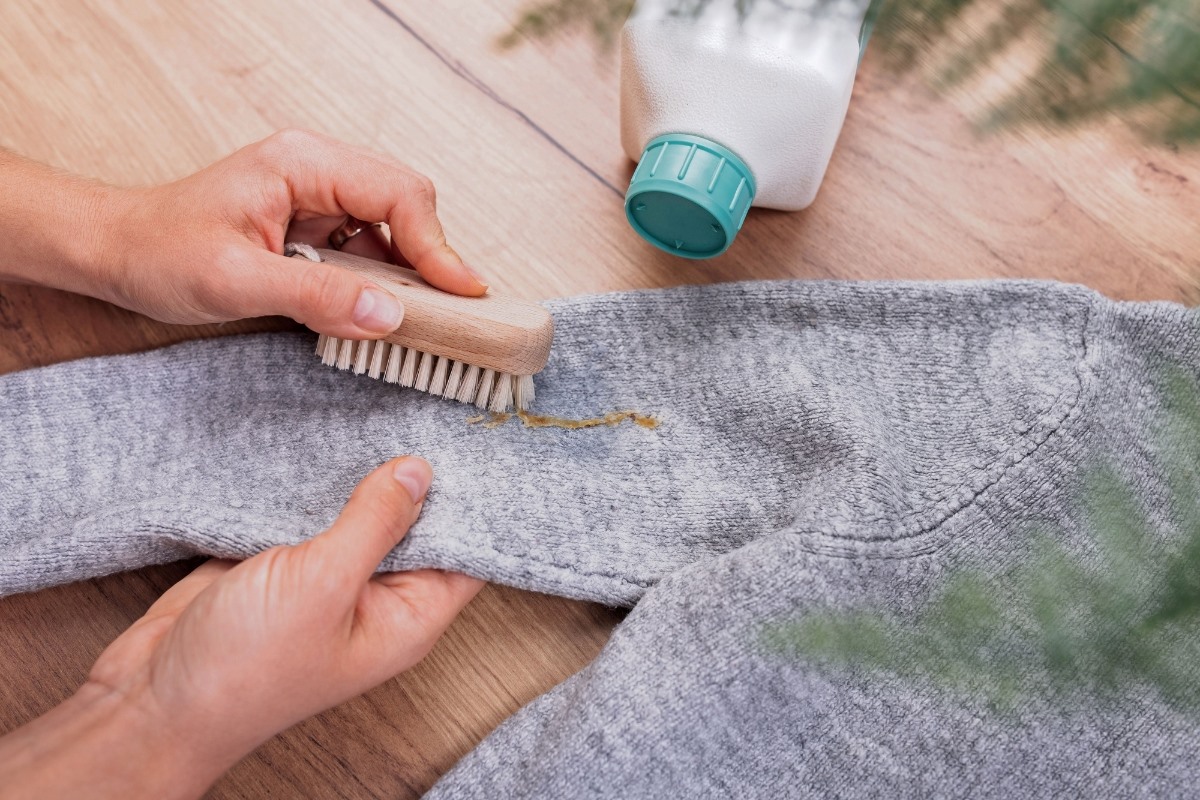
If you opt for a commercial carpet cleaner, ensure that it is suitable for use on the specific type of carpet you have. It's advisable to test the cleaner on a small, inconspicuous area of the carpet first to check for any adverse reactions before proceeding with the entire affected area. Following the manufacturer's instructions, apply the carpet cleaner to the gum-affected area, gently working it into the carpet fibers with a soft-bristled brush or a clean cloth.
Alternatively, a vinegar solution can serve as a natural and effective remedy for gum residue. To create this solution, mix equal parts of white vinegar and water in a spray bottle. The acidic properties of vinegar work to break down the stickiness of the gum residue while also helping to neutralize any accompanying odors. Lightly spray the vinegar solution onto the affected area, allowing it to penetrate the carpet fibers without oversaturating the surface.
Regardless of whether you choose a commercial carpet cleaner or a vinegar solution, it's important to allow the product to dwell on the affected area for a few minutes, enabling it to effectively loosen and lift any remaining gum residue. This dwell time is crucial in ensuring that the cleaning agent can work its magic without causing damage to the carpet fibers.
After the dwell time has elapsed, use a clean, absorbent cloth to gently blot the treated area, absorbing the loosened gum residue and any excess moisture. Avoid rubbing or scrubbing the carpet, as this can spread the residue and potentially damage the fibers. Instead, employ a blotting motion to lift the residue from the carpet, periodically switching to a clean section of the cloth to prevent re-depositing the removed residue.
By applying a carpet cleaner or vinegar solution to the affected area, you're effectively addressing any remaining traces of gum residue and restoring the cleanliness of the carpet fibers. This proactive approach sets the stage for the final step in the gum removal process, bringing you one step closer to achieving a gum-free and revitalized carpet.
Read more: How To Get Red Wine Out Of Carpet
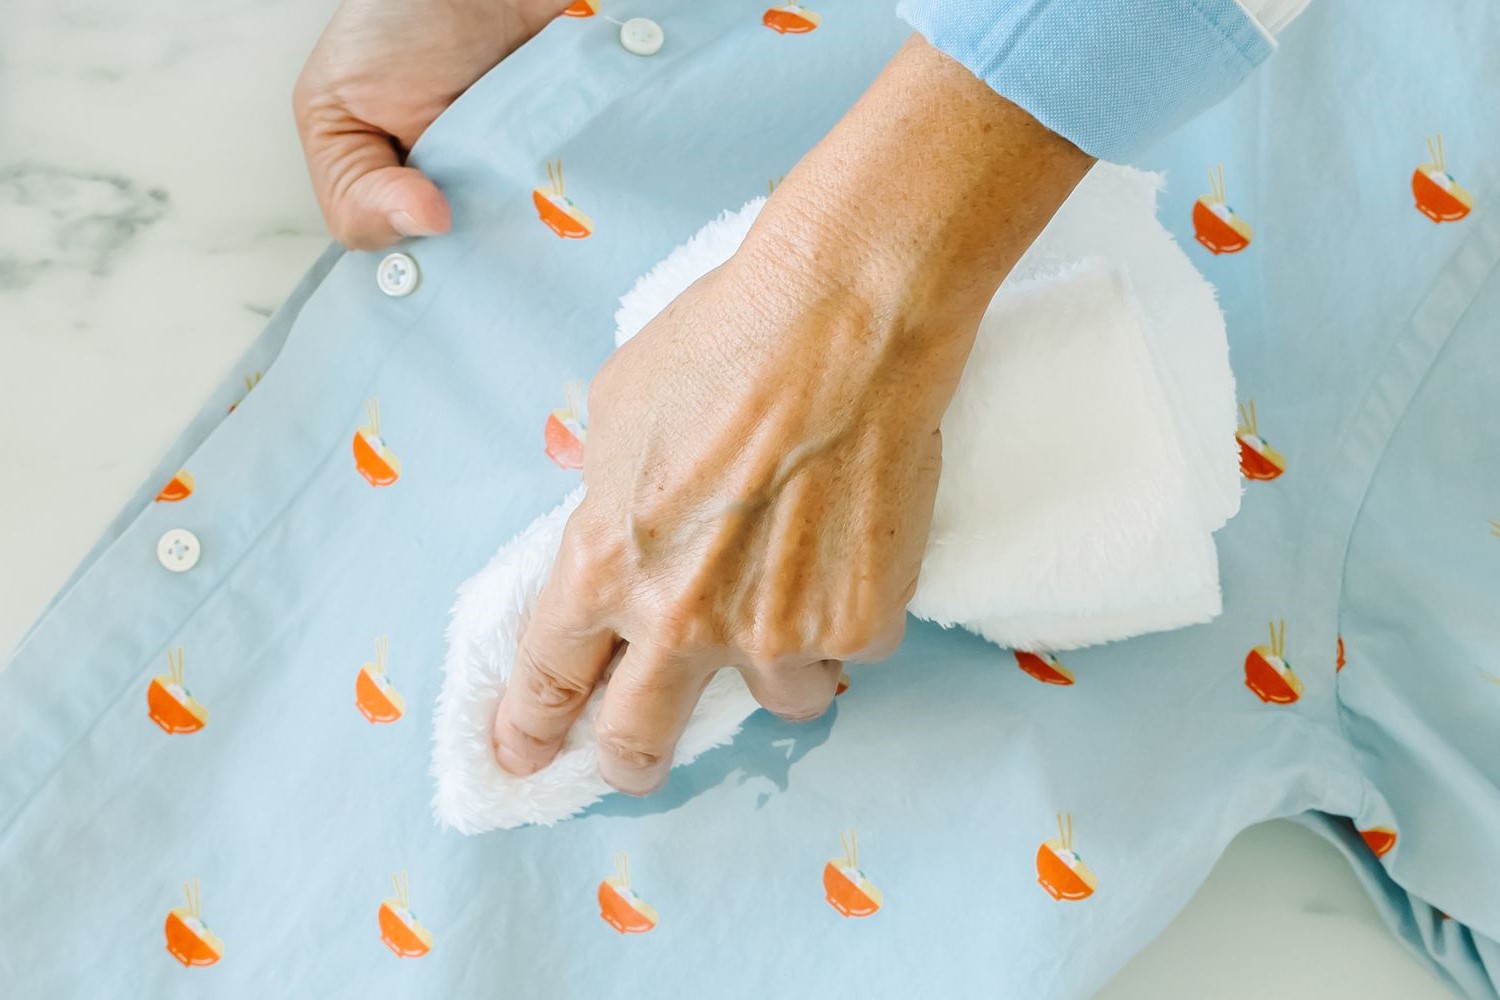
Step 5: Blot the area with a clean cloth
After applying the carpet cleaner or vinegar solution to the affected area and allowing it to dwell for a few minutes, the next crucial step involves blotting the area with a clean cloth. This process is instrumental in removing the loosened gum residue and any excess moisture, ultimately restoring the affected area to its original cleanliness and appearance.
To begin, select a clean and absorbent cloth that is free from any dyes or prints that could potentially transfer onto the carpet. A white cotton cloth or a microfiber towel are excellent choices for this task, as they possess the absorbency and gentleness required to effectively lift the residue without causing damage to the carpet fibers.
With the cloth in hand, gently press it onto the treated area, applying light pressure to facilitate the absorption of the loosened gum residue and any residual moisture. Avoid rubbing or scrubbing the carpet, as this can spread the residue and potentially embed it deeper into the fibers. Instead, employ a blotting motion, pressing the cloth onto the carpet and then lifting it away in a gentle and deliberate manner.
As you blot the area, you may notice the cloth gradually absorbing the loosened gum residue, effectively lifting it from the carpet fibers. Periodically inspect the cloth to gauge the amount of residue being absorbed, and adjust your blotting technique as needed to ensure thorough removal.
It's important to work methodically across the entire affected area, ensuring that each section receives equal attention during the blotting process. By maintaining a systematic approach and exercising patience, you can effectively lift the loosened residue from the carpet, gradually restoring its pristine condition.
Throughout the blotting process, periodically switch to a clean section of the cloth to prevent re-depositing the removed residue onto the carpet. This rotation of the cloth ensures that the absorption remains effective and prevents any potential recontamination of the treated area.
As you continue to blot the area, take note of the visible improvement in the cleanliness and appearance of the carpet. The diligent removal of the loosened gum residue through the blotting process brings you one step closer to achieving a gum-free and revitalized carpet, showcasing the effectiveness of this essential step in the gum removal process.
By completing the blotting process with care and precision, you're effectively eliminating the last traces of gum residue and moisture from the carpet, setting the stage for the final step in the gum removal process. With the affected area now significantly restored, you're well-equipped to proceed with confidence, knowing that your efforts have yielded remarkable results.
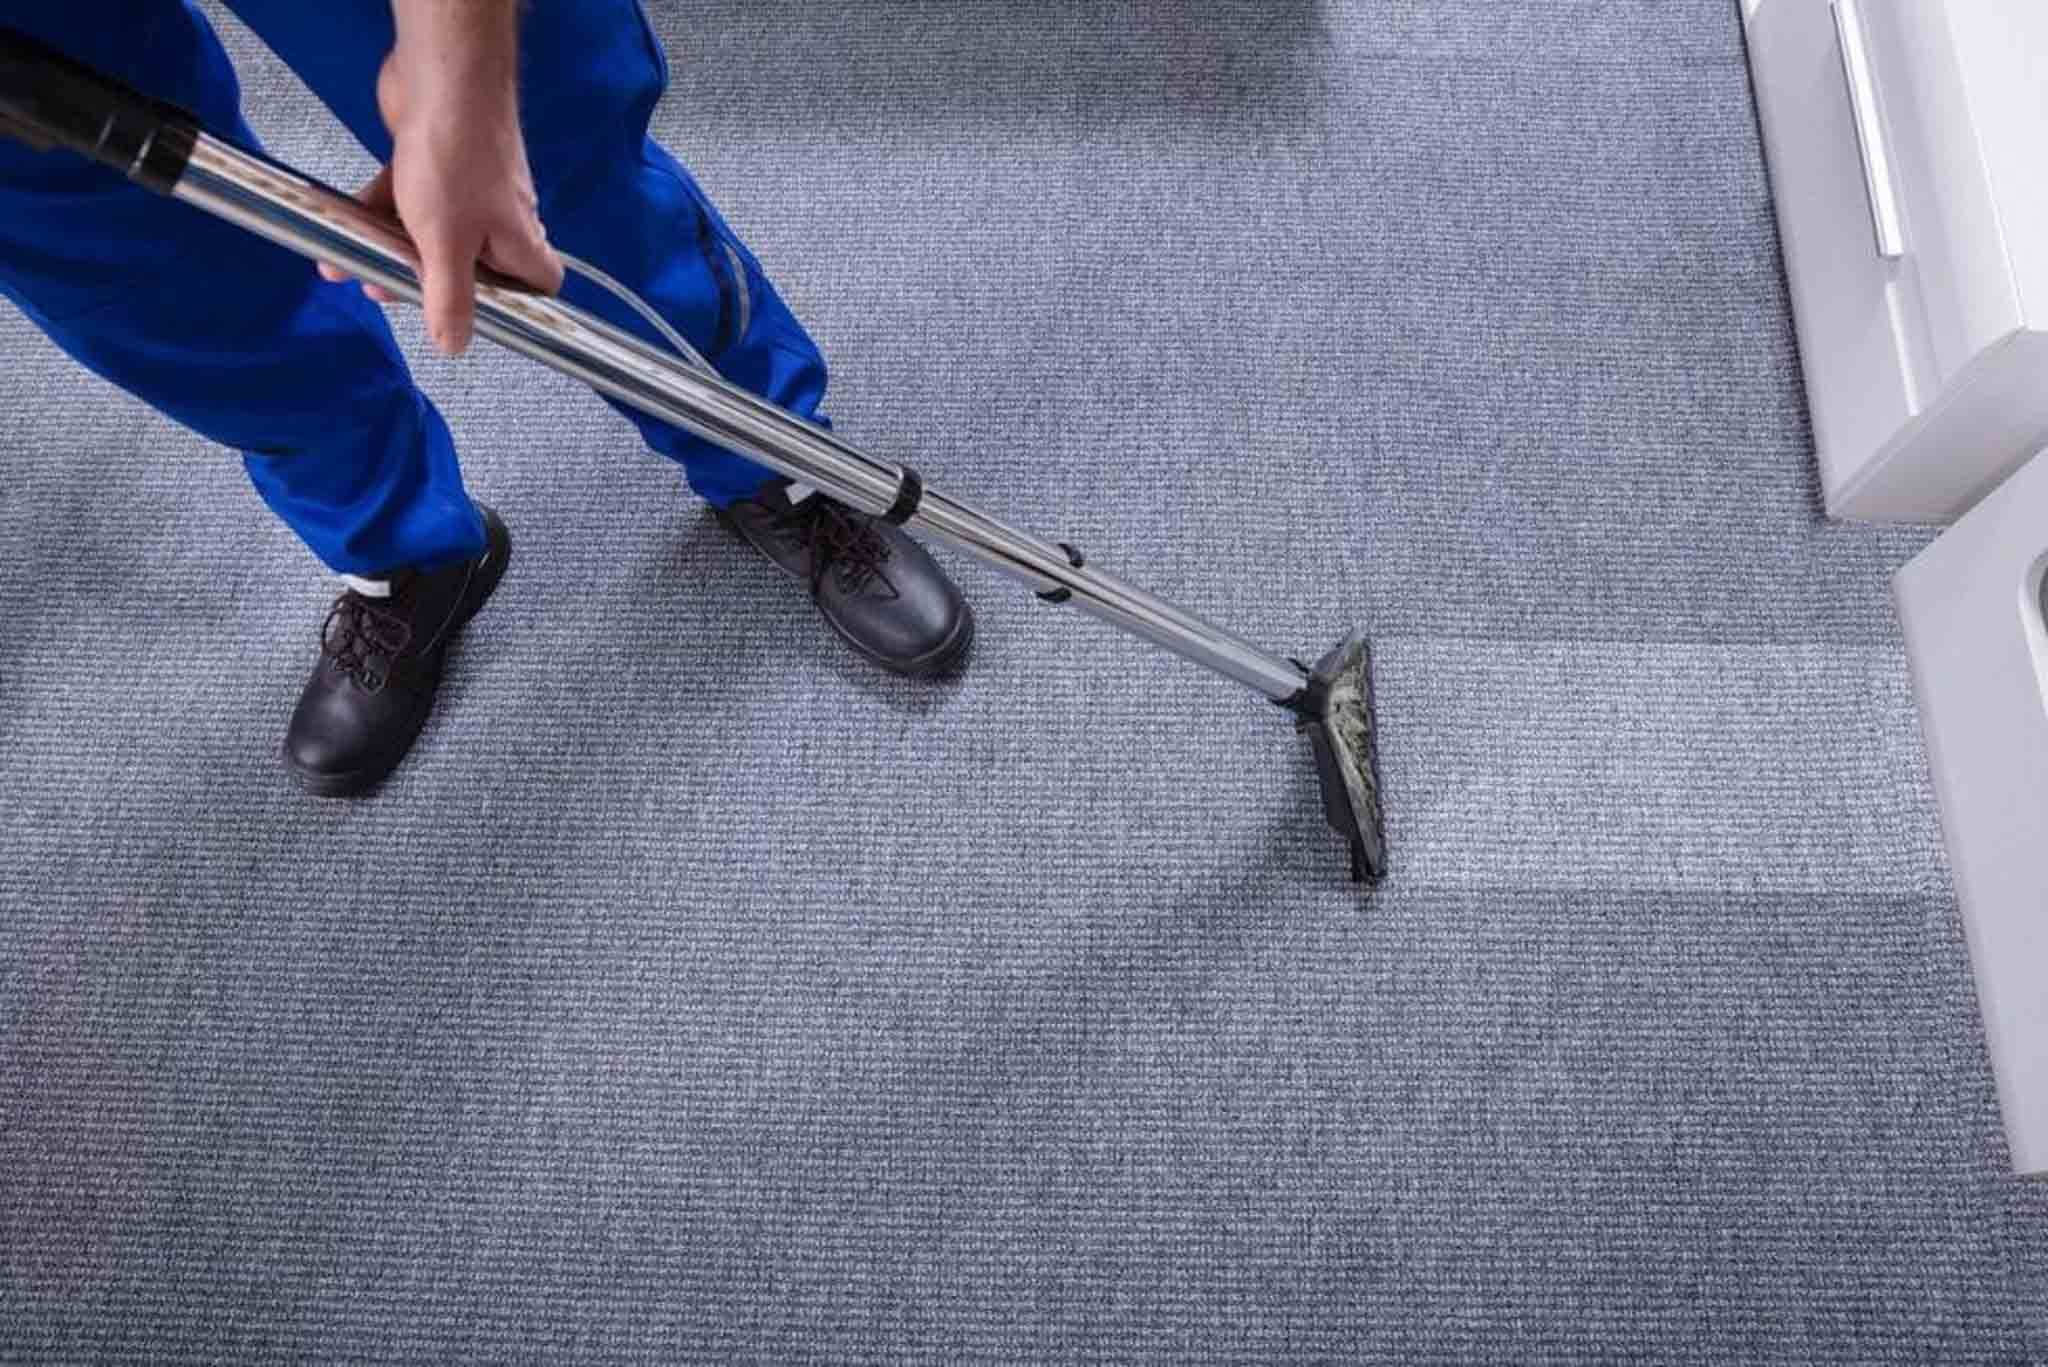
Step 6: Vacuum the carpet to remove any remaining residue
With the gum residue effectively loosened and lifted from the carpet fibers, the final step in the gum removal process involves the use of a vacuum cleaner to thoroughly eliminate any remaining traces of residue. This pivotal step ensures that the affected area is impeccably clean and free from any lingering remnants, culminating in the successful restoration of the carpet to its original pristine condition.
Before initiating the vacuuming process, it's essential to prepare the vacuum cleaner by ensuring that the canister or bag is empty and the filter is clean. This proactive measure prevents any potential transfer of debris and ensures optimal suction power during the cleaning process. Additionally, inspect the vacuum's attachments to ensure that the appropriate nozzle or brush attachment is selected for effective carpet cleaning.
Commence the vacuuming process by systematically running the vacuum cleaner over the treated area, employing slow and deliberate movements to ensure thorough coverage. The aim is to effectively capture any remaining gum residue, as well as to lift any embedded particles that may have accumulated during the previous steps of the removal process.
Utilize the vacuum cleaner's nozzle or brush attachment to gently agitate the carpet fibers, allowing the suction power to lift and capture any residual residue. Pay particular attention to the edges and seams of the affected area, as these areas may harbor hidden remnants that require meticulous removal.
As you guide the vacuum cleaner across the carpet, observe the visible improvement in the cleanliness and texture of the treated area. The powerful suction action of the vacuum effectively lifts and captures any remaining residue, leaving the carpet refreshed and revitalized.
To ensure comprehensive removal of any lingering residue, consider making multiple passes with the vacuum cleaner, adjusting the angle and direction of the nozzle or brush attachment to cover the area from various perspectives. This thorough approach guarantees that no traces of residue are overlooked, resulting in a flawlessly clean and rejuvenated carpet.
Upon completing the vacuuming process, take a moment to appreciate the remarkable transformation that has taken place. The removal of any remaining residue through the diligent use of the vacuum cleaner signifies the successful culmination of the gum removal process, reaffirming the carpet's cleanliness and visual appeal.
With the affected area now impeccably clean and free from any remnants of gum residue, you can take pride in the accomplishment of restoring your carpet to its original pristine state. The effective utilization of the vacuum cleaner as the final step in the gum removal process underscores the dedication and meticulousness applied to achieve a gum-free and revitalized carpet.
Conclusion
In conclusion, successfully removing gum from your carpet is a rewarding achievement that restores the cleanliness and aesthetic appeal of your living space. By following the step-by-step process outlined in this guide, you've gained valuable insights into effective gum removal techniques that can be implemented using simple household items and a methodical approach.
The journey of gum removal begins with the initial step of scraping off excess gum, setting the stage for subsequent methods to be more effective. This proactive approach minimizes the gum's adhesion to the carpet, making it easier to proceed with the removal process.
The application of ice to harden the gum serves as a pivotal technique, transforming the gum's consistency and preparing it for gentle removal. By harnessing the power of ice, you've effectively neutralized the gum's sticky grip on the carpet, paving the way for the next phase of removal.
Using a butter knife to gently pry the gum off the carpet fibers showcases the precision and patience required to achieve successful removal. This method ensures that the gum is lifted without causing damage to the carpet, highlighting the meticulous approach employed throughout the process.
The application of a carpet cleaner or vinegar solution addresses any residual stickiness and discoloration, effectively restoring the affected area to its original state. This proactive step demonstrates the versatility of household items in tackling gum residue, showcasing the resourcefulness and effectiveness of the removal process.
Blotting the area with a clean cloth serves as a crucial step in lifting the loosened gum residue and moisture, bringing the affected area one step closer to achieving a gum-free and revitalized state. This meticulous process ensures that the carpet is thoroughly cleansed, setting the stage for the final step in the gum removal process.
The use of a vacuum cleaner to remove any remaining residue culminates in the successful restoration of the carpet to its original pristine condition. This final step signifies the dedication and meticulousness applied to achieve a flawlessly clean and rejuvenated carpet, reaffirming the effectiveness of the entire gum removal process.
By embracing the techniques and methods outlined in this guide, you've not only conquered the challenge of gum removal but also acquired valuable skills that can be applied to future cleaning endeavors. The successful restoration of your carpet to its original pristine state stands as a testament to your perseverance and commitment to maintaining a clean and inviting living environment.
With the knowledge and experience gained from this process, you're well-equipped to tackle unexpected mishaps and restore the beauty of your carpeted floors with confidence and efficiency. The journey of gum removal has not only revitalized your carpet but also empowered you with the expertise to overcome similar challenges in the future, ensuring that your living space remains a welcoming and pristine sanctuary for all.