Home>Home and Garden>How To Get Urine Out Of Mattress
Home and Garden
How To Get Urine Out Of Mattress
Published: February 27, 2024
Learn effective methods for removing urine stains and odors from your mattress with these home and garden tips. Keep your mattress clean and fresh with these easy solutions.
(Many of the links in this article redirect to a specific reviewed product. Your purchase of these products through affiliate links helps to generate commission for Noodls.com, at no extra cost. Learn more)
Table of Contents
Introduction
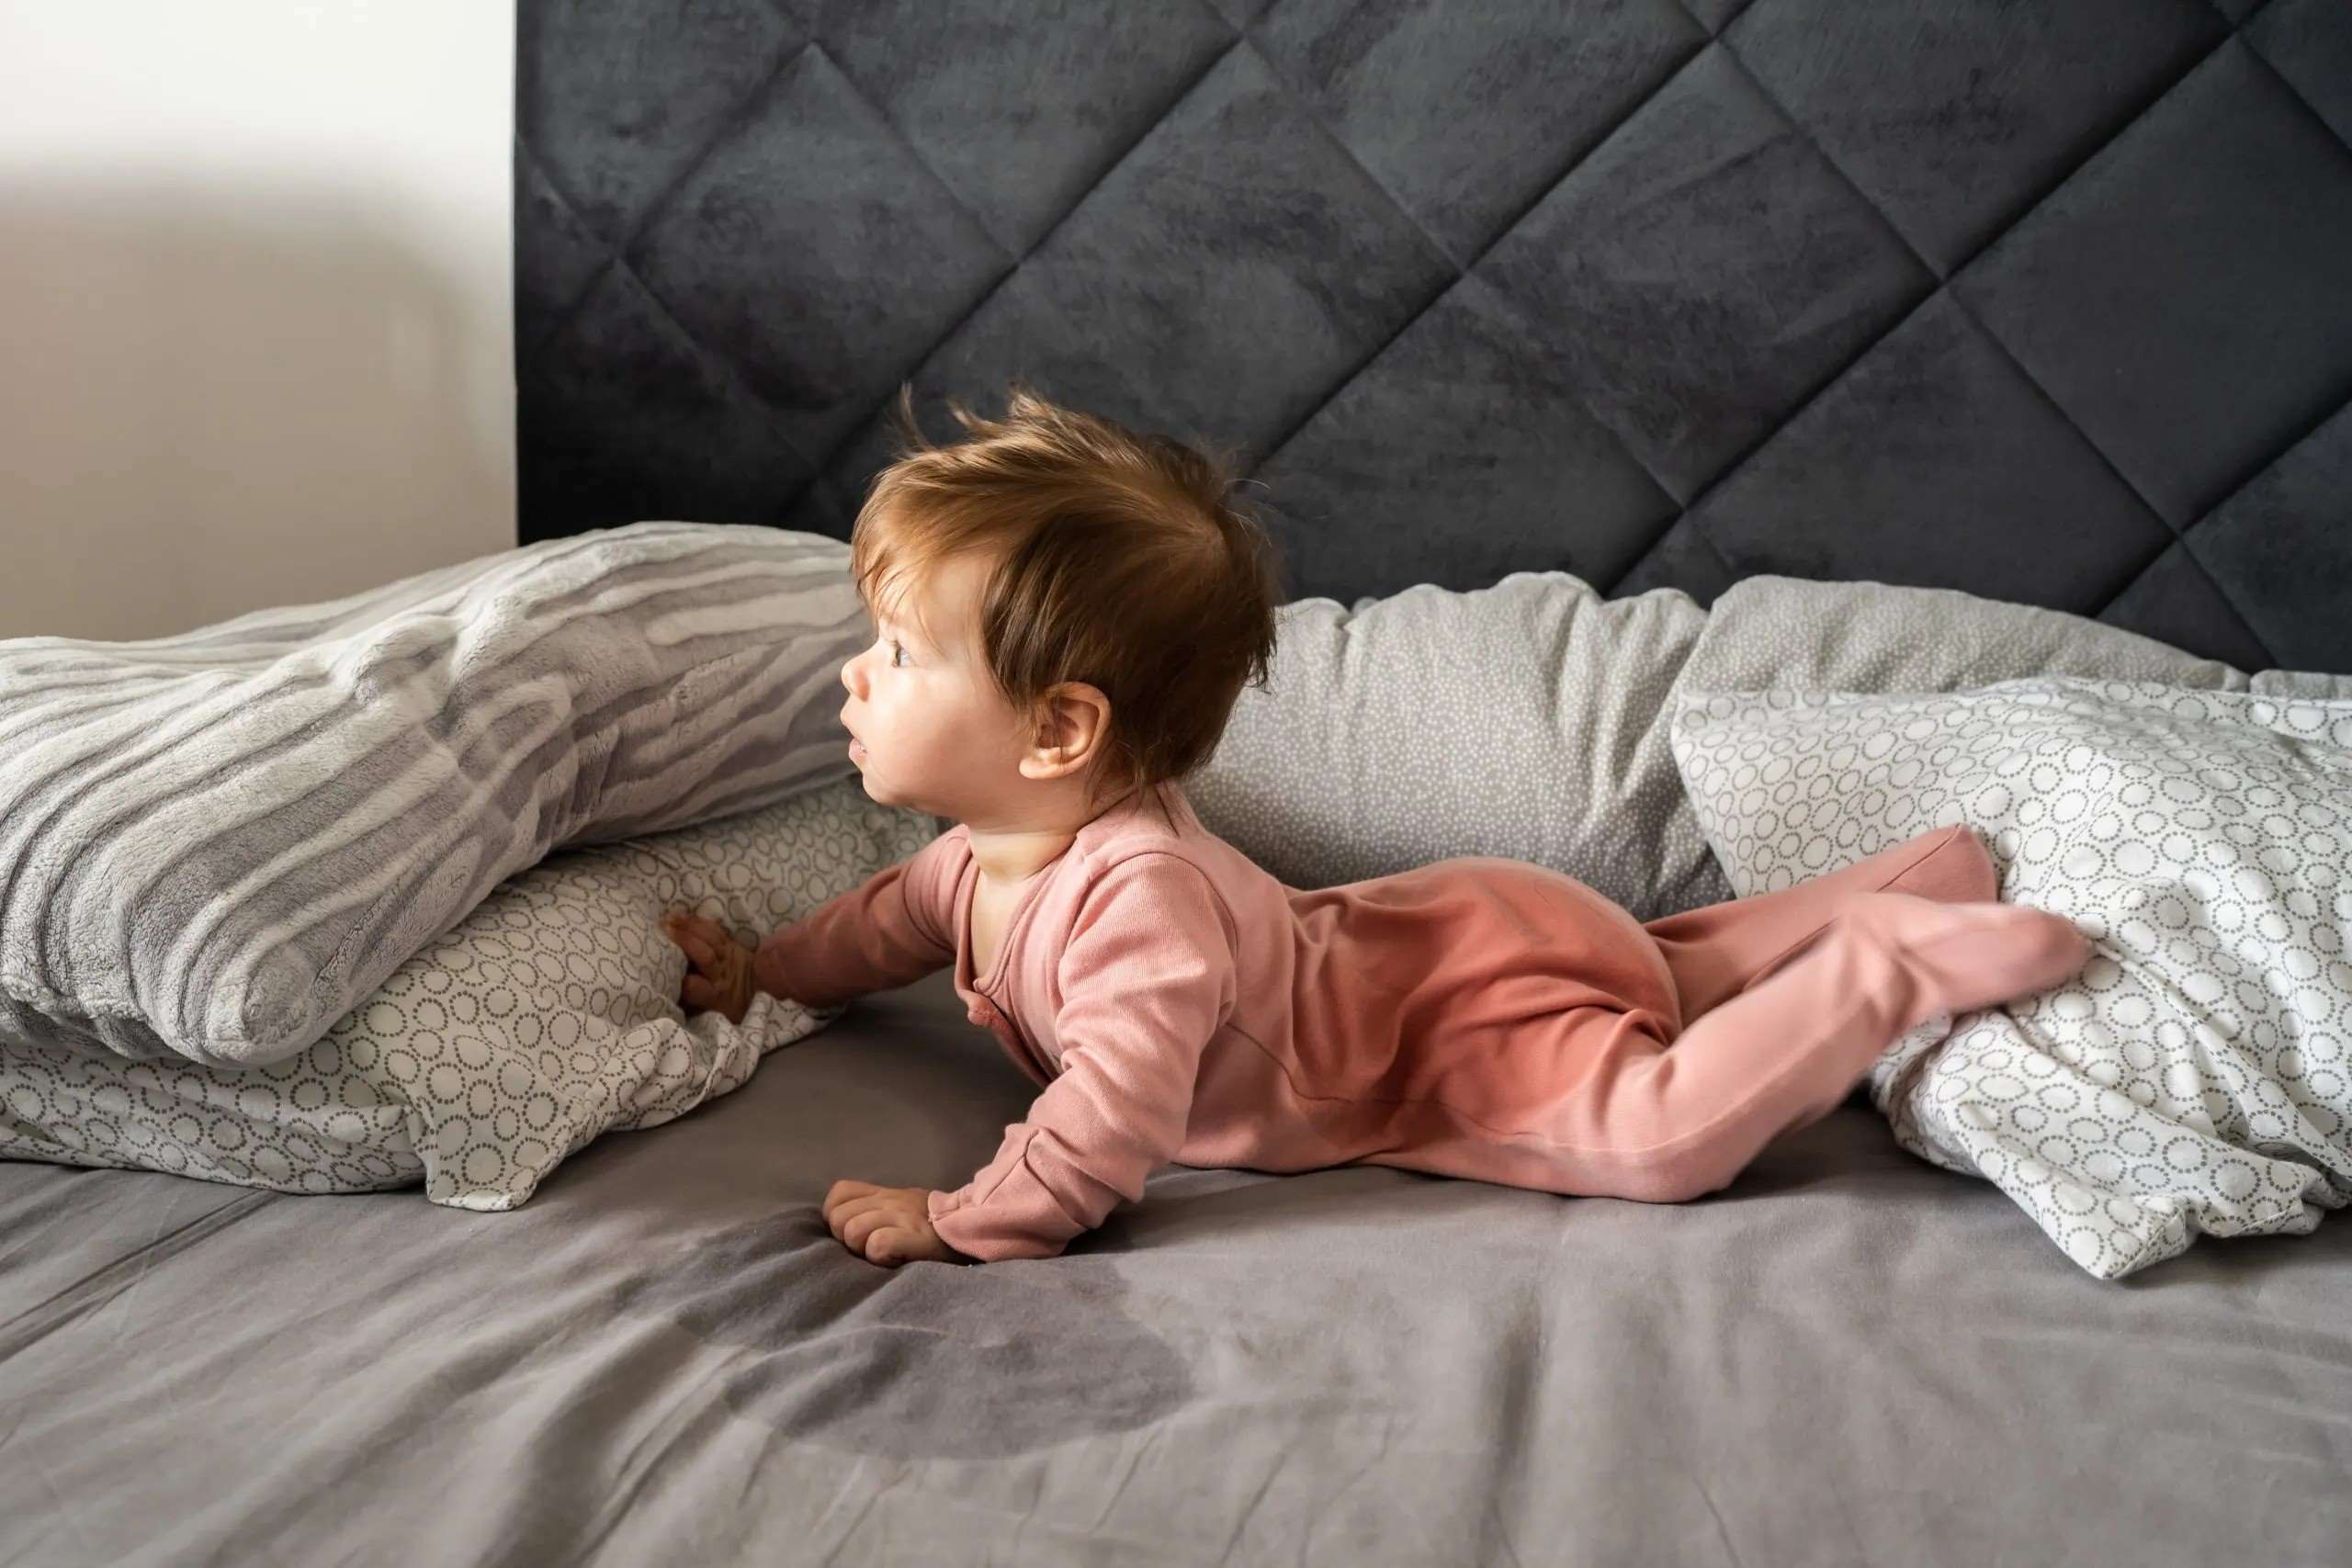
Dealing with a urine-stained mattress can be a challenging and unpleasant task, but with the right approach, it's entirely manageable. Whether it's a result of a nighttime accident, a pet mishap, or any other unforeseen circumstance, knowing how to effectively remove urine from a mattress is a valuable skill for any homeowner. Not only does it help maintain the cleanliness and hygiene of your sleeping space, but it also ensures that you can salvage your mattress and extend its lifespan.
In this comprehensive guide, we will walk you through the step-by-step process of removing urine from a mattress, covering everything from initial cleanup to odor removal and long-term protection. By following these methods, you can effectively tackle the issue and restore your mattress to its former freshness.
So, if you've found yourself facing this common household dilemma, fear not. With a few simple tools and a bit of patience, you can bid farewell to the unsightly stain and unpleasant odor, and reclaim your mattress as a clean and comfortable haven for restful nights. Let's dive into the practical steps that will help you address this issue with confidence and ease.
Read more: How To Get Blood Out Of Mattress
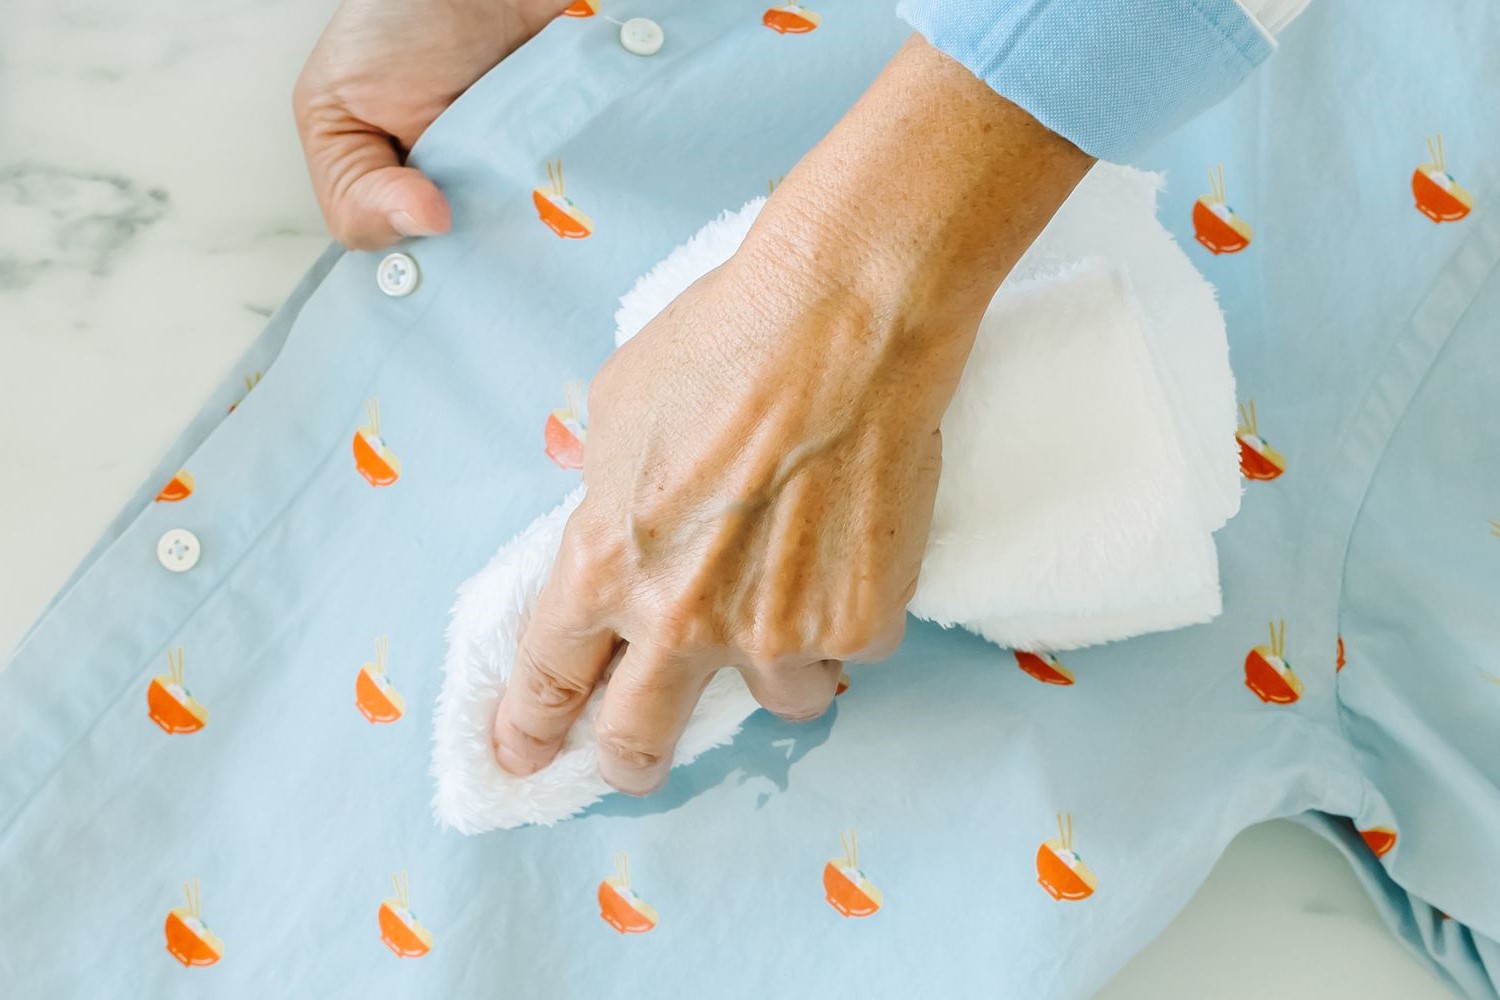
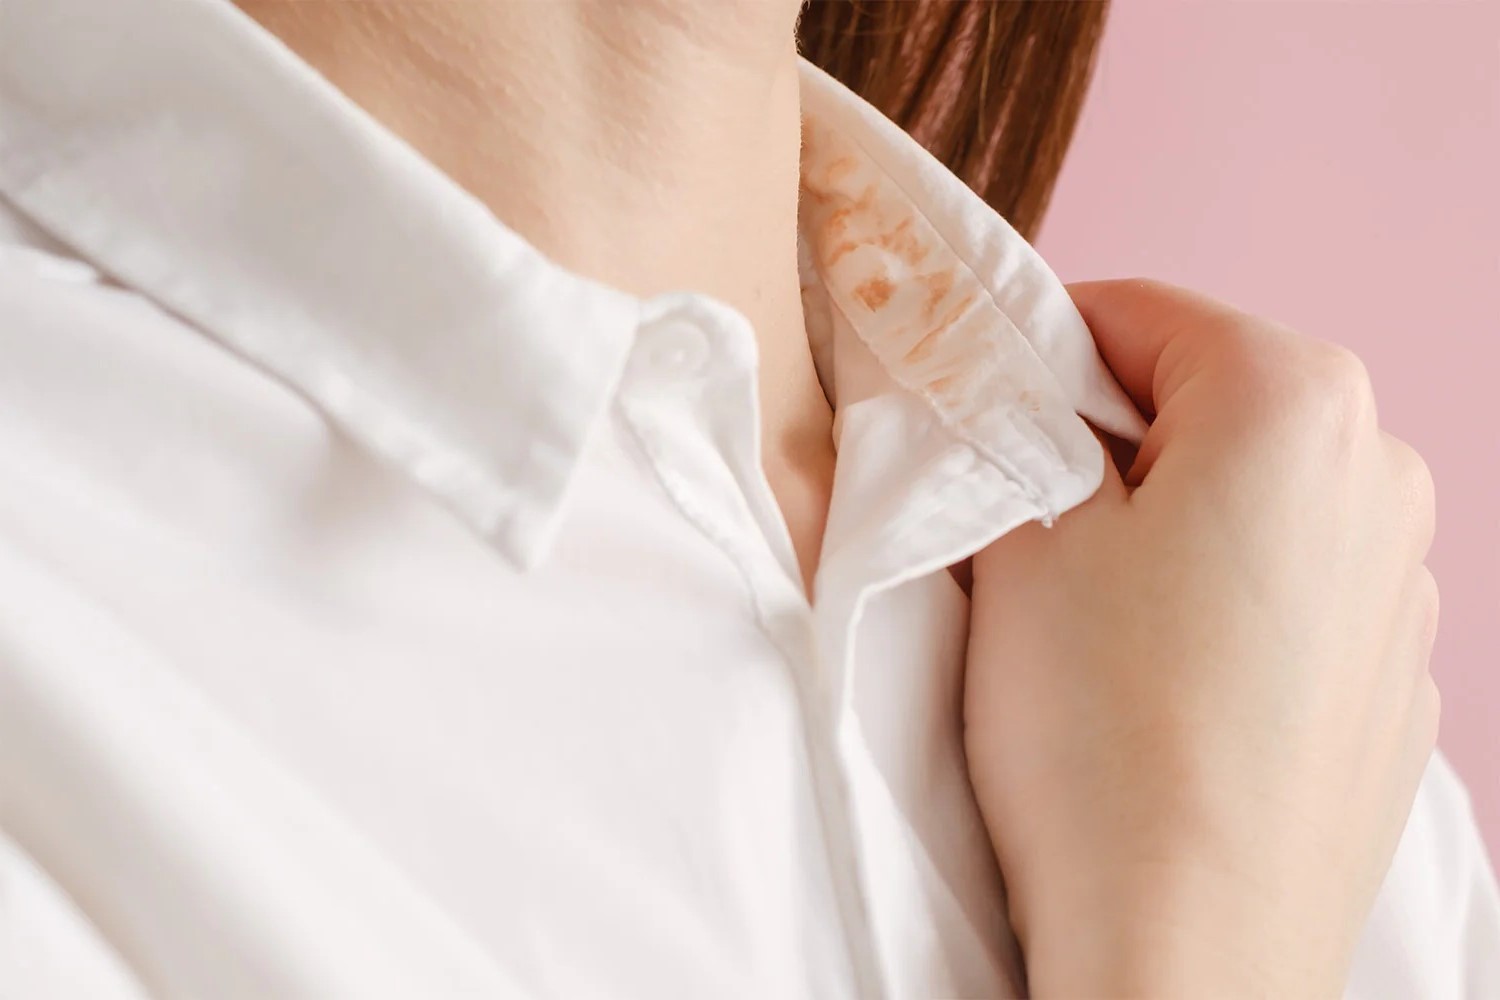
Step 1: Blot the Urine
Upon discovering a urine stain on your mattress, it's crucial to act swiftly to prevent the liquid from seeping deeper into the fabric. The first step in this process is to blot the urine using absorbent materials. Here's how to effectively carry out this initial phase of the cleanup:
-
Act Quickly: As soon as you notice the urine stain, grab a stack of clean, dry paper towels or a highly absorbent cloth. The goal is to soak up as much of the urine as possible before it penetrates further into the mattress.
-
Apply Pressure: Gently press down on the wet area with the paper towels or cloth, allowing them to absorb the liquid. Avoid rubbing the stain, as this can spread the urine and make the cleanup more challenging.
-
Repeat as Needed: Depending on the size of the stain, you may need to use multiple paper towels or cloths to fully blot the urine. Continue this process until you've removed as much liquid as possible.
-
Consider Using a Wet Vacuum: If the urine stain is particularly large or deeply embedded, using a wet vacuum can be highly effective. This tool is designed to extract liquid from surfaces, making it a valuable asset in the cleanup process.
By promptly and effectively blotting the urine from the mattress, you can prevent the stain from setting in and minimize the risk of lingering odors. This initial step sets the stage for the subsequent cleaning and odor removal processes, ultimately contributing to the successful restoration of your mattress.
Remember, speed is of the essence when it comes to dealing with urine stains, so don't hesitate to tackle the issue head-on as soon as it's discovered.
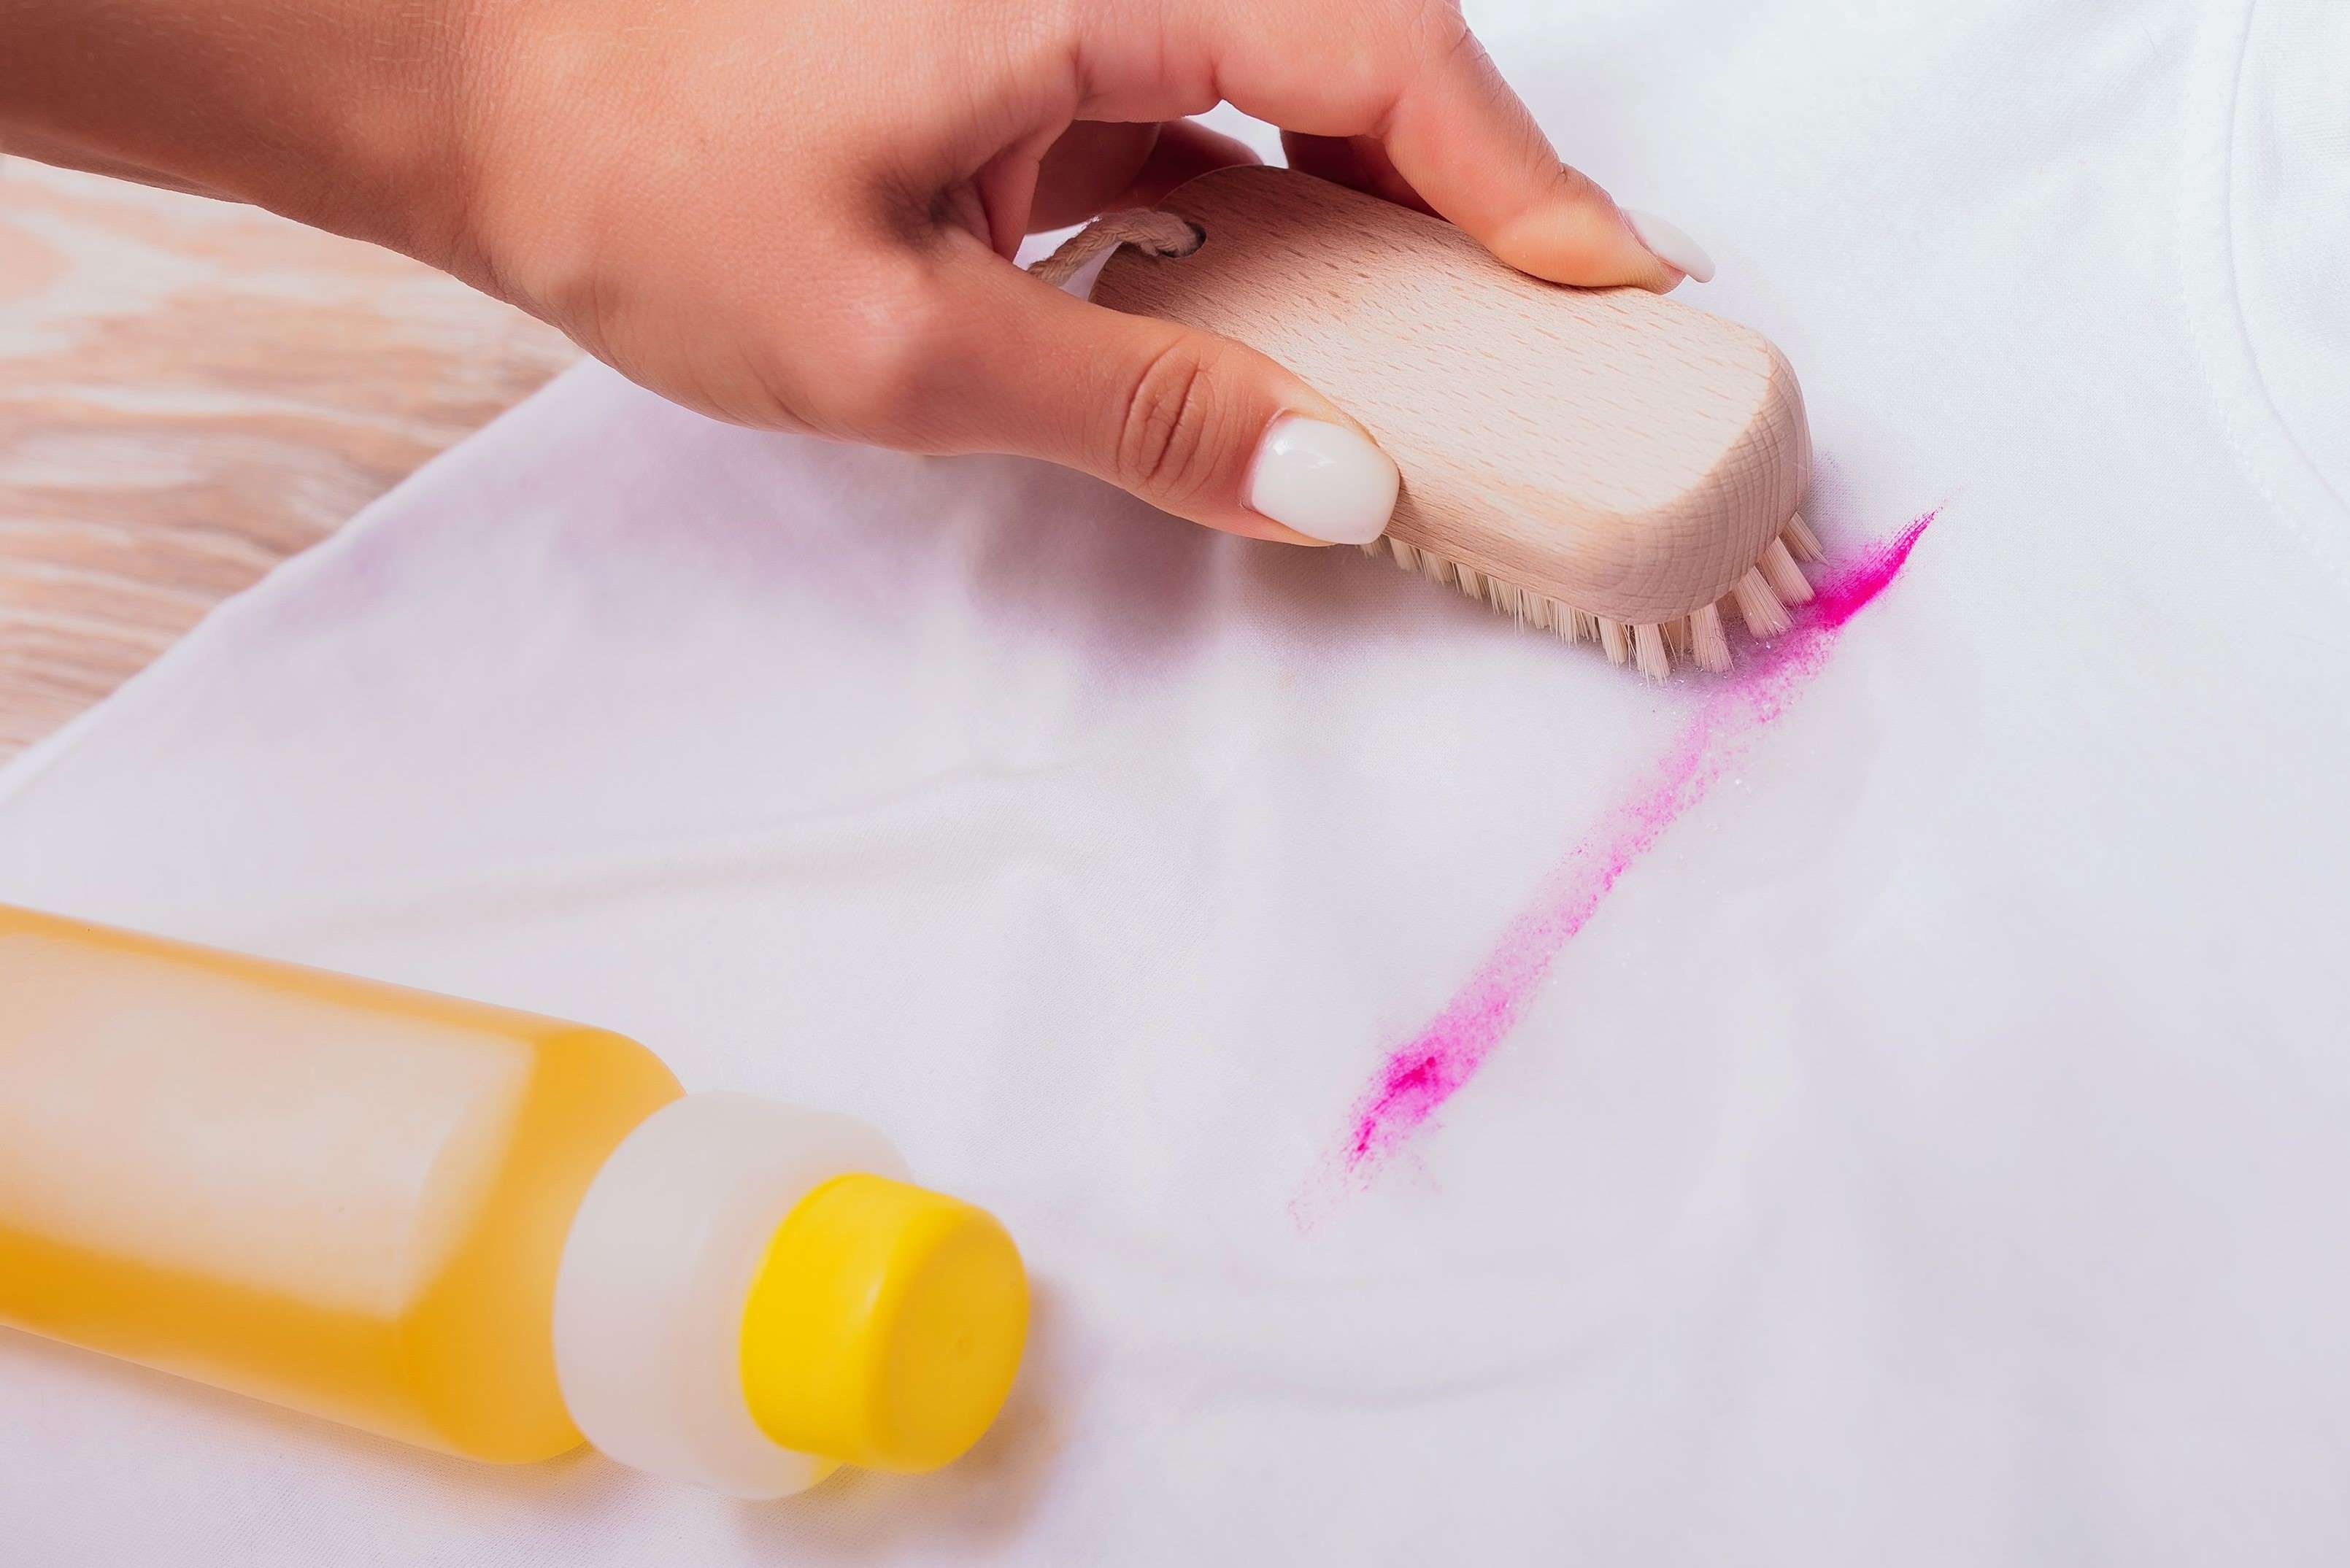
Step 2: Apply a Cleaning Solution
Once you've effectively blotted the urine from the mattress, the next crucial step is to apply a cleaning solution to further eliminate the stain and any remaining odor. This process involves using a homemade or store-bought cleaning solution that is specifically formulated to break down and remove urine residue from fabric. Here's a detailed guide on how to proceed with this essential phase of the cleanup:
-
Prepare the Cleaning Solution: If you prefer a DIY approach, you can create a simple yet effective cleaning solution using ingredients readily available in your home. A popular homemade solution involves mixing equal parts of water and white vinegar in a spray bottle. Alternatively, you can opt for a commercial enzymatic cleaner designed to target and neutralize urine stains and odors.
-
Apply the Solution: Once you have your chosen cleaning solution ready, generously spray or dab it onto the affected area of the mattress. Ensure that the solution penetrates the fabric to reach the underlying layers where the urine may have seeped. Take care to cover the entire stained area, as well as a slightly larger perimeter to address any potential spread of the urine.
-
Allow for Absorption: After applying the cleaning solution, allow it to sit and work its magic for a sufficient period. This typically ranges from 10 to 15 minutes, during which the solution can effectively break down the urine residue and begin lifting it from the mattress fabric.
-
Blot the Area Again: Following the absorption period, use clean, dry cloths or paper towels to blot the treated area once more. This helps to remove the cleaning solution along with the dissolved urine, effectively lifting the stain and any remaining odor from the mattress.
-
Air-Dry the Mattress: With the cleaning solution successfully applied and the stain addressed, it's important to allow the mattress to air-dry thoroughly. Place the mattress in a well-ventilated area with ample airflow, ideally in direct sunlight if possible. This natural drying process helps to further eliminate any lingering odors and ensures that the mattress is completely dry before the next step.
By diligently following these steps and applying a suitable cleaning solution, you can significantly reduce and ultimately eliminate the urine stain and odor from your mattress. This sets the stage for the subsequent phases of the cleanup, ultimately leading to a fresh and revitalized sleeping surface.
Step 3: Let the Mattress Dry
After effectively addressing the urine stain and applying a cleaning solution, the next crucial step in the mattress cleanup process is to ensure thorough drying. Allowing the mattress to dry completely is essential for several reasons. Not only does it prevent the potential development of mold and mildew, but it also plays a key role in eliminating any remaining odors and ensuring that the mattress is fully restored to its original state of cleanliness.
Here's a detailed guide on how to effectively proceed with this vital phase of the cleanup:
-
Optimal Drying Conditions: Choose a well-ventilated area with ample airflow to place the mattress for drying. If possible, position it in direct sunlight, as the combination of fresh air and sunlight can work wonders in eliminating residual odors and moisture. Ensure that the chosen location is free from humidity and moisture, as these factors can impede the drying process.
-
Use of Fans or Air Circulation: To expedite the drying process, consider using fans or opening windows to promote air circulation around the mattress. This helps to facilitate the evaporation of any remaining moisture, ensuring that the fabric dries thoroughly and efficiently.
-
Patience is Key: Depending on the extent of the urine stain and the amount of cleaning solution applied, the drying process may take several hours to complete. Exercise patience and allow the mattress ample time to air-dry naturally. Avoid rushing this step, as thorough drying is crucial for achieving optimal results.
-
Check for Complete Dryness: Before proceeding to the next phase of the cleanup, carefully inspect the mattress to ensure that it is completely dry. This includes checking for any lingering dampness or moisture, particularly in the previously affected area. Running a hand over the surface and pressing gently can help determine if the fabric is fully dry.
By diligently following these steps and allowing the mattress to dry completely, you can effectively eliminate any remaining traces of moisture and odor, ensuring that the mattress is fully restored to its original state of cleanliness and freshness. This sets the stage for the final phase of the cleanup, which focuses on addressing any lingering odors and protecting the mattress for the future.
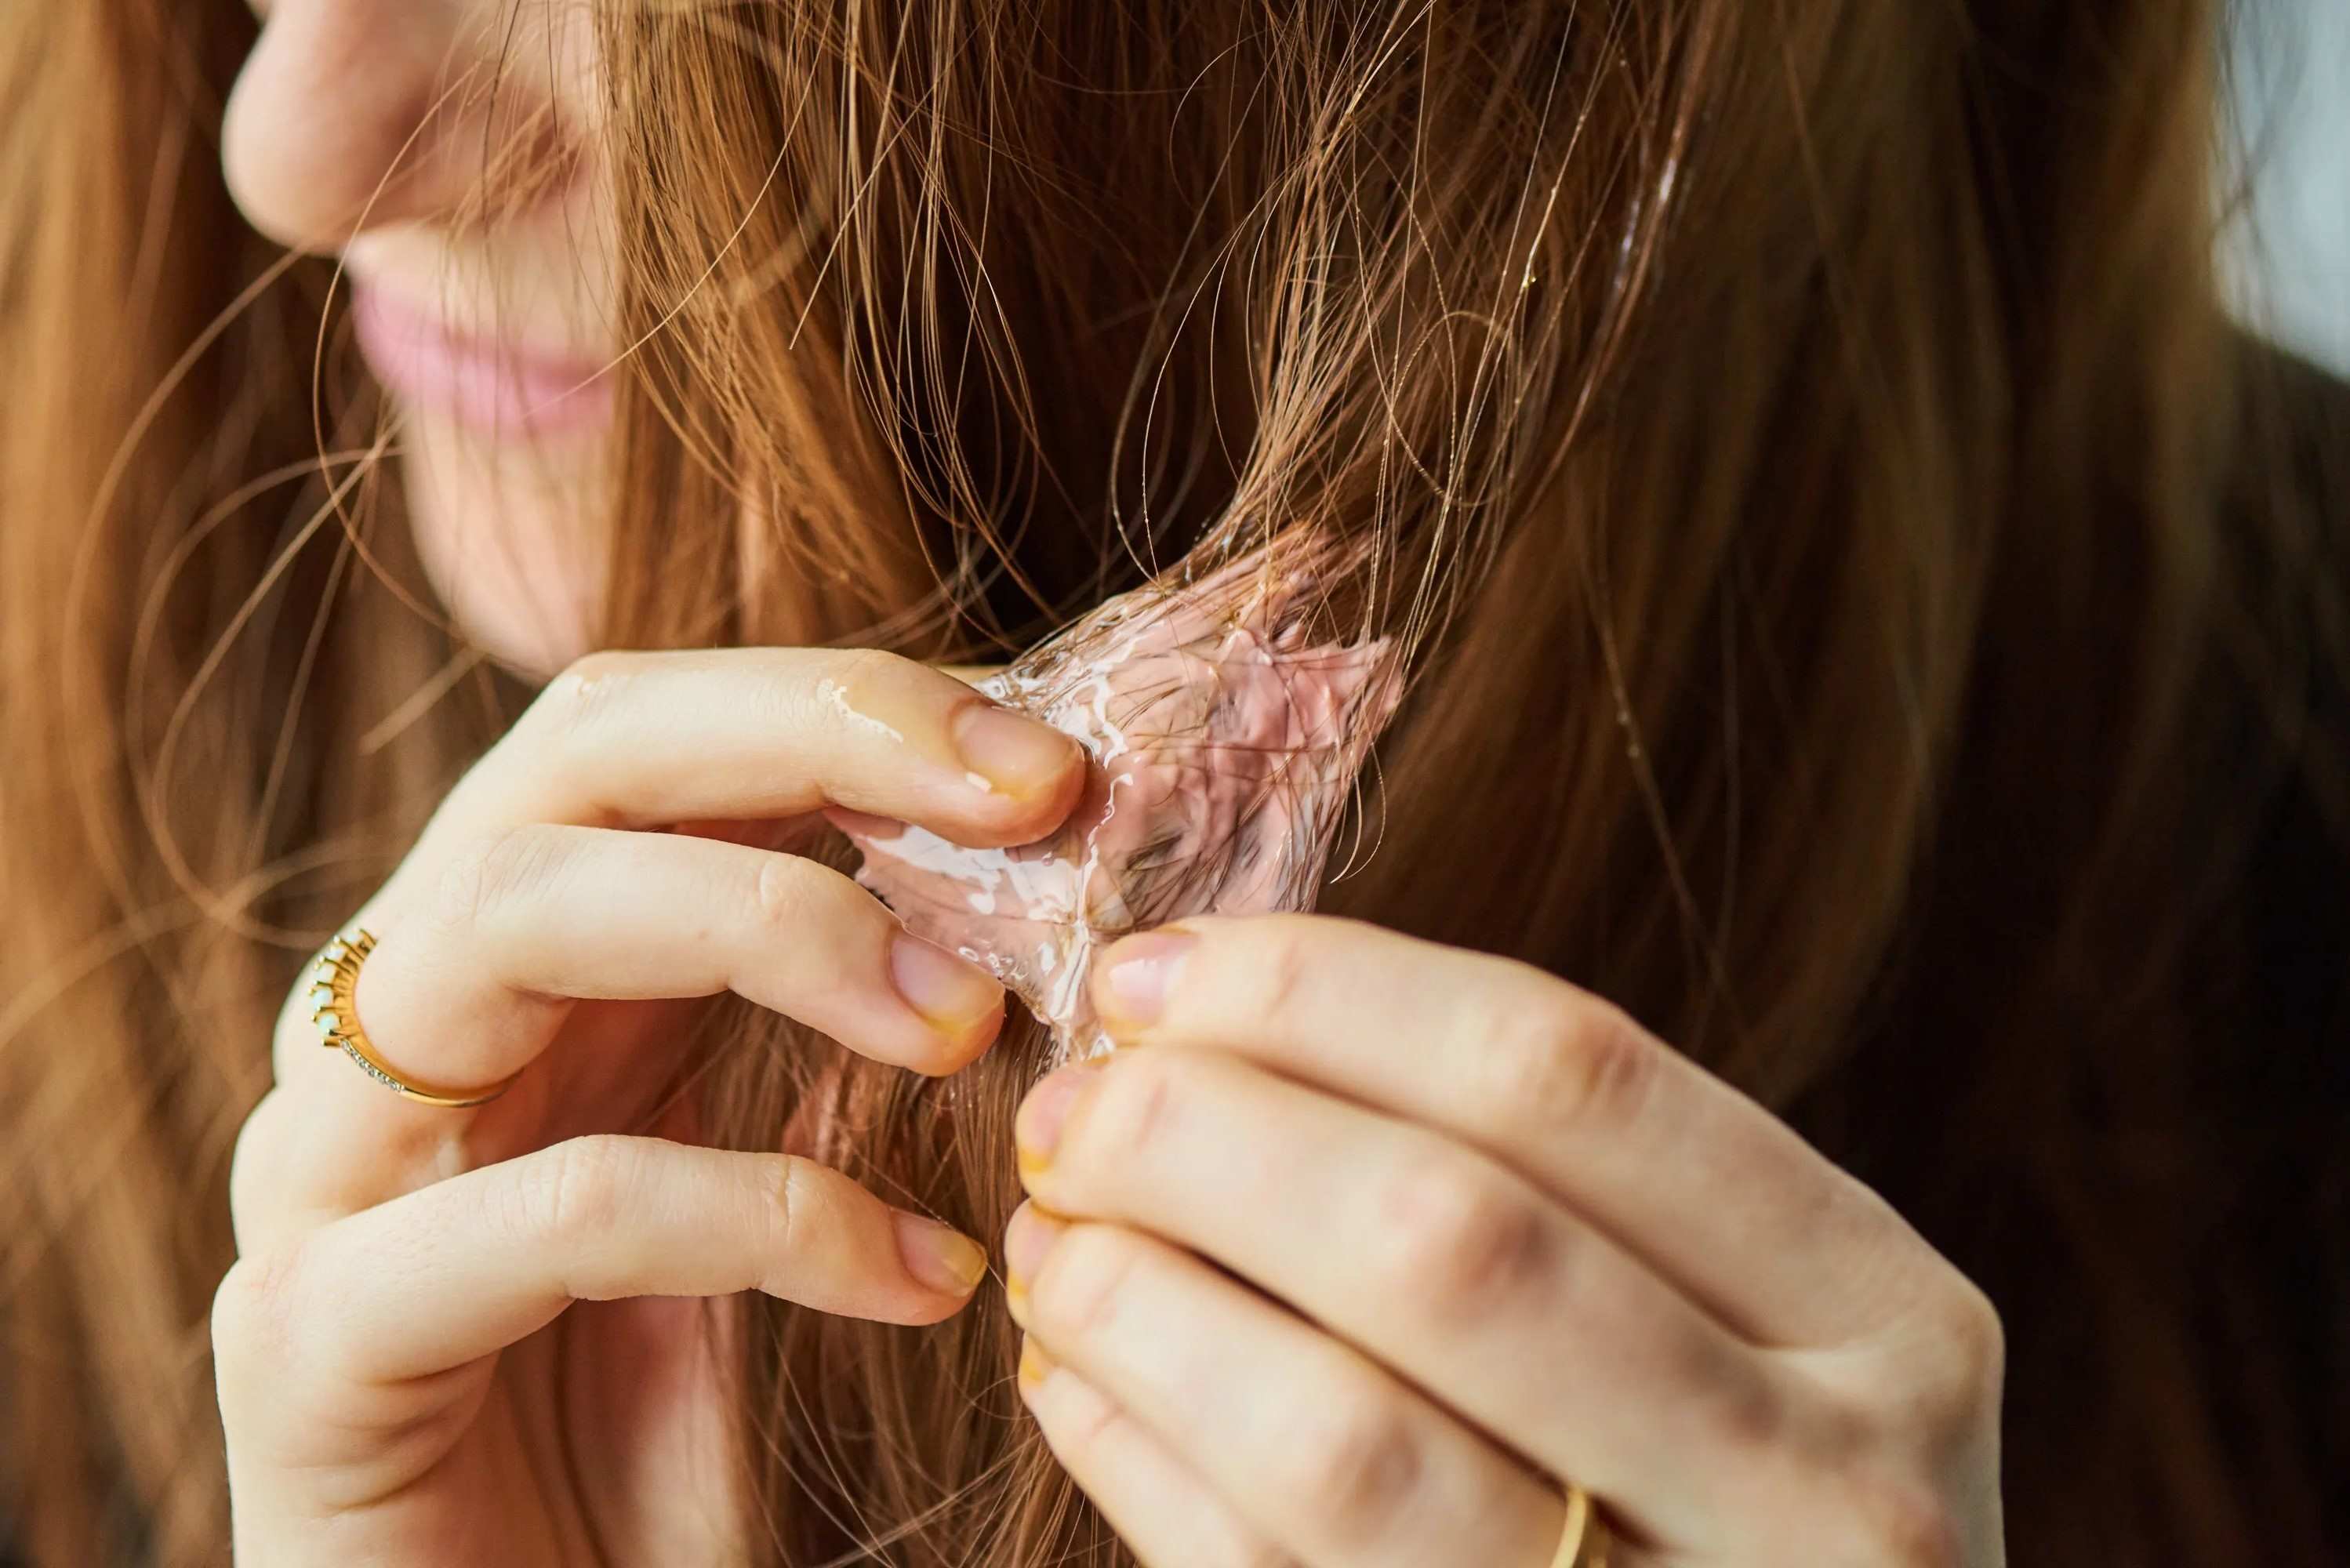
Step 4: Use Baking Soda to Remove Odor
Once the mattress has been thoroughly dried, the next crucial step in the cleanup process involves using baking soda to effectively eliminate any lingering odor resulting from the urine stain. Baking soda, also known as sodium bicarbonate, is renowned for its natural deodorizing properties and is widely recognized as a safe and effective odor-neutralizing agent. Here's a detailed guide on how to proceed with this essential phase of the cleanup:
-
Generously Apply Baking Soda: Begin by generously sprinkling a liberal amount of baking soda over the entire surface of the mattress, paying particular attention to the previously affected area. The fine powder texture of baking soda allows it to penetrate the fabric, effectively targeting and neutralizing any residual odor molecules trapped within the mattress.
-
Gently Work the Baking Soda In: Using a soft-bristled brush or your fingertips, gently work the baking soda into the fabric of the mattress. This helps to ensure that the powder reaches deep into the fibers, maximizing its deodorizing effect. Allow the baking soda to sit undisturbed on the mattress for a prolonged period, ideally overnight, to facilitate thorough odor absorption.
-
Vacuum the Baking Soda: After allowing the baking soda an ample period to work its magic, use a vacuum cleaner with a brush attachment to thoroughly remove the powder from the mattress. The vacuum's suction power effectively lifts the baking soda along with the absorbed odors, leaving the mattress fresh and revitalized.
-
Inspect and Repeat as Needed: Following the initial application and vacuuming of the baking soda, carefully inspect the mattress for any remaining traces of odor. If necessary, repeat the process of applying and vacuuming the baking soda until the desired level of odor removal is achieved.
By diligently following these steps and harnessing the natural deodorizing power of baking soda, you can effectively eliminate any lingering odor from the mattress, leaving it fresh, clean, and free from the unpleasant reminders of the previous stain. This sets the stage for the final phase of the cleanup, which focuses on protecting the mattress to prevent future incidents and maintain its pristine condition.
Read more: How To Get Urine Smell Out Of Clothes
Step 5: Protect the Mattress for the Future
After successfully addressing the urine stain and eliminating any lingering odor, it's essential to implement preventive measures to safeguard your mattress against future mishaps. By taking proactive steps to protect the mattress, you can minimize the risk of recurring stains and maintain its pristine condition for the long term.
Utilize a Waterproof Mattress Protector
Investing in a high-quality waterproof mattress protector is a proactive and effective way to shield your mattress from potential liquid-related accidents. These protective covers act as a barrier against spills, stains, and moisture, effectively safeguarding the mattress without compromising comfort. When selecting a mattress protector, opt for a breathable and hypoallergenic option to ensure optimal comfort and hygiene.
Establish Clear House Rules
If pets or young children are present in the household, establishing clear house rules regarding food and drink consumption in bed can significantly reduce the likelihood of future accidents. Encourage the consumption of beverages and snacks in designated areas away from the mattress to minimize the risk of spills and stains.
Regular Maintenance and Inspection
Incorporate regular maintenance and inspection of the mattress into your household routine. This includes periodic vacuuming to remove dust and debris, as well as thorough inspections for any signs of wear, tear, or potential vulnerabilities. By staying proactive and attentive to the mattress's condition, you can address minor issues before they escalate into larger problems.
Read more: How To Get Urine Out Of Car Seat
Immediate Spot Cleaning
In the event of a spill or accident, prompt spot cleaning is crucial to prevent stains from setting into the mattress. Keep a designated spot cleaning kit readily available, containing gentle cleaning solutions and absorbent materials to address accidents swiftly and effectively.
Rotate and Flip the Mattress
To promote even wear and minimize the development of permanent indentations, consider rotating and flipping the mattress regularly. This practice helps distribute the impact of body weight and usage, extending the mattress's lifespan and maintaining its supportive qualities.
By implementing these proactive measures, you can effectively protect your mattress from future mishaps and ensure that it remains a clean, comfortable, and hygienic sleeping surface for years to come. These preventive strategies not only safeguard the mattress but also contribute to a healthier and more enjoyable sleeping environment for you and your family.