Home>Food and Cooking>How To Wash Grapes
Food and Cooking
How To Wash Grapes
Published: March 1, 2024
Learn the best methods for washing grapes to ensure they are clean and safe to eat. Discover expert tips for food safety and cooking hygiene.
(Many of the links in this article redirect to a specific reviewed product. Your purchase of these products through affiliate links helps to generate commission for Noodls.com, at no extra cost. Learn more)
Table of Contents
Introduction
Washing grapes before consuming them is an essential step to ensure that they are clean and safe to eat. Grapes, like many other fruits, can harbor dirt, pesticides, and bacteria, making it crucial to thoroughly wash them before enjoying their sweet and juicy goodness. Whether you have a bunch of succulent red grapes or a cluster of plump green ones, proper washing can help remove any residues and contaminants, allowing you to savor the natural flavors without any concerns.
In this comprehensive guide, we will walk you through the step-by-step process of washing grapes, providing you with valuable insights on how to ensure that your grapes are clean and ready to eat. From gathering the necessary supplies to the final step of drying the grapes, we will cover everything you need to know to make this essential task a breeze.
So, if you've ever wondered about the best way to wash grapes or simply want to ensure that your favorite snack is as clean and delicious as possible, you've come to the right place. Let's dive into the details and learn how to properly wash grapes for a delightful and worry-free snacking experience.
Read more: How To Clean Grapes
Step 1: Gather Your Supplies
Before embarking on the grape-washing journey, it's essential to gather all the necessary supplies. Here's what you'll need:
-
Fresh Grapes: Start with a bunch of fresh, plump grapes of your choice. Whether you prefer the sweetness of red grapes or the crispness of green ones, ensure that they are ripe and free from any visible damage.
-
Colander or Strainer: A colander or strainer will be your best friend during the grape-washing process. Opt for one with small holes to prevent the grapes from falling through.
-
White Vinegar (Optional): While not mandatory, white vinegar can be used to create a simple and effective cleaning solution for the grapes. It helps to remove any lingering pesticides or bacteria.
-
Baking Soda (Optional): Another natural cleaning agent, baking soda can be used in place of or in addition to white vinegar to ensure thorough cleaning of the grapes.
-
Clean Towels or Paper Towels: Having clean towels or paper towels on hand will allow you to dry the grapes after washing, ensuring that they are ready to be enjoyed.
-
Bowls or Containers: You'll need a couple of bowls or containers to hold the grapes during the washing and soaking process. Opt for ones that are large enough to accommodate the grapes without overcrowding.
-
Water: Last but not least, you'll need a generous supply of water for rinsing and soaking the grapes. Ensure that the water is clean and preferably cold to maintain the freshness of the grapes.
By gathering these supplies, you'll be well-prepared to embark on the grape-washing process, setting the stage for clean, delicious, and worry-free snacking. Now that you have everything you need, it's time to move on to the next step and dive into the art of grape washing.
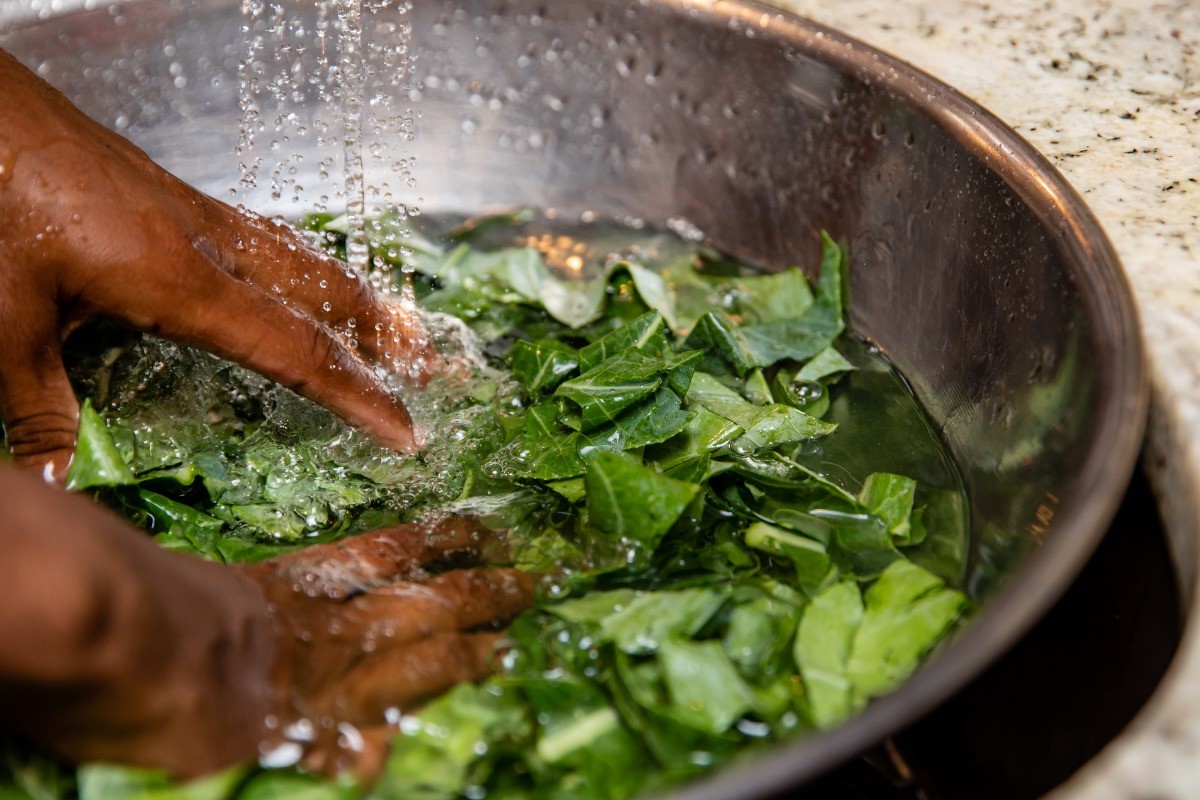
Step 2: Rinse the Grapes
Once you have gathered all the necessary supplies, it's time to begin the grape-washing process. Rinsing the grapes is the initial step in ensuring that they are free from any surface dirt, pesticides, or other contaminants. Follow these simple yet effective steps to thoroughly rinse your grapes:
-
Place the Grapes in a Colander: Start by placing the fresh grapes in a colander or strainer. This allows for easy handling and ensures that the grapes are contained during the rinsing process.
-
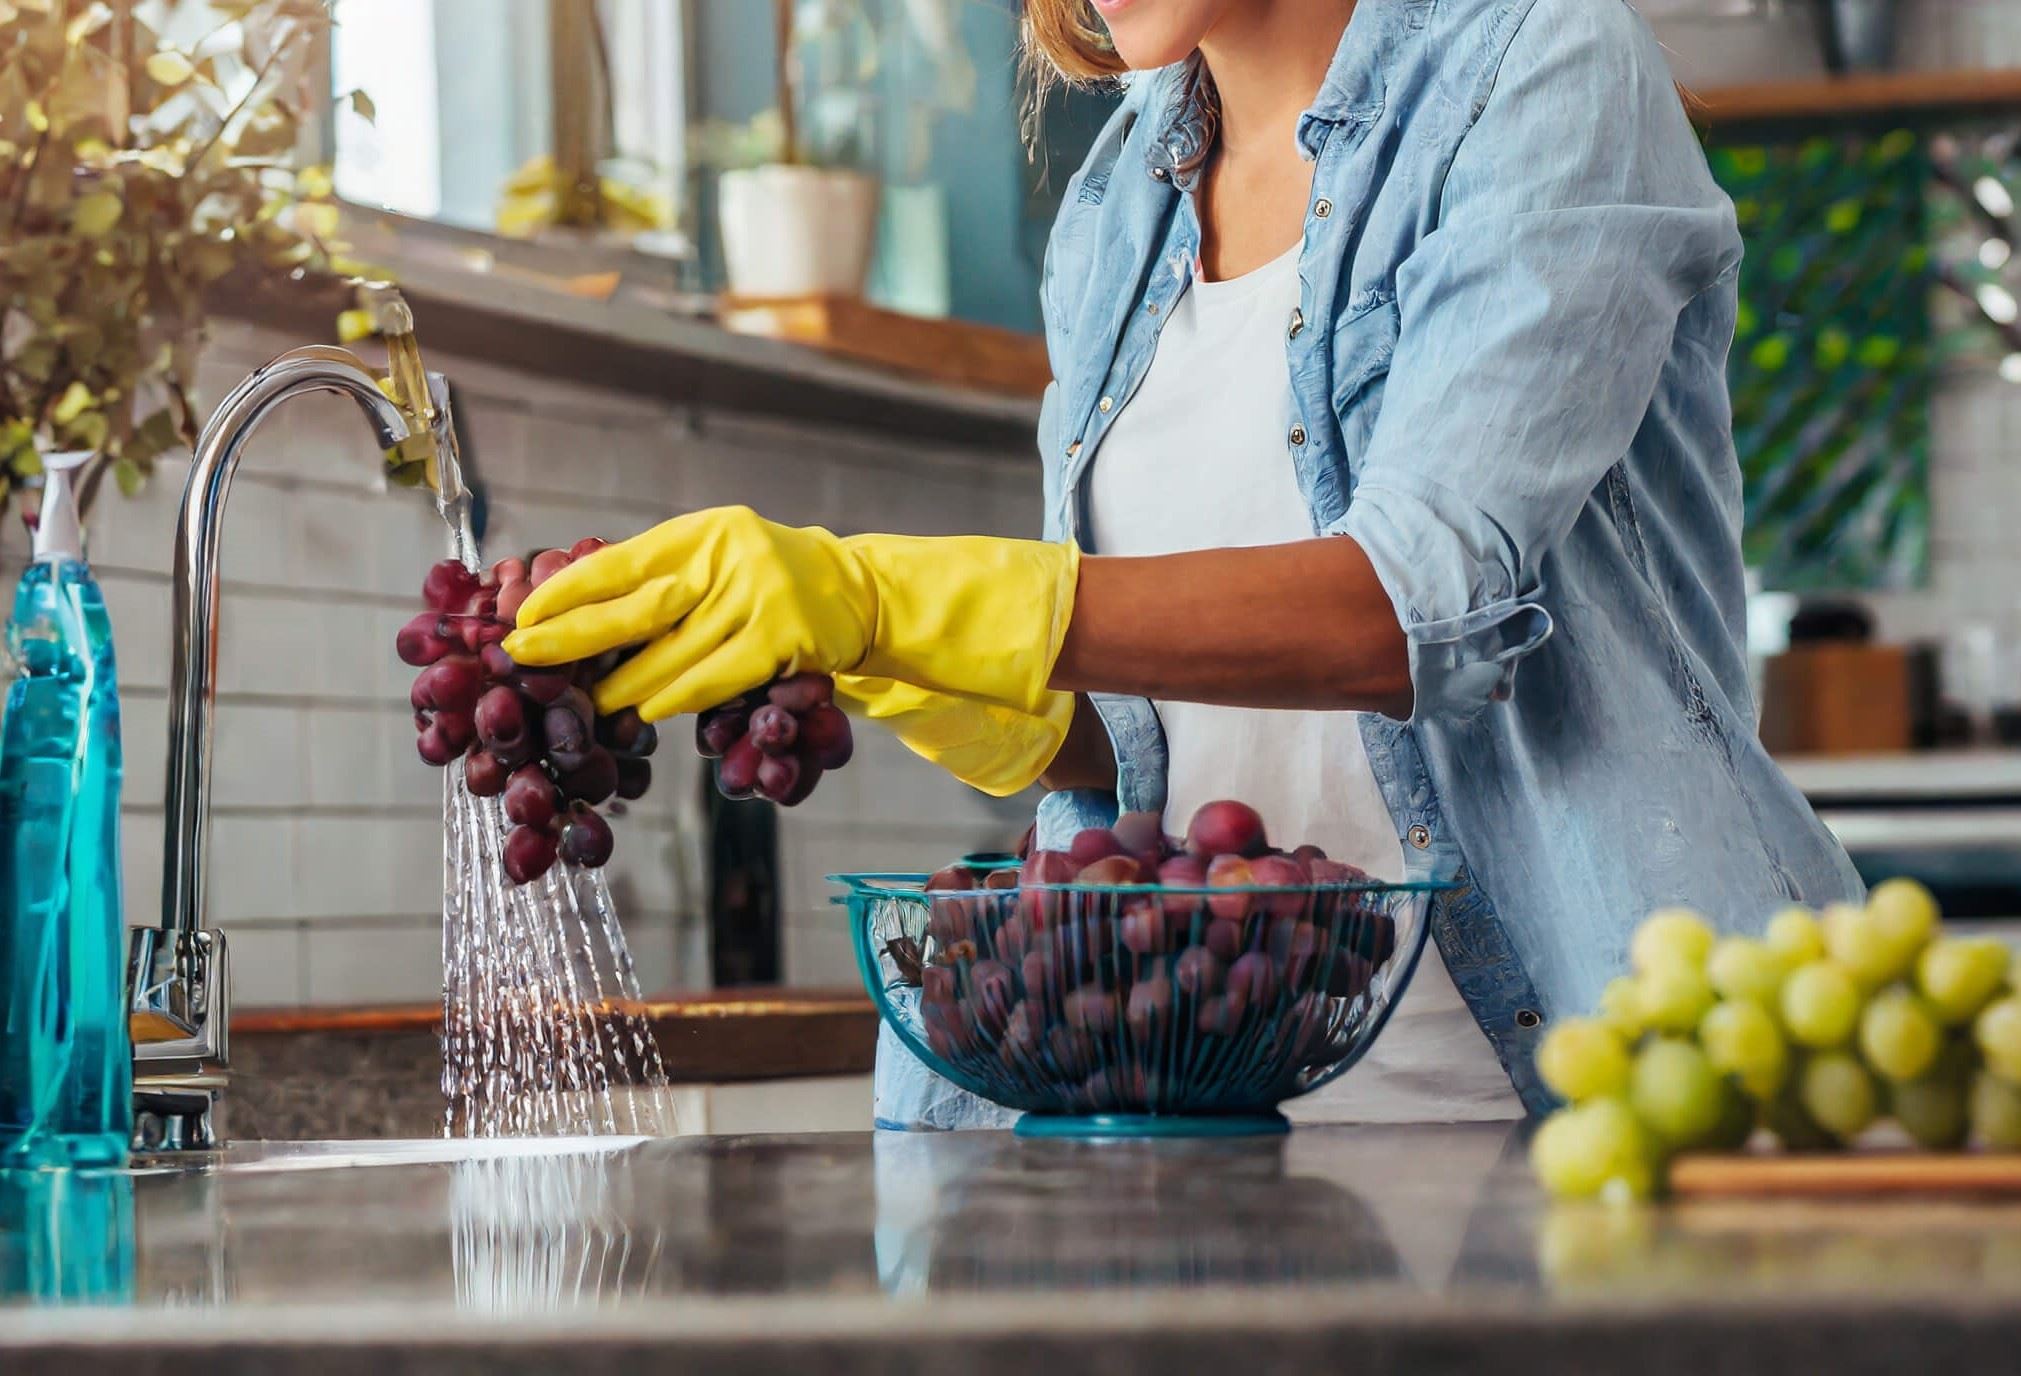
Run Cold Water Over the Grapes: Position the colander under the faucet and allow a gentle stream of cold water to flow over the grapes. The water should be at a moderate pressure, enough to dislodge any dirt or residues from the grape skins without causing damage.
-
Gently Swirl the Grapes: While rinsing, gently swirl the grapes in the colander with your hands. This helps to ensure that all the grapes are thoroughly rinsed and that any contaminants are washed away.
-
Inspect the Grapes: As you rinse, take a moment to inspect the grapes. Look for any visible debris, such as dirt or stems, and remove them as needed. This simple visual check ensures that the grapes are clean and ready for the next step.
-
Optional: Use White Vinegar or Baking Soda: For an extra level of cleaning, consider adding a splash of white vinegar or a small amount of baking soda to the water while rinsing the grapes. These natural ingredients can help to further remove any lingering pesticides or bacteria.
-
Continue Rinsing Until Clean: Repeat the rinsing process as needed until the water runs clear and the grapes appear clean. This ensures that any residues or contaminants are thoroughly removed, leaving you with fresh and clean grapes.
By following these steps, you can effectively rinse your grapes, setting the stage for the subsequent soaking and drying processes. With the grapes now clean and free from surface impurities, you are one step closer to enjoying a delightful and worry-free snacking experience.
Step 3: Soak the Grapes
After rinsing the grapes to remove any surface impurities, the next crucial step in the grape-washing process is to soak them. Soaking the grapes serves multiple purposes, including further cleansing and ensuring that any remaining residues, such as pesticides or dirt, are effectively removed. Additionally, soaking can help to enhance the overall freshness of the grapes, making them even more enjoyable to eat.
To soak the grapes effectively, follow these simple yet essential steps:
-
Prepare a Cleaning Solution: In a clean bowl or container, create a simple cleaning solution by combining cold water with a splash of white vinegar or a small amount of baking soda. Both white vinegar and baking soda are natural cleaning agents that can help to eliminate any lingering contaminants on the grapes.
-
Submerge the Grapes: Place the freshly rinsed grapes into the cleaning solution, ensuring that they are fully submerged. The grapes should be allowed to soak for a few minutes, allowing the cleaning solution to work its magic in removing any remaining impurities.
-
Gently Agitate the Grapes: While the grapes are soaking, gently agitate them in the cleaning solution. This gentle agitation helps to dislodge any stubborn residues and ensures that the cleaning solution reaches all parts of the grapes, leaving no surface untouched.
-
Inspect and Rinse Again: After the soaking process, carefully inspect the grapes to ensure that they appear clean and free from any contaminants. Once satisfied, proceed to rinse the grapes once more under cold running water to remove the cleaning solution and any loosened residues.
-
Pat Dry the Grapes: Once the grapes have been thoroughly rinsed, gently pat them dry using clean towels or paper towels. This step ensures that excess moisture is removed, leaving the grapes fresh and ready to be enjoyed.
By following these steps, you can effectively soak the grapes, ensuring that they are clean, fresh, and free from any lingering impurities. This process sets the stage for the final step of drying the grapes, bringing you one step closer to indulging in a delightful and worry-free snacking experience.
Step 4: Rinse Again
After the soaking process, it's crucial to give the grapes a final rinse to ensure that any remnants of the cleaning solution and loosened impurities are thoroughly removed. This step plays a pivotal role in guaranteeing that the grapes are pristine, fresh, and ready to be savored without any concerns.
To execute the final rinsing process effectively, follow these essential steps:
-
Rinse Under Cold Running Water: Place the soaked grapes back into the colander or strainer and position it under the faucet. Allow a gentle stream of cold water to flow over the grapes, ensuring that all traces of the cleaning solution are washed away. The water should be at a moderate pressure, enough to dislodge any remaining residues without causing damage to the grapes.
-
Gently Swirl and Inspect: While rinsing, gently swirl the grapes in the colander with your hands to ensure that all surfaces are thoroughly rinsed. Take this opportunity to inspect the grapes once more, checking for any lingering impurities or signs of debris. If you notice any remaining residues, continue rinsing until the water runs clear and the grapes appear clean.
-
Remove Excess Water: Once the final rinsing is complete, gently shake the colander to remove excess water from the grapes. This step helps to prevent the grapes from retaining excess moisture, ensuring that they maintain their desirable texture and flavor.
-
Transfer to a Clean Surface: After rinsing, transfer the grapes to a clean surface, such as a dry colander or a layer of clean towels. This allows any remaining water to drain off, further contributing to the drying process.
By diligently following these steps, you can ensure that the grapes undergo a thorough final rinsing, leaving them impeccably clean and free from any traces of the cleaning solution or lingering impurities. With the grapes now freshly rinsed and ready for the next phase, you are one step closer to relishing a delightful and worry-free snacking experience.
The final rinsing step sets the stage for the concluding phase of drying the grapes, bringing you closer to enjoying these delectable fruits in their purest form.
Read more: How To Wash Sticky Bras
Step 5: Dry the Grapes
Drying the grapes is the final step in the grape-washing process, and it is crucial to ensure that the grapes are ready to be enjoyed in their freshest state. Properly drying the grapes not only removes excess moisture but also sets the stage for a delightful snacking experience, allowing you to savor the natural sweetness and juiciness of the fruit without any unwanted dampness.
To effectively dry the grapes, follow these essential steps:
-
Gently Pat Dry: After the final rinsing, gently pat the grapes dry using clean towels or paper towels. Carefully place the grapes on the towels and lightly press them with another layer of towels to absorb any remaining moisture. This gentle patting ensures that the grapes are not excessively handled, preserving their delicate texture and preventing any damage to the fruit.
-
Air Drying: Once the excess moisture has been removed through gentle patting, allow the grapes to air dry for a brief period. Transfer the grapes to a clean, dry surface, such as a fresh layer of paper towels or a clean colander, and let them sit for a few minutes. This short air-drying period allows any remaining water droplets to evaporate naturally, leaving the grapes with a desirable level of dryness.
-
Inspect for Dryness: While the grapes air dry, take a moment to inspect them for any lingering moisture. Ensure that the grapes appear dry to the touch and that no visible water droplets remain on the surface. This visual inspection confirms that the grapes have reached an optimal level of dryness, setting the stage for a delightful snacking experience.
By diligently following these steps, you can effectively dry the grapes, ensuring that they are free from excess moisture and ready to be enjoyed in their purest form. With the grapes now clean, fresh, and impeccably dried, you are all set to indulge in a delightful and worry-free snacking experience, savoring the natural flavors and juiciness of these delectable fruits.
The process of drying the grapes marks the culmination of the grape-washing journey, bringing you closer to relishing a wholesome and satisfying snacking experience.
Conclusion
In conclusion, the process of washing grapes is a fundamental step in ensuring that these delectable fruits are clean, safe, and ready to be enjoyed in their purest form. By following the step-by-step guide outlined in this comprehensive article, you can effectively wash grapes, removing any surface impurities, residues, and contaminants, and setting the stage for a delightful and worry-free snacking experience.
From gathering the necessary supplies to the final step of drying the grapes, each phase of the grape-washing process plays a crucial role in guaranteeing that the grapes are pristine and fresh. The initial rinsing step serves to remove any visible dirt and impurities, while the subsequent soaking process further cleanses the grapes, ensuring that any lingering residues, such as pesticides or bacteria, are effectively eliminated. The final rinsing and drying steps complete the process, leaving the grapes impeccably clean, free from excess moisture, and ready to be savored.
By incorporating optional natural cleaning agents such as white vinegar or baking soda, you can enhance the cleansing power of the washing process, providing an additional level of assurance that the grapes are thoroughly clean and safe to eat. Furthermore, the use of cold water throughout the process helps to maintain the freshness and natural crispness of the grapes, ensuring that their flavor and texture remain uncompromised.
As you embark on the journey of washing grapes, it's important to approach the task with care and attention to detail, ensuring that each grape receives the necessary cleansing and drying. This dedication to cleanliness not only contributes to a delightful snacking experience but also provides peace of mind, knowing that the grapes have been meticulously prepared for consumption.
Ultimately, the art of washing grapes is a simple yet essential practice that allows you to fully enjoy the natural sweetness, juiciness, and flavors of these beloved fruits. Whether you're indulging in a refreshing snack or incorporating grapes into culinary creations, the process of washing them thoroughly ensures that they are not only delicious but also safe and clean, allowing you to savor every bite without any concerns.
So, the next time you reach for a bunch of fresh, vibrant grapes, remember the valuable insights shared in this guide, and embark on the grape-washing journey with confidence, knowing that you are taking the necessary steps to enjoy these delightful fruits to the fullest. Cheers to clean, fresh, and worry-free grapes – here's to wholesome snacking at its best!