Home>Home and Garden>How To Remove Window Tint
Home and Garden
How To Remove Window Tint
Published: March 1, 2024
Learn how to remove window tint from your home and garden with our easy step-by-step guide. Say goodbye to old, peeling tint and hello to clear, unobstructed views!
(Many of the links in this article redirect to a specific reviewed product. Your purchase of these products through affiliate links helps to generate commission for Noodls.com, at no extra cost. Learn more)
Table of Contents
Introduction
Removing window tint can be a daunting task, but with the right tools and techniques, it can be accomplished effectively. Whether you're looking to replace old, faded tint or simply prefer the clear, unobstructed view of untinted windows, this guide will walk you through the step-by-step process of removing window tint from your home or car windows.
Over time, window tint can deteriorate, bubble, or become discolored, diminishing its aesthetic appeal and functionality. Additionally, if the tint was improperly installed or has surpassed its lifespan, it may start to peel, making it necessary to remove and replace it. By following the methods outlined in this guide, you can successfully remove window tint and restore the clarity and appearance of your windows.
Before diving into the removal process, it's important to gather the necessary materials and understand the potential challenges that may arise. From heat application to careful peeling, each step requires precision and patience to achieve the best results. By taking the time to prepare and execute each step diligently, you can ensure a smooth and efficient window tint removal process.
In the following sections, we will delve into the specific steps required to remove window tint effectively. From preparing the materials and the window tint for removal to the final cleaning process, each step plays a crucial role in achieving a pristine, tint-free window surface. By the end of this guide, you will be equipped with the knowledge and confidence to tackle the task of removing window tint with ease and precision. Let's embark on this journey to restore the clarity and visual appeal of your windows.
Read more: How To Remove Old Window Tint
Step 1: Gather the necessary materials
Before embarking on the process of removing window tint, it's essential to gather the required materials to ensure a smooth and efficient procedure. Here's a comprehensive list of the necessary tools and supplies:
-
Heat Gun or Hair Dryer: A heat gun or hair dryer is essential for softening the adhesive that binds the tint to the window. The application of heat facilitates the loosening of the tint, making it easier to peel off.
-
Razor Blade or Utility Knife: A sharp razor blade or utility knife is crucial for carefully lifting and removing the tint from the window surface. It allows for precise cutting and peeling, minimizing the risk of damaging the glass.
-
Glass Cleaner: Having a high-quality glass cleaner on hand is important for thoroughly cleaning the window surface after the tint has been removed. This helps to eliminate any remaining adhesive residue and ensures a clear, pristine finish.
-
Microfiber Cloth or Paper Towels: These are essential for wiping and drying the window surface during the cleaning process. A microfiber cloth is preferred as it is gentle on the glass and helps to prevent streaking.
-
Plastic Sheeting or Garbage Bags: Covering the interior of the car or protecting the surrounding area when working on home windows is crucial to prevent mess and damage. Plastic sheeting or garbage bags can be used to cover the interior and create a controlled work environment.
-
Adhesive Remover: In some cases, adhesive residue may remain on the window after the tint has been peeled off. An adhesive remover can effectively dissolve and eliminate any stubborn adhesive, ensuring a clean and smooth window surface.
-
Protective Gloves: It's important to protect your hands during the removal process. Wearing protective gloves safeguards your skin from potential cuts and exposure to adhesive residue.
By ensuring that you have all the necessary materials at your disposal, you can proceed with confidence, knowing that you are well-equipped to tackle the task of removing window tint effectively and safely. With these tools and supplies in hand, you are ready to move on to the next step in the window tint removal process.
Step 2: Prepare the window tint for removal
Before initiating the actual removal of the window tint, it is crucial to prepare the tint and the surrounding area for the process. Proper preparation sets the stage for a more efficient and successful removal, minimizing potential complications and ensuring a smoother experience. Here's a detailed breakdown of the essential steps involved in preparing the window tint for removal:
1. Assess the Condition of the Tint
Begin by assessing the condition of the window tint. Check for any signs of damage, such as peeling, bubbling, or discoloration. Understanding the state of the tint will help you anticipate potential challenges during the removal process. If the tint is severely deteriorated or damaged, extra care may be required to avoid further complications.
2. Protect the Surrounding Area
Whether you are working on a car window or a home window, it's important to protect the surrounding area from potential damage and mess. Use plastic sheeting or garbage bags to cover the interior of the car or the adjacent surfaces around home windows. This precautionary measure helps contain any debris or adhesive residue that may result from the removal process, ensuring a tidy work environment.
Read more: How To Remove Tint
3. Create a Controlled Work Environment
To facilitate a more controlled and effective removal process, consider working in a well-ventilated area. Adequate ventilation helps disperse any fumes that may arise from the application of heat or adhesive remover. Additionally, ample lighting is essential for clear visibility during the removal process, enabling you to identify and address any areas of concern with precision.
4. Gather Protective Gear
Prioritize your safety by wearing protective gloves to shield your hands from potential cuts and exposure to adhesive residue. Additionally, consider wearing safety goggles to protect your eyes from any debris that may dislodge during the removal process. By equipping yourself with the necessary protective gear, you can proceed with confidence and minimize the risk of injury.
5. Familiarize Yourself with the Window Structure
Take a moment to familiarize yourself with the construction of the window, especially if you are working on a car window with defroster lines or antennas. Understanding the layout of the window will help you navigate the removal process more effectively, ensuring that delicate components are not compromised during the tint removal.
By meticulously preparing the window tint and the surrounding environment, you are laying a solid foundation for a successful removal process. These preparatory measures not only contribute to a smoother removal experience but also prioritize safety and precision, setting the stage for the subsequent steps in the window tint removal journey.
Step 3: Apply heat to the window tint
The application of heat is a critical step in the process of removing window tint. By softening the adhesive that binds the tint to the window surface, heat facilitates the separation of the tint from the glass, making it easier to peel off. There are several methods for applying heat to the window tint, each with its own advantages and considerations.
Method 1: Heat Gun
Using a heat gun is a popular and effective approach for applying heat to the window tint. When using a heat gun, it is important to set it to a moderate temperature to avoid damaging the glass or causing the tint to melt excessively. Begin by holding the heat gun a few inches away from the tint and moving it in a sweeping motion across the surface. The goal is to evenly distribute the heat, allowing it to penetrate the tint and soften the adhesive underneath.
Method 2: Hair Dryer
For those who do not have access to a heat gun, a hair dryer can serve as a viable alternative. While a hair dryer may not generate as much heat as a heat gun, it can still effectively soften the adhesive when used patiently and methodically. Similar to the heat gun method, hold the hair dryer a few inches away from the tint and move it consistently across the surface to ensure uniform heating.
Considerations
Regardless of the method chosen, it is important to exercise caution and patience when applying heat to the window tint. Avoid concentrating the heat in one area for too long, as this can lead to overheating and potential damage to the glass. Additionally, be mindful of the temperature, ensuring that it is sufficient to soften the adhesive without causing the tint to become overly fragile or prone to tearing.
By applying heat to the window tint, you are preparing the adhesive for the subsequent peeling process. The gentle and consistent application of heat is a crucial preparatory step that sets the stage for the successful removal of the tint. With the adhesive sufficiently softened, the next step of peeling off the window tint becomes more manageable and less likely to result in damage to the glass surface.
In the next section, we will delve into the precise techniques for peeling off the window tint, building upon the foundation laid by the application of heat.
Step 4: Peel off the window tint
With the window tint now adequately heated and the adhesive softened, the next step involves carefully peeling off the tint from the glass surface. This process requires patience and precision to ensure that the tint is removed without leaving behind residue or causing damage to the window.
Read more: How To Remove Blinds
Technique 1: Starting the Peeling Process
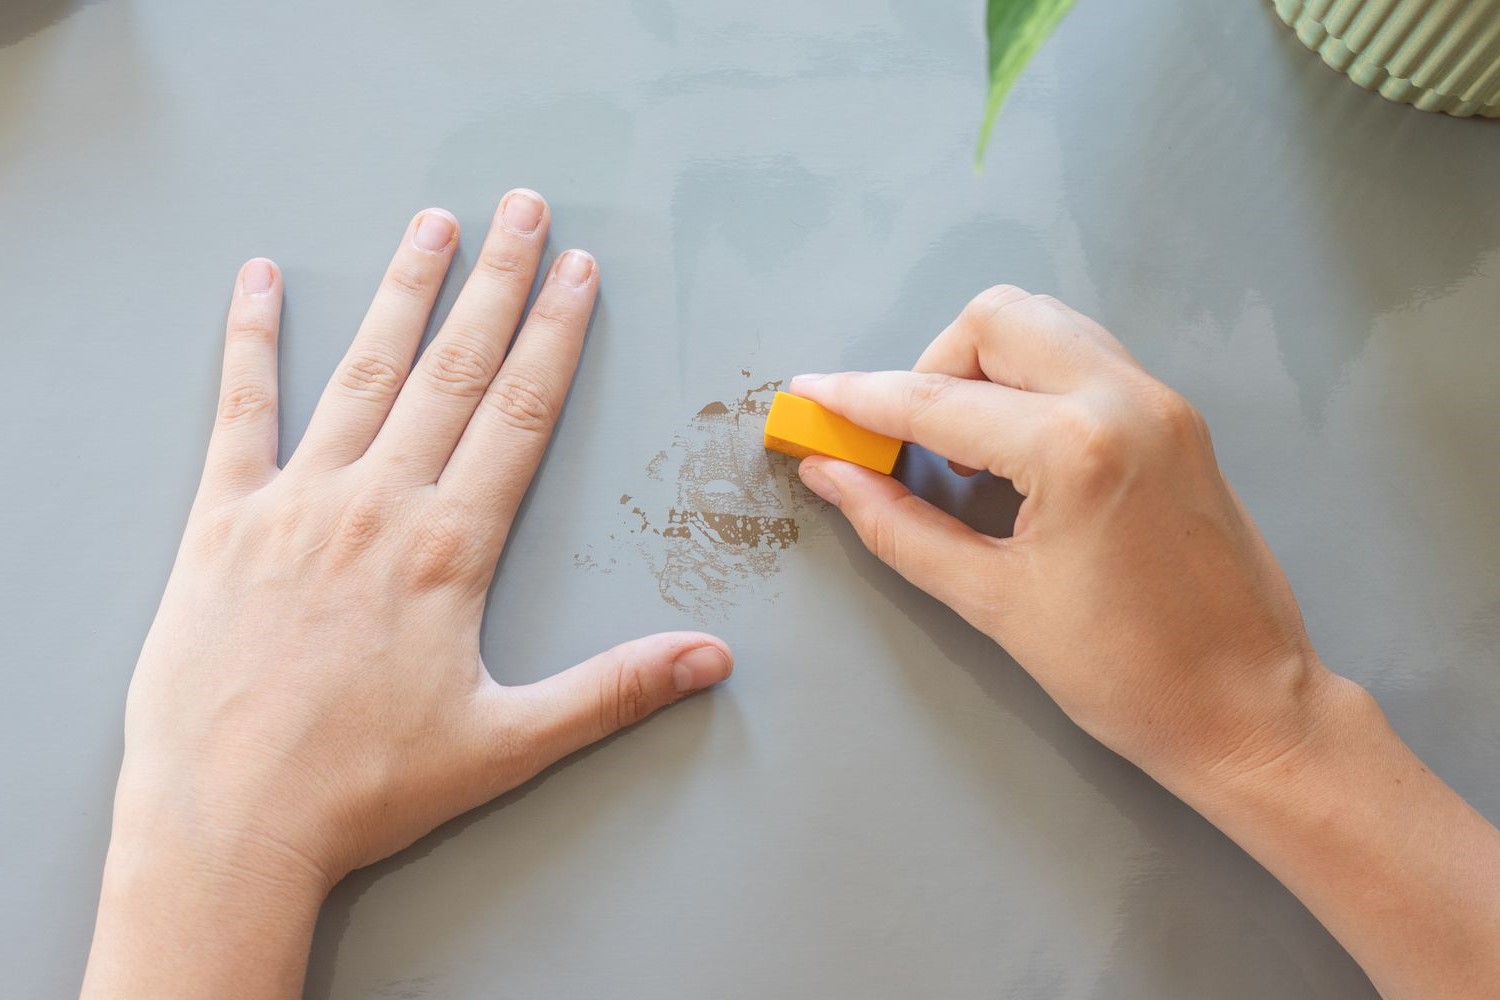
Begin by using a razor blade or utility knife to lift a corner of the tint gently. It's crucial to approach this step with caution, ensuring that the blade does not come into direct contact with the glass to prevent scratches or damage. Once a corner of the tint has been lifted, grasp it firmly between your fingers and slowly peel it away from the glass.
Technique 2: Peeling in Sections
As you continue to peel off the tint, work in small sections to maintain control and minimize the risk of tearing. If the tint resists peeling or becomes difficult to manage, apply additional heat using the heat gun or hair dryer to soften the adhesive further. This will make the tint more pliable and easier to remove without leaving behind stubborn residue.
Technique 3: Addressing Adhesive Residue
In some instances, adhesive residue may remain on the glass after the tint has been peeled off. To address this, use an adhesive remover and a clean, lint-free cloth to gently rub and dissolve any lingering adhesive. It's important to use the adhesive remover sparingly and follow the manufacturer's instructions to prevent damage to the glass.
Technique 4: Ensuring a Clean Finish
Once the tint and any adhesive residue have been successfully removed, use a high-quality glass cleaner and a microfiber cloth to thoroughly clean the window surface. This final step ensures that any remaining traces of adhesive or debris are eliminated, leaving the glass clear and pristine.
By employing these techniques and taking a meticulous approach to the peeling process, you can effectively remove the window tint without compromising the integrity of the glass. The combination of heat application and careful peeling allows for a smooth and efficient removal, setting the stage for the final step of cleaning the window thoroughly.
In the subsequent section, we will explore the importance of thorough cleaning and the specific methods for achieving a polished, tint-free window surface.
Read more: How To Remove A Dishwasher
Step 5: Clean the window thoroughly
After successfully removing the window tint and addressing any adhesive residue, the final step involves thoroughly cleaning the window to ensure a clear and pristine finish. This crucial stage not only enhances the visual appeal of the glass but also eliminates any remaining traces of adhesive or debris, leaving the window surface immaculate.
1. Application of Glass Cleaner
Begin by applying a high-quality glass cleaner to the entire window surface. Choose a cleaner specifically formulated for automotive or residential windows, as these are designed to effectively dissolve and lift dirt, grime, and residual adhesive. Spray the cleaner generously onto the glass, ensuring complete coverage.
2. Wiping with a Microfiber Cloth
Using a clean microfiber cloth, gently wipe the window in a circular motion, working from top to bottom. The microfiber material is gentle on the glass and helps to prevent streaking, ensuring a polished and clear finish. Pay particular attention to any areas where adhesive residue was present, as thorough wiping will help eliminate any remaining traces.
3. Inspecting for Residue
After the initial cleaning, inspect the window surface carefully for any remaining adhesive residue or stubborn spots. If any residue is detected, apply a small amount of adhesive remover to a clean section of the microfiber cloth and gently rub the affected areas. Exercise caution to avoid excessive use of the adhesive remover, as it should be applied sparingly to prevent damage to the glass.
Read more: How To Remove A Broken Bolt
4. Final Wipe Down
Once the adhesive residue has been addressed, perform a final wipe down of the window using a fresh microfiber cloth. This ensures that any lingering traces of adhesive remover or remaining debris are completely removed, leaving the window surface pristine and free of any blemishes.
5. Evaluation of Clarity
Take a moment to evaluate the clarity of the window after the thorough cleaning process. Ensure that there are no streaks, smudges, or residual marks present. The goal is to achieve a crystal-clear finish that restores the window to its original transparency.
By meticulously following these cleaning steps, you can achieve a polished and immaculate window surface, free from the remnants of the removed tint and adhesive. This final stage marks the completion of the window tint removal process, leaving you with clear, pristine windows that enhance the aesthetic appeal of your car or home.
Conclusion
In conclusion, the process of removing window tint involves a series of meticulous steps that culminate in the restoration of clear, pristine windows. By following the outlined methods and techniques, you can effectively eliminate old, deteriorated tint and adhesive residue, revitalizing the visual appeal and functionality of your windows.
The journey begins with the gathering of essential materials, including a heat gun or hair dryer, razor blade or utility knife, glass cleaner, microfiber cloth, plastic sheeting or garbage bags, adhesive remover, and protective gloves. These tools and supplies form the foundation for a successful window tint removal process, ensuring that you are well-equipped to tackle the task with confidence and precision.
Preparation is key, as it sets the stage for a controlled and efficient removal experience. Assessing the condition of the tint, protecting the surrounding area, creating a controlled work environment, gathering protective gear, and familiarizing yourself with the window structure are vital preparatory measures that contribute to a smoother removal process.
The application of heat plays a pivotal role in softening the adhesive and preparing the tint for peeling. Whether using a heat gun or hair dryer, the gentle and consistent application of heat facilitates the separation of the tint from the glass, making it more pliable and easier to remove without causing damage.
Careful peeling, addressing adhesive residue, and thorough cleaning are the subsequent steps that ensure a seamless removal process. By employing precise techniques and taking a meticulous approach, you can successfully remove the tint and achieve a polished, tint-free window surface.
The final stage of thorough cleaning ensures that the window is free from any remaining adhesive or debris, resulting in a crystal-clear finish that enhances the overall appearance of your car or home. The culmination of these steps marks the completion of the window tint removal journey, leaving you with revitalized, unobstructed windows that elevate the aesthetic and functional appeal of your space.
In essence, the process of removing window tint is a transformative endeavor that breathes new life into your windows, allowing natural light to illuminate your surroundings and providing a clear, unobstructed view. With the knowledge and techniques acquired from this guide, you are empowered to embark on the journey of window tint removal with confidence and precision, achieving remarkable results that enhance the beauty and clarity of your living or driving environment.