Home>Home and Garden>How To Clean Nespresso Machine
Home and Garden
How To Clean Nespresso Machine
Published: March 1, 2024
Learn how to properly clean your Nespresso machine at home with our easy-to-follow guide. Keep your machine in top condition for delicious coffee every time. Perfect for home and garden enthusiasts.
(Many of the links in this article redirect to a specific reviewed product. Your purchase of these products through affiliate links helps to generate commission for Noodls.com, at no extra cost. Learn more)
Table of Contents
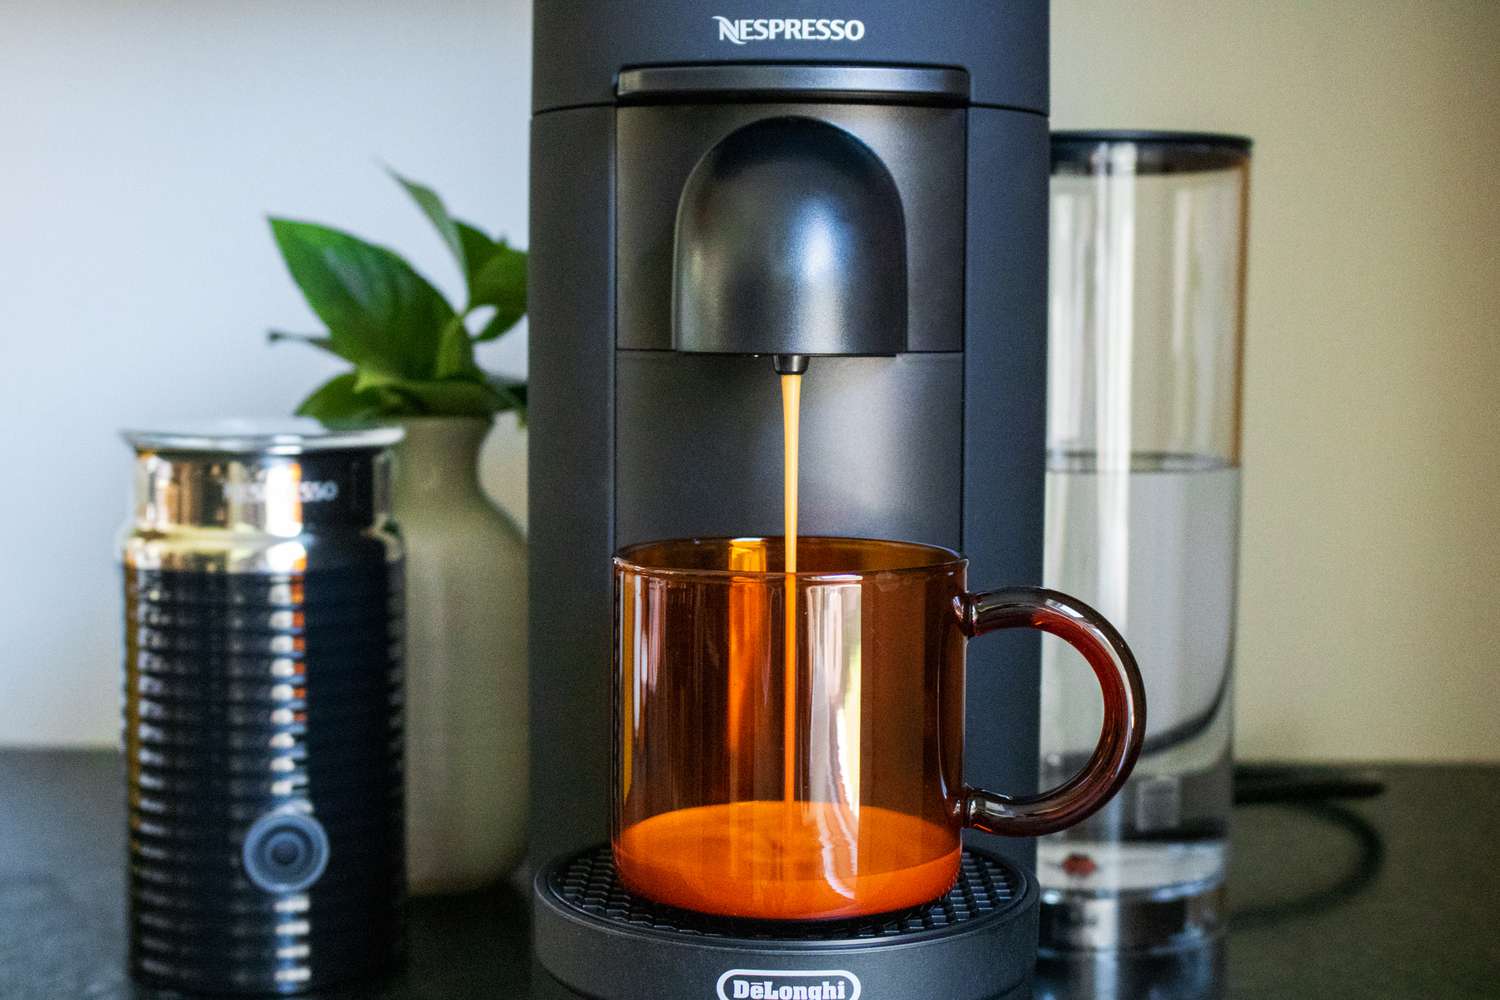
Introduction
Maintaining a clean and well-functioning Nespresso machine is essential for ensuring the longevity of your beloved coffee maker and the quality of your daily brew. Over time, coffee residue, mineral deposits, and milk splatters can accumulate within the machine, potentially affecting the flavor of your coffee and the performance of the device. By incorporating regular cleaning and descaling into your coffee routine, you can savor consistently delicious cups of coffee and prolong the lifespan of your Nespresso machine.
In this comprehensive guide, we will walk you through the step-by-step process of cleaning your Nespresso machine, covering everything from basic maintenance to descaling and exterior care. Whether you are a seasoned Nespresso enthusiast or a newcomer to the world of at-home coffee brewing, this guide will equip you with the knowledge and techniques needed to keep your machine in pristine condition.
By following these cleaning and maintenance procedures, you can ensure that your Nespresso machine continues to deliver aromatic and flavorful coffee, shot after shot. So, grab your cleaning supplies and let's dive into the art of maintaining a sparkling clean Nespresso machine.
Read more: How To Use Nespresso Machine
Step 1: Gather Your Supplies
Before embarking on the cleaning journey for your Nespresso machine, it's crucial to assemble the necessary supplies. Having the right tools at your disposal will streamline the cleaning process and ensure that every nook and cranny of your machine receives the attention it deserves. Here's a comprehensive list of supplies you'll need:
1. Clean Water:
- Fresh, clean water is essential for various cleaning tasks, including descaling and rinsing components of the machine. Ensure you have an adequate supply of water to complete the cleaning process without interruptions.
2. Descaling Solution or Vinegar:
- A descaling solution specifically designed for coffee machines is highly recommended. However, if unavailable, white vinegar can serve as an effective alternative. Both options work to remove mineral deposits that accumulate within the machine over time.
3. Cleaning Capsules or Tablets:
- Some Nespresso machines are compatible with cleaning capsules or tablets designed to remove coffee residue and oil buildup from the internal mechanisms. Check your machine's compatibility and have these capsules or tablets on hand if applicable.
Read more: The Ultimate Showdown: Cimbali Vs. Lavazza – Which Coffee Pod Reigns Supreme For Nespresso Machines?
4. Microfiber Cloth:
- A soft microfiber cloth is ideal for wiping down the exterior of the machine, ensuring a streak-free and polished finish. It's gentle on the machine's surfaces and effectively removes dust and fingerprints.
5. Drip Tray and Capsule Container:
- These components should be emptied and cleaned regularly to prevent the buildup of coffee residue and spills. Ensure you have a sink or a designated area for cleaning these parts.
6. Milk Frother Cleaner (if applicable):
- If your Nespresso machine features a milk frother, a specialized cleaner for milk residues is essential. This will help maintain the frother's performance and hygiene.
7. Soft Bristle Brush or Toothbrush:
- A soft-bristled brush or toothbrush is useful for gently scrubbing hard-to-reach areas, such as the capsule insertion point and the brewing chamber. It aids in dislodging any stubborn residue.
Read more: How To Clean Your Breville Espresso Machine
8. Paper Towels:
- Keep a roll of paper towels handy for drying components and wiping up any spills during the cleaning process.
By gathering these supplies, you'll be well-prepared to tackle the cleaning and maintenance tasks for your Nespresso machine, ensuring that it continues to deliver delightful coffee experiences with every brew.
Step 2: Clean the Drip Tray and Capsule Container
The drip tray and capsule container of your Nespresso machine are integral components that require regular cleaning to maintain hygiene and prevent the buildup of coffee residue. Cleaning these parts not only ensures a clean brewing environment but also contributes to the overall aesthetic appeal of your machine. Here's a detailed guide on how to effectively clean the drip tray and capsule container:
Cleaning the Drip Tray:
- Remove the Drip Tray: Carefully slide out the drip tray from the front of the machine. It is usually located directly beneath the coffee spout.
- Empty and Discard Residue: Dispose of any liquid and coffee grounds collected in the drip tray. Rinse it with warm, soapy water to remove any stubborn residue.
- Scrub and Rinse: Use a soft-bristled brush or sponge to gently scrub the drip tray, ensuring all surfaces are thoroughly cleaned. Rinse it with clean water and dry it with a paper towel or a clean cloth.
Cleaning the Capsule Container:
- Eject Used Capsules: If there are any used capsules in the container, remove them and discard them appropriately.
- Empty the Container: Empty the capsule container and dispose of any remaining capsules.
- Wash the Container: Wash the capsule container with warm, soapy water, ensuring that all traces of coffee residue are removed. Use a soft brush or sponge to clean the interior and exterior of the container.
- Rinse and Dry: Rinse the container thoroughly with clean water and dry it with a clean cloth or paper towel.
Read more: How To Reset Nespresso Vertuo
Reassembling:
Once both the drip tray and capsule container are clean and dry, reassemble them back into the Nespresso machine. Ensure that they are securely in place and ready for the next use.
By regularly cleaning the drip tray and capsule container, you can prevent the accumulation of coffee residue and maintain a clean and inviting brewing environment. This simple yet essential maintenance task contributes to the overall cleanliness and functionality of your Nespresso machine, allowing you to enjoy consistently delightful coffee experiences.
Step 3: Descale the Machine
Descaling is a crucial maintenance task that helps remove mineral deposits, or limescale, that can accumulate inside your Nespresso machine over time. These deposits are a natural result of the brewing process and the minerals present in the water used. If left unaddressed, limescale can impair the performance of the machine and affect the flavor and temperature of your coffee. To ensure optimal brewing conditions and the longevity of your Nespresso machine, descaling should be performed regularly.
Why Descaling is Important
Limescale buildup can hinder the flow of water through the machine, leading to slower brewing times and potentially affecting the quality of your coffee. Additionally, it can cause blockages in the internal components, such as the heating element and water lines, impacting the overall functionality of the machine. Descaling not only safeguards the performance of your Nespresso machine but also preserves the flavor and aroma of your coffee by ensuring that the brewing process occurs at the intended temperature and pressure.
Steps to Descaling
-
Prepare the Descaling Solution: Follow the manufacturer's instructions to prepare the descaling solution. If a specific Nespresso descaling kit is available, it is recommended to use that. Alternatively, a solution of water and white vinegar can be used as an effective descaling agent.
-
Empty the Water Tank: Ensure that the water tank is empty before beginning the descaling process. If there is any remaining water, pour it out and rinse the tank with clean water.
-
Descaling Mode: If your Nespresso machine has a descaling mode, activate it according to the manufacturer's instructions. This mode typically guides you through the descaling process, ensuring thorough and efficient descaling of the internal components.
-
Run the Descaling Solution: Fill the water tank with the prepared descaling solution and place a container or cup under the coffee spout to collect the liquid. Initiate the descaling cycle as per the machine's instructions, allowing the solution to flow through the internal system.
-
Rinse the Machine: Once the descaling cycle is complete, rinse the water tank thoroughly and refill it with clean water. Run a brewing cycle with just water to flush out any remaining descaling solution from the internal components.
-
Wipe and Dry: Use a clean, damp cloth to wipe down the exterior of the machine, ensuring that any traces of the descaling solution are removed. Dry the machine with a soft cloth to prevent water spots.
By descaling your Nespresso machine at regular intervals, typically every three months or as recommended by the manufacturer, you can maintain its performance and preserve the quality of your coffee. This essential maintenance task safeguards the longevity of your machine, ensuring that it continues to deliver delightful coffee experiences with each brew.
Read more: How To Descale Nespresso Vertuo
Step 4: Clean the Milk Frother (if applicable)
If your Nespresso machine is equipped with a milk frother, maintaining its cleanliness is essential to ensure the quality and flavor of milk-based coffee beverages. The milk frother, often a prized feature of Nespresso machines, requires regular cleaning to prevent the buildup of milk residues and to uphold its performance. Here's a detailed guide on how to effectively clean the milk frother:
Cleaning the Milk Frother Components:
-
Disassemble the Frother: Carefully detach the components of the milk frother, including the lid, whisk, and any removable parts. Refer to the machine's manual for specific disassembly instructions.
-
Rinse Removable Parts: Thoroughly rinse the detachable components under warm running water to remove any milk residue. Use a gentle dishwashing liquid if necessary to ensure a thorough clean.
-
Clean the Whisk: If the milk frother includes a whisk, use a soft brush or sponge to gently clean the whisk, ensuring that all milk residues are removed. Pay close attention to the whisk's intricate parts to ensure a complete clean.
-
Wipe the Exterior: Using a damp cloth, wipe the exterior of the milk frother to remove any milk splatters or residue. Ensure that the exterior surfaces are thoroughly cleaned and dried to maintain a pristine appearance.
Descaling the Milk Frother (if applicable):
-
Check for Descaling Instructions: If your Nespresso machine's milk frother requires descaling, refer to the manufacturer's guidelines for specific descaling instructions. Descaling helps remove mineral deposits that may affect the frother's performance.
-
Prepare Descaling Solution: If a descaling solution is recommended, prepare it according to the manufacturer's instructions. Alternatively, a solution of water and white vinegar can serve as an effective descaling agent.
-
Activate Descaling Mode: If the machine has a dedicated descaling mode for the milk frother, activate it as per the provided instructions. This mode guides the descaling process to ensure thorough cleaning of the frother's internal components.
-
Run Descaling Cycle: Fill the frother with the prepared descaling solution and initiate the descaling cycle as per the machine's instructions. Allow the solution to flow through the frother to remove any mineral deposits.
-
Rinse and Dry: After the descaling cycle is complete, thoroughly rinse the milk frother with clean water to remove any traces of the descaling solution. Dry the components with a clean cloth before reassembling the frother.
By diligently cleaning and, if applicable, descaling the milk frother, you can uphold its functionality and hygiene, ensuring that it continues to produce creamy and velvety milk froth for your favorite coffee creations. Regular maintenance of the milk frother contributes to the overall cleanliness and performance of your Nespresso machine, allowing you to indulge in delightful milk-based coffee beverages with every brew.
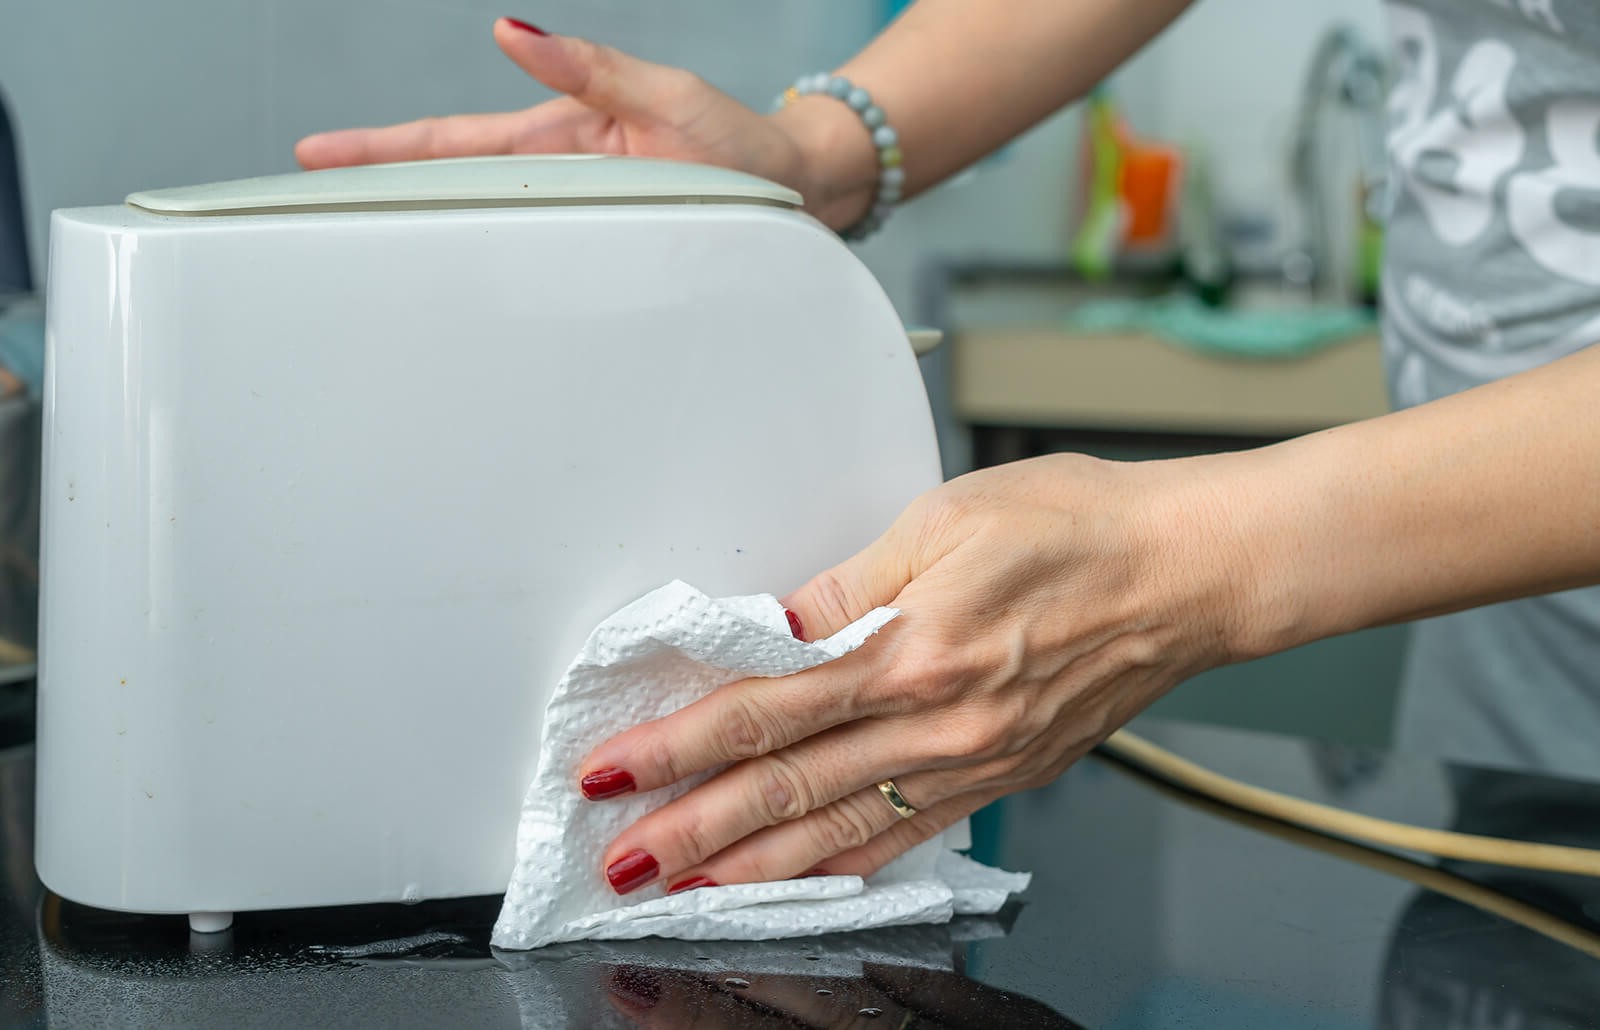
Step 5: Clean the Exterior of the Machine
The exterior of your Nespresso machine plays a significant role in not only enhancing the overall aesthetics of your kitchen but also in maintaining a hygienic and inviting brewing environment. Regular cleaning of the exterior surfaces ensures that your machine remains free from dust, fingerprints, and spills, contributing to a polished and well-maintained appearance. Here's a detailed guide on how to effectively clean the exterior of your Nespresso machine:
-
Unplug the Machine: Before cleaning the exterior, ensure that the Nespresso machine is unplugged from the power source. This precautionary step is essential for safety and prevents any potential electrical hazards during the cleaning process.
-
Use a Damp Cloth: Dampen a soft microfiber cloth with water and, if necessary, a mild detergent or dish soap. Wring out any excess moisture to prevent water from seeping into the machine's internal components.
-
Wipe Down the Surfaces: Gently wipe down the exterior surfaces of the machine, including the housing, buttons, and display panel. Pay special attention to areas prone to fingerprints and spills, ensuring that all visible marks and residues are effectively removed.
-
Detail the Buttons and Creases: Utilize a soft-bristled brush or a cotton swab to clean the crevices around the buttons and any intricate details on the machine's exterior. This meticulous approach helps remove any accumulated dust or debris from hard-to-reach areas.
-
Dry with a Clean Cloth: After wiping down the surfaces, use a dry, clean cloth to remove any remaining moisture and to prevent water spots. Ensure that the exterior of the machine is thoroughly dried to maintain its lustrous appearance.
-
Polish for a Streak-Free Finish: For a polished and streak-free finish, consider using a dedicated appliance polish or a small amount of white vinegar on a microfiber cloth. Gently buff the surfaces to achieve a sparkling and pristine look.
-
Reassemble and Reconnect: Once the exterior is clean and dry, reassemble any detachable components and reconnect the Nespresso machine to the power source, ready for your next delightful coffee brewing session.
By incorporating regular cleaning of the exterior surfaces into your Nespresso machine maintenance routine, you can ensure that it remains visually appealing and well-maintained. A clean exterior not only enhances the overall presentation of your machine but also reflects your commitment to preserving a hygienic and inviting coffee brewing environment.
Conclusion
In conclusion, maintaining a clean and well-functioning Nespresso machine is essential for preserving the quality of your coffee and ensuring the longevity of your beloved coffee maker. By following the comprehensive cleaning and maintenance procedures outlined in this guide, you can uphold the pristine condition of your Nespresso machine, allowing it to consistently deliver aromatic and flavorful coffee experiences.
Regular cleaning of the drip tray and capsule container prevents the buildup of coffee residue, contributing to a clean brewing environment and the overall functionality of the machine. Descaling the Nespresso machine at recommended intervals safeguards its performance, ensuring that the brewing process occurs at the intended temperature and pressure, thereby preserving the flavor and aroma of your coffee.
For machines equipped with a milk frother, diligent cleaning and, if applicable, descaling of the frother components are essential to maintain its functionality and hygiene, enabling the production of creamy and velvety milk froth for your favorite coffee creations. Additionally, paying attention to the exterior surfaces of the machine ensures a visually appealing and hygienic brewing environment, reflecting your commitment to the care and maintenance of your Nespresso machine.
By incorporating these cleaning and maintenance practices into your coffee routine, you can savor consistently delightful cups of coffee and prolong the lifespan of your Nespresso machine. The art of maintaining a sparkling clean Nespresso machine not only enhances the quality of your coffee experiences but also reflects your dedication to preserving a welcoming and hygienic coffee brewing environment in your home.
With the knowledge and techniques acquired from this guide, you are well-equipped to embark on the journey of maintaining a pristine Nespresso machine, ensuring that it continues to be a reliable source of delightful coffee moments for years to come. So, grab your cleaning supplies and embark on the rewarding endeavor of preserving the excellence of your Nespresso machine, one brew at a time.