Home>Home and Garden>How To Sharpen Hedge Trimmers


Home and Garden
How To Sharpen Hedge Trimmers
Published: March 2, 2024
Learn how to sharpen hedge trimmers with our expert tips and techniques. Keep your home and garden tools in top condition for a pristine outdoor space.
(Many of the links in this article redirect to a specific reviewed product. Your purchase of these products through affiliate links helps to generate commission for Noodls.com, at no extra cost. Learn more)
Table of Contents
Introduction
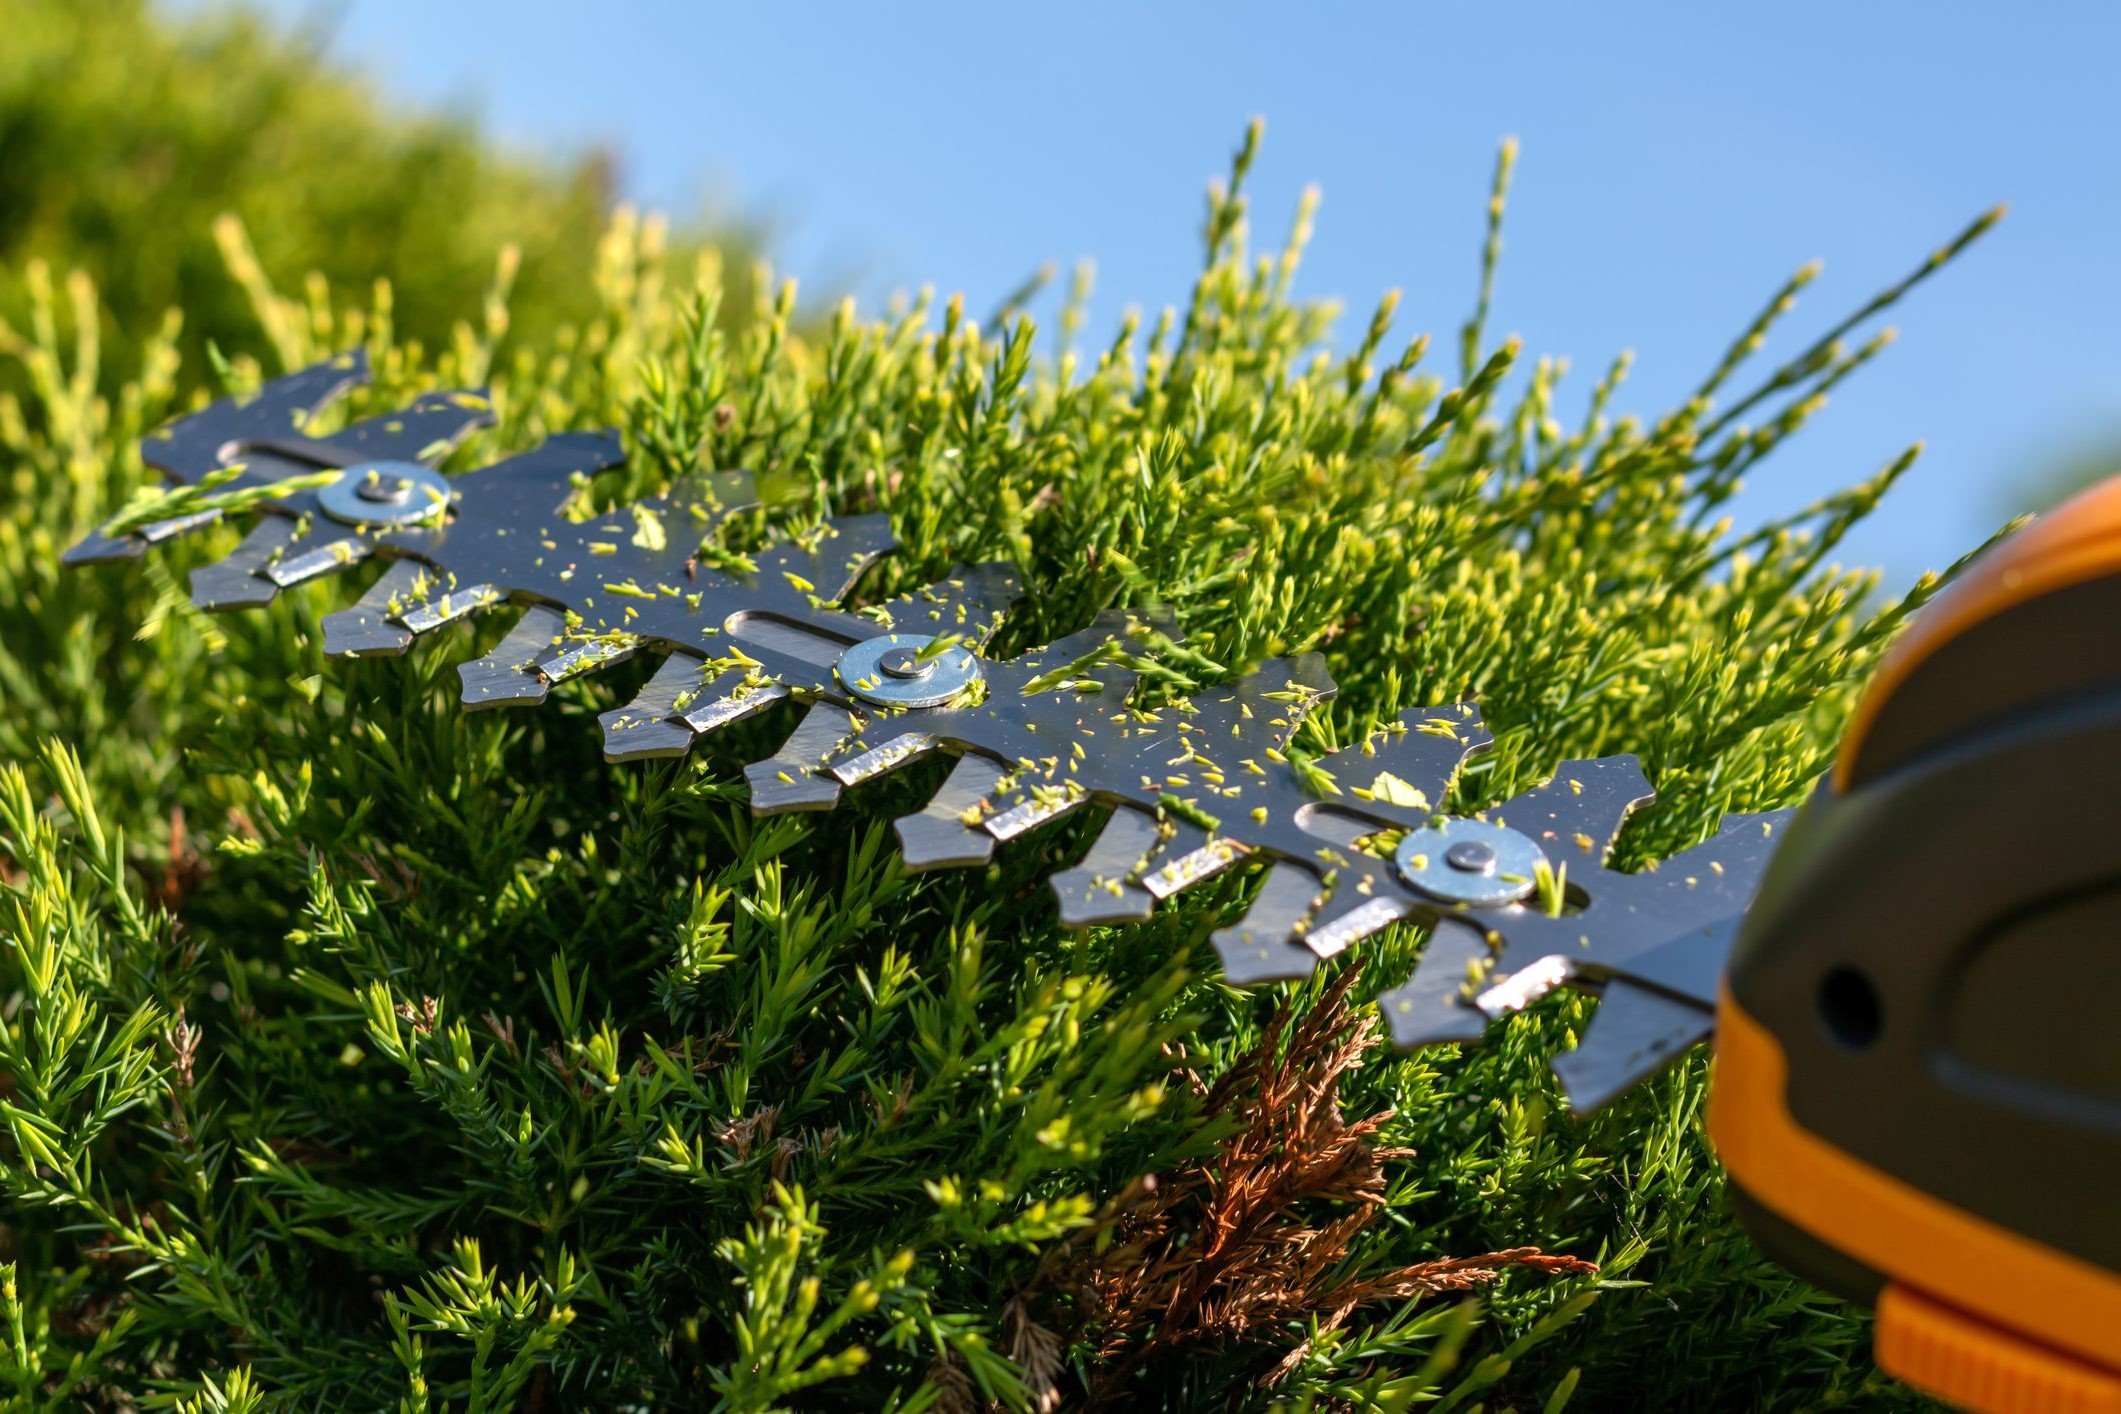
Maintaining a well-groomed and pristine garden often involves the use of various tools, and hedge trimmers are essential for keeping hedges and shrubs neatly trimmed. Over time, the blades of hedge trimmers can become dull, leading to inefficient cutting and a less-than-perfect finish. However, with the right knowledge and tools, sharpening hedge trimmers can be a straightforward and rewarding task.
Sharpening your hedge trimmers not only ensures a cleaner and more precise cut but also prolongs the lifespan of your equipment. By maintaining sharp blades, you can effortlessly achieve the desired shape and appearance for your hedges, enhancing the overall aesthetic appeal of your garden.
In this comprehensive guide, we will walk you through the process of sharpening hedge trimmers, providing step-by-step instructions and valuable insights to help you achieve professional results. From safety precautions to the tools and materials needed, as well as the actual sharpening process, this guide will equip you with the knowledge and confidence to maintain your hedge trimmers with ease.
Whether you are a seasoned gardener or a novice enthusiast, learning how to sharpen hedge trimmers is a valuable skill that can save you time and money while ensuring that your garden remains a beautiful and inviting space. So, let's delve into the world of hedge trimmer maintenance and discover the simple yet effective techniques for keeping your garden tools in optimal condition.
Read more: How To Sharpen An Axe
Safety Precautions
Before embarking on the task of sharpening hedge trimmers, it is crucial to prioritize safety to prevent accidents and ensure a smooth and secure sharpening process. Adhering to the following safety precautions will help safeguard you and others from potential harm:
-
Wear Protective Gear: Prior to handling the hedge trimmer, ensure that you are equipped with the necessary protective gear. This includes wearing safety goggles to shield your eyes from any debris that may dislodge during the sharpening process. Additionally, using heavy-duty gloves will protect your hands from sharp edges and potential cuts.
-
Secure Work Area: Set up a well-lit and spacious work area that provides ample room for maneuvering the hedge trimmer and other tools. Ensure that the work surface is stable and free from clutter to minimize the risk of accidents.
-
Inspect the Trimmer: Before sharpening the blades, carefully inspect the hedge trimmer for any signs of damage or wear. Ensure that the trimmer is powered off and disconnected from any power source to avoid accidental activation.
-
Proper Handling of Tools: When handling the hedge trimmer and sharpening tools, exercise caution and mindfulness. Keep the blades pointed away from your body and handle them with care to prevent accidental cuts or injuries.
-
Stable Positioning: Maintain a stable and balanced posture while sharpening the blades. Avoid overreaching or standing on unstable surfaces to prevent loss of balance and potential accidents.
-
Use the Right Tools: Ensure that you are using the appropriate tools for the sharpening process. This includes selecting the correct file or sharpening stone that is suitable for the specific type of blades on your hedge trimmer.
By adhering to these safety precautions, you can create a secure and controlled environment for sharpening your hedge trimmer blades. Prioritizing safety not only minimizes the risk of accidents but also contributes to a more efficient and successful sharpening process. With these precautions in place, you can confidently proceed to the next steps of sharpening your hedge trimmers, knowing that you have taken the necessary measures to ensure a safe and productive maintenance task.
Tools and Materials Needed
When it comes to sharpening hedge trimmers, having the right tools and materials at your disposal is essential for achieving optimal results. Here's a comprehensive list of the items you will need to effectively sharpen your hedge trimmer blades:
-
Safety Gear: Prioritize your safety by wearing protective gear, including safety goggles to shield your eyes from debris and heavy-duty gloves to protect your hands from sharp edges.
-
Workbench or Stable Surface: Choose a well-lit and spacious work area with a stable surface to provide ample room for maneuvering the hedge trimmer and other tools.
-
Cleaning Supplies: Before sharpening the blades, you'll need cleaning supplies such as a brush or cloth and a mild cleaning solution to remove any dirt, sap, or residue from the blades.
-
Rags or Towels: Keep rags or towels handy to wipe down the blades and handle any excess cleaning solution.
-
Sharpening Tools: Select the appropriate sharpening tools, such as a sharpening stone or file, based on the type of blades on your hedge trimmer. Ensure that the tools are designed for sharpening garden tools and are suitable for the specific blade material.
-
Lubricating Oil: Have a high-quality lubricating oil on hand to apply to the blades after sharpening, ensuring smooth operation and protection against corrosion.
-
Screwdriver or Wrench: Depending on the design of your hedge trimmer, you may need a screwdriver or wrench to disassemble the trimmer for blade sharpening.
-
Protective Cover for Blades: Consider using a protective cover for the blades to prevent accidental contact and ensure safe handling during the sharpening process.
By gathering these essential tools and materials, you can prepare yourself for a successful hedge trimmer sharpening session. Having the right equipment at your disposal not only streamlines the sharpening process but also contributes to the overall safety and efficiency of maintaining your garden tools. With these items in place, you are ready to proceed to the next steps of cleaning and sharpening the hedge trimmer blades, ensuring that your garden maintenance tasks are carried out with precision and care.
Step 1: Clean the Trimmer Blades
Before diving into the sharpening process, it's crucial to start with clean trimmer blades. Over time, hedge trimmer blades can accumulate dirt, sap, and residue from the plants they trim, which can hinder the sharpening process and affect the overall performance of the trimmer. Here's a detailed guide on how to effectively clean the trimmer blades:
-
Inspect the Blades: Begin by carefully inspecting the blades for any visible debris, such as dirt, plant sap, or residue. Use a brush or cloth to gently remove the surface dirt and grime. Ensure that the blades are free from any obstructions that may interfere with the cleaning and sharpening process.
-
Use a Mild Cleaning Solution: Prepare a mild cleaning solution by mixing a small amount of dish soap or a specialized garden tool cleaner with water. Dampen a cloth or sponge with the cleaning solution and gently wipe down the blades, focusing on areas with stubborn residue or sap buildup. Take care to avoid excessive moisture near the trimmer's motor or electrical components.
-
Remove Stubborn Residue: For particularly stubborn residue or sap, consider using a plastic scraper or a soft-bristled brush to gently dislodge the buildup. Take care not to use abrasive materials that could scratch or damage the blade surface.
-
Thoroughly Dry the Blades: After cleaning, use a dry cloth to thoroughly dry the blades, ensuring that no moisture remains on the surface. Pay attention to any crevices or hard-to-reach areas where water may accumulate.
-
Inspect for Residue: Once the blades are dry, inspect them again to ensure that all residue has been effectively removed. Any remaining debris or residue can hinder the sharpening process and compromise the quality of the blade edge.
By following these steps, you can effectively clean the trimmer blades in preparation for the sharpening process. Clean blades not only facilitate a smoother sharpening experience but also contribute to the overall longevity and performance of the hedge trimmer. With the blades free from dirt and residue, you are now ready to proceed to the next step of inspecting the blades for any signs of damage before initiating the sharpening process.
Step 2: Inspect the Blades for Damage
After thoroughly cleaning the trimmer blades, the next crucial step in the process of sharpening hedge trimmers is to meticulously inspect the blades for any signs of damage or wear. This careful examination is essential for identifying any issues that may affect the effectiveness of the sharpening process and the overall performance of the hedge trimmer.
Here's a detailed guide on how to inspect the blades for damage:
-
Check for Nicks and Chips: Carefully examine the cutting edges of the blades for any nicks, chips, or dents. These imperfections can significantly impact the cutting ability of the trimmer and may require more extensive blade repair or replacement.
-
Inspect Blade Alignment: Ensure that the blades are properly aligned and parallel to each other. Misaligned blades can result in uneven cutting and may indicate underlying issues that need to be addressed before sharpening.
-
Look for Bent or Warped Blades: Check for any signs of bending or warping along the length of the blades. Bent blades can affect the precision of the cutting action and may require professional attention to restore their original shape.
-
Evaluate Blade Condition: Assess the overall condition of the blades, including any visible signs of corrosion, rust, or excessive wear. These factors can impact the effectiveness of the sharpening process and may necessitate additional measures to restore the blades to optimal condition.
-
Inspect Blade Attachment Mechanism: If applicable, examine the attachment mechanism that secures the blades to the trimmer. Ensure that it is in good condition and free from any damage that could affect the stability of the blades during operation.
By meticulously inspecting the blades for damage, you can identify any underlying issues that may impact the sharpening process and the overall performance of the hedge trimmer. Addressing these issues before proceeding with the sharpening process is essential for achieving professional results and ensuring the longevity of your garden tools.
With the blades thoroughly inspected and any potential issues identified, you are now ready to proceed to the next step of sharpening the blades to restore their cutting efficiency and precision.
Read more: How To Sharpen Hair Clippers
Step 3: Sharpening the Blades
With the trimmer blades cleaned and inspected, the next pivotal step is to embark on the actual sharpening process. Sharpening the blades of your hedge trimmer is a meticulous task that requires precision and attention to detail. By following these comprehensive steps, you can effectively restore the cutting edges of the blades, ensuring optimal performance and a pristine finish for your garden hedges.
1. Select the Right Sharpening Tool:
Choose a suitable sharpening tool based on the type of blades on your hedge trimmer. For hedge trimmers with straight blades, a flat file is commonly used, while hedge trimmers with serrated or curved blades may require a specialized sharpening stone. Ensure that the sharpening tool is designed for garden tool maintenance and is compatible with the blade material.
2. Secure the Blade for Sharpening:
If possible, secure the blade in a vice or clamp to stabilize it during the sharpening process. This helps maintain a consistent angle and ensures even sharpening along the entire length of the blade. If securing the blade is not feasible, exercise caution and maintain a steady hand while sharpening to achieve uniform results.
3. Maintain the Correct Angle:
When sharpening the blades, it is crucial to maintain the original cutting angle to preserve the blade's effectiveness. Use the appropriate file or sharpening stone to follow the existing angle of the blade edge. Work methodically along the entire length of the blade, applying consistent pressure to achieve a uniform sharpness.
4. Follow a Consistent Stroke Pattern:
Whether using a file or sharpening stone, employ a consistent stroke pattern along the blade edge. For straight blades, use long, smooth strokes in a single direction, ensuring that the entire cutting edge receives equal attention. When sharpening serrated or curved blades, adapt the stroke pattern to accommodate the blade's unique shape and serrations.
5. Test the Sharpness:
Periodically test the sharpness of the blade by carefully running your finger along the edge. Exercise caution and use light pressure to avoid injury. A properly sharpened blade should exhibit a keen edge without any nicks or rough spots. Continue sharpening until the desired sharpness is achieved across the entire length of the blade.
6. Apply Lubricating Oil:
Once the blades are sharpened to satisfaction, apply a thin layer of high-quality lubricating oil to the cutting edges. This helps reduce friction during operation and provides protection against corrosion. Wipe off any excess oil and ensure that the blades are clean and ready for reassembly.
By meticulously following these steps, you can effectively sharpen the blades of your hedge trimmer, restoring their cutting efficiency and ensuring a professional finish for your garden hedges. With the blades sharpened and ready for use, you are now prepared to proceed to the final step of reassembling the trimmer and putting your newly sharpened blades to work in maintaining a beautifully manicured garden.
Step 4: Reassembling the Trimmer
After successfully sharpening the blades of your hedge trimmer, the final step involves reassembling the trimmer to prepare it for use. Proper reassembly ensures that the trimmer functions optimally and that the sharpened blades are securely in place, ready to deliver precise and efficient cutting performance. Here's a detailed guide on the reassembly process:
-
Retrieve Disassembled Parts: Gather all the components that were removed during the disassembly process, including any screws, bolts, or protective covers. Organize the parts in a clean and well-lit workspace to facilitate a smooth reassembly process.
-
Inspect and Clean Components: Before reassembling the trimmer, take a moment to inspect each component for any signs of damage or wear. Additionally, ensure that the components are free from dirt, debris, or residual sharpening particles. Use a brush or cloth to gently clean the components as needed.
-
Secure the Blades: If the blades were removed for sharpening, carefully position them back into their designated slots, ensuring that they are aligned correctly. Follow the manufacturer's guidelines for securing the blades, which may involve tightening screws or fastening bolts to hold the blades in place.
-
Reattach Protective Covers: If protective covers were removed to access the blades, reattach them securely to provide a safeguard against accidental contact with the sharp edges. Ensure that the covers are properly aligned and fastened according to the trimmer's specifications.
-
Tighten Fasteners: Using the appropriate screwdriver or wrench, tighten any fasteners or screws that were loosened during the disassembly process. Pay close attention to the torque specifications provided by the manufacturer to avoid over-tightening or under-tightening the fasteners.
-
Apply Lubrication: Prior to powering up the trimmer, apply a small amount of lubricating oil to any moving parts or pivot points as recommended by the manufacturer. This helps maintain smooth operation and protects the trimmer from premature wear.
-
Functional Test: Once the trimmer is reassembled, perform a brief functional test to ensure that the blades are securely in place and that the trimmer operates smoothly. Check for any unusual sounds or vibrations that may indicate improper reassembly.
By meticulously following these steps, you can effectively reassemble your hedge trimmer after sharpening the blades, ensuring that the trimmer is ready for use with newly sharpened and optimized cutting performance. With the trimmer reassembled and in top condition, you are now equipped to put your revitalized garden tool to work, effortlessly maintaining the pristine appearance of your hedges and shrubs.
Read more: How To Say “How You Say” In Spanish
Conclusion
In conclusion, mastering the art of sharpening hedge trimmers is a valuable skill that empowers garden enthusiasts to maintain their tools with precision and care. By following the comprehensive steps outlined in this guide, you can elevate the performance of your hedge trimmer and achieve professional results in maintaining the pristine appearance of your garden hedges and shrubs.
Sharpening your hedge trimmer blades not only enhances cutting efficiency but also contributes to the longevity of your garden tools. With a keen focus on safety precautions, the right tools and materials, and a methodical approach to cleaning, inspecting, sharpening, and reassembling the trimmer, you can ensure that your hedge trimmer remains a reliable companion in your gardening endeavors.
Furthermore, the process of sharpening hedge trimmers fosters a deeper connection with your garden tools, allowing you to appreciate the intricate mechanics and craftsmanship behind these essential implements. It provides a sense of satisfaction and empowerment, knowing that you have the knowledge and capability to maintain and optimize your tools for peak performance.
As you embark on the journey of sharpening your hedge trimmer, remember that patience and attention to detail are key virtues. Each step in the sharpening process contributes to the overall effectiveness and precision of the blades, culminating in a tool that is primed for delivering immaculate results in your garden maintenance tasks.
By incorporating the insights and techniques shared in this guide into your gardening routine, you can elevate the aesthetics of your outdoor space and take pride in the well-manicured appearance of your hedges. The revitalized cutting performance of your hedge trimmer will not only streamline your gardening tasks but also enhance the overall beauty and allure of your garden landscape.
In essence, the process of sharpening hedge trimmers transcends mere maintenance; it embodies a commitment to excellence and a deep appreciation for the art of gardening. With your newly sharpened hedge trimmer in hand, you are poised to embark on a journey of precision and artistry, shaping your garden with finesse and achieving a level of perfection that reflects your dedication to cultivating a beautiful outdoor sanctuary.


