Home>Arts and Culture>How To Draw A Ghost For Beginners
Arts and Culture
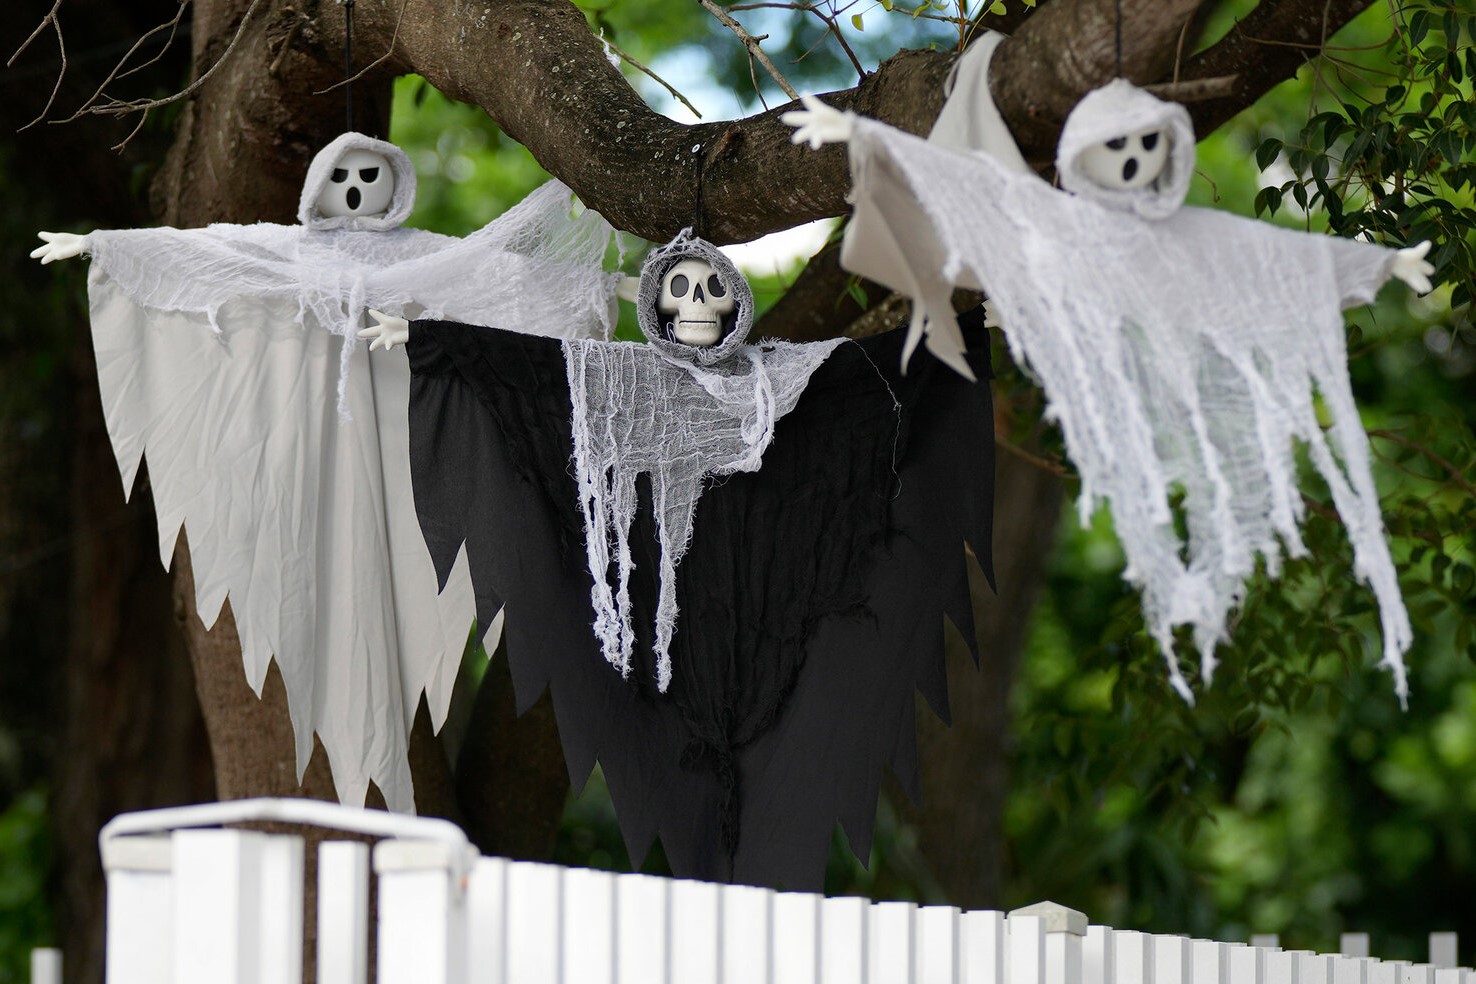
How To Draw A Ghost For Beginners
Published: February 26, 2024
Learn how to draw a ghost with easy step-by-step instructions for beginners. Explore the world of arts and culture with this fun and spooky tutorial.
(Many of the links in this article redirect to a specific reviewed product. Your purchase of these products through affiliate links helps to generate commission for Noodls.com, at no extra cost. Learn more)
Table of Contents
Introduction
Drawing is a wonderful form of artistic expression that allows us to bring our imagination to life on paper. Whether you're a seasoned artist or a beginner, creating a ghost drawing can be a fun and rewarding experience. In this step-by-step guide, we will explore how to draw a ghost for beginners, providing simple and easy-to-follow instructions that will help you unleash your creativity.
Drawing a ghost can be an exciting way to explore different techniques and styles, and it's a fantastic subject for those who are new to drawing. By following the steps outlined in this guide, you'll learn how to create a charming and whimsical ghost illustration that will delight both yourself and others.
So, grab your drawing materials and let's embark on this artistic journey together. Whether you're using a pencil and paper or digital drawing tools, this guide will equip you with the skills and confidence to bring a friendly ghost to life on the page. Let's dive in and discover the joy of drawing a ghost from scratch!
Read more: How To Draw People
Materials Needed
Before we begin our ghostly artistic endeavor, it's essential to gather the necessary materials. Whether you prefer traditional pencil and paper or digital drawing tools, having the right supplies at hand will set the stage for a successful drawing session. Here's a list of materials you'll need to bring your ghost drawing to life:
-
Drawing Paper or Sketchbook: A good quality drawing paper or sketchbook provides a smooth and sturdy surface for your ghostly creation. It's essential to choose a paper that can withstand erasing and shading without smudging.
-
Pencils: A set of pencils with varying lead hardness (e.g., 2H, HB, 2B, 4B) will allow you to achieve different line weights and shading effects. If you're using a digital drawing tool, ensure that you have a stylus or digital pen that offers precision and control.
-
Eraser: A soft eraser, such as a kneaded eraser or vinyl eraser, will help you correct mistakes and remove any unwanted pencil marks as you refine your ghost drawing.
-
Drawing Pen (Optional): If you enjoy using ink for outlining and adding fine details, a waterproof drawing pen can be a valuable addition to your drawing toolkit.
-
Drawing Tablet and Software (Optional): For digital artists, a drawing tablet and suitable drawing software provide a versatile platform for creating ghostly illustrations with a range of digital brushes and effects.
-
Reference Images (Optional): If you'd like inspiration or guidance, consider having reference images of ghosts or ghostly figures on hand. These can serve as a helpful visual reference as you sketch and refine your drawing.
By ensuring that you have these materials ready, you'll be well-equipped to embark on your ghost drawing journey with confidence and creativity. With your supplies in place, it's time to move on to the exciting process of bringing your friendly ghost to life on the page. Let's proceed to the next step and begin sketching the outline of our ghostly character.
Step 1: Draw the Outline
To begin our ghost drawing, we'll focus on creating the basic outline of our friendly apparition. Whether you're using a pencil on paper or digital drawing tools, this initial step sets the foundation for the ghost's form and character.
Start by lightly sketching a simple oval or circular shape to represent the ghost's head. This shape will serve as the core structure from which the rest of the ghost will emerge. Next, extend two gently curving lines downward from the head to form the body of the ghost. These lines can be slightly wavy to convey a whimsical and ethereal quality.
Once the head and body shapes are in place, consider the positioning of the ghost's arms. You can depict the arms in a variety of ways, such as outstretched in a welcoming gesture or gently swaying by the ghost's side. Experiment with different arm positions to convey the desired mood and personality of your ghostly character.
As you refine the outline, keep the lines light and fluid, allowing for easy adjustments and modifications as you progress. Remember, this initial sketch serves as a guide, and it's perfectly normal to make changes as you bring your ghost drawing to life.
If you're using digital drawing tools, take advantage of the ability to create multiple layers. This allows you to separate the outline from the subsequent details and shading, providing greater flexibility and control over the drawing process.
By focusing on the outline in this initial step, you'll establish the fundamental structure of your ghost drawing, laying the groundwork for the charming and endearing character that will emerge in the following steps. With the outline in place, we're ready to move on to the next step and add facial features to our friendly ghost.
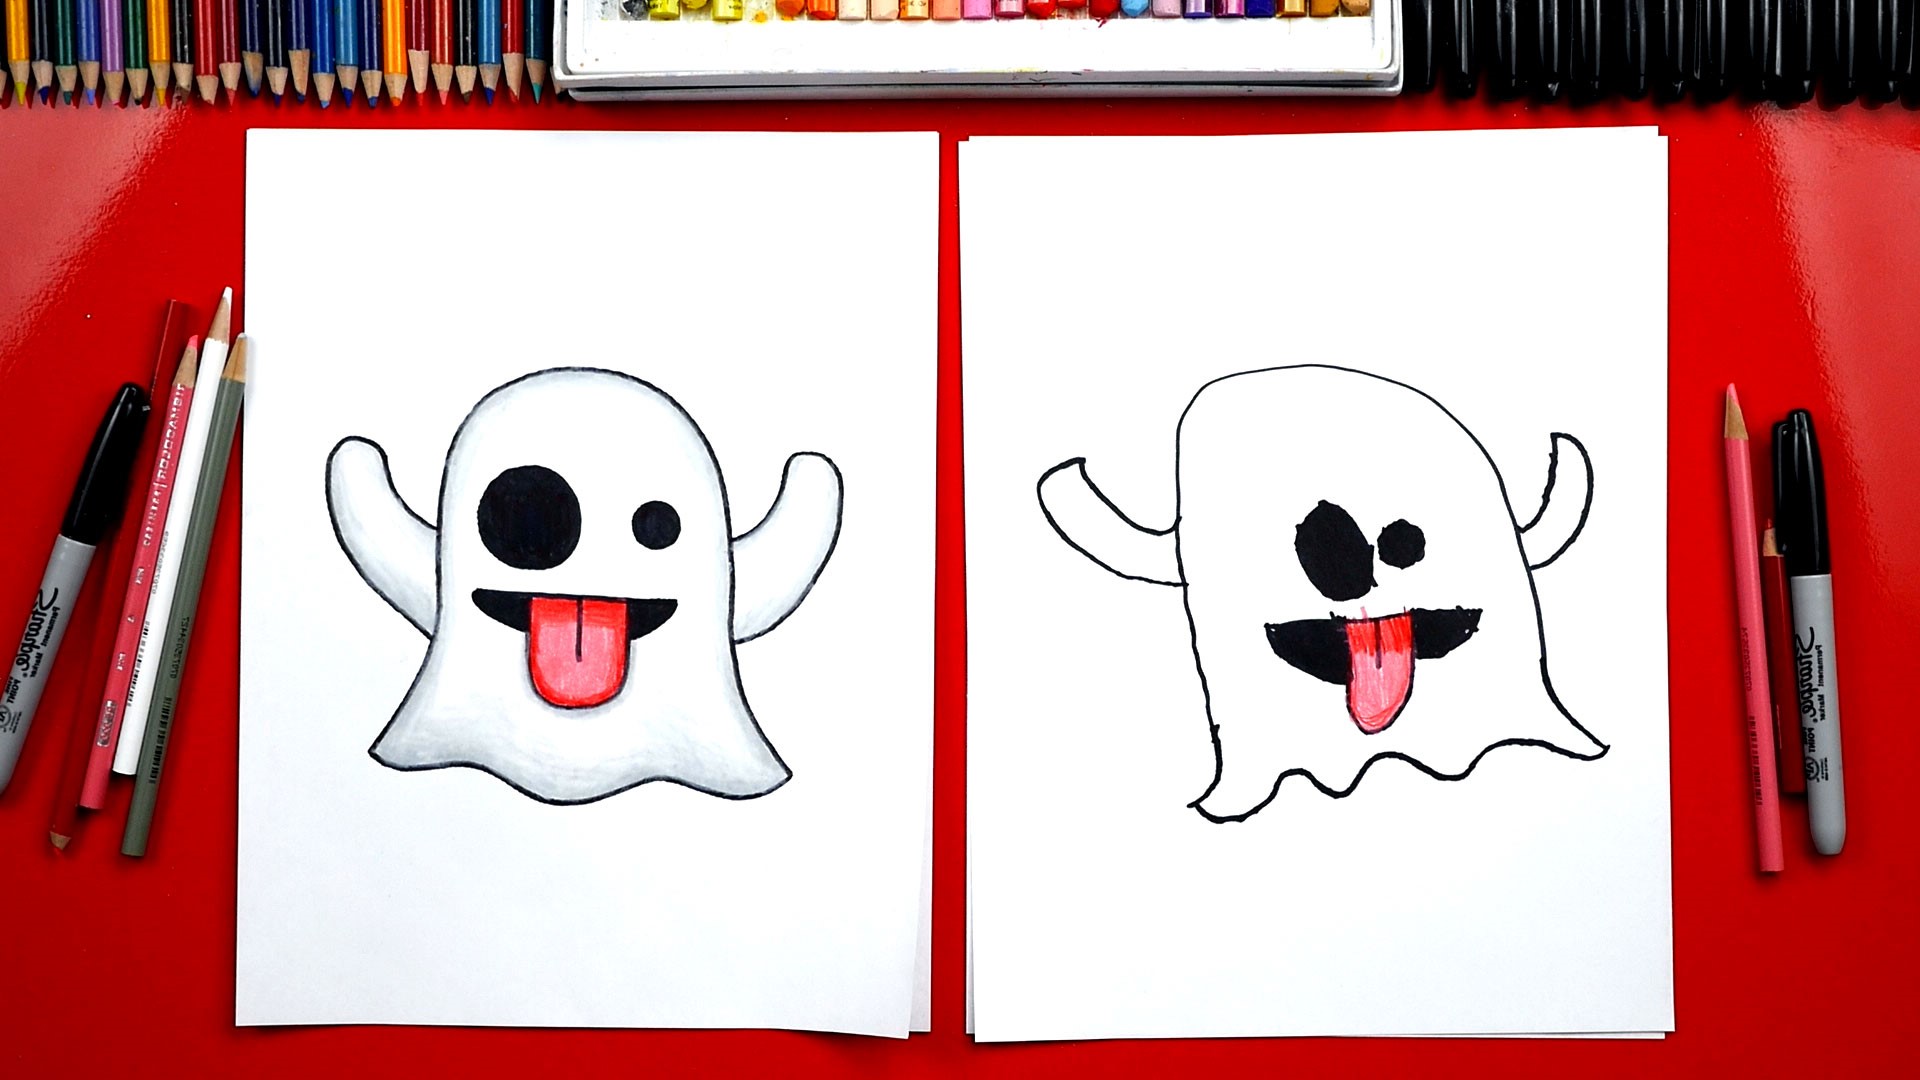
Step 2: Add Facial Features
With the outline of our friendly ghost sketched out, it's time to infuse personality and charm by adding facial features. The ghost's face is where its character truly comes to life, and this step allows us to create an endearing and expressive visage for our spectral friend.
Begin by positioning the ghost's eyes within the head shape. Since our ghost is meant to exude a friendly and approachable demeanor, consider drawing large, rounded eyes to convey a sense of warmth and gentleness. Placing the eyes slightly above the center of the head can enhance the ghost's endearing appearance. Experiment with different eye sizes and positions until you achieve the desired expression.
Next, add a playful and inviting smile to the ghost's face. A gentle, curved line representing the ghost's smile can instantly transform its countenance into one of friendliness and cheer. Consider the positioning of the smile in relation to the eyes, ensuring that it complements the overall expression of the ghost.
To further enhance the ghost's facial features, consider incorporating subtle details such as rosy cheeks or a hint of shimmer in the eyes to evoke a sense of otherworldly charm. These delicate touches can add depth and whimsy to the ghost's expression, elevating its appeal and endearing it to those who behold its spectral presence.
As you add the facial features, maintain a light and playful touch, allowing the ghost's personality to shine through in its expression. Whether you're using traditional drawing tools or digital mediums, take the time to refine the facial features, ensuring that they harmonize with the overall character of the ghost.
By infusing our ghost with captivating facial features, we breathe life and emotion into our spectral creation, setting the stage for a delightful and engaging drawing. With the facial features in place, our friendly ghost begins to exude a sense of warmth and affability, inviting viewers to connect with its endearing presence.
With the facial features skillfully integrated into our ghost drawing, we're ready to proceed to the next step and add intricate details that will further enrich the character and charm of our spectral friend.
Step 3: Add Details
As we continue to breathe life into our friendly ghost drawing, the addition of intricate details will further enrich the character and charm of our spectral friend. This step allows us to infuse our ghost with captivating nuances and embellishments, elevating its visual appeal and endearing it to those who behold its ethereal presence.
One of the key details to consider is the texture of the ghost's form. Since ghosts are often depicted as wispy and translucent entities, incorporating subtle, flowing lines around the outline of the ghost can convey a sense of otherworldly movement and fluidity. These delicate lines can evoke the impression of billowing fabric or ethereal mist, adding a touch of enchantment to the ghost's appearance.
Furthermore, consider embellishing the ghost with whimsical accessories or embellishments that reflect its playful nature. This could include adorning the ghost with a charming bowtie, a dainty hat, or even a string of shimmering pearls. These delightful additions can infuse the ghost with a sense of style and personality, enhancing its allure and endearing it to the viewer.
In addition to external details, the incorporation of internal elements can further enrich the ghost's character. For instance, consider adding subtle hints of a gentle glow emanating from within the ghost's form, suggesting a radiant and benevolent spirit. This ethereal glow can be depicted through soft, luminous accents that imbue the ghost with an aura of warmth and positivity.
As we add these intricate details, it's important to maintain a sense of whimsy and lightness, allowing the ghost's playful nature to shine through in its embellishments. Whether you opt for traditional drawing tools or digital mediums, take the time to delicately refine the details, ensuring that they harmonize with the overall character of the ghost.
By infusing our ghost with captivating details, we enrich its visual narrative, inviting viewers to engage with its enchanting presence. With these intricate nuances skillfully integrated into our ghost drawing, our spectral friend exudes a sense of charm and whimsy, captivating the imagination and delighting those who encounter its endearing form.
With the addition of intricate details, our friendly ghost drawing blossoms into a captivating and enchanting creation, ready to charm and beguile all who behold its spectral allure.
Read more: How To Draw A Squirrel
Step 4: Erase Guidelines
With the intricate details and embellishments adorning our friendly ghost drawing, it's time to refine its appearance further by removing the initial guidelines and construction lines. This step allows us to unveil the true essence of our ghostly creation, presenting a clean and polished rendition that highlights the charm and character we've infused into our spectral friend.
Begin by gently erasing the faint construction lines that served as the framework for our ghost's form. These initial guidelines, which aided in shaping the ghost's outline and proportions, have fulfilled their purpose and can now gracefully fade into the background. Using a soft eraser, carefully eliminate these lines while preserving the integrity of the ghost's refined features and details.
As you delicately remove the guidelines, take a moment to appreciate the transformation taking place. The act of erasing the guidelines signifies a pivotal stage in the drawing process, marking the transition from a rough sketch to a polished and captivating illustration. With each erased line, the ghost's endearing character and whimsical charm come into sharper focus, ready to enchant and delight those who behold its spectral presence.
If you're working digitally, take advantage of layer management tools to selectively remove the guidelines while preserving the intricate details and embellishments. This digital flexibility allows for precise refinement, ensuring that the ghost's essence shines through without any remnants of the initial construction lines.
As the last vestiges of the guidelines fade away, our friendly ghost emerges in its full splendor, exuding a captivating allure and a sense of playful enchantment. The absence of distracting construction lines allows the ghost's endearing features and details to take center stage, inviting viewers to immerse themselves in the whimsical world of our spectral creation.
With the guidelines gracefully erased, our ghost drawing stands as a testament to the transformative power of artistic refinement. The ghost's ethereal presence now radiates with charm and personality, ready to captivate and inspire all who encounter its delightful form.
Step 5: Add Shading
As we approach the final stage of our ghost drawing journey, the addition of shading brings depth, dimension, and a sense of ethereal presence to our spectral friend. Shading plays a pivotal role in enhancing the ghost's form, imbuing it with a captivating three-dimensional quality that elevates its visual impact and enchanting allure.
Begin by identifying a consistent light source within the composition, determining the direction from which light falls upon our friendly ghost. This foundational understanding of light and shadow will guide the placement of shading to create a compelling sense of volume and form. Whether the light source emanates from above, casting gentle illumination upon the ghost, or filters through the surrounding environment, illuminating its translucent form, this awareness will inform the shading process.
Using a soft pencil or digital brush, delicately apply shading to areas of the ghost that would naturally be cast in shadow, considering the curvature and contours of its form. The underside of the ghost's body, the recesses around its facial features, and the areas where its form overlaps can be gently shaded to convey depth and dimension. By skillfully blending the shading with gradual transitions, we evoke a sense of weightlessness and translucency, capturing the ghost's otherworldly essence.
Incorporate subtle variations in shading intensity to evoke a sense of luminosity and transparency within the ghost's form. Areas where the ghost's form appears thinner or more diaphanous can be delicately shaded with a lighter touch, suggesting a gentle diffusion of light through its ethereal figure. This nuanced approach to shading imparts a sense of spectral radiance, infusing our ghost with an enchanting and ephemeral quality.
For digital artists, leveraging layer opacity and blending modes can enhance the subtlety and luminosity of the shading, allowing for precise control over the ghost's ethereal glow. By experimenting with different brush textures and blending techniques, digital artists can achieve a captivating interplay of light and shadow, further enriching the ghost's spectral presence.
As the shading process unfolds, the ghost's form begins to exude a mesmerizing depth and luminosity, captivating the eye and inviting viewers to immerse themselves in its enchanting aura. With each carefully applied stroke of shading, our friendly ghost evolves into a captivating and ethereal apparition, ready to beguile and delight all who encounter its spectral charm.
With the addition of shading, our ghost drawing blossoms into a captivating and enchanting creation, its ethereal presence radiating with charm and allure, inviting viewers to revel in the whimsical world of our spectral friend.
Conclusion
In conclusion, our journey to draw a ghost for beginners has been a delightful exploration of artistic expression and creativity. From the initial outline to the final touches of shading, we've embarked on a step-by-step process that has brought a friendly and endearing ghost to life on the page. Through each stage of the drawing process, we've infused our spectral friend with personality, charm, and whimsy, creating an enchanting apparition that captivates the imagination and delights the senses.
As we reflect on the culmination of our ghost drawing endeavor, it's evident that the artistic process is not merely about creating a visual representation but also about imbuing a creation with character and narrative. Our friendly ghost, with its playful expression, ethereal form, and captivating details, stands as a testament to the power of artistic imagination and skillful execution.
Moreover, this drawing journey has not only honed our technical drawing abilities but has also sparked a sense of wonder and creativity. The act of bringing a ghost to life on the page has invited us to explore the nuances of form, expression, and light, fostering a deeper appreciation for the art of illustration and the boundless possibilities it offers.
As we bid farewell to our spectral creation, it's important to recognize the joy and fulfillment that arise from engaging in artistic pursuits. Whether one is a seasoned artist or a beginner taking the first steps on a creative path, the act of drawing a ghost serves as a reminder of the inherent magic and wonder found in artistic expression.
Ultimately, our friendly ghost drawing stands as a testament to the joy of creation, the power of imagination, and the enchanting allure of artistic exploration. It invites us to embrace the whimsical and the fantastical, reminding us that within the realm of art, there are no limits to the delightful worlds we can bring to life on the canvas of our imagination.
With our ghostly creation complete, we celebrate the artistic journey that has unfolded, cherishing the experience of crafting a charming and endearing apparition that will continue to enchant and inspire both the artist and those who encounter its spectral presence.