Home>Automotive>How To Get Bugs Off Car

Automotive
How To Get Bugs Off Car
Published: February 26, 2024
Learn effective methods for removing bugs from your car with our automotive tips and tricks. Keep your vehicle looking clean and spotless with our expert advice.
(Many of the links in this article redirect to a specific reviewed product. Your purchase of these products through affiliate links helps to generate commission for Noodls.com, at no extra cost. Learn more)
Table of Contents
Introduction
Picture this: you've just returned from a scenic road trip, your car adorned with the remnants of countless bugs that met their fate on your windshield and grille. While these insects may have met their end on your vehicle, their remains can be quite stubborn to remove. Fear not, for with the right techniques and a bit of elbow grease, you can restore your car to its former gleaming glory.
In this comprehensive guide, we will delve into the art of bug removal from your car's exterior. Whether you're a seasoned car enthusiast or a novice in the world of automotive care, this step-by-step process will equip you with the knowledge and skills to effectively rid your vehicle of those pesky bug splatters.
So, roll up your sleeves and get ready to embark on a journey to reclaim the pristine appearance of your beloved automobile. With a few simple supplies and a systematic approach, you'll soon bid farewell to the stubborn remnants of your insect encounters and welcome back the lustrous shine of your car's exterior.
Read more: How To Get Rid Of Water Bugs
Step 1: Gather Your Supplies
Before diving into the bug removal process, it's crucial to assemble the necessary supplies. Here's a comprehensive list of items you'll need to effectively tackle the task at hand:
-
Bug Remover Spray: Invest in a high-quality bug remover spray specifically formulated to break down and dissolve stubborn bug splatters without damaging your car's paintwork.
-
Microfiber Towels: Stock up on soft, lint-free microfiber towels to avoid scratching the car's surface while wiping off the bug residue.
-
Car Wash Soap: Opt for a gentle car wash soap that is designed to lift dirt and grime without compromising the car's wax or sealant.
-
Bucket and Hose: Ensure you have a bucket for mixing the car wash solution and a hose for rinsing off the car.
-
Grit Guard: Consider using a grit guard in your wash bucket to trap dirt and prevent it from being reintroduced onto the car's surface.
-
Wash Mitt or Sponge: Select a wash mitt or sponge that is gentle on the car's paint to effectively scrub away the bug remnants.
-
Wheel Cleaner: If your wheels are also adorned with bug splatters, a dedicated wheel cleaner will come in handy to restore their shine.
-
Wax or Sealant: After removing the bugs, protect your car's paint by applying a layer of wax or sealant to enhance its luster and shield it from future insect encounters.
-
Waterless Wash Solution (Optional): In case you're dealing with a minimal number of bugs, a waterless wash solution can be a convenient alternative for spot cleaning.
-
Protective Gloves: To shield your hands from harsh chemicals and to maintain a firm grip on cleaning tools, wearing protective gloves is advisable.
By ensuring you have these supplies at your disposal, you'll be well-equipped to embark on the bug removal process with confidence and efficiency. With the right tools in hand, you're ready to tackle the next step in restoring your car's pristine appearance.
Step 2: Pre-Treat the Bugs
With your arsenal of bug removal supplies at the ready, it's time to tackle the first phase of bug obliteration: pre-treating the stubborn splatters. This crucial step involves using a specialized bug remover spray to break down the dried remnants and make them more receptive to the subsequent cleaning process.
Begin by thoroughly spraying the affected areas with the bug remover solution. Ensure that the surface is generously coated, allowing the solution to penetrate and soften the dried bug residue. Let the bug remover dwell on the surface for the recommended duration specified on the product label. This dwell time allows the active ingredients in the bug remover to effectively loosen the stubborn splatters, making them easier to remove during the subsequent washing phase.
As the bug remover works its magic, you'll notice the once tenacious bug remnants beginning to dissolve and loosen their grip on the car's surface. This pre-treatment not only facilitates the removal process but also minimizes the risk of inadvertently scratching the paintwork while scrubbing off the bugs.
For particularly stubborn or heavily soiled areas, consider gently agitating the bug remover with a soft-bristled brush or sponge to aid in the breakdown of the splatters. However, exercise caution to avoid applying excessive pressure that could potentially cause abrasions to the paint.
After allowing the bug remover to dwell and effectively soften the splatters, it's time to proceed to the next phase of the bug removal process: washing the car to eliminate the loosened bug residue and restore its pristine appearance. Armed with pre-treated bug splatters, you're now poised to embark on the pivotal stage of washing away the remnants of your insect encounters.
By diligently pre-treating the bug splatters, you've set the stage for a more efficient and effective bug removal process. With the bugs now softened and primed for elimination, you're ready to transition to the subsequent step of washing the car to bid farewell to the remnants of your insect adversaries.
Step 3: Wash the Car
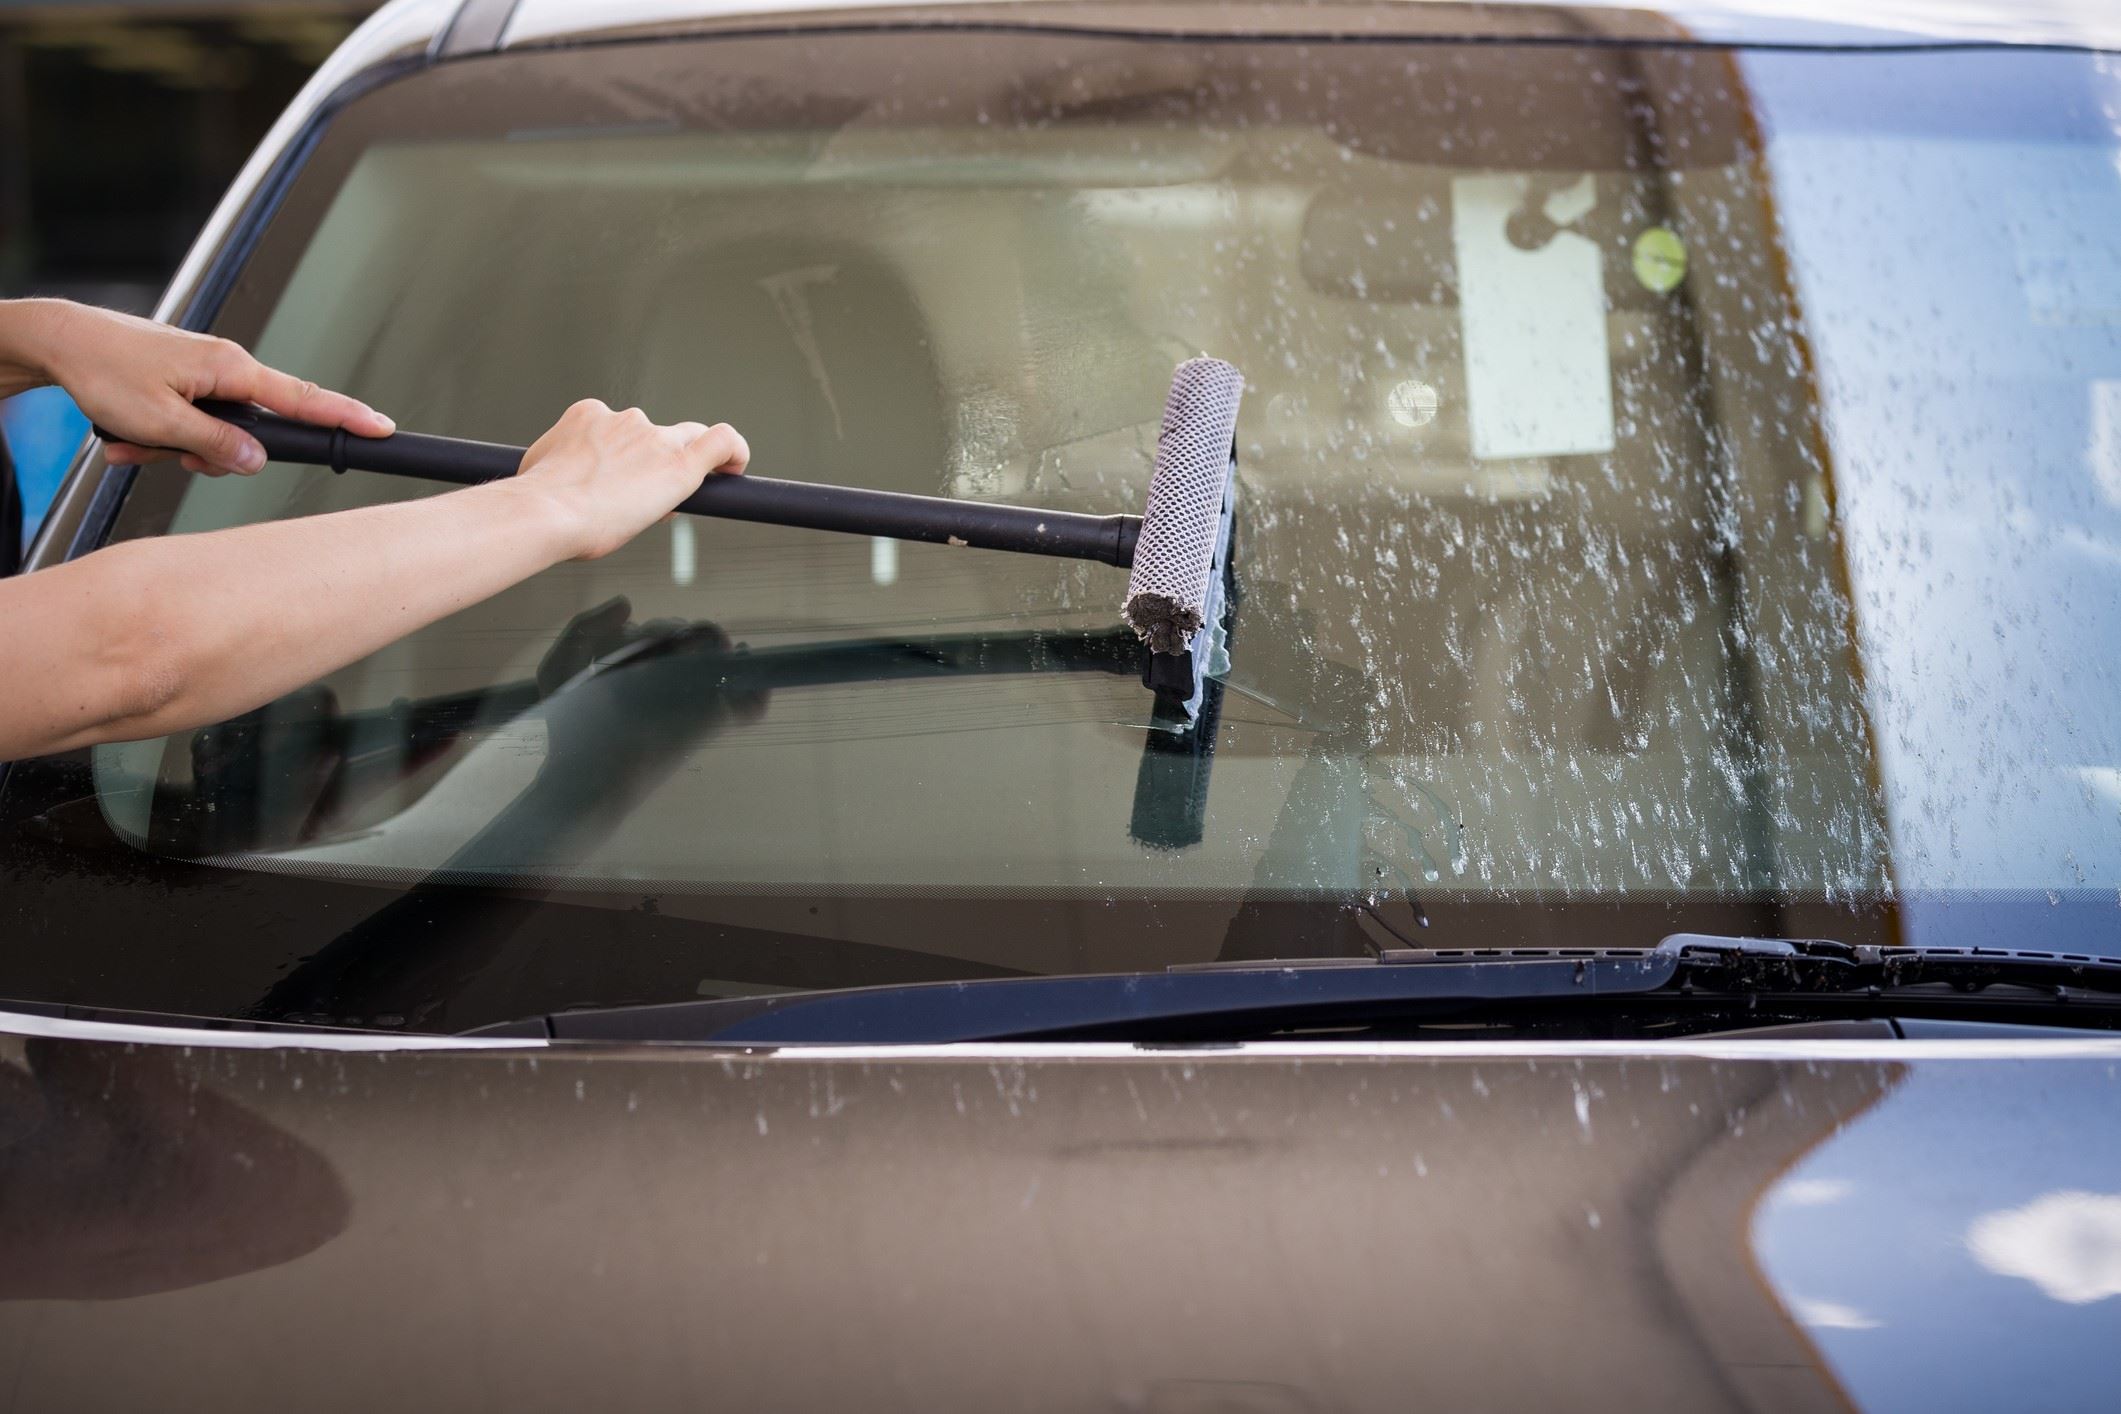
With the bug splatters effectively pre-treated and softened, it's time to roll up your sleeves and embark on the pivotal stage of washing your car to bid farewell to the remnants of your insect adversaries. This step is crucial in ensuring that the loosened bug residue is thoroughly eliminated, restoring your car's exterior to its pristine state.
-
Prepare the Wash Solution: Begin by filling a bucket with water and adding the recommended amount of gentle car wash soap. Gently agitate the water to create a rich lather, ensuring that the soap is thoroughly mixed.
-
Rinse the Car: Prior to applying the soapy solution, thoroughly rinse the entire car with water to remove any loose dirt and debris. This initial rinse serves to prevent potential scratching of the paint during the washing process.
-
Wash Methodically: Dip a soft wash mitt or sponge into the soapy solution, and starting from the top of the car, gently wash one section at a time in a methodical manner. Use horizontal or vertical motions, avoiding circular motions that can potentially induce swirl marks.
-
Focus on Bug-Impacted Areas: Pay special attention to the areas where the bug splatters were pre-treated, ensuring that the softened residue is effectively lifted off the surface. Employ gentle pressure while scrubbing to avoid causing abrasions to the paint.
-
Rinse Thoroughly: After washing each section, promptly rinse the mitt or sponge in the rinse bucket to dislodge any accumulated dirt and prevent reintroducing it onto the car's surface. Follow this by rinsing the washed section of the car with clean water, ensuring that all soap residue and loosened bug remnants are thoroughly removed.
-
Inspect for Remaining Splatters: Once the entire car has been washed and rinsed, carefully inspect the surface for any remaining bug splatters. If any stubborn remnants persist, consider reapplying the bug remover spray and repeating the pre-treatment process before re-washing the affected areas.
-
Dry the Car: After ensuring that all bug remnants and soap residue have been effectively eliminated, use a clean, soft microfiber towel to gently dry the car. Pat the surface rather than rubbing to prevent potential swirl marks.
By diligently following these steps, you'll effectively wash away the remnants of your insect encounters, leaving your car's exterior looking immaculate once again. With the bug splatters banished and your car's surface gleaming, you're now ready to proceed to the final step of drying and waxing the car to seal in the restored luster and shield it from future insect encounters.
Step 4: Dry and Wax the Car
With the bug remnants banished and your car's surface thoroughly cleansed, it's time to elevate the shine and provide lasting protection through the essential steps of drying and waxing. This final phase not only enhances the visual appeal of your car but also safeguards its exterior from future encounters with stubborn bugs and environmental elements.
Read more: How To Get Wax Off Skin
Drying the Car
After the thorough washing process, it's imperative to ensure that the car's surface is impeccably dried to prevent water spots and maintain the pristine finish. Here's how to effectively dry your car:
-
Select a Quality Drying Towel: Opt for a clean, soft microfiber drying towel to gently absorb the remaining moisture without inducing scratches or swirl marks.
-
Pat Dry Methodically: Starting from the roof, methodically pat the car's surface with the drying towel, working your way down to the lower panels. Avoid rubbing the towel vigorously, as this can potentially mar the paintwork.
-
Attend to Nooks and Crevices: Pay attention to the areas where water tends to accumulate, such as around the side mirrors, door handles, and emblems, ensuring that all moisture is effectively removed.
By diligently drying your car, you'll not only preserve its flawless appearance but also set the stage for the subsequent application of wax or sealant to fortify and enhance its luster.
Applying Wax or Sealant
The final touch in the bug removal process involves the application of a high-quality wax or sealant to protect the car's surface and elevate its visual allure. Here's how to effectively apply wax or sealant to your car:
-
Select a Suitable Product: Choose a reputable car wax or sealant that suits your car's specific paint type and finish, ensuring optimal protection and enhancement.
-
Apply in Sections: Working on one section at a time, apply a small amount of wax or sealant onto a foam applicator pad, then spread it evenly onto the car's surface using gentle, overlapping motions.
-
Allow for Curing: Follow the product's instructions regarding the recommended curing time, allowing the wax or sealant to bond with the paint and create a protective barrier.
-
Buff to a Brilliant Shine: Once the wax or sealant has cured, use a clean, soft microfiber towel to buff the surface, revealing a radiant shine and a silky-smooth finish.
By meticulously following these steps, you'll not only fortify your car's exterior against future bug encounters and environmental contaminants but also bestow it with a captivating luster that commands attention.
With the bug removal process culminating in the meticulous drying and waxing of your car, you've not only restored its pristine appearance but also fortified its exterior against the challenges of the open road. Embrace the satisfaction of a job well done as you behold your car's gleaming facade, ready to conquer the highways with renewed splendor.
Conclusion
As you stand back and admire the glistening facade of your car, freed from the stubborn remnants of insect encounters, a sense of accomplishment washes over you. The meticulous process of bug removal has not only rejuvenated your car's exterior but also instilled a deeper appreciation for the art of automotive care. With each step, from pre-treating the bug splatters to the final application of wax or sealant, you've embarked on a journey to restore your car's pristine appearance and fortify it against future challenges.
Beyond the tangible results, the bug removal process embodies a deeper connection between car enthusiasts and their cherished vehicles. It's a testament to the dedication and care invested in preserving the allure of automotive craftsmanship. The meticulous attention to detail, the gentle touch applied during the washing and drying phases, and the transformative power of wax or sealant application all converge to elevate your car's visual appeal and shield it from the rigors of the road.
Moreover, the bug removal process serves as a reminder of the enduring bond between drivers and their trusted companions on the road. It's a ritual that transcends mere maintenance, encapsulating a profound respect for the vehicles that accompany us on our journeys. As you bid farewell to the last traces of bug splatters, you're not just restoring your car's exterior; you're reaffirming the enduring connection between driver and machine.
In the end, the bug removal process is a testament to the unwavering commitment to preserving the beauty and integrity of our cars. It's a celebration of the timeless allure of automotive craftsmanship and the enduring bond between drivers and their beloved vehicles. So, as you embark on future adventures, may your car's gleaming exterior stand as a testament to the care and dedication invested in preserving its splendor, ready to conquer the open road with renewed radiance.
