Home>Home and Garden>How To Light Pilot Light On Water Heater

Home and Garden
How To Light Pilot Light On Water Heater
Published: March 4, 2024
Learn how to safely and easily light the pilot light on your water heater with our step-by-step guide. Keep your home and garden running smoothly with our expert tips.
(Many of the links in this article redirect to a specific reviewed product. Your purchase of these products through affiliate links helps to generate commission for Noodls.com, at no extra cost. Learn more)
Table of Contents
Introduction
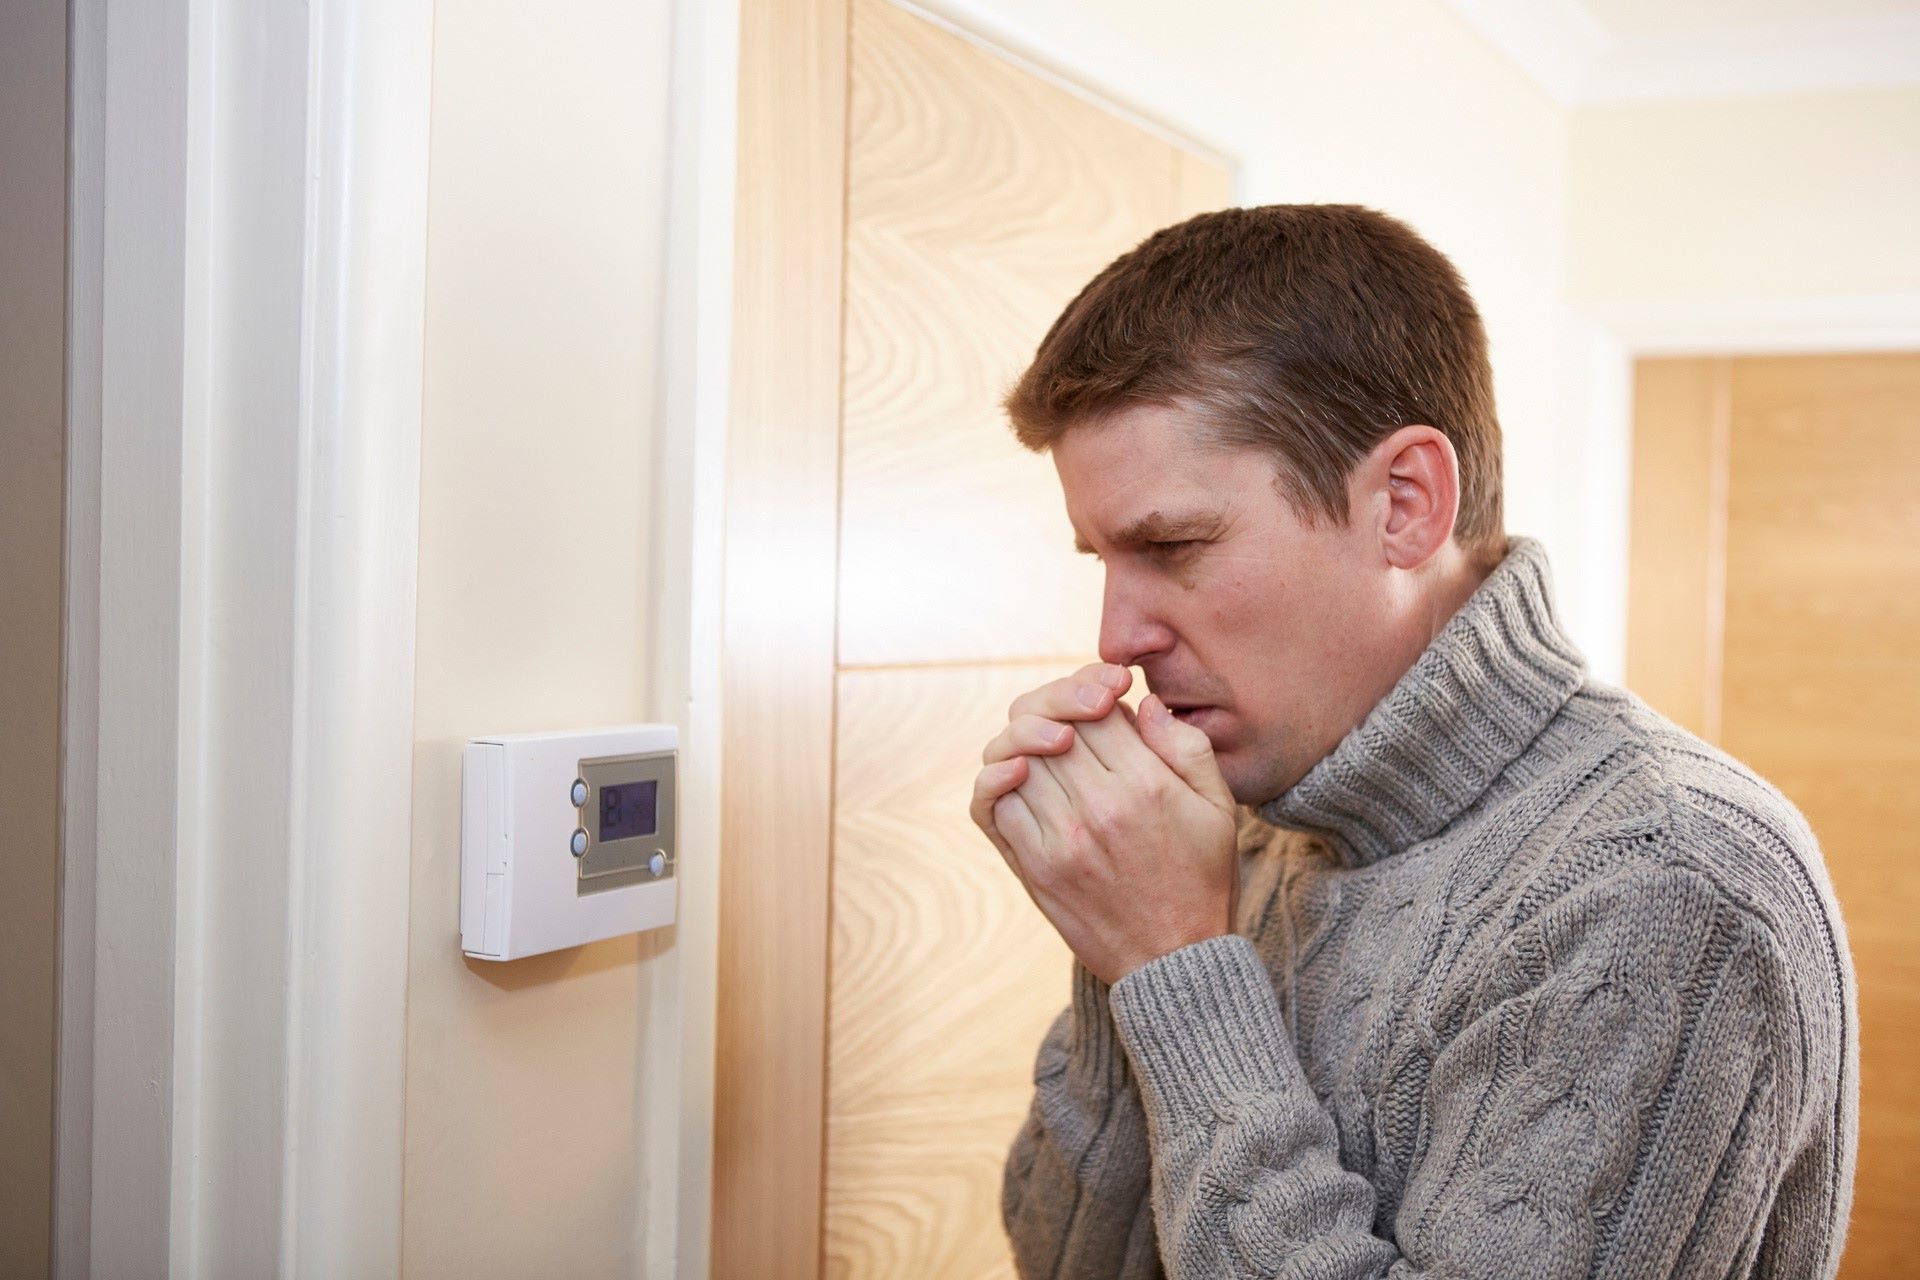
The pilot light on a water heater plays a crucial role in ensuring a consistent supply of hot water in our homes. It serves as the ignition source for the gas burner, allowing the water heater to function efficiently. However, there are instances when the pilot light may extinguish, leading to a disruption in the hot water supply. In such situations, knowing how to relight the pilot light can save both time and money, as it eliminates the need for professional assistance.
Understanding the process of lighting the pilot light on a water heater is essential for homeowners. It empowers individuals to address minor issues with their water heaters independently, thereby promoting self-sufficiency and reducing reliance on external help. By familiarizing oneself with the necessary steps and safety precautions, homeowners can confidently manage the maintenance of their water heaters, ensuring optimal performance and longevity.
In this comprehensive guide, we will delve into the intricacies of relighting the pilot light on a water heater. From understanding the function of the pilot light to providing a detailed walkthrough of the relighting process, this article aims to equip readers with the knowledge and confidence to tackle this task effectively. Additionally, we will explore essential safety precautions, tools, and materials required, as well as troubleshooting tips to address common issues related to the pilot light. By the end of this guide, readers will have a clear understanding of how to safely and efficiently relight the pilot light on their water heaters, enabling them to restore the steady flow of hot water in their homes.
Read more: How To Flush Tankless Water Heater
Understanding the Pilot Light
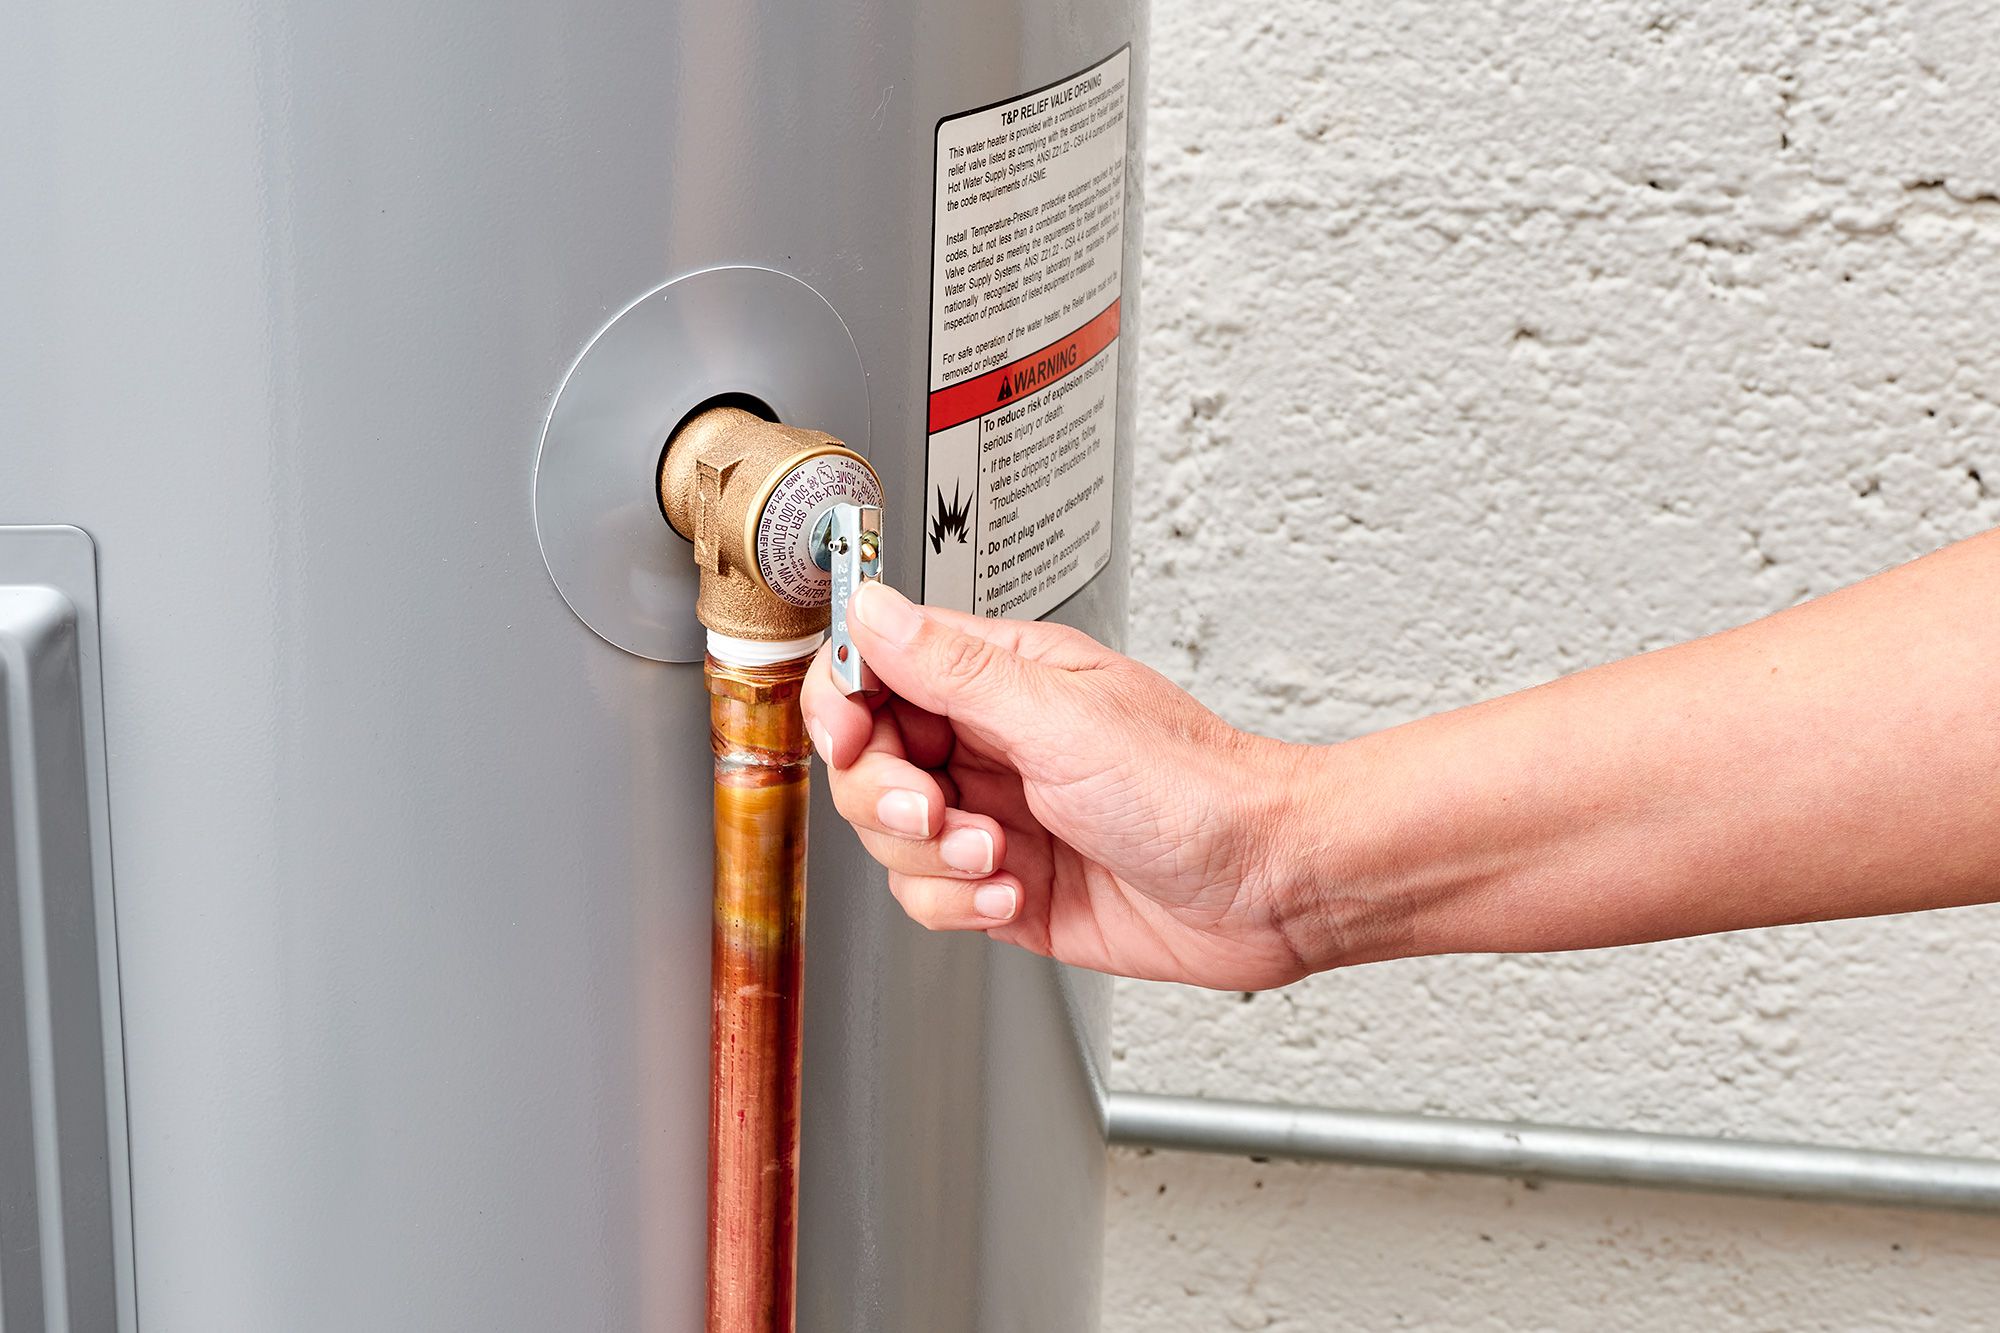
The pilot light is a small, continuously burning flame that serves as the ignition source for the gas burner in a water heater. It is a crucial component of the heating system, responsible for initiating the combustion process that heats the water within the tank. Typically, the pilot light is located near the bottom of the water heater, beneath the main burner.
The primary function of the pilot light is to ignite the gas that flows into the burner assembly. When the water heater is in use, the pilot light remains lit, ready to ignite the gas as soon as the thermostat signals the need for hot water. This continuous flame ensures that the water heater can quickly and efficiently produce hot water whenever required.
In older models of water heaters, the pilot light is a standing pilot, meaning it remains lit at all times. However, in more modern units, the pilot light may be electronic, igniting only when the thermostat detects the need for hot water. Regardless of the type, the pilot light is an integral part of the water heater's operation, enabling the appliance to fulfill its essential function of providing a steady supply of hot water for various household needs.
Understanding the role of the pilot light is essential for homeowners, as it provides insight into the inner workings of the water heater. By recognizing the significance of this small, unassuming flame, individuals can appreciate its contribution to the overall functionality of the appliance. Moreover, being familiar with the pilot light's function is the first step toward effectively managing the maintenance and occasional relighting of the pilot light, ensuring the consistent performance of the water heater.
In the next section, we will explore essential safety precautions to consider before attempting to relight the pilot light, emphasizing the importance of approaching this task with caution and attentiveness.
Safety Precautions
Before embarking on the process of relighting the pilot light on a water heater, it is imperative to prioritize safety. Handling gas appliances requires a cautious approach to mitigate potential risks and ensure a secure environment for both the individual performing the task and those in the vicinity. By adhering to the following safety precautions, homeowners can minimize hazards and execute the relighting process with confidence.
-
Ventilation: Ensure that the area surrounding the water heater is well-ventilated. Adequate airflow is essential when working with gas appliances, as it helps disperse any accumulated gas and prevents the formation of potentially hazardous concentrations. Open windows and doors to promote ventilation, allowing any lingering gas to dissipate before relighting the pilot light.
-
Gas Odor: Before attempting to relight the pilot light, carefully sniff the air around the water heater. If a distinct odor of gas is detected, refrain from proceeding with the relighting process. Instead, evacuate the area immediately and contact the gas company or a qualified professional to assess and address the potential gas leak. Under no circumstances should the pilot light be relit in the presence of a gas odor, as this poses a severe safety risk.
-
Read Manufacturer's Instructions: Familiarize yourself with the water heater's manual and the manufacturer's specific guidelines for relighting the pilot light. Different models may have varying procedures and safety recommendations, so consulting the provided instructions is crucial. Additionally, the manual may contain valuable information on troubleshooting and addressing common issues related to the pilot light and gas supply.
-
Protective Gear: Wear appropriate protective gear, such as gloves and safety goggles, when working on the water heater. These items provide an added layer of protection and minimize the risk of injury during the relighting process. Additionally, avoid wearing loose clothing that could potentially come into contact with the pilot light or other components of the water heater.
-
Flammable Materials: Clear the area around the water heater of any flammable materials, such as paper, cloth, or cleaning supplies. Creating a clear, clutter-free workspace reduces the risk of accidental fires and ensures a safe environment for relighting the pilot light.
By prioritizing safety and adhering to these precautions, homeowners can approach the task of relighting the pilot light on their water heater with a heightened awareness of potential risks and the necessary measures to mitigate them. This proactive approach not only safeguards against accidents but also fosters a responsible and informed attitude toward the maintenance of gas appliances.
Tools and Materials Needed
When preparing to relight the pilot light on a water heater, it is essential to gather the necessary tools and materials to facilitate a smooth and efficient process. By ensuring that these items are readily available, homeowners can approach the task with confidence, knowing that they have everything required to safely and effectively relight the pilot light. The following tools and materials are essential for this maintenance procedure:
-
Long-Handled Lighter or Fireplace Match: A long-handled lighter or a fireplace match is crucial for safely igniting the pilot light without placing hands or fingers in close proximity to the flame. These specialized lighters provide the necessary reach to access the pilot light assembly without risk of burns or injuries.
-
Flashlight: A reliable flashlight is indispensable for illuminating the area around the water heater, especially if the pilot light is located in a dimly lit or confined space. Proper lighting is essential for accurately identifying the pilot light assembly and ensuring that the relighting process is carried out with precision.
-
Owner's Manual: The water heater's owner's manual contains valuable information regarding the specific relighting procedure recommended by the manufacturer. It also provides essential safety guidelines and troubleshooting tips, making it an indispensable resource for homeowners undertaking this task.
-
Protective Gloves: Durable, heat-resistant gloves offer protection against potential burns or discomfort when working near the pilot light and other components of the water heater. By wearing protective gloves, homeowners can handle the necessary tools and access the pilot light assembly with confidence.
-
Safety Goggles: Safety goggles provide eye protection, shielding against any potential debris or gas discharge during the relighting process. These goggles are essential for maintaining clear vision and safeguarding the eyes from exposure to gas or other particles.
-
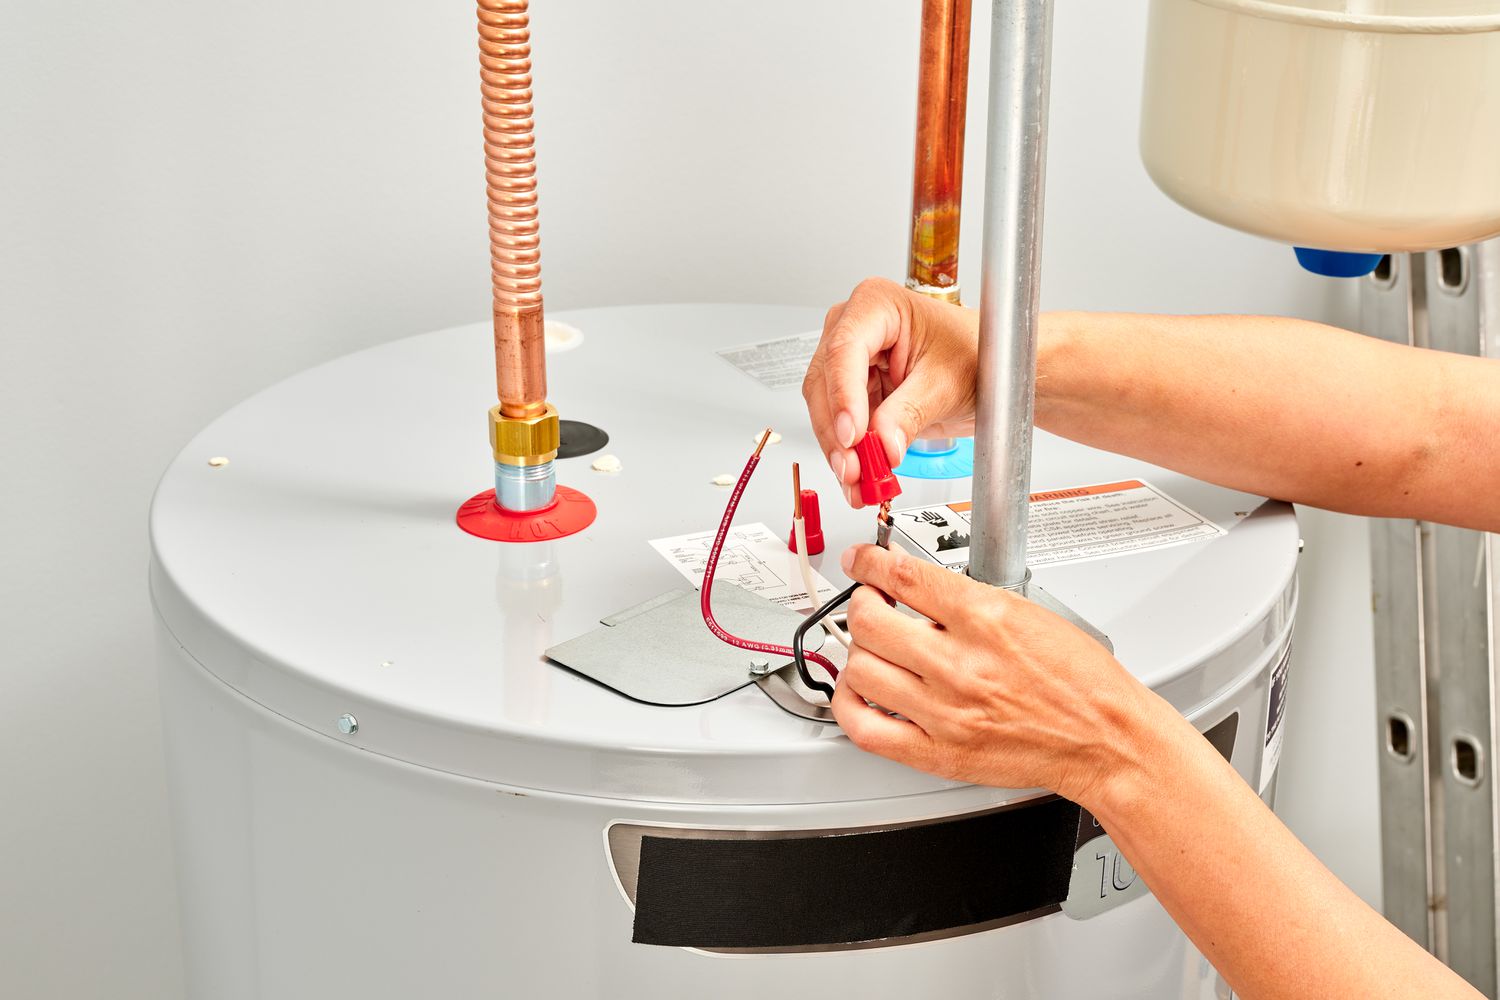
Adjustable Wrench (if applicable): In some water heater models, an adjustable wrench may be required to access the pilot light assembly or to remove the access panel. This tool facilitates the safe and secure removal of components, allowing for unhindered access to the pilot light.
By ensuring that these tools and materials are readily available before attempting to relight the pilot light, homeowners can streamline the process and approach the task with the necessary preparedness. This proactive approach not only promotes safety and efficiency but also instills a sense of confidence in managing the maintenance of the water heater.
Step-by-Step Instructions
-
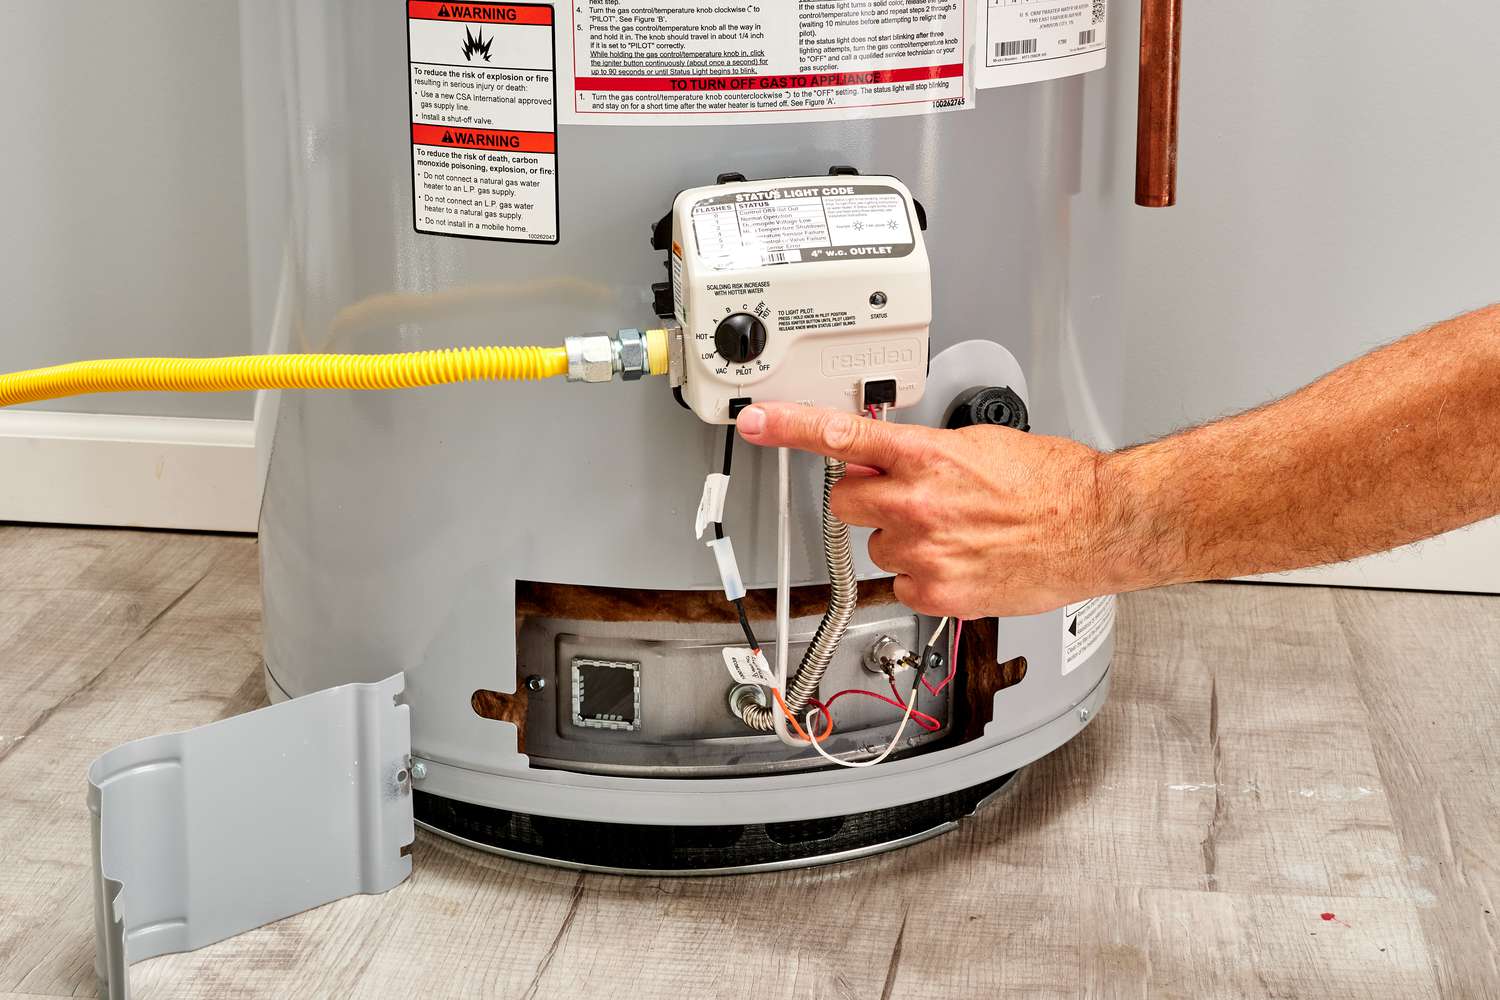
Locate the Pilot Light: Begin by identifying the location of the pilot light assembly on the water heater. In most cases, the pilot light can be found near the bottom of the unit, concealed behind an access panel. Use a flashlight to illuminate the area and ensure clear visibility of the pilot light assembly.
-
Turn Off the Gas: Locate the gas control valve near the water heater and switch it to the "off" position. This crucial step ensures that no gas is flowing to the pilot light during the relighting process, minimizing the risk of accidental ignition.
-
Remove the Access Panel: If the pilot light is concealed behind an access panel, carefully remove the panel using the appropriate tools. In some models, an adjustable wrench may be necessary to loosen and remove the screws securing the panel.
-
Inspect the Pilot Light: Once the access panel is removed, visually inspect the pilot light assembly. Ensure that there are no signs of damage or debris obstructing the pilot light. Additionally, check for any accumulation of soot or dirt that may impede the proper functioning of the pilot light.
-
Turn the Gas Control Knob to Pilot: Locate the gas control knob, often marked with "on," "off," and "pilot" positions. Set the knob to the "pilot" position, allowing gas to flow to the pilot light assembly.
-
Depress the Reset Button: On some water heaters, a reset button must be depressed to initiate the flow of gas to the pilot light. Press and hold the reset button, allowing gas to reach the pilot light assembly.
-
Ignite the Pilot Light: Using a long-handled lighter or a fireplace match, carefully ignite the pilot light. Position the flame near the pilot light assembly and, once ignited, continue to hold down the reset button for a few seconds to stabilize the flame.
-
Release the Reset Button: After the pilot light has been successfully ignited and remains lit, release the reset button. The pilot light should continue burning steadily, indicating that it has been successfully relit.
-
Replace the Access Panel: If the pilot light was concealed behind an access panel, securely reattach the panel using the appropriate tools. Ensure that the panel is fastened tightly to prevent any potential gas leaks.
-
Turn On the Gas: Return to the gas control valve and switch it to the "on" position, allowing gas to flow to the main burner. This step reinstates the normal operation of the water heater, with the pilot light serving as the ignition source for the burner.
By following these step-by-step instructions, homeowners can confidently and safely relight the pilot light on their water heater, restoring the appliance's functionality and ensuring a consistent supply of hot water for household needs.
Troubleshooting Tips
Even after following the relighting process, homeowners may encounter issues with the pilot light on their water heater. Understanding common troubleshooting tips can help identify and address potential problems, ensuring that the pilot light functions optimally. Here are essential troubleshooting tips to consider:
-
Weak or Flickering Flame: If the pilot light flame appears weak or flickers irregularly after relighting, it may indicate a clog or obstruction in the pilot light assembly. Carefully inspect the assembly for any debris, soot, or dirt that may be impeding the flow of gas. Use a soft brush or compressed air to gently clean the pilot light orifice, restoring a steady, robust flame.
-
Pilot Light Won't Stay Lit: In some instances, the pilot light may initially ignite but fail to remain lit once the reset button is released. This could be due to a faulty thermocouple, a safety device that detects the presence of a flame. If the thermocouple is malfunctioning, it may erroneously signal the gas control valve to shut off, extinguishing the pilot light. Replacing the thermocouple with a new, compatible unit can resolve this issue and ensure the pilot light remains lit consistently.
-
Gas Smell or Hissing Sound: If a distinct odor of gas is detected or a hissing sound is heard near the water heater, it indicates a potential gas leak. In such cases, immediately turn off the gas supply to the water heater and refrain from relighting the pilot light. Contact the gas company or a qualified professional to inspect and address the gas leak, ensuring the safety of the household.
-
Intermittent Pilot Light Ignition: For water heaters with electronic ignition systems, an intermittent pilot light ignition may occur, leading to inconsistent operation. This could be attributed to a faulty ignition control module or wiring issues. Consulting a professional technician to diagnose and rectify electronic ignition problems is advisable to ensure the water heater operates reliably.
-
Inadequate Gas Supply: If the pilot light struggles to ignite or remain lit, it may be indicative of an inadequate gas supply to the water heater. Verify that the gas control valve is fully open and that the gas line supplying the water heater is free from obstructions or restrictions. Additionally, ensure that other gas appliances in the household are functioning correctly, as a broader gas supply issue may be affecting the water heater.
By familiarizing themselves with these troubleshooting tips, homeowners can effectively address common issues related to the pilot light on their water heater. In cases where the troubleshooting steps do not resolve the issue, seeking professional assistance from a qualified technician is recommended to ensure the safe and efficient operation of the water heater.
Conclusion
In conclusion, the ability to relight the pilot light on a water heater is a valuable skill that empowers homeowners to maintain the functionality of this essential appliance. By understanding the significance of the pilot light and familiarizing themselves with the relighting process, individuals can confidently address minor issues and ensure a consistent supply of hot water in their homes. The comprehensive guide provided in this article offers insights into the pilot light's function, essential safety precautions, tools and materials required, step-by-step instructions, and troubleshooting tips, equipping readers with the knowledge and confidence to manage their water heaters effectively.
Prioritizing safety is paramount when working with gas appliances, and the outlined safety precautions serve as a crucial reminder of the vigilance required during the relighting process. By adhering to these precautions, homeowners can mitigate potential risks and create a secure environment for themselves and their households. Additionally, the emphasis on gathering the necessary tools and materials underscores the importance of preparedness, ensuring that individuals have everything required to execute the relighting process efficiently.
The step-by-step instructions provided in this guide offer a clear and structured approach to relighting the pilot light, guiding homeowners through each stage of the process with precision. From locating the pilot light to safely igniting the flame, these instructions empower individuals to take proactive measures in maintaining their water heaters, promoting self-sufficiency and reducing reliance on external assistance.
Furthermore, the troubleshooting tips presented in this guide offer valuable insights into addressing common issues related to the pilot light, enabling homeowners to identify and resolve potential problems effectively. By recognizing the signs of a weak or flickering flame, understanding thermocouple malfunctions, and being vigilant about gas leaks, individuals can take proactive steps to ensure the optimal performance of their water heaters.
In essence, the knowledge and understanding gained from this guide enable homeowners to approach the maintenance of their water heaters with confidence and competence. By embracing the responsibility of managing the pilot light and addressing potential issues, individuals can uphold the efficiency and reliability of their water heaters, ultimately contributing to a comfortable and functional living environment.