Home>Home and Garden>How To Clean Refrigerator Water Dispenser
Home and Garden
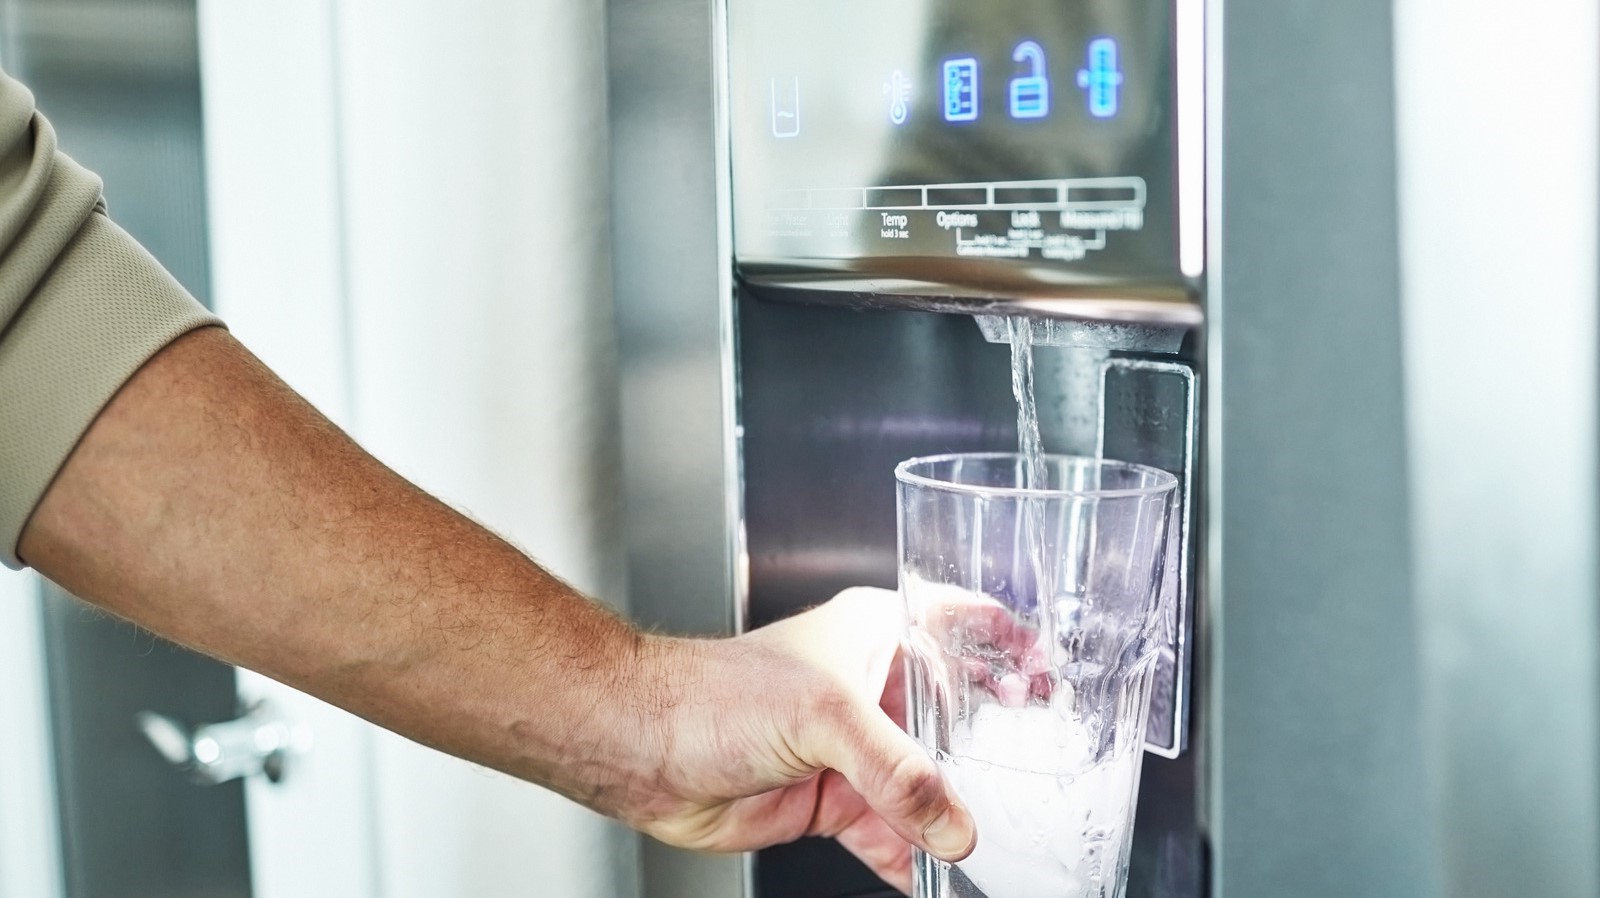
How To Clean Refrigerator Water Dispenser
Published: March 3, 2024
Learn how to properly clean and maintain your refrigerator water dispenser at home with our expert tips and tricks. Keep your home and garden in top shape with our easy-to-follow guide.
(Many of the links in this article redirect to a specific reviewed product. Your purchase of these products through affiliate links helps to generate commission for Noodls.com, at no extra cost. Learn more)
Table of Contents
Introduction
Maintaining a clean and hygienic refrigerator water dispenser is crucial for ensuring the purity and safety of the water it dispenses. Over time, mineral deposits, mold, and bacteria can accumulate within the water reservoir and dispenser nozzle, compromising the quality of the water and potentially posing health risks. Regular cleaning of the refrigerator water dispenser is essential to prevent these issues and to uphold the overall functionality of the appliance.
In this comprehensive guide, we will walk you through the step-by-step process of cleaning your refrigerator water dispenser. By following these instructions, you can effectively remove impurities, eliminate odors, and restore the dispenser to its optimal condition. Whether you are dealing with a foul smell, cloudy water, or simply want to maintain a healthy environment for your family, this cleaning process will help you achieve a pristine and reliable water dispenser.
By taking the time to clean your refrigerator water dispenser, you are not only safeguarding the health of your loved ones but also prolonging the lifespan of your appliance. With a few simple steps and minimal effort, you can enjoy the peace of mind that comes with knowing that the water dispensed from your refrigerator is clean, fresh, and free from contaminants.
Now, let's delve into the essential safety precautions to keep in mind before embarking on the cleaning process.
Read more: How To Tread Water
Safety Precautions
Before initiating the cleaning process for your refrigerator water dispenser, it is imperative to prioritize safety precautions to ensure a smooth and risk-free experience. By adhering to these essential guidelines, you can safeguard yourself and the appliance from potential hazards while effectively addressing the cleanliness of the water dispenser.
-
Unplug the Refrigerator: To begin, always disconnect the refrigerator from the power source by unplugging it from the electrical outlet. This precautionary measure is crucial for preventing electrical mishaps and ensuring your safety throughout the cleaning process.
-
Review the User Manual: Familiarize yourself with the specific instructions provided in the user manual of your refrigerator. Different models may have unique features and requirements for cleaning the water dispenser. Referencing the manual will provide valuable insights into the recommended cleaning methods and any model-specific precautions to consider.
-
Wear Protective Gear: As you handle cleaning agents or disinfectants, it is advisable to wear protective gloves to shield your skin from potential irritants. Additionally, using safety goggles can prevent any splashes or fumes from coming into contact with your eyes, ensuring a safe and comfortable cleaning experience.
-
Ventilation: Ensure that the area where you are cleaning the water dispenser is well-ventilated. Opening windows or using a fan can help disperse any fumes from cleaning agents, promoting a healthier environment and minimizing inhalation of potentially harmful vapors.
-
Use Approved Cleaning Agents: When selecting cleaning agents for the water dispenser, opt for those recommended by the refrigerator manufacturer. Avoid harsh chemicals that may damage the internal components of the dispenser or leave behind harmful residues that could contaminate the water.
-
Handle Components Carefully: As you disassemble and clean the water reservoir and dispenser nozzle, handle the components with care to prevent damage. Avoid using excessive force when removing or reattaching parts, as this could lead to breakage or malfunctions.
By prioritizing these safety precautions, you can approach the cleaning process with confidence, knowing that you are taking the necessary measures to protect yourself and maintain the integrity of your refrigerator water dispenser. With these precautions in place, you are ready to proceed with the step-by-step cleaning process to restore your water dispenser to its optimal condition.
Step 1: Unplug the Refrigerator
Before embarking on the cleaning process, the first crucial step is to ensure the safety of both the individual performing the maintenance and the refrigerator itself. Unplugging the refrigerator from the electrical outlet is a fundamental precautionary measure that eliminates the risk of electrical mishaps during the cleaning process.
To begin, locate the electrical outlet powering the refrigerator and carefully unplug the appliance. This action effectively cuts off the power supply, minimizing the potential for electrical hazards while cleaning the water dispenser. It is essential to verify that the refrigerator is completely disconnected from the power source to guarantee a safe environment for the subsequent steps.
By unplugging the refrigerator, you are taking a proactive approach to prevent any electrical accidents or malfunctions that could occur while handling the internal components of the water dispenser. This simple yet critical step sets the foundation for a secure and controlled cleaning process, allowing you to focus on the task at hand without the concern of electrical risks.
Additionally, unplugging the refrigerator serves as a precautionary measure to avoid any inadvertent activation of the water dispenser during the cleaning process. By disconnecting the power supply, you eliminate the possibility of water flow or dispensing, ensuring a hassle-free and efficient cleaning experience.
It is important to note that the refrigerator should remain unplugged throughout the entire cleaning process, including the disassembly and reassembly of the water dispenser components. This continuous disconnection from the power source provides a safe working environment and minimizes the likelihood of accidents or damage to the appliance.
By adhering to this initial step of unplugging the refrigerator, you are proactively prioritizing safety and setting the stage for a successful and secure cleaning process. With the appliance safely disconnected from the electrical supply, you are ready to proceed to the subsequent steps, confident in your commitment to maintaining a safe and hygienic refrigerator water dispenser.
Step 2: Remove the Water Reservoir
Removing the water reservoir is a pivotal step in the process of cleaning your refrigerator water dispenser. The water reservoir is the primary storage unit for the water dispensed by the refrigerator, and over time, it can accumulate impurities, mineral deposits, and potentially harbor bacteria. By carefully removing the water reservoir, you can gain access to its interior for thorough cleaning, ensuring the removal of any contaminants and maintaining the purity of the water supply.
To begin, locate the water reservoir within the refrigerator. Depending on the model of your refrigerator, the water reservoir may be situated in different positions, such as behind the crisper drawers or within the door of the refrigerator. Referencing the user manual can provide specific guidance on the precise location and removal process tailored to your refrigerator model.
Once you have identified the water reservoir, gently slide it out from its designated compartment. In some cases, the reservoir may be secured with a locking mechanism or fasteners to prevent accidental dislodging. If this is the case, carefully release the locking mechanism or unscrew any fasteners to facilitate the removal of the reservoir.
As you extract the water reservoir, be mindful of any attached tubing or electrical connections that may be linked to the dispenser system. These connections should be handled with care to avoid damage or disconnection. If necessary, label or take note of the positioning of these connections to ensure proper reattachment during the reassembly phase.
After successfully removing the water reservoir, place it on a stable and flat surface in a well-ventilated area. This positioning allows for easy access to the interior of the reservoir for thorough cleaning. By removing the reservoir from the refrigerator, you can effectively address any sediment, impurities, or bacterial buildup that may have accumulated over time, restoring the reservoir to a clean and hygienic state.
With the water reservoir now detached from the refrigerator, you are ready to proceed to the next crucial step: cleaning the water reservoir to eliminate any contaminants and ensure the purity of the water dispensed by your refrigerator.
Step 3: Clean the Water Reservoir
Cleaning the water reservoir is a vital aspect of maintaining a hygienic and reliable refrigerator water dispenser. Over time, the interior of the reservoir can accumulate mineral deposits, mold, and bacteria, compromising the quality and safety of the dispensed water. By diligently cleaning the water reservoir, you can effectively eliminate impurities and ensure that the water remains fresh and uncontaminated.
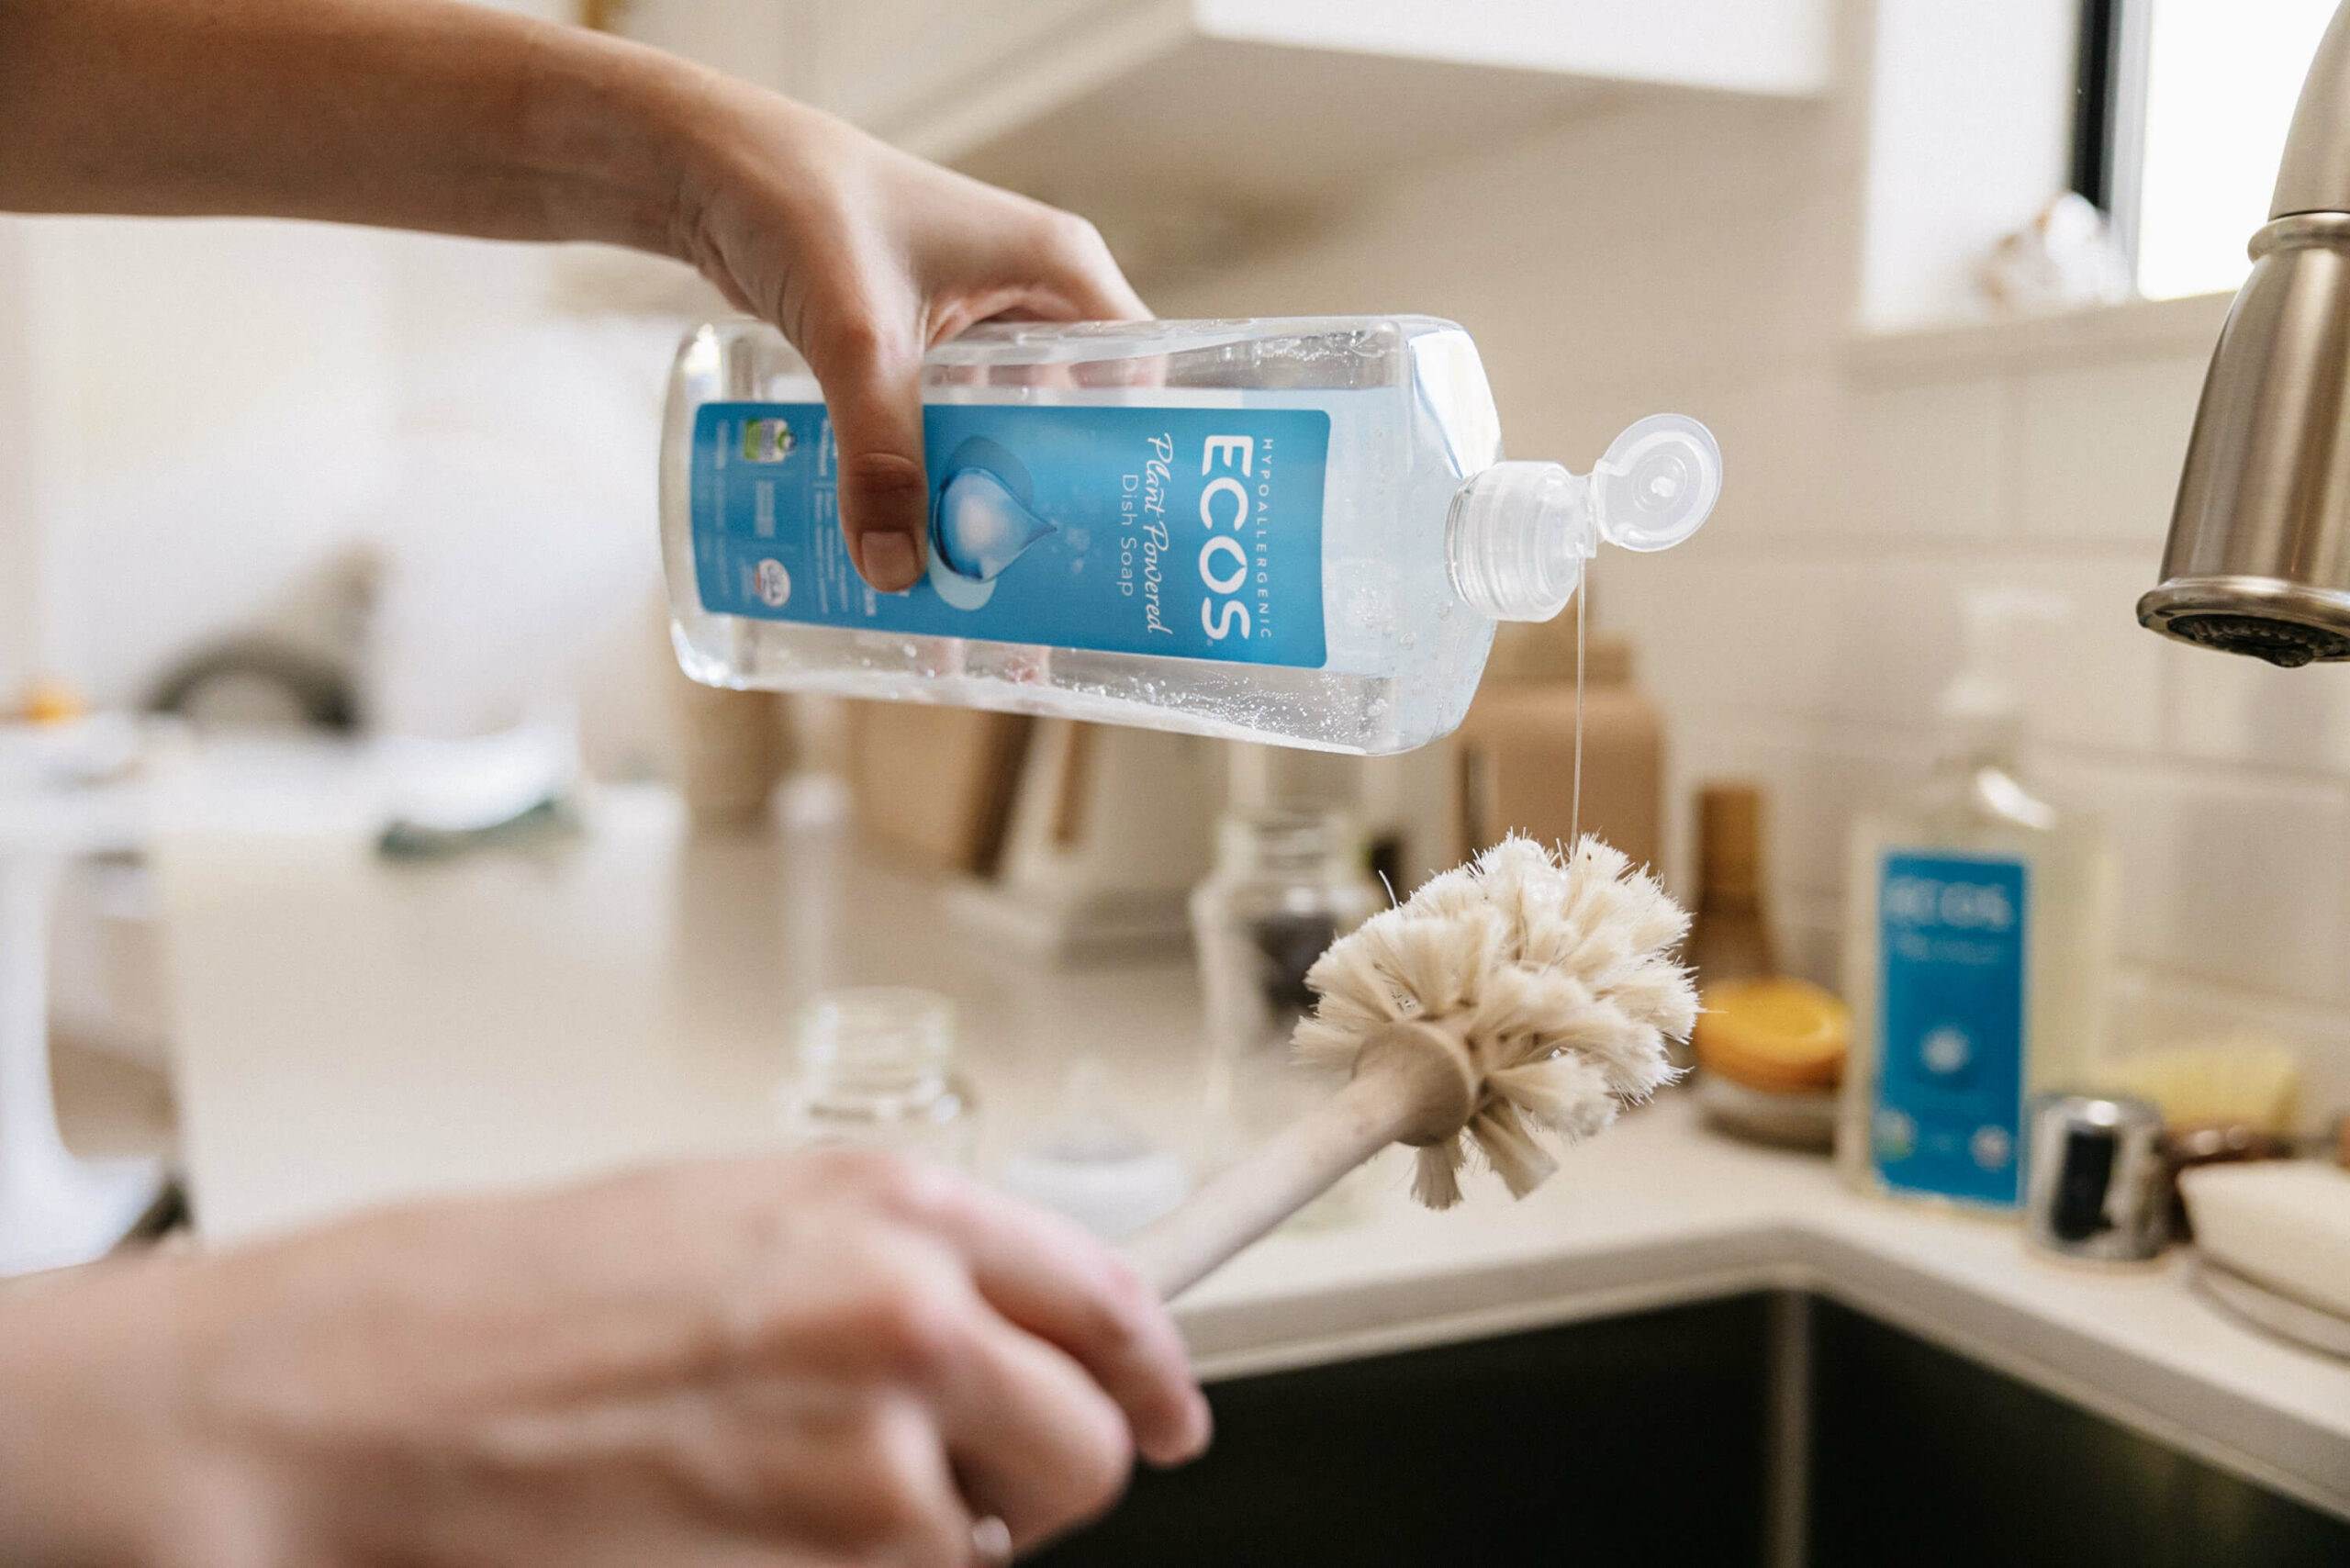
To initiate the cleaning process, begin by preparing a cleaning solution. A simple yet effective solution can be created by combining mild dish soap with warm water. This gentle cleaning mixture is suitable for removing residue and impurities without posing any risk of damaging the reservoir or leaving behind harmful residues.
Using a soft-bristled brush or sponge, thoroughly scrub the interior of the water reservoir with the prepared cleaning solution. Pay close attention to areas where mineral deposits or discoloration may be present, ensuring that all surfaces are meticulously cleaned. Additionally, if the reservoir is dishwasher-safe, placing it in the dishwasher for a cycle can provide a thorough cleaning, further eliminating any lingering impurities.
After scrubbing the interior, rinse the water reservoir meticulously with clean water to remove any traces of the cleaning solution. It is imperative to ensure that no soapy residue remains, as this could taint the quality of the dispensed water and compromise the cleanliness of the reservoir.
Once rinsed, allow the water reservoir to air-dry completely before reinstallation. This drying process helps to eliminate any remaining moisture and ensures that the reservoir is ready to be reintegrated into the refrigerator without introducing any excess humidity or dampness.
While the water reservoir is drying, take the opportunity to inspect the exterior of the refrigerator for any signs of spillage or buildup. Wipe down the exterior surfaces with a damp cloth and mild detergent, if necessary, to maintain a clean and presentable appearance.
By diligently cleaning the water reservoir, you are actively safeguarding the purity and safety of the water dispensed by your refrigerator. This proactive maintenance not only ensures the quality of the water but also contributes to the longevity and optimal performance of the appliance. With the water reservoir now thoroughly cleaned and dried, you are prepared to proceed to the next step: cleaning the water dispenser nozzle to complete the comprehensive maintenance of your refrigerator water dispenser.
Step 4: Clean the Water Dispenser Nozzle
Cleaning the water dispenser nozzle is a crucial step in ensuring the optimal functionality and hygiene of your refrigerator water dispenser. The nozzle, responsible for dispensing water, can accumulate mineral deposits, mold, and bacteria over time, potentially compromising the quality and safety of the dispensed water. By meticulously cleaning the nozzle, you can effectively remove impurities and maintain a clean and reliable water dispensing system.
To commence the cleaning process, prepare a cleaning solution by mixing equal parts of white vinegar and water. The mild acidity of vinegar makes it an effective natural cleaner, capable of dissolving mineral deposits and eliminating bacteria without leaving harmful residues. Fill a small container with the vinegar and water solution, ensuring there is enough to submerge the water dispenser nozzle completely.
Carefully detach the water dispenser nozzle from the refrigerator, following the specific instructions provided in the user manual. Depending on the model of your refrigerator, the nozzle may be removable by twisting or gently pulling it from its housing. Exercise caution to avoid damaging the nozzle or its connecting components during the removal process.
Submerge the detached water dispenser nozzle in the prepared vinegar and water solution, ensuring that it is fully immersed. Allow the nozzle to soak in the solution for approximately 10-15 minutes, enabling the mild acidity of the vinegar to effectively break down any mineral deposits or bacterial residue within the nozzle.
After the soaking period, use a soft-bristled brush or a pipe cleaner to gently scrub the interior and exterior of the water dispenser nozzle. Pay close attention to any crevices or openings where deposits may have accumulated, ensuring thorough cleaning of all surfaces. Additionally, carefully inspect the dispenser nozzle for any signs of damage or wear that may require attention or replacement.
Once the scrubbing is complete, rinse the water dispenser nozzle thoroughly with clean water to remove any traces of the vinegar solution. It is essential to ensure that no vinegar residue remains, as this could affect the taste and quality of the dispensed water.
After rinsing, allow the water dispenser nozzle to air-dry completely before reattaching it to the refrigerator. This drying process ensures that the nozzle is free from moisture and ready to be reintegrated into the water dispensing system without introducing any excess humidity.
By diligently cleaning the water dispenser nozzle, you are actively preserving the purity and functionality of your refrigerator water dispenser. This proactive maintenance not only ensures the quality of the dispensed water but also contributes to the longevity and reliable performance of the appliance. With the water dispenser nozzle now thoroughly cleaned and dried, you are prepared to proceed to the final step: reassembling the water dispenser to complete the comprehensive maintenance process.
Step 5: Reassemble the Water Dispenser
After completing the meticulous cleaning of the water reservoir and dispenser nozzle, the final step involves reassembling the water dispenser to restore its functionality and ensure the continued delivery of clean and refreshing water. This crucial phase of the maintenance process requires attention to detail and careful handling to ensure that all components are securely and correctly reattached, allowing the water dispenser to operate optimally.
Begin by retrieving the thoroughly cleaned and dried water reservoir and carefully reintroducing it into its designated compartment within the refrigerator. Ensure that the reservoir is positioned securely, aligning it with any guiding grooves or attachment points to guarantee a stable fit. If the reservoir is equipped with tubing or electrical connections, reattach these components according to the labels or notes made during the removal process, ensuring a secure and proper connection.
Next, take the cleaned water dispenser nozzle and gently reattach it to its housing within the refrigerator. Depending on the model of your refrigerator, the nozzle may require twisting or gentle pressure to secure it in place. Exercise caution to avoid any forceful handling that could lead to damage or misalignment of the nozzle.
Once the water reservoir and dispenser nozzle are successfully reinstalled, carefully inspect the surrounding area for any signs of leakage or misalignment. Wipe down the exterior of the water dispenser and the surrounding surfaces to remove any residual moisture or cleaning solution, ensuring a clean and presentable appearance.
After reassembling the water dispenser, take a moment to verify that all components are securely in place and that there are no loose connections or irregularities. Once you have confirmed the proper reassembly of the water dispenser, proceed to plug the refrigerator back into the electrical outlet, restoring power to the appliance.
With the water dispenser successfully reassembled and the refrigerator powered on, you have completed the comprehensive cleaning and maintenance process for your refrigerator water dispenser. By diligently following each step and prioritizing the cleanliness and functionality of the water dispenser, you have taken proactive measures to ensure the purity and safety of the dispensed water, contributing to a healthy and hygienic environment for you and your family.
Now, with the water dispenser restored to its optimal condition, you can enjoy the peace of mind that comes with knowing that the water dispensed by your refrigerator is clean, fresh, and free from impurities. By incorporating regular maintenance into your household routine, you can prolong the lifespan of your appliance and continue to benefit from the convenience and reliability of a well-maintained refrigerator water dispenser.
Conclusion
In conclusion, maintaining a clean and hygienic refrigerator water dispenser is essential for ensuring the purity and safety of the water it dispenses. By following the comprehensive cleaning process outlined in this guide, you have taken proactive measures to eliminate impurities, remove mineral deposits, and safeguard the quality of the dispensed water. The meticulous cleaning of the water reservoir and dispenser nozzle has not only contributed to the cleanliness of the water but also to the optimal functionality and longevity of the appliance.
By adhering to the safety precautions, including unplugging the refrigerator and using approved cleaning agents, you have prioritized safety throughout the cleaning process. This proactive approach ensures a secure and controlled environment for maintaining the water dispenser, minimizing the risk of accidents or damage to the appliance.
The step-by-step cleaning process, including the removal and thorough cleaning of the water reservoir, followed by the meticulous cleaning of the water dispenser nozzle, has allowed you to address potential sources of contamination and maintain a pristine water dispensing system. By utilizing gentle cleaning solutions and ensuring thorough rinsing and drying, you have effectively eliminated impurities and bacterial residue, ensuring that the water dispensed by your refrigerator remains fresh, clean, and free from contaminants.
Furthermore, the reassembly of the water dispenser, with careful attention to detail and proper alignment of components, has restored the functionality of the appliance, allowing for the continued delivery of clean and refreshing water. By completing the reassembly process and restoring power to the refrigerator, you have successfully concluded the comprehensive maintenance of your refrigerator water dispenser.
By incorporating regular cleaning and maintenance into your household routine, you can enjoy the peace of mind that comes with knowing that the water dispensed by your refrigerator is of the highest quality. This proactive approach not only contributes to a healthy and hygienic environment for you and your family but also prolongs the lifespan of your appliance, ensuring continued reliability and convenience.
In essence, by prioritizing the cleanliness and functionality of your refrigerator water dispenser, you have demonstrated a commitment to maintaining a healthy and safe water supply within your home. With the completion of the cleaning process, you can now enjoy the benefits of a pristine and reliable water dispenser, providing clean and refreshing water for your daily needs.