Lifestyle
How To Clean A Septum Piercing
Published: March 1, 2024
Learn the best practices for cleaning a septum piercing to maintain a healthy lifestyle. Discover effective tips and techniques for proper care.
(Many of the links in this article redirect to a specific reviewed product. Your purchase of these products through affiliate links helps to generate commission for Noodls.com, at no extra cost. Learn more)
Table of Contents
Introduction
Cleaning a septum piercing is an essential aspect of piercing aftercare. Proper cleaning not only promotes healing but also prevents infections, ensuring that your piercing remains healthy and beautiful. Whether you're a piercing enthusiast or a newbie, understanding the correct cleaning process is crucial for maintaining the health and aesthetics of your septum piercing.
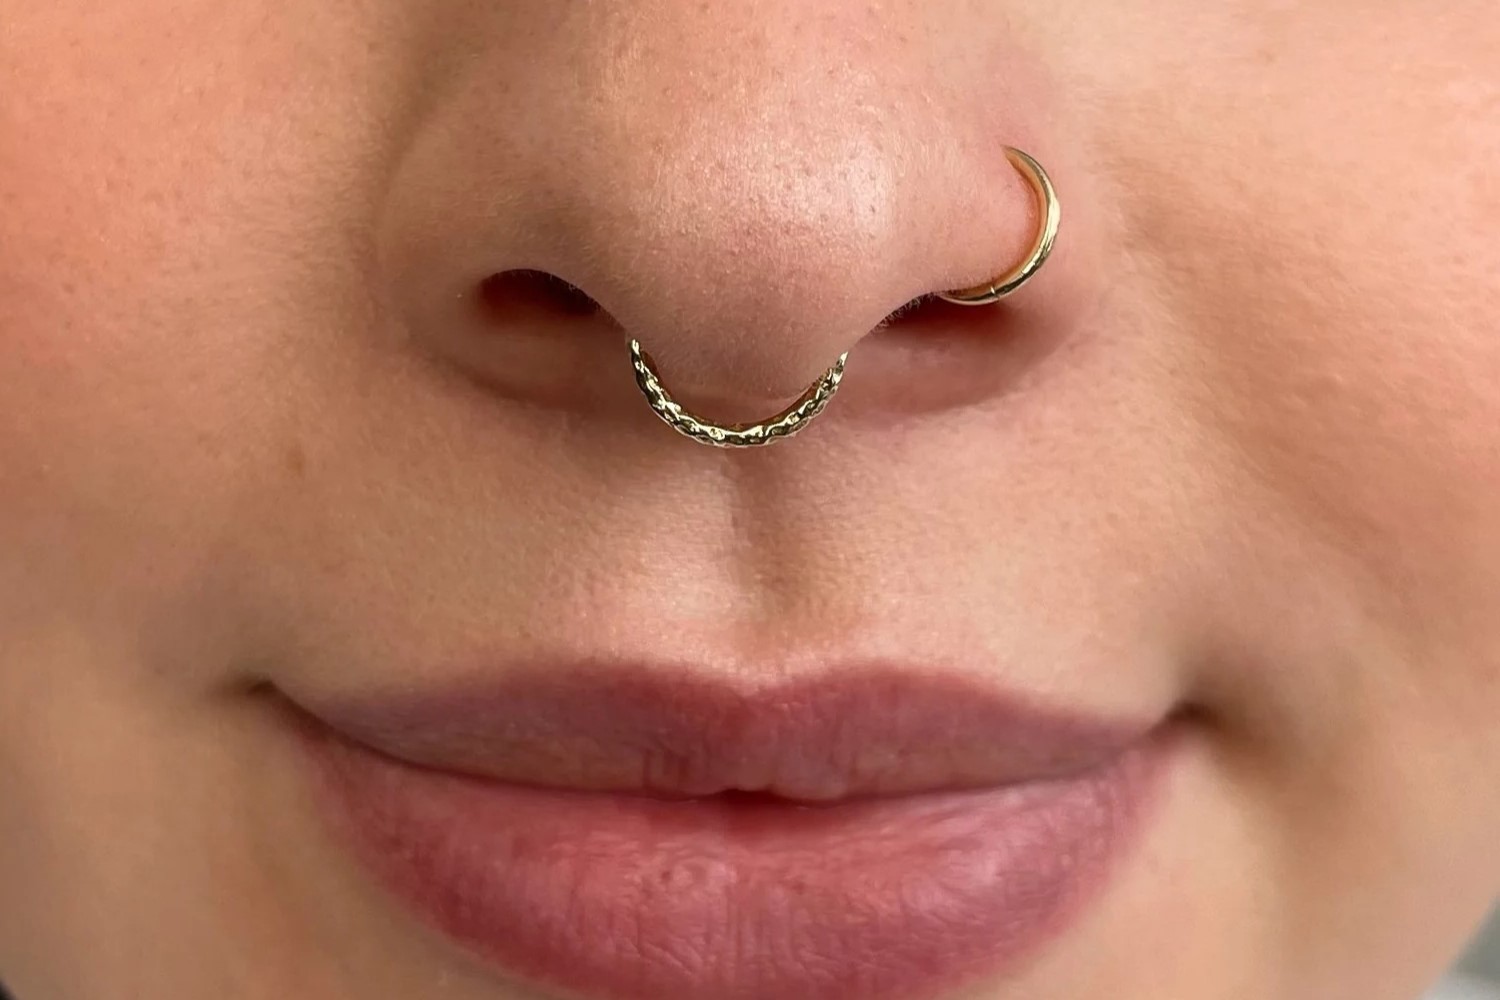
A septum piercing, located in the fleshy area between the nostrils, is a popular choice for individuals seeking a stylish and versatile piercing. However, like any other body modification, caring for a septum piercing is paramount to avoid complications and promote healing. The process of cleaning a septum piercing is relatively simple, but it requires attention to detail and consistency.
In this comprehensive guide, we will walk you through the step-by-step process of cleaning your septum piercing. From gathering the necessary supplies to cleansing the area around the piercing, cleaning the jewelry, and ensuring the inside of the piercing is free from debris, we will cover everything you need to know to maintain a healthy and vibrant septum piercing.
By following these instructions and incorporating them into your daily routine, you can ensure that your septum piercing remains clean, free from irritation, and on the path to optimal healing. Let's dive into the details of how to effectively clean a septum piercing, so you can enjoy your stylish accessory with confidence and peace of mind.
Read more: How To Pierce Your Own Ear
Step 1: Gather necessary supplies
Before embarking on the cleaning process for your septum piercing, it's crucial to gather the necessary supplies to ensure a thorough and effective cleaning routine. Having the right tools at your disposal will streamline the process and contribute to the overall health and maintenance of your piercing. Here's a comprehensive list of supplies you'll need:
-
Saline Solution: A sterile saline solution is a fundamental component of septum piercing aftercare. It serves as a gentle yet effective cleanser that helps to remove debris and reduce the risk of infection. Ensure that the saline solution is specifically formulated for wound care and does not contain any additives or preservatives.
-
Cotton Balls or Gauze Pads: These are essential for applying the saline solution to the piercing site. They provide a soft and absorbent material for gently cleaning the area without leaving behind fibers that could irritate the piercing.
-
Mild, Fragrance-Free Soap: Opt for a gentle, fragrance-free liquid soap that is suitable for sensitive skin. This will be used to cleanse the area around the piercing as part of the cleaning process.
-
Warm Water: Having access to warm water is important for diluting the saline solution and rinsing the piercing site. Ensure that the water is comfortably warm, as excessively hot water can be harsh on the delicate skin around the piercing.
-
Clean Towel or Paper Towels: A clean, soft towel or disposable paper towels are necessary for drying the area around the piercing after cleaning. It's important to use a fresh towel or disposable towels to avoid introducing bacteria or irritants to the piercing site.
-
Mirror: A well-lit mirror will aid in visualizing and accessing the piercing site, allowing for a more precise and thorough cleaning process.
By ensuring that you have these supplies readily available, you can proceed with confidence, knowing that you have everything you need to maintain the cleanliness and health of your septum piercing. With the supplies in hand, you're ready to move on to the next step in the cleaning process.
Step 2: Cleanse the area around the piercing
After gathering the necessary supplies, the next crucial step in cleaning your septum piercing is to cleanse the area surrounding the piercing. This process is essential for removing any buildup of dirt, oils, or dried lymph that may have accumulated around the piercing site. Here's a detailed guide on how to effectively cleanse the area around your septum piercing:
-
Prepare the Saline Solution: Begin by preparing the saline solution. If you're using a store-bought saline solution, ensure that it is specifically formulated for wound care and is sterile. If you prefer to make your own saline solution, mix 1/4 teaspoon of non-iodized sea salt with 8 ounces of warm distilled water. Stir the solution until the salt is completely dissolved.
-
Soak a Cotton Ball or Gauze Pad: Take a clean cotton ball or gauze pad and soak it in the prepared saline solution. Gently squeeze out any excess liquid to ensure that the cotton ball or gauze pad is damp but not dripping.
-
Cleanse the Area: Carefully hold the dampened cotton ball or gauze pad against the area around the septum piercing. Gently wipe around the piercing site, ensuring that you cover the entire area where buildup may have occurred. Avoid using excessive pressure, as this can cause unnecessary irritation.
-
Rinse with Warm Water: After cleansing the area with the saline solution, rinse the piercing site with warm water. This will help remove any remaining saline solution as well as any loosened debris. Ensure that the water is comfortably warm, as water that is too hot can be uncomfortable and may irritate the skin.
-
Pat Dry with a Clean Towel or Paper Towel: Once the area has been rinsed, carefully pat it dry using a clean, soft towel or disposable paper towels. Avoid rubbing the area, as this can cause irritation. Ensure that the area is completely dry before proceeding to the next step.
By following these steps, you can effectively cleanse the area around your septum piercing, promoting cleanliness and reducing the risk of irritation or infection. This meticulous cleaning process sets the stage for the subsequent steps in maintaining the health and vibrancy of your septum piercing.
Step 3: Clean the jewelry
Properly cleaning the jewelry worn in your septum piercing is essential for maintaining hygiene and preventing potential complications. Over time, jewelry can accumulate dirt, oils, and debris, which may harbor bacteria and impede the healing process. By incorporating regular jewelry cleaning into your piercing care routine, you can ensure that your septum piercing remains clean, comfortable, and visually appealing.
Here's a detailed guide on how to effectively clean the jewelry in your septum piercing:
-
Remove the Jewelry: Before cleaning the jewelry, it's important to carefully remove it from your septum piercing. Gently unscrew or unclasp the jewelry, taking care not to cause any discomfort or irritation to the piercing site. If the jewelry has any removable components, such as beads or decorative attachments, ensure that these are also detached for thorough cleaning.
-
Inspect for Buildup: Once the jewelry is removed, take a moment to inspect it for any visible buildup of dirt, oils, or residue. Pay close attention to areas where the jewelry comes into direct contact with the skin, as these areas are more prone to accumulating debris. This visual inspection will guide the cleaning process and help identify areas that require focused attention.
-
Prepare a Cleaning Solution: To clean the jewelry, prepare a gentle cleaning solution using a mild, fragrance-free liquid soap and warm water. In a small bowl or container, mix a few drops of the liquid soap with warm water to create a diluted cleaning solution. Ensure that the water is comfortably warm, as excessively hot water can potentially damage certain types of jewelry.
-
Soak the Jewelry: Submerge the jewelry in the prepared cleaning solution, ensuring that all components are fully immersed. Allow the jewelry to soak for a few minutes, allowing the cleaning solution to penetrate and loosen any accumulated debris. This soaking process will facilitate the subsequent removal of dirt and oils from the jewelry's surface.
-
Gently Clean the Jewelry: After soaking, use a soft-bristled brush, such as a clean toothbrush or a specialized jewelry cleaning brush, to gently scrub the jewelry. Pay particular attention to intricate details and crevices where debris may be lodged. Avoid using abrasive materials or harsh scrubbing, as these can scratch or damage the jewelry.
-
Rinse and Dry the Jewelry: Once the jewelry has been thoroughly scrubbed, rinse it under warm running water to remove the cleaning solution and dislodged debris. Ensure that all traces of the cleaning solution are completely removed. After rinsing, carefully pat the jewelry dry with a clean, soft towel to remove excess moisture.
-
Inspect and Reassemble: Before reinserting the jewelry into your septum piercing, inspect it to ensure that it is clean and free from any remaining debris. Reassemble any detached components, such as beads or attachments, and ensure that the jewelry is securely fastened and ready for reinsertion.
By following these steps, you can effectively clean the jewelry worn in your septum piercing, promoting hygiene and preserving the integrity of your piercing. Regularly incorporating jewelry cleaning into your piercing care routine will contribute to the overall health and longevity of your septum piercing, allowing you to showcase your unique style with confidence.
Step 4: Clean the inside of the piercing
Cleaning the inside of your septum piercing is a crucial step in maintaining its health and promoting optimal healing. While the exterior of the piercing is visible and accessible, ensuring the cleanliness of the interior requires a gentle and meticulous approach. Here's a detailed guide on how to effectively clean the inside of your septum piercing:
-
Prepare the Saline Solution: Begin by preparing the saline solution, following the same guidelines as outlined in the previous steps. Whether using a store-bought saline solution or a homemade mixture, ensure that it is sterile and suitable for wound care.
-
Soak a Cotton Ball or Gauze Pad: Take a clean cotton ball or gauze pad and soak it in the prepared saline solution. Gently squeeze out any excess liquid to ensure that the cotton ball or gauze pad is damp but not dripping.
-
Carefully Insert the Soaked Cotton Ball or Gauze Pad: With clean hands, carefully insert the dampened cotton ball or gauze pad into the opening of the piercing. Take care to avoid applying excessive pressure or pushing the material too far into the piercing, as this can cause discomfort or disrupt the healing process.
-
Gently Rotate and Cleanse the Inside of the Piercing: Using a gentle, circular motion, rotate the dampened cotton ball or gauze pad within the piercing. This motion helps to dislodge any debris or dried lymph that may have accumulated inside the piercing. Be mindful of maintaining a gentle touch to avoid causing irritation or discomfort.
-
Allow the Piercing to Air Dry: After gently cleansing the inside of the piercing, allow it to air dry for a brief period. This allows any residual saline solution to evaporate naturally, leaving the piercing site clean and dry.
By following these steps, you can effectively clean the inside of your septum piercing, promoting cleanliness and supporting the healing process. It's important to approach this process with patience and attentiveness, ensuring that the delicate interior of the piercing is cared for without causing unnecessary irritation or disruption. Incorporating this step into your regular piercing care routine will contribute to the overall health and well-being of your septum piercing.
Step 5: Rinse and dry the area
After completing the meticulous cleaning process for your septum piercing, the final step involves thoroughly rinsing the area and ensuring it is adequately dried. This step is crucial for removing any remaining cleaning agents, promoting optimal healing, and preventing potential irritation or infection. Here's a detailed guide on how to effectively rinse and dry the area around your septum piercing:
-
Rinse with Warm Water: Using clean hands, gently splash the area around the septum piercing with warm water. Alternatively, you can use a disposable paper towel dampened with warm water to gently wipe the area. The goal is to remove any residual cleaning solution, debris, or loosened buildup from the piercing site. Ensure that the water is comfortably warm, as excessively hot water can cause discomfort and may irritate the skin.
-
Pat Dry with a Clean Towel or Paper Towel: Once the area has been thoroughly rinsed, carefully pat it dry using a clean, soft towel or disposable paper towels. Avoid rubbing the area, as this can cause irritation. Instead, use a gentle patting motion to absorb any moisture and ensure that the area is completely dry. It's important to use a fresh towel or disposable towels to prevent the introduction of bacteria or irritants to the piercing site.
-
Allow for Natural Air Drying: In addition to patting the area dry, allowing it to air dry naturally can further promote cleanliness and healing. If possible, gently expose the piercing site to the air, ensuring that it remains free from contact with clothing or other potential sources of contamination. Natural air drying can help ensure that the area is completely dry before concluding the cleaning process.
By diligently following these steps to rinse and dry the area around your septum piercing, you can complete the comprehensive cleaning routine with confidence, knowing that your piercing is clean, refreshed, and ready to continue its healing journey. This final step sets the stage for ongoing care and maintenance, allowing you to enjoy your septum piercing with peace of mind and a commitment to its long-term health and vibrancy.
Conclusion
In conclusion, maintaining the cleanliness and health of your septum piercing is a vital aspect of piercing aftercare. By following the step-by-step cleaning process outlined in this guide, you can ensure that your septum piercing remains free from irritation, infection, and complications, allowing it to heal and thrive. Consistency and attention to detail are key elements in the care and maintenance of your septum piercing, and incorporating these cleaning practices into your daily routine will contribute to its long-term well-being.
Remember, the journey to a fully healed septum piercing requires patience and dedication. Regularly cleansing the area around the piercing, cleaning the jewelry, and tending to the inside of the piercing are essential steps that promote cleanliness and support the body's natural healing processes. By utilizing gentle, non-irritating cleaning agents such as saline solution and mild, fragrance-free soap, you can effectively remove debris and maintain a hygienic environment for your piercing.
Furthermore, the importance of thorough rinsing and drying cannot be overstated. Ensuring that the area around the septum piercing is completely free from residual cleaning agents and moisture is crucial for preventing potential complications and promoting a comfortable healing process. By adhering to these practices, you can enjoy the aesthetic appeal of your septum piercing while prioritizing its health and well-being.
It's important to note that individual healing experiences may vary, and consulting with a professional piercer or healthcare provider is recommended if you encounter any concerns or unusual symptoms during the healing process. Additionally, adhering to the specific aftercare instructions provided by your piercer is essential, as they can offer tailored guidance based on your unique piercing and healing characteristics.
Ultimately, the care and attention you invest in cleaning and maintaining your septum piercing will contribute to its longevity and visual appeal. Embracing the journey of piercing aftercare with diligence and a commitment to cleanliness will allow you to showcase your septum piercing with confidence, knowing that it is well-cared for and on the path to optimal healing and vibrancy.