Home>Technology and Computers>How To Move Rows In Excel

Technology and Computers
How To Move Rows In Excel
Published: February 24, 2024
Learn how to move rows in Excel with our easy-to-follow guide. Master the technology and computers aspect of Excel with our expert tips.
(Many of the links in this article redirect to a specific reviewed product. Your purchase of these products through affiliate links helps to generate commission for Noodls.com, at no extra cost. Learn more)
Table of Contents
Introduction
Excel is a powerful tool for organizing and manipulating data, and understanding how to efficiently move rows within a spreadsheet can significantly enhance your productivity. Whether you're reordering data, restructuring a table, or simply organizing information, knowing the various methods for moving rows in Excel is essential for streamlining your workflow.
In this article, we will explore different techniques for moving rows within an Excel spreadsheet. From the basic cut and paste method to utilizing drag and drop functionality, as well as leveraging the "Insert" and "Delete" functions, we will cover a range of approaches to suit your specific needs. Additionally, we will provide valuable tips to help you navigate through the process with ease and efficiency.
By mastering these techniques, you will be able to rearrange data seamlessly, maintain the integrity of your spreadsheets, and optimize your overall Excel experience. So, let's dive in and discover the various methods for moving rows in Excel to enhance your data management skills.
Read more: How To Freeze A Row In Excel
Understanding the basics of Excel rows
In Excel, a row is a horizontal line of cells identified by numbers along the left side of the spreadsheet. Each row is denoted by a number, starting from 1, and extends to over a million rows in the latest versions of Excel. Understanding the basics of Excel rows is fundamental to efficiently managing and manipulating data within a spreadsheet.
Rows serve as the foundation for organizing and structuring data in Excel. They allow users to input, store, and arrange information in a tabular format, making it easier to analyze and interpret the data. When working with Excel rows, it's essential to grasp their significance in maintaining the structure and integrity of the spreadsheet.
Each row consists of individual cells, which are the intersection points of rows and columns. These cells hold the actual data, such as text, numbers, formulas, or functions. By organizing data into rows, users can create a structured layout that facilitates data entry, analysis, and presentation.
Furthermore, Excel provides various functionalities for working with rows, including the ability to insert, delete, hide, and format them according to specific requirements. This flexibility allows users to customize the layout of their data, adjust the display of information, and ensure that the spreadsheet meets their needs.
Understanding the basics of Excel rows also involves recognizing the impact of row height on the visibility and presentation of data. Users can adjust the height of individual rows to accommodate larger content or improve the overall aesthetics of the spreadsheet. This feature is particularly useful when dealing with lengthy text or when striving for a consistent and organized appearance.
In summary, Excel rows are the building blocks of a spreadsheet, playing a crucial role in structuring and organizing data. By comprehending the fundamentals of Excel rows, users can effectively manage and manipulate data within the spreadsheet, leading to improved efficiency and productivity in data-related tasks.
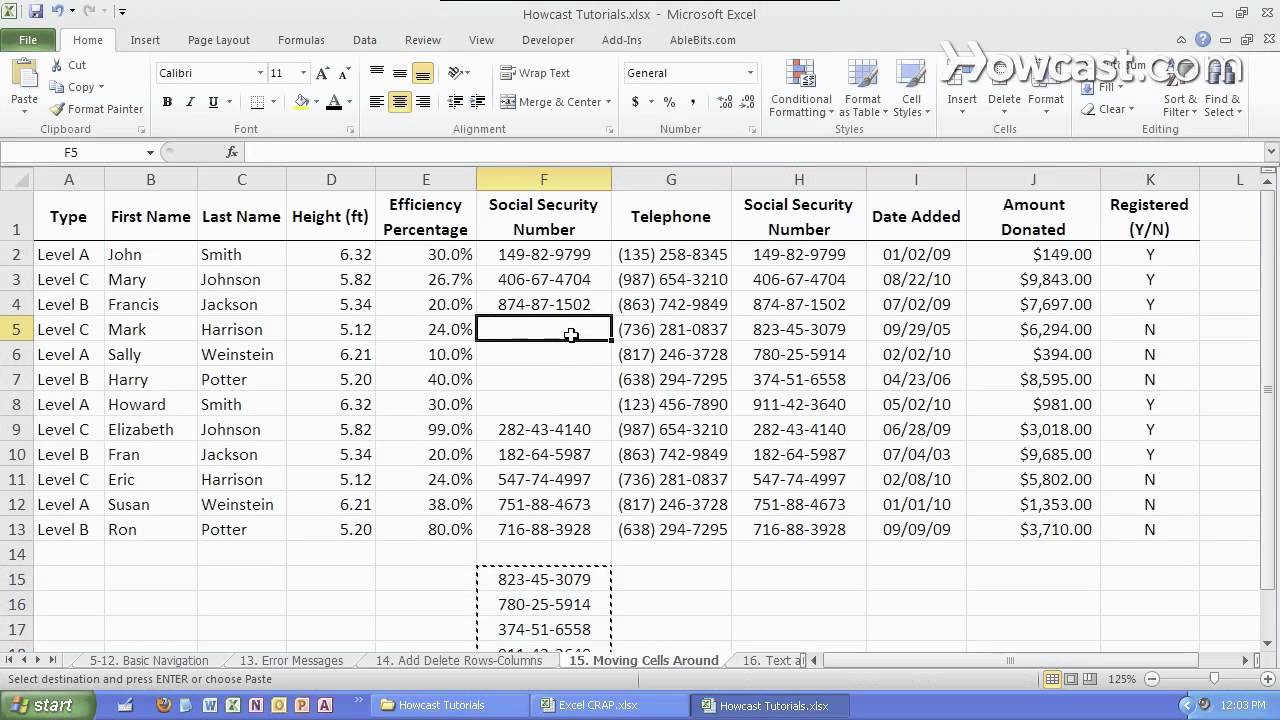
Moving rows using cut and paste
One of the most straightforward methods for moving rows within an Excel spreadsheet is the cut and paste technique. This method allows users to relocate entire rows of data to new positions with ease. Here's a step-by-step guide on how to utilize the cut and paste method effectively:
-
Select the row: Begin by selecting the entire row that you want to move. You can do this by clicking on the row number on the left-hand side of the spreadsheet. The selected row will be highlighted, indicating that it's ready for manipulation.
-
Cut the row: Once the row is selected, use the "Cut" command to remove the row from its current position. This can be done by right-clicking on the selected row and choosing the "Cut" option from the context menu, or by using the keyboard shortcut (Ctrl + X).
-
Navigate to the destination: After cutting the row, navigate to the desired location within the spreadsheet where you want to insert the row. Click on the row number to select the entire row where you want to place the cut row.
-
Paste the row: With the destination row selected, use the "Paste" command to insert the cut row into the new position. Right-click on the selected row and choose the "Paste" option from the context menu, or use the keyboard shortcut (Ctrl + V) to paste the cut row into the new location.
By following these steps, you can effectively move rows within an Excel spreadsheet using the cut and paste method. This technique is particularly useful for rearranging data, reorganizing tables, and restructuring the layout of the spreadsheet. It provides a simple yet powerful way to manipulate data and maintain the integrity of the information within the Excel file.
The cut and paste method offers a quick and efficient way to relocate rows, allowing users to seamlessly reposition data within the spreadsheet. Whether you're working with a small dataset or a large table, mastering this technique can significantly enhance your ability to manage and manipulate data in Excel.
Moving rows using drag and drop
Another intuitive method for reordering rows in an Excel spreadsheet is the drag and drop functionality. This approach provides a visual and interactive way to move rows to new positions within the spreadsheet. Here's a detailed guide on how to effectively utilize the drag and drop method:
-
Select the row: Begin by clicking on the row number of the row you want to move. The entire row will be highlighted, indicating that it's ready for manipulation.
-
Drag the row: Once the row is selected, position the cursor over the highlighted row, then click and hold the left mouse button. While holding the mouse button, drag the row to the desired location within the spreadsheet.
-
Drop the row: After dragging the row to the new position, release the mouse button to drop the row into place. The row will be inserted at the location where it was dropped, effectively reordering the data within the spreadsheet.
The drag and drop method offers a seamless and visual approach to rearranging rows in Excel. It provides users with a tactile way to interact with the data, making it particularly useful for quick adjustments and ad-hoc reordering of information.
This method is especially beneficial when working with smaller datasets or when making minor adjustments to the layout of the spreadsheet. It allows for immediate visual feedback, enabling users to precisely position rows within the Excel file.
However, it's important to exercise caution when using the drag and drop method, especially with larger datasets or complex tables. Accidental dragging and dropping of rows can lead to unintended changes in the data structure, potentially causing errors or data misalignment.
By mastering the drag and drop functionality, users can efficiently reposition rows within an Excel spreadsheet, enhancing their ability to organize and present data in a visually appealing and structured manner. This method provides a dynamic and interactive way to manage data, empowering users to seamlessly adjust the layout of their spreadsheets with ease.
Moving rows using the "Insert" and "Delete" functions
In Excel, the "Insert" and "Delete" functions offer powerful capabilities for moving rows within a spreadsheet while maintaining the integrity of the data structure. These functions allow users to seamlessly add or remove rows, effectively repositioning data to meet specific requirements. Let's delve into the details of utilizing the "Insert" and "Delete" functions to manipulate rows in Excel.
Read more: How To Delete A Row In Excel
Inserting Rows:
-
Select the Row: Begin by selecting the row above which you want to insert a new row. Click on the row number to highlight the entire row.
-
Access the Insert Function: Right-click on the highlighted row to display the context menu. From the menu, select the "Insert" option. Alternatively, navigate to the "Home" tab on the Excel ribbon, locate the "Cells" group, and click on "Insert" to initiate the insertion process.
-
Insert Options: Upon selecting the "Insert" function, Excel provides options to shift cells down or shift cells right. Choose the appropriate option based on the desired placement of the new row. Selecting "Shift cells down" will insert a new row above the selected row, while "Shift cells right" will insert a new column to the left of the selected column.
-
New Row Creation: After choosing the insertion option, Excel will create a new row in the designated position, shifting the existing rows accordingly. The new row is now ready for data entry or can be populated with existing information from other parts of the spreadsheet.
Deleting Rows:
-
Select the Row: Similarly, begin by selecting the row that you want to delete. Click on the row number to highlight the entire row.
-
Access the Delete Function: Right-click on the highlighted row to display the context menu. From the menu, select the "Delete" option. Alternatively, navigate to the "Home" tab on the Excel ribbon, locate the "Cells" group, and click on "Delete" to initiate the deletion process.
-
Delete Options: Upon selecting the "Delete" function, Excel provides options to shift cells up or shift cells left. Choose the appropriate option based on the impact of the deletion on the surrounding data. Selecting "Shift cells up" will remove the selected row and shift the remaining rows up, while "Shift cells left" will delete the selected column and shift the remaining columns to the left.
-
Confirmation: Excel will prompt for confirmation before executing the deletion process. Confirm the action to proceed with deleting the selected row, ensuring that the surrounding data is adjusted accordingly.
By leveraging the "Insert" and "Delete" functions, users can efficiently reposition rows within an Excel spreadsheet, maintaining the structural integrity of the data. These functions offer a systematic approach to adding or removing rows, enabling users to tailor the layout of their spreadsheets to suit specific data organization needs. Mastering these functions enhances users' ability to manage and manipulate data effectively, contributing to a more streamlined and organized Excel experience.
Tips for efficiently moving rows in Excel
-
Utilize Keyboard Shortcuts: Excel offers a range of keyboard shortcuts that can expedite the process of moving rows. For instance, using Ctrl + X to cut a row, Ctrl + C to copy a row, and Ctrl + V to paste a row can significantly enhance efficiency, especially when working with large datasets.
-
Freeze Panes for Reference: When moving rows within a large spreadsheet, consider freezing panes to keep certain rows or columns visible as you navigate through the data. This feature can be accessed from the "View" tab and is particularly useful for maintaining context and reference points while rearranging rows.
-
Sort Data Before Moving: Prior to moving rows, consider sorting the data based on specific criteria. This can simplify the process and ensure that the rows are repositioned in a logical order. Excel's sorting functionality allows users to arrange data alphabetically, numerically, or based on custom criteria, facilitating a more organized approach to moving rows.
-
Use Named Ranges: Employing named ranges in Excel can streamline the movement of rows, especially in complex spreadsheets. By assigning names to specific ranges of cells, users can easily reference and manipulate data, making it simpler to relocate rows within the spreadsheet.
-
Leverage the Fill Handle: The fill handle in Excel can be utilized to quickly copy and move rows of data. By clicking and dragging the fill handle, users can efficiently replicate and reposition rows, saving time and effort when working with repetitive data patterns.
-
Consider Using Tables: Converting a range of data into an Excel table offers several benefits, including enhanced manageability when moving rows. Tables provide structured formatting and built-in functionality for sorting and filtering, making it easier to manipulate and reorganize rows within the table.
-
Protect Important Rows: If certain rows contain critical information that should not be accidentally moved, consider protecting those specific rows. Excel's protection feature allows users to lock individual rows, preventing unintended changes while still allowing for the movement of other non-protected rows.
-
Document Changes: When making extensive changes to the arrangement of rows, it's advisable to document the modifications. This can be achieved by adding comments, annotations, or utilizing Excel's track changes feature to maintain a record of the adjustments made to the spreadsheet.
By implementing these tips, users can optimize their workflow and enhance their proficiency in moving rows within Excel. These strategies not only improve efficiency but also contribute to a more organized and structured approach to data management within the spreadsheet.
Conclusion
In conclusion, mastering the art of moving rows within an Excel spreadsheet is a valuable skill that can significantly enhance data management and streamline workflow efficiency. By understanding the basics of Excel rows and familiarizing oneself with various techniques for repositioning data, users can optimize their ability to organize, manipulate, and present information within the spreadsheet.
The cut and paste method provides a straightforward approach to relocating rows, offering a quick and efficient way to rearrange data and maintain the integrity of the spreadsheet. This method is particularly useful for reorganizing tables, restructuring data, and making precise adjustments to the layout of the Excel file.
Similarly, the drag and drop functionality offers an intuitive and interactive method for reordering rows, providing users with a tactile way to interact with the data. While suitable for smaller datasets and ad-hoc adjustments, users should exercise caution when using this method with larger or complex tables to avoid unintended changes in the data structure.
Furthermore, leveraging the "Insert" and "Delete" functions in Excel empowers users to systematically add or remove rows, ensuring the structural integrity of the data is maintained. These functions offer a methodical approach to repositioning rows, enabling users to tailor the layout of their spreadsheets to meet specific data organization needs.
Additionally, the provided tips for efficiently moving rows in Excel offer valuable insights into optimizing the process. From utilizing keyboard shortcuts and freezing panes for reference to leveraging named ranges and documenting changes, these strategies contribute to a more organized and structured approach to data management within the spreadsheet.
By incorporating these techniques and best practices, users can enhance their proficiency in managing and manipulating data within Excel, ultimately contributing to a more streamlined and productive Excel experience. Whether working with small datasets or complex tables, the ability to efficiently move rows within Excel is a fundamental skill that empowers users to maintain organized, structured, and visually appealing spreadsheets.
In essence, mastering the various methods for moving rows in Excel equips users with the tools to navigate through data manipulation tasks with confidence and precision, ultimately enhancing their overall productivity and proficiency in leveraging the capabilities of Excel as a powerful data management tool.