Home>Technology and Computers>How To Add Borders In Excel
Technology and Computers
How To Add Borders In Excel
Published: March 2, 2024
Learn how to easily add borders in Excel to enhance the appearance of your spreadsheets. Discover simple techniques for creating professional-looking borders. Perfect for technology and computer enthusiasts.
(Many of the links in this article redirect to a specific reviewed product. Your purchase of these products through affiliate links helps to generate commission for Noodls.com, at no extra cost. Learn more)
Table of Contents
Introduction
Adding borders to cells in an Excel spreadsheet can significantly enhance the visual appeal and clarity of your data presentation. Borders help to delineate and separate different sections of your worksheet, making it easier for readers to interpret and analyze the information. Whether you're creating a simple table or a complex financial report, knowing how to add borders in Excel is a valuable skill that can elevate the professionalism and readability of your documents.
In this article, we will explore three distinct methods for adding borders in Excel. The first method involves using the Borders button, a convenient tool located within the Excel interface. The second method delves into the Format Cells dialog box, offering a more comprehensive approach to customizing borders. Lastly, we will delve into the creative application of borders through conditional formatting, a powerful feature that allows for dynamic border adjustments based on specific criteria.
By mastering these techniques, you can effectively tailor the appearance of your Excel worksheets to suit your specific needs. Whether you aim to create visually appealing tables, emphasize important data points, or simply improve the overall organization of your data, the ability to add borders in Excel is a valuable skill that can streamline your workflow and enhance the impact of your presentations. Let's delve into these methods and discover how you can leverage borders to elevate the visual clarity of your Excel spreadsheets.
Read more: How To Add A Line In Excel
Method 1: Using the Borders Button
Adding borders to cells in Excel using the Borders button is a straightforward and efficient method that provides quick access to commonly used border styles. This method is ideal for users who require basic border formatting without the need for extensive customization. To apply borders using the Borders button, follow these simple steps:
-
Select the Cells: Begin by selecting the cells to which you want to add borders. You can choose a single cell, a range of cells, or even an entire table, depending on your specific formatting requirements.
-
Navigate to the Borders Button: Once the desired cells are selected, locate the Borders button in the Excel ribbon. The Borders button is typically found in the 'Font' or 'Alignment' section of the ribbon, depending on your version of Excel.
-
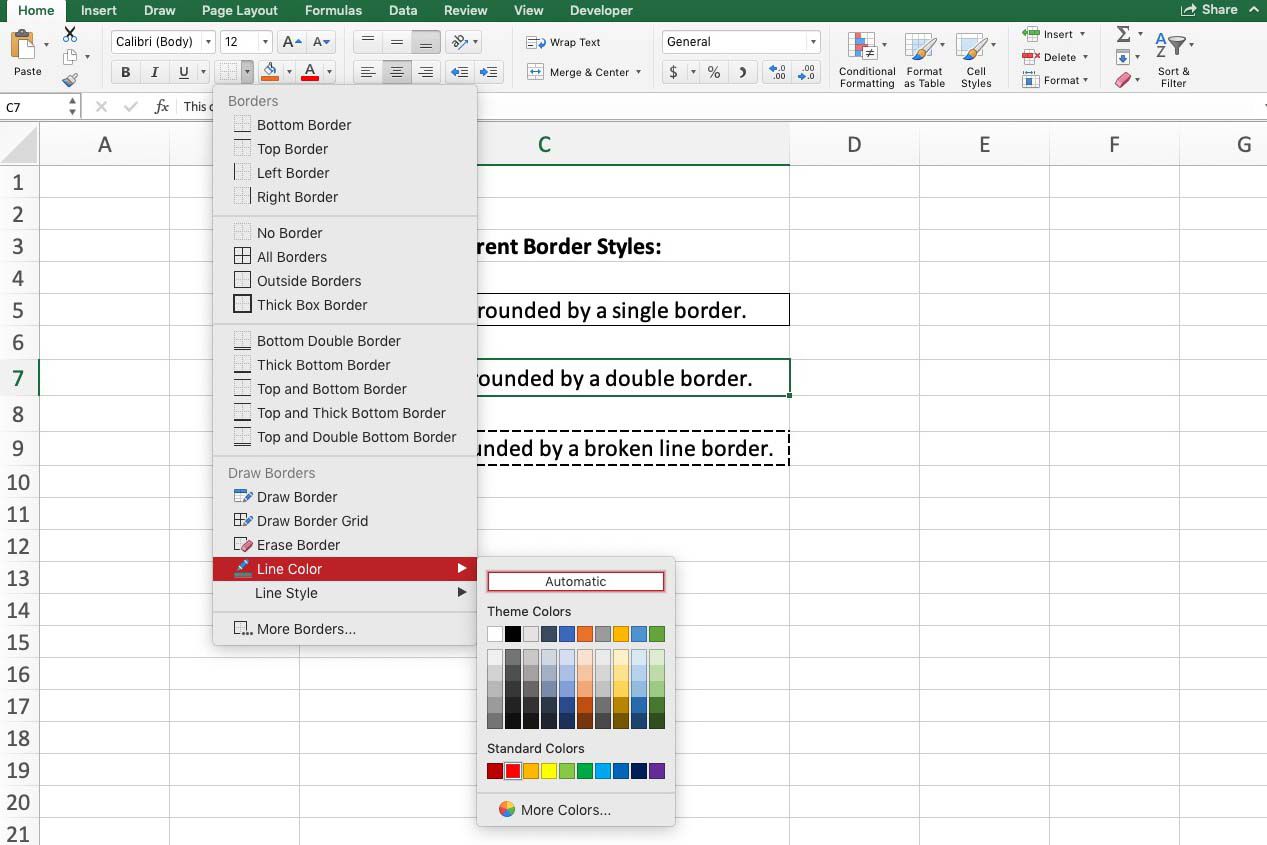
Choose the Border Style: Clicking on the Borders button will reveal a dropdown menu with various border style options, including options for applying borders to the outer edges of the selected cells, as well as options for adding borders to specific sides of the cells, such as top, bottom, left, or right borders.
-
Select the Desired Border Style: From the dropdown menu, select the appropriate border style based on your formatting needs. You can choose from options such as 'All Borders' to apply borders to all sides of the selected cells, 'Outside Borders' to add borders to the outer edges only, or 'Thick Box Border' for a bold border style, among others.
-
Apply the Borders: After selecting the desired border style from the dropdown menu, Excel will instantly apply the chosen borders to the selected cells, enhancing the visual clarity and structure of your data.
The Borders button provides a quick and convenient way to add borders to cells in Excel, making it an accessible option for users who seek immediate and uncomplicated border formatting. While this method offers a selection of predefined border styles, users looking for more advanced customization options may find the Format Cells dialog box, as explored in the next section, to be better suited for their specific formatting needs.
Method 2: Using the Format Cells Dialog Box
Utilizing the Format Cells dialog box in Excel provides a comprehensive approach to customizing borders, offering users a wide array of options to tailor the appearance of cell borders with precision and flexibility. This method is particularly advantageous for individuals seeking advanced border formatting, including the ability to specify border styles, colors, and thickness for each side of the selected cells. By leveraging the Format Cells dialog box, users can achieve highly customized border configurations to suit their specific data presentation needs.
To apply borders using the Format Cells dialog box, follow these detailed steps:
-
Select the Cells: Begin by selecting the cells to which you want to add borders. This can be done by clicking and dragging the cursor over the desired cells or by clicking on the first cell and then holding down the Shift key while selecting the last cell in the range.
-
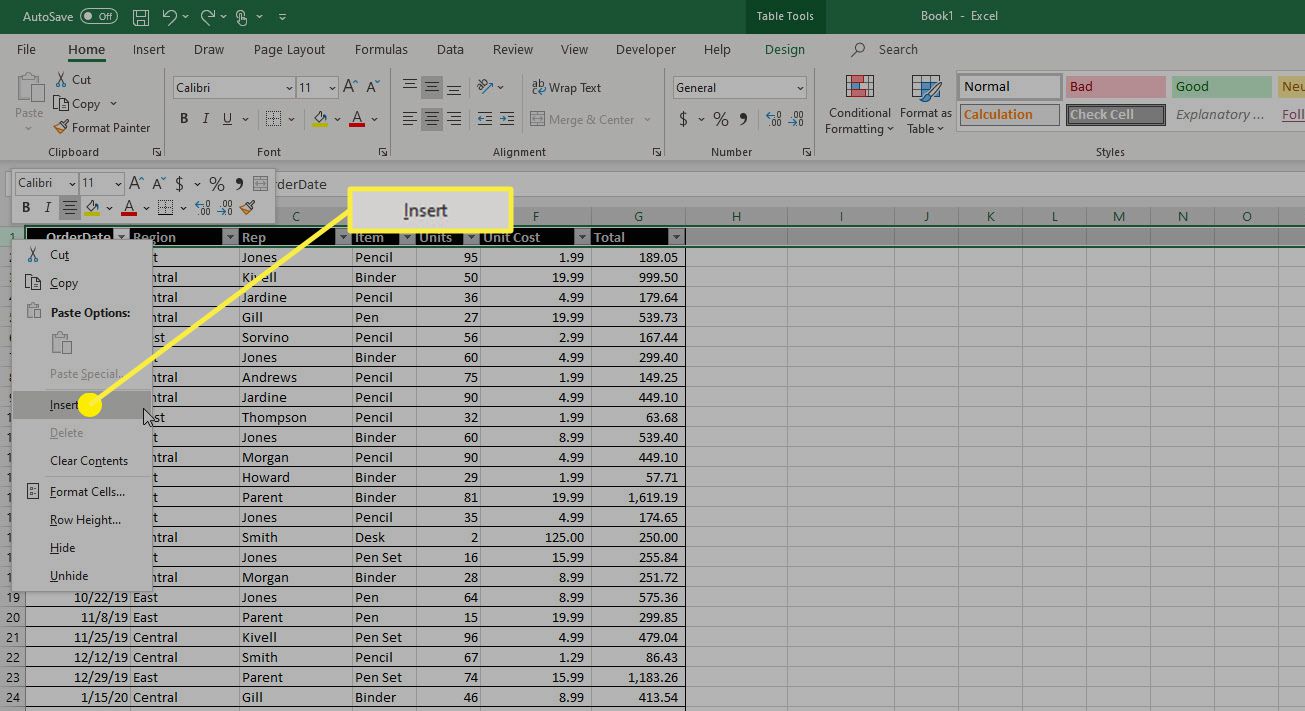
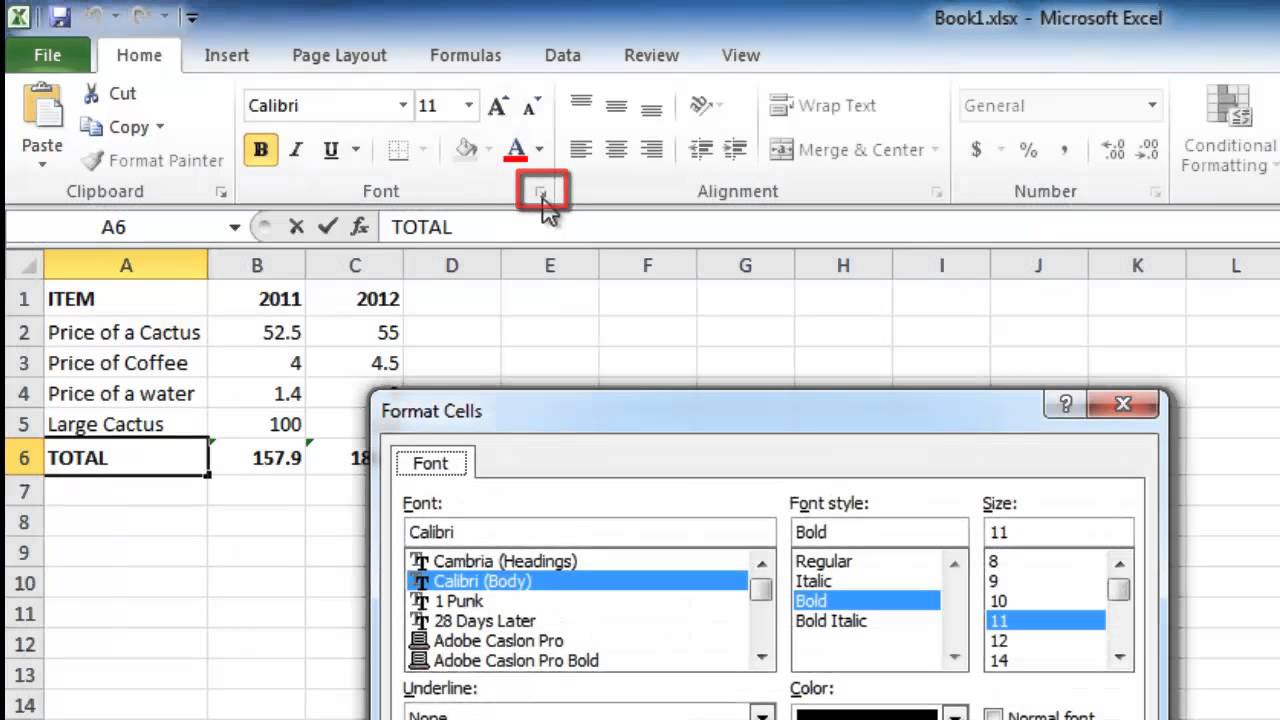
Open the Format Cells Dialog Box: With the desired cells selected, right-click on the selected area and choose "Format Cells" from the context menu. Alternatively, you can access the Format Cells dialog box by navigating to the "Home" tab in the Excel ribbon, clicking on the "Format" dropdown menu, and selecting "Format Cells."
-
Navigate to the Border Tab: Within the Format Cells dialog box, navigate to the "Border" tab, which provides a comprehensive set of options for customizing cell borders.
-
Choose Border Styles and Options: In the Border tab, you can specify the border style, color, and thickness for each side of the selected cells. Options include applying borders to the outer edges, as well as customizing individual sides such as top, bottom, left, or right borders. Additionally, users can select from a variety of line styles, including solid, dashed, dotted, or double lines, to achieve the desired visual effect.
-
Preview and Apply the Borders: As you make selections in the Border tab, a live preview of the border configurations will be displayed in the Preview section of the dialog box, allowing you to visualize the impact of your border choices. Once satisfied with the border settings, click "OK" to apply the customized borders to the selected cells.
By utilizing the Format Cells dialog box, users can exercise precise control over the appearance of cell borders, enabling them to create visually compelling and well-structured Excel worksheets. This method empowers users to tailor border styles with a high degree of customization, making it an ideal choice for individuals who seek advanced formatting capabilities to enhance the visual presentation of their data.
Method 3: Using Conditional Formatting
Conditional formatting in Excel offers a dynamic and powerful way to apply borders based on specific conditions or criteria within the data. This method goes beyond static border application, allowing users to create rules that automatically adjust the appearance of cell borders in response to changes in the underlying data. By leveraging conditional formatting, users can visually emphasize important trends, outliers, or specific data points, enhancing the interpretability and impact of their Excel spreadsheets.
To apply conditional formatting for borders in Excel, follow these steps:
-
Select the Target Cells: Begin by selecting the cells to which you want to apply conditional borders. This can include individual cells, a range of cells, or an entire table, depending on the specific criteria you wish to address.
-
Access the Conditional Formatting Menu: Navigate to the "Home" tab in the Excel ribbon and click on the "Conditional Formatting" button. From the dropdown menu, select "New Rule" to initiate the conditional formatting dialog box.
-
Define the Conditional Formatting Rule: Within the New Formatting Rule dialog box, choose the "Format only cells that contain" option from the rule type dropdown menu. This will allow you to specify the conditions under which the borders will be applied.
-
Set the Condition and Format: Define the specific condition or criteria for which the borders should be applied. This can include values greater than or less than a certain threshold, text containing specific words, dates within a certain range, or other custom conditions. Once the condition is set, click on the "Format" button to specify the border style, color, and thickness for the cells that meet the defined criteria.
-
Preview and Apply the Conditional Formatting: As you define the conditional formatting rule and format, Excel provides a live preview of how the borders will appear based on the specified conditions. After finalizing the settings, click "OK" to apply the conditional borders to the selected cells.
By utilizing conditional formatting for borders, users can create visually impactful Excel spreadsheets that adapt to the underlying data, providing instant visual cues to highlight important information or trends. This method is particularly valuable for data analysis, reporting, and dashboard creation, as it allows for the automatic adjustment of borders based on changing data values, ensuring that the visual presentation remains aligned with the evolving dataset.
In summary, conditional formatting offers a dynamic approach to border application in Excel, enabling users to create visually dynamic and responsive worksheets that effectively communicate key insights and trends within the data.
Conclusion
In conclusion, the ability to add borders in Excel is a fundamental skill that can significantly enhance the visual clarity and professionalism of your spreadsheets. By exploring the three methods outlined in this article, users can gain a comprehensive understanding of how to leverage borders to improve the presentation and interpretation of their data.
The first method, using the Borders button, provides a quick and accessible way to apply standard border styles to cells. This method is ideal for users who require immediate border formatting without the need for extensive customization. It offers a selection of predefined border styles, making it a convenient option for basic border application.
The second method, utilizing the Format Cells dialog box, empowers users with advanced customization options to tailor border styles with precision and flexibility. This method is well-suited for individuals seeking comprehensive control over the appearance of cell borders, allowing them to specify border styles, colors, and thickness for each side of the selected cells.
Lastly, the application of conditional formatting for borders offers a dynamic and responsive approach to border application, enabling users to create visually impactful spreadsheets that adapt to changes in the underlying data. This method is particularly valuable for data analysis, reporting, and dashboard creation, as it allows for the automatic adjustment of borders based on changing data values, ensuring that the visual presentation remains aligned with the evolving dataset.
By mastering these methods, users can effectively tailor the appearance of their Excel worksheets to suit their specific needs. Whether it's creating visually appealing tables, emphasizing important data points, or improving the overall organization of data, the ability to add borders in Excel is a valuable skill that can streamline workflow and enhance the impact of presentations.
In essence, the strategic application of borders in Excel serves to not only enhance the aesthetic appeal of spreadsheets but also to improve the interpretability and communication of data. By incorporating borders effectively, users can elevate the visual clarity of their Excel documents, making them more engaging and comprehensible for their audience.