Home>Technology and Computers>How To Turn On Flash On IPhone
Technology and Computers
How To Turn On Flash On IPhone
Published: March 5, 2024
Learn how to enable flash on your iPhone to enhance your photography and video recording. Get step-by-step instructions for using flash on your iPhone. Discover the latest technology and computer tips.
(Many of the links in this article redirect to a specific reviewed product. Your purchase of these products through affiliate links helps to generate commission for Noodls.com, at no extra cost. Learn more)
Table of Contents
Introduction
When it comes to capturing moments, the iPhone's built-in camera is a go-to tool for many users. Whether it's snapping a quick photo or recording a video, the iPhone's camera functionality is versatile and user-friendly. However, there are instances when additional lighting is needed to enhance the quality of the photos or videos, especially in low-light environments. This is where the flash feature comes into play, providing the necessary illumination to produce clearer and more vibrant images.
In this article, we will explore the various methods for turning on the flash on an iPhone. Whether you're a photography enthusiast looking to capture stunning shots or simply need to brighten up a dimly lit scene, understanding how to activate the flash on your iPhone can significantly improve your photography and videography experience. With a few simple steps, you can harness the power of the iPhone's flash to elevate the visual appeal of your captured moments.
So, if you've ever found yourself in a dimly lit setting and wished for a quick and effective way to brighten up your photos, you're in the right place. By the end of this guide, you'll be equipped with the knowledge to effortlessly activate the flash on your iPhone, allowing you to capture well-lit and visually striking images in a variety of environments. Whether you're at a lively social gathering, exploring the great outdoors, or simply documenting everyday moments, having the ability to control the flash on your iPhone can make a significant difference in the quality of your photos and videos. Let's dive into the methods for turning on the flash and unlock the full potential of your iPhone's camera capabilities.
Read more: How To Turn Off Flash Notification On IPhone
Method 1: Using Control Center
Activating the flash on your iPhone using the Control Center is a convenient and straightforward method. Whether you're in a dimly lit environment or simply need to add an extra touch of illumination to your photos, the Control Center provides quick access to the flash feature. Here's a step-by-step guide to utilizing the Control Center to turn on the flash on your iPhone:
-
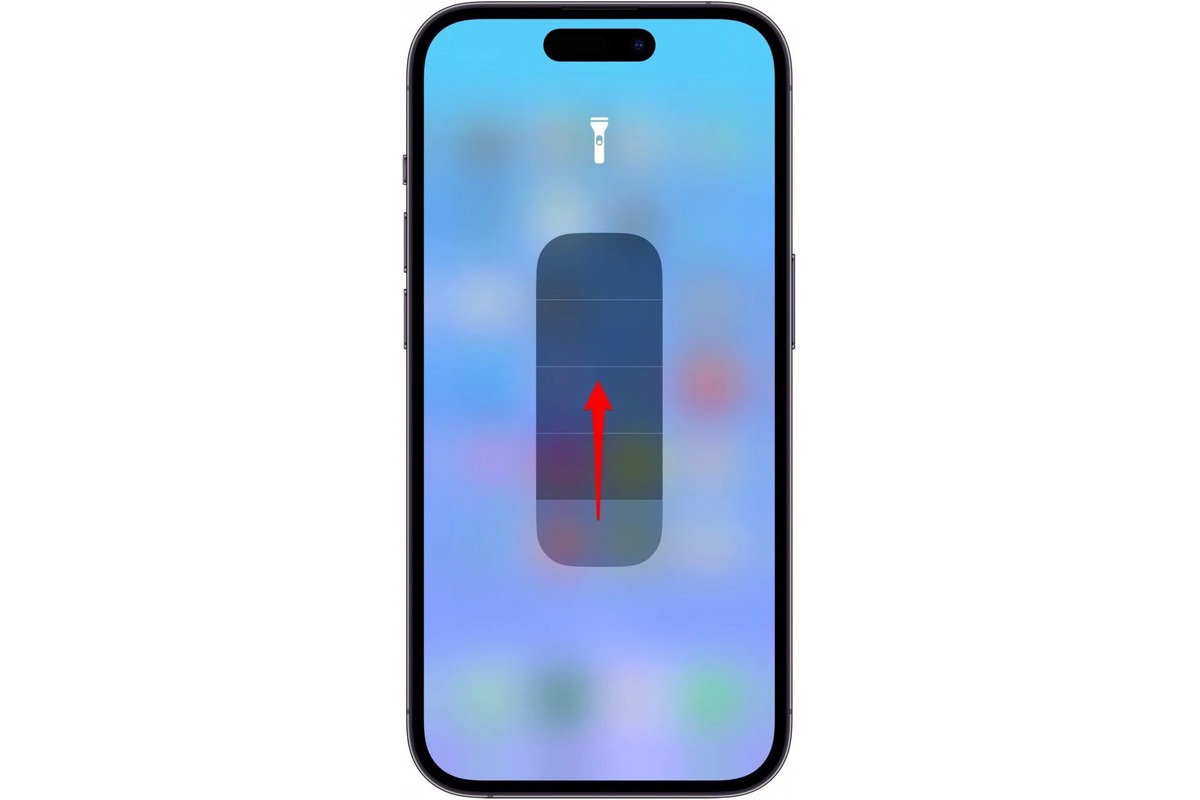
Accessing the Control Center: Begin by unlocking your iPhone and navigating to the home screen. On newer iPhone models, swipe down from the top-right corner of the screen to open the Control Center. For older models, swipe up from the bottom of the screen to access the Control Center.
-
Locating the Flashlight Icon: Once the Control Center is open, look for the flashlight icon, which resembles a small lightning bolt. This icon represents the flash feature and is used to activate the flashlight on your iPhone.
-
Activating the Flash: Tap the flashlight icon once to activate the flash. Upon tapping the icon, you should notice the flash symbol becoming highlighted, indicating that the flash is now turned on and ready for use.
-
Adjusting Flash Settings: If you require additional control over the flash settings, such as adjusting the intensity or enabling automatic flash, press and hold the flashlight icon. This action will reveal a set of options that allow you to customize the flash settings according to your preferences.
-
Testing the Flash: To ensure that the flash is functioning as intended, open the camera app on your iPhone and switch to photo or video mode. With the flash activated, take a test photo or record a short video in a dimly lit environment to observe the impact of the flash on the overall lighting of the scene.
By utilizing the Control Center to activate the flash on your iPhone, you gain immediate access to the flash feature, allowing you to enhance the lighting of your photos and videos with ease. This method is particularly useful for situations where quick and convenient access to the flash is essential, providing you with the flexibility to adapt to varying lighting conditions and capture visually stunning moments.
With the flash now activated using the Control Center, you're well-equipped to elevate the quality of your iPhone photography and videography, ensuring that your captured moments are illuminated with the perfect amount of light.
Method 2: Using Camera App
The Camera app on your iPhone offers a seamless and intuitive way to control the flash settings, allowing you to effortlessly enhance the lighting of your photos and videos. By utilizing the Camera app, you can access the flash feature directly within the interface, providing a convenient method for adjusting the flash settings based on your specific photography or videography needs.
To activate the flash using the Camera app, follow these simple steps:
-
Opening the Camera App: Begin by unlocking your iPhone and locating the Camera app on the home screen. Tap the Camera app icon to launch the interface, which presents various options for capturing photos and videos.
-
Accessing Flash Settings: Once the Camera app is open, familiarize yourself with the flash settings located within the interface. Look for the flash icon, typically positioned in the top-left or top-right corner of the screen, depending on the orientation of the device. The flash icon resembles a lightning bolt and serves as a visual indicator of the flash settings.
-
Activating the Flash: Tap the flash icon to cycle through the available flash modes. The options typically include "Auto," "On," and "Off." Select the "On" option to activate the flash, ensuring that it remains illuminated when capturing photos or recording videos. This direct access to the flash settings within the Camera app allows for quick and seamless control over the flash functionality.
-
Adjusting Flash Modes: Depending on your specific lighting conditions and creative preferences, you may need to experiment with different flash modes to achieve the desired lighting effect. For instance, the "Auto" mode automatically determines when to activate the flash based on the ambient lighting, while the "On" mode keeps the flash continuously illuminated. By exploring these options within the Camera app, you can tailor the flash settings to suit various shooting scenarios.
-
Capturing with Enhanced Lighting: With the flash activated using the Camera app, proceed to capture photos or record videos in environments where additional lighting is required. Whether you're documenting a dimly lit indoor setting or capturing nighttime scenes, the activated flash can significantly improve the overall lighting and clarity of your visual content.
By leveraging the Camera app to control the flash settings, you gain direct access to essential lighting enhancements, empowering you to elevate the quality of your iPhone photography and videography. This method provides a seamless and integrated approach to managing the flash functionality, ensuring that you can capture well-lit and visually captivating moments with ease.
With the flash now activated using the Camera app, you're well-equipped to harness the power of enhanced lighting, allowing you to produce stunning photos and videos that are illuminated with the perfect amount of light.
Method 3: Using Settings
Utilizing the Settings app on your iPhone provides a comprehensive approach to managing the flash settings, allowing for precise customization and control over the flash functionality. By navigating through the Settings app, you can access a range of options related to the camera and flash, empowering you to tailor the flash settings to suit your specific photography and videography requirements.
To activate the flash using the Settings app, follow these detailed steps:
-
Accessing the Settings App: Begin by unlocking your iPhone and locating the Settings app on the home screen. The Settings app is represented by a gear icon and serves as the central hub for configuring various aspects of your device. Tap the Settings app icon to launch the interface, which presents a multitude of customizable options.
-
Navigating to the Camera Settings: Within the Settings app, scroll down and locate the "Camera" option. Tap on "Camera" to access a dedicated set of settings related to the camera and photography features of your iPhone.
-
Managing the Flash Settings: Upon entering the Camera settings, look for the "Flash" option, which allows you to customize the behavior of the flash when capturing photos or recording videos. The Flash settings provide a range of options to fine-tune the flash functionality based on your preferences and shooting conditions.
-
Selecting Flash Preferences: Within the Flash settings, you may encounter various options such as "Auto," "On," and "Off." These options correspond to different flash modes, each serving a distinct purpose. For instance, the "Auto" mode enables the iPhone to automatically determine when to activate the flash based on the ambient lighting, while the "On" mode keeps the flash continuously illuminated. Select the preferred flash mode that aligns with your specific photography or videography needs.
-
Customizing Advanced Flash Settings: Depending on the iPhone model and software version, you may have access to additional advanced flash settings within the Camera preferences. These settings could include options to adjust the flash intensity, enable red-eye reduction, or fine-tune the flash behavior in specific shooting scenarios. Explore these advanced settings to further refine the flash functionality according to your creative vision.
-
Applying the Customized Flash Settings: Once you have tailored the flash settings to your liking, exit the Settings app and proceed to utilize the Camera app to capture photos or record videos. With the customized flash settings in place, you can confidently document a wide range of scenes, knowing that the flash functionality is optimized to deliver the desired lighting effects.
By leveraging the Settings app to manage the flash settings, you gain a comprehensive and tailored approach to controlling the flash functionality on your iPhone. This method offers a high level of customization, allowing you to fine-tune the flash behavior to suit diverse shooting conditions and creative preferences. With the flash settings now customized using the Settings app, you're well-equipped to elevate the quality of your iPhone photography and videography, ensuring that your captured moments are illuminated with the perfect amount of light.
Conclusion
In conclusion, mastering the art of activating the flash on your iPhone opens up a world of creative possibilities, allowing you to capture visually stunning photos and videos in a diverse range of lighting conditions. Whether you're navigating through dimly lit environments, documenting nighttime scenes, or simply seeking to enhance the overall lighting of your visual content, the ability to control the flash on your iPhone empowers you to elevate the quality of your photography and videography.
By exploring the three distinct methods for turning on the flash – utilizing the Control Center, leveraging the Camera app, and customizing settings through the Settings app – you gain a comprehensive understanding of the versatile approaches available at your fingertips. Each method offers unique advantages, catering to different preferences and shooting scenarios, ultimately providing you with the flexibility to adapt to varying lighting conditions with ease.
The Control Center method stands out for its convenience and immediacy, offering quick access to the flash feature directly from the home screen. This method is ideal for situations where swift adjustments to the flash settings are essential, allowing you to seamlessly enhance the lighting of your visual content on the go.
On the other hand, the Camera app method provides an integrated and intuitive approach to managing the flash settings, placing essential lighting enhancements within easy reach as you capture photos and videos. This method empowers you to fine-tune the flash functionality directly within the Camera app, ensuring that you can adapt to changing lighting conditions with precision.
Furthermore, the Settings app method offers a comprehensive and tailored approach to customizing the flash settings, providing a range of options to refine the flash behavior based on your specific photography and videography needs. This method grants you the flexibility to adjust advanced flash settings, enabling you to achieve the desired lighting effects with precision and control.
By familiarizing yourself with these methods and incorporating them into your photography and videography workflow, you can confidently navigate through diverse lighting scenarios, knowing that you have the tools to illuminate your captured moments with the perfect amount of light.
In essence, the ability to activate the flash on your iPhone represents a gateway to enhancing the visual impact of your photos and videos, ensuring that your documented moments are illuminated with clarity and vibrancy. With the knowledge and proficiency gained from mastering the flash activation methods, you're well-equipped to unleash the full potential of your iPhone's camera capabilities, capturing captivating moments that shine with the brilliance of well-controlled lighting.