Home>Technology and Computers>How To Make All Cells The Same Size In Excel
Technology and Computers
How To Make All Cells The Same Size In Excel
Published: March 1, 2024
Learn how to easily make all cells the same size in Excel with our step-by-step guide. Master the art of formatting cells for a more organized and professional-looking spreadsheet. Perfect for technology and computer enthusiasts.
(Many of the links in this article redirect to a specific reviewed product. Your purchase of these products through affiliate links helps to generate commission for Noodls.com, at no extra cost. Learn more)
Table of Contents
Introduction
When working with Excel, ensuring uniformity in cell size is essential for creating a professional and organized spreadsheet. However, it's not uncommon to encounter situations where cells vary in size, disrupting the overall visual appeal and functionality of the document. Whether you're a seasoned Excel user or just starting out, knowing how to make all cells the same size can significantly streamline your workflow and enhance the presentation of your data.
In this comprehensive guide, we will explore the step-by-step process of achieving uniform cell sizes in Excel. From selecting all cells to making adjustments at the individual level, we'll cover everything you need to know to master this fundamental aspect of spreadsheet management. By the end of this tutorial, you'll have the knowledge and skills to effortlessly align the sizes of all cells in your Excel worksheets, empowering you to create polished and professional-looking documents with ease.
Let's dive into the details and discover the techniques that will enable you to harmonize the sizes of all cells in your Excel spreadsheets.
Read more: How To Unhide All Cells In Excel
Step 1: Selecting all cells
Selecting all cells in an Excel worksheet is the foundational step towards achieving uniform cell sizes. This process allows you to apply size adjustments uniformly across the entire spreadsheet, ensuring consistency and visual harmony. Here's how to select all cells in Excel:
Method 1: Using the Keyboard Shortcut
- Position the active cell at the top-left corner of your data range.
- Press Ctrl + A on your keyboard. This command selects all cells containing data within the contiguous range, excluding any surrounding blank cells.
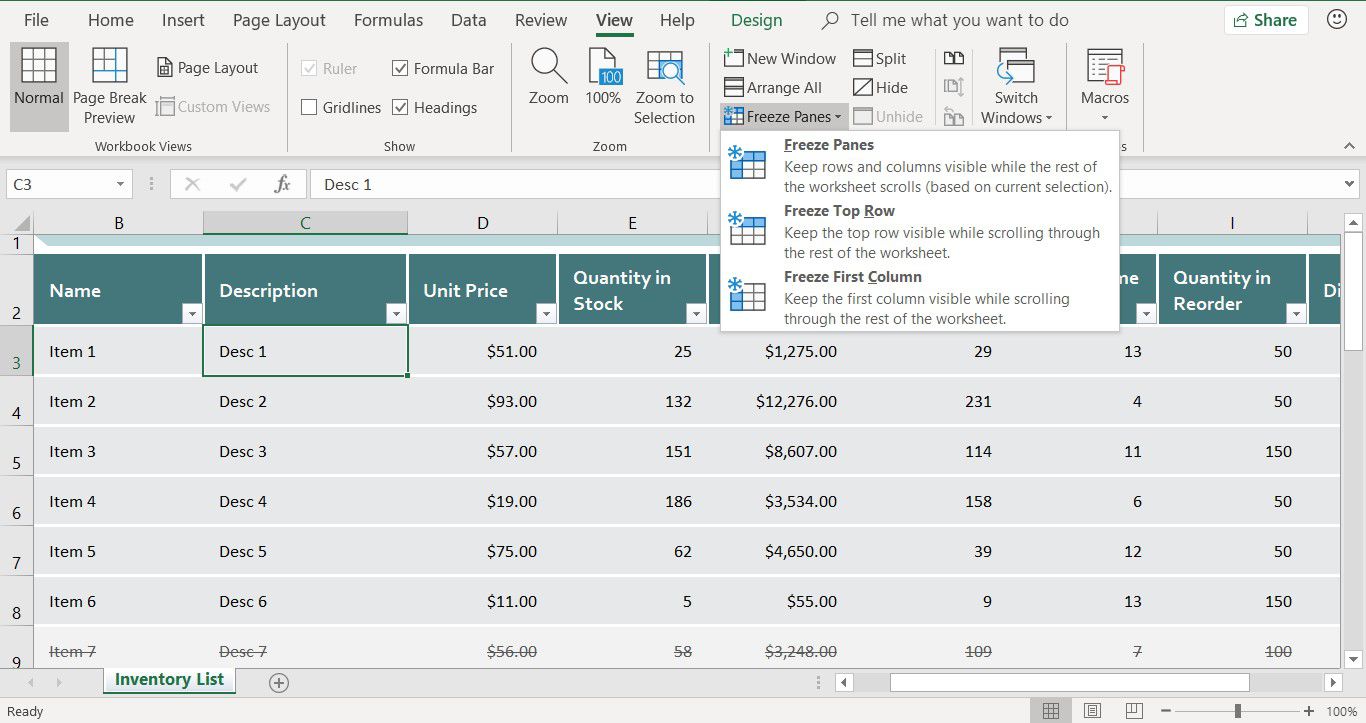
Method 2: Selecting the Entire Worksheet
- Click on the triangle button located at the intersection of the row numbers and column letters. This will highlight the entire worksheet, selecting all cells.
- Alternatively, you can use the Select All button, typically positioned to the left of the column letters and above the row numbers. Clicking this button achieves the same result as selecting the entire worksheet.
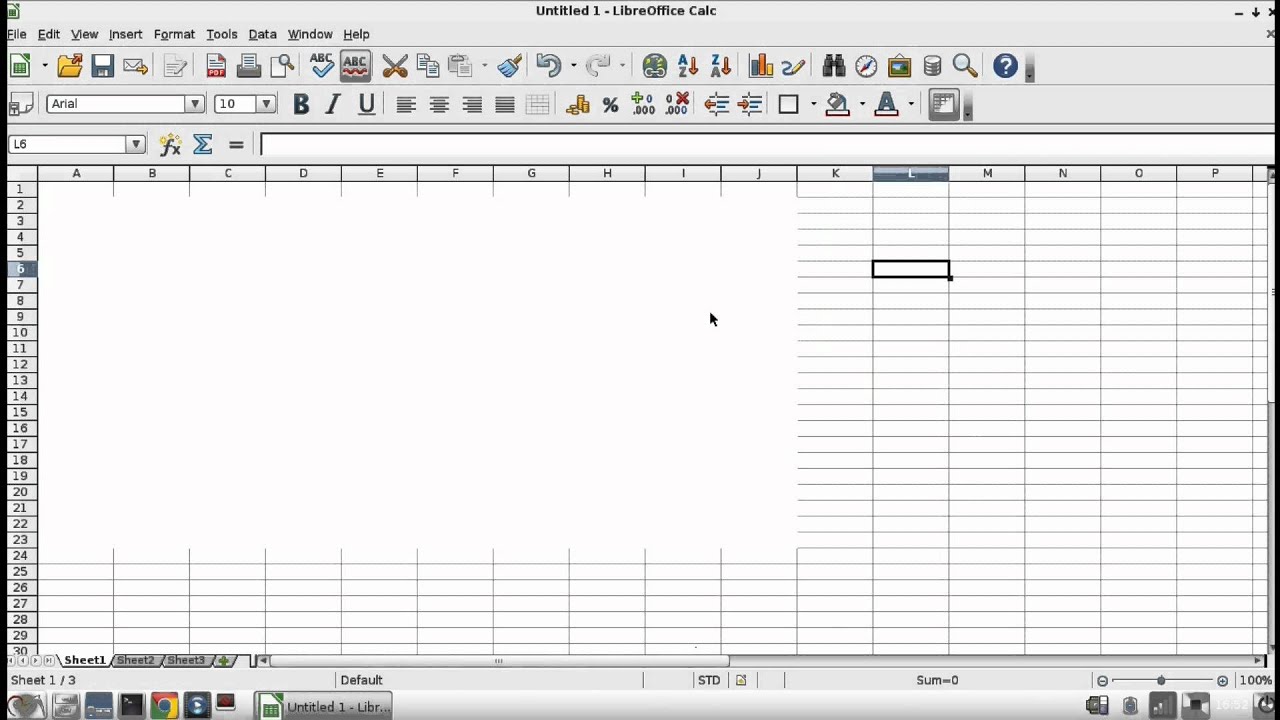
Method 3: Using the Name Box
- Click on the Name Box located to the left of the formula bar.
- Enter "A1" into the Name Box and press Enter. This action selects the entire worksheet, effectively choosing all cells.
By utilizing these methods, you can effortlessly select all cells within an Excel worksheet, setting the stage for the subsequent steps in achieving uniform cell sizes. With the entire spreadsheet selected, you gain the ability to make comprehensive adjustments that will impact every cell, ensuring a consistent and polished appearance throughout the document. Now that we've covered the essential process of selecting all cells, let's move on to the next step and delve into the intricacies of adjusting cell sizes in Excel.
Read more: How To Select Multiple Cells In Excel
Step 2: Adjusting cell size
After selecting all cells in your Excel worksheet, the next crucial step is to adjust the cell size to ensure uniformity and visual consistency. Excel provides several intuitive methods for resizing cells, allowing you to customize the dimensions according to your specific requirements. Here's a detailed exploration of the various techniques for adjusting cell size in Excel:
Method 1: Using the Column Width and Row Height Options
-
Adjusting Column Width:
- Position the cursor on the right border of the column header. The cursor will transform into a double-headed arrow.
- Double-click to automatically adjust the column width to fit the longest cell content within that column. Alternatively, you can drag the border left or right to manually set the desired width.
-
Modifying Row Height:
- Place the cursor on the bottom border of the row header. As with column width adjustment, the cursor will change to a double-headed arrow.
- Double-click to automatically resize the row height based on the tallest cell content in that row. Alternatively, drag the border up or down to manually adjust the height.
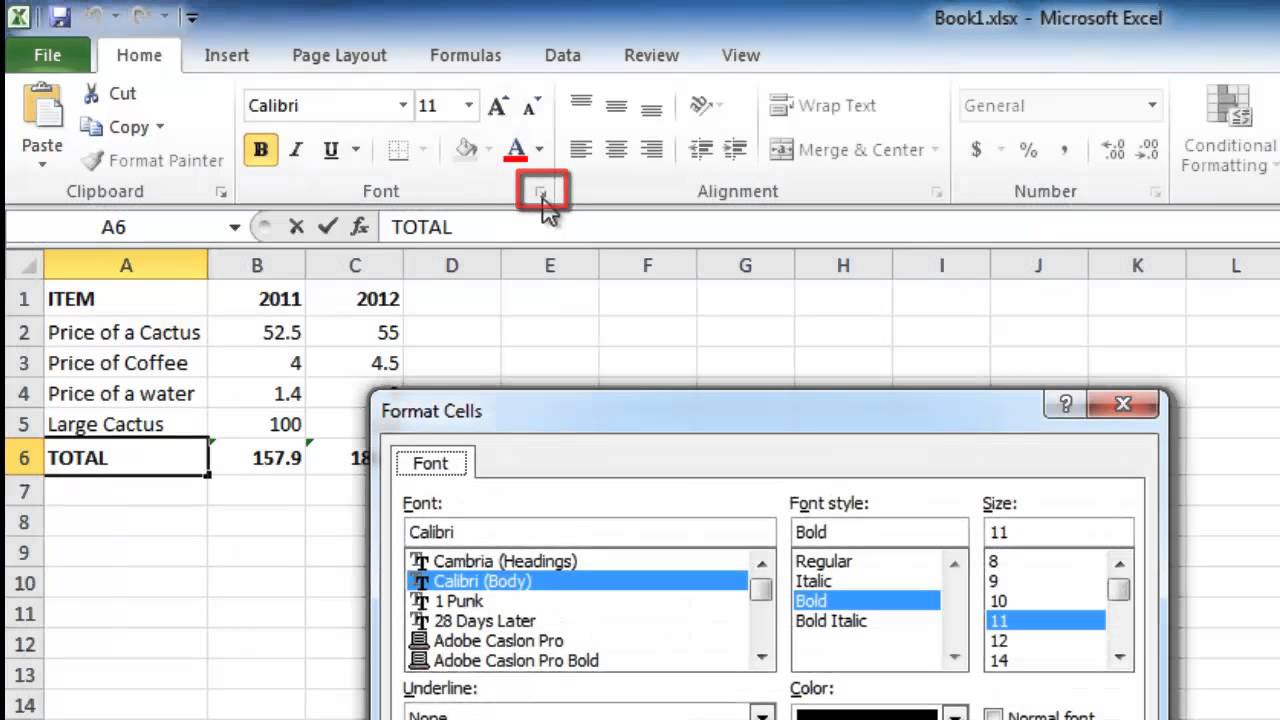
Method 2: Using the Format Cells Dialog Box
- Adjusting Column Width and Row Height:
- Select the cells for which you want to modify the size.
- Right-click and choose "Format Cells" from the context menu.
- In the Format Cells dialog box, navigate to the "Alignment" tab.
- Under the "Text control" section, specify the desired column width and row height.
Method 3: Applying Uniform Size Adjustments
-
Uniform Column Width Adjustment:
- Select the entire worksheet by using the methods outlined in Step 1.
- Adjust the column width using any of the aforementioned techniques to ensure uniformity across all columns.
-
Uniform Row Height Adjustment:
- Similarly, with the entire worksheet selected, modify the row height to establish consistent dimensions throughout the rows.
By leveraging these methods, you can seamlessly adjust the size of cells in your Excel worksheet, ensuring that all cells maintain a uniform appearance. Whether you opt for manual adjustments or utilize the Format Cells dialog box, Excel offers versatile tools to facilitate precise control over cell dimensions. With the cell size harmonized, your spreadsheet will exude a polished and professional aesthetic, enhancing the overall presentation of your data.
Now that we've explored the intricacies of adjusting cell size in Excel, let's proceed to the next step and delve into the process of making adjustments to individual cells, further refining the visual coherence of your spreadsheet.
Read more: How To Move Cells In Excel
Step 3: Making adjustments to individual cells
Once you have achieved uniform cell sizes across the entire worksheet, you may encounter specific cells that require individual adjustments to accommodate unique content or formatting preferences. Excel provides a range of tools and techniques to tailor the size of individual cells, allowing you to fine-tune the presentation of your data with precision and flexibility.
Method 1: Manual Cell Size Adjustment
-
Adjusting Column Width for Specific Cells:
- Position the cursor on the right border of the column header corresponding to the target cell.
- Double-click the border to automatically adjust the column width based on the widest content within that specific column. Alternatively, drag the border left or right to manually set the desired width for the individual cell.
-
Modifying Row Height for Specific Cells:
- Place the cursor on the bottom border of the row header associated with the target cell.
- Double-click the border to automatically resize the row height based on the tallest content within that specific row. Alternatively, drag the border up or down to manually adjust the height for the individual cell.
Method 2: Using the Format Cells Dialog Box for Customized Adjustments
- Applying Specific Column Width and Row Height:
- Select the individual cell or range of cells that require size modifications.
- Right-click and choose "Format Cells" from the context menu.
- In the Format Cells dialog box, navigate to the "Alignment" tab and specify the desired column width and row height for the selected cells.
Method 3: Merging and Centering Cells for Enhanced Presentation
-
Merging Cells:
- Select the cells you want to merge.
- Click on the "Merge & Center" option in the Home tab to combine the selected cells into a single, larger cell. This feature is particularly useful for creating visually impactful headers or labels within your spreadsheet.
-
Centering Content within Cells:
- After merging cells or for individual cells, use the alignment options in the Home tab to center the content horizontally and vertically, ensuring a balanced and professional presentation.
By leveraging these methods, you can tailor the size of individual cells in your Excel worksheet, addressing specific formatting requirements and accommodating diverse content with ease. Whether it's adjusting column width and row height for specific cells or utilizing advanced features like merging and centering, Excel empowers you to refine the visual coherence of your spreadsheet at a granular level, resulting in a polished and professional presentation of your data.
Read more: How To Insert A New Line In An Excel Cell
Conclusion
In conclusion, mastering the art of making all cells the same size in Excel is a fundamental skill that empowers users to create visually appealing and organized spreadsheets. By following the step-by-step process outlined in this guide, you can seamlessly achieve uniformity in cell sizes, enhancing the overall presentation of your data and streamlining your workflow.
The initial step of selecting all cells sets the stage for comprehensive adjustments, allowing you to apply size modifications uniformly across the entire worksheet. Whether you opt for keyboard shortcuts, the select all button, or the name box, Excel provides intuitive methods to facilitate the selection of all cells, laying the foundation for harmonizing cell sizes.
Subsequently, the process of adjusting cell size encompasses various techniques, including manual resizing, utilizing the Format Cells dialog box, and applying uniform adjustments. These versatile methods enable you to customize column widths and row heights, ensuring that all cells maintain a consistent appearance. By leveraging these tools, you can achieve a polished and professional aesthetic throughout your spreadsheet.
Furthermore, the ability to make adjustments to individual cells adds a layer of flexibility and precision to the process. Whether it involves tailoring the size of specific cells, utilizing the Format Cells dialog box for customized adjustments, or employing advanced features like merging and centering, Excel equips you with the tools to address unique formatting requirements and accommodate diverse content with ease.
By integrating these techniques into your Excel workflow, you can elevate the visual coherence of your spreadsheets, presenting your data in a clear, organized, and professional manner. Whether you're managing financial data, creating reports, or organizing information for analysis, the ability to make all cells the same size in Excel is a valuable skill that enhances the overall usability and visual appeal of your documents.
In essence, the knowledge and proficiency gained from this guide empower you to harness the full potential of Excel, enabling you to create impactful and visually compelling spreadsheets that effectively communicate your data. With uniform cell sizes and a polished presentation, you can confidently showcase your information while optimizing the efficiency and clarity of your Excel documents.