Home>Arts and Culture>How To Draw A Cowboy Hat
Arts and Culture
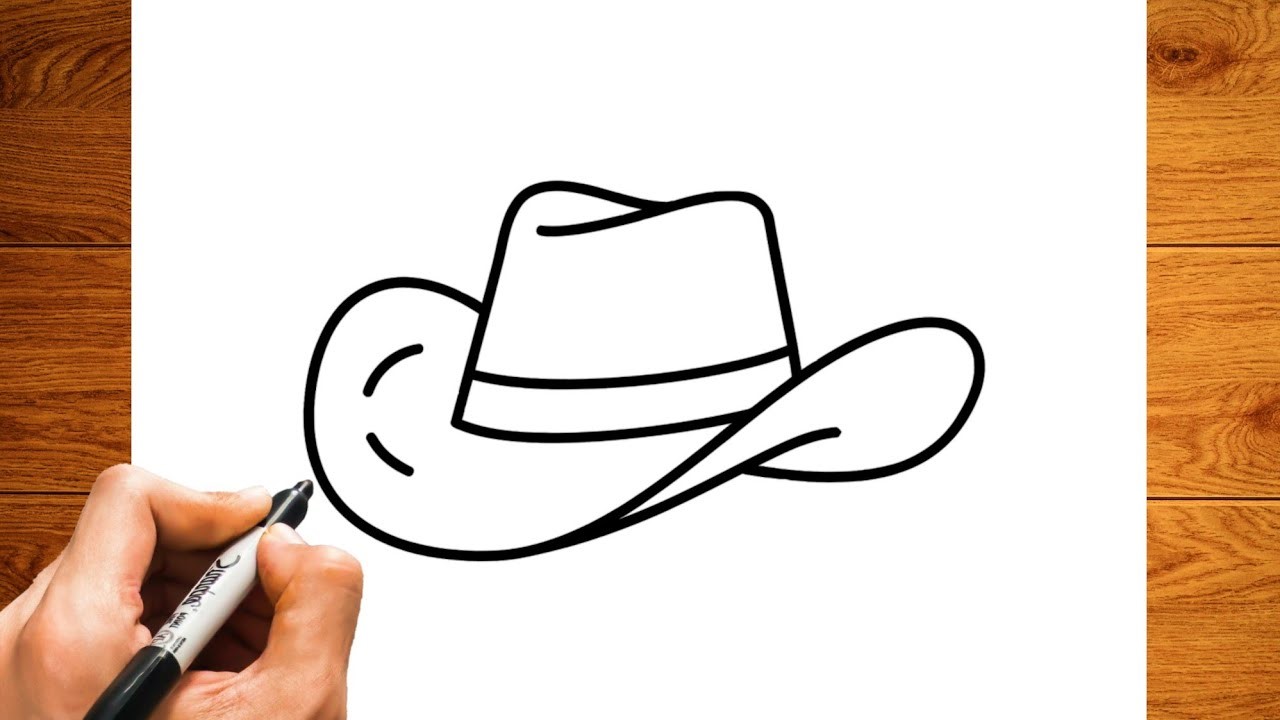
How To Draw A Cowboy Hat
Published: February 28, 2024
Learn how to draw a cowboy hat with easy step-by-step instructions. Perfect for arts and culture enthusiasts looking to improve their drawing skills.
(Many of the links in this article redirect to a specific reviewed product. Your purchase of these products through affiliate links helps to generate commission for Noodls.com, at no extra cost. Learn more)
Table of Contents
Introduction
Drawing a cowboy hat can be a fun and rewarding experience, allowing you to express your creativity and attention to detail. Whether you're an aspiring artist or simply looking for a new hobby, mastering the art of drawing a cowboy hat can be an enjoyable challenge. This iconic piece of Western attire carries a rich history and symbolism, making it a compelling subject for artistic exploration.
In this step-by-step guide, we will delve into the process of drawing a classic cowboy hat, breaking down each stage to ensure a comprehensive understanding. By following these instructions and infusing your unique style, you can create a striking representation of this timeless accessory.
The cowboy hat holds a significant place in American culture, often associated with the spirit of the Wild West, rugged individualism, and a sense of adventure. Its distinctive shape and design have made it a symbol of resilience and determination, embodying the spirit of cowboys and cowgirls who have shaped the American frontier.
As you embark on this drawing journey, remember that there are no strict rules when it comes to art. Embrace the opportunity to experiment with different techniques, shading styles, and proportions. Each stroke of the pencil or pen is an opportunity to infuse your personality into the artwork, making it a reflection of your artistic vision.
So, gather your drawing materials, clear a comfortable workspace, and let's dive into the captivating process of bringing a cowboy hat to life on paper. Whether you're aiming for a realistic depiction or a stylized interpretation, this guide will equip you with the fundamental steps to create a captivating cowboy hat illustration. Let's begin this artistic adventure and unleash your creativity onto the canvas!
Read more: How To Draw A Hat
Materials Needed
Before embarking on the artistic journey of drawing a cowboy hat, it's essential to gather the necessary materials to ensure a smooth and enjoyable creative process. Here's a list of items that will aid you in bringing this iconic Western accessory to life on paper:
-
Drawing Paper: Select a high-quality drawing paper that is suitable for your preferred drawing medium, whether it's graphite pencils, colored pencils, or ink pens. The paper should have a smooth texture to allow for precise lines and shading.
-
Drawing Utensils: Depending on your preference, gather a set of drawing utensils such as graphite pencils, charcoal pencils, or ink pens. These tools will enable you to outline the structure of the cowboy hat and add intricate details with precision.
-
Eraser: A good quality eraser is essential for correcting mistakes and refining the shape of the cowboy hat. Look for a soft eraser that can gently lift graphite or charcoal without smudging the paper.
-
Ruler: While not mandatory, a ruler can be handy for ensuring straight and symmetrical lines when sketching the brim and other elements of the cowboy hat.
-
Reference Images: Consider having reference images of cowboy hats on hand to inspire your drawing and provide guidance on the hat's proportions, shape, and detailing. These references can be sourced from books, online images, or personal photographs.
-
Light Source: Adequate lighting is crucial for a comfortable drawing experience. Whether you prefer natural light or a reliable desk lamp, ensure that your workspace is well-lit to accurately observe details and shadows.
-
Inspiration and Creativity: While not tangible, a mindset of inspiration and creativity is equally important. Approach the drawing process with an open mind, allowing your imagination to flourish as you interpret the unique characteristics of a cowboy hat.
By assembling these materials, you'll be well-equipped to commence the artistic endeavor of drawing a cowboy hat with confidence and enthusiasm. With the right tools at your disposal, you can fully immerse yourself in the creative process and bring forth a captivating representation of this timeless Western symbol.
Step 1: Draw the Crown
The first step in drawing a cowboy hat is to outline the crown, which forms the distinctive top portion of the hat. Begin by visualizing the overall shape of the crown, considering its height, curvature, and tapering towards the top. Using a light pencil, sketch a basic oval or rounded shape to establish the foundation of the crown. This initial outline serves as a guide for refining the shape as you progress through the drawing process.
Next, focus on adding depth and dimension to the crown by incorporating subtle curves and contours. Pay attention to the subtle nuances of the hat's silhouette, ensuring that the crown exudes a sense of volume and structure. Refine the outline to capture the desired curvature, taking into account any subtle asymmetry that may contribute to the hat's character.
As you refine the shape of the crown, consider the angle at which it sits atop the head. Whether you envision a slightly tilted or straight-on perspective, adjusting the curvature and proportions accordingly will enhance the hat's visual appeal. Take creative liberties in shaping the crown, allowing your artistic interpretation to infuse personality into the overall composition.
Once satisfied with the basic form of the crown, evaluate the proportions and make any necessary adjustments to achieve a balanced and aesthetically pleasing shape. Pay attention to the overall symmetry and ensure that the crown aligns with your envisioned representation of a classic cowboy hat.
Throughout this process, maintain a light hand when sketching the crown, as it allows for flexibility in refining the shape without leaving prominent marks on the paper. Embrace the opportunity to experiment with different crown shapes, exploring variations that resonate with your artistic vision.
By meticulously crafting the crown with attention to detail and proportion, you lay the foundation for a captivating cowboy hat illustration. This initial step sets the stage for further embellishments and detailing, guiding you towards a compelling portrayal of this iconic Western accessory. With the crown taking shape, you are ready to progress to the next stage of drawing the brim, bringing the cowboy hat one step closer to its complete and evocative form.
Step 2: Add the Brim
With the crown of the cowboy hat sketched to satisfaction, the next pivotal step involves adding the brim, a defining feature that contributes to the hat's iconic silhouette. The brim not only provides functional sun protection but also serves as a prominent stylistic element, shaping the overall character of the cowboy hat.
Begin by envisioning the desired width and curvature of the brim, considering the hat's intended style and the visual balance you aim to achieve. Using light, fluid strokes, sketch the initial outline of the brim, ensuring that it complements the proportions of the crown. Whether you opt for a subtly curved brim or a more pronounced, angular design, this stage allows for creative exploration in shaping the hat's distinctive profile.
As you refine the brim's outline, pay close attention to symmetry and proportion, striving for a harmonious balance between the crown and the brim. Consider the angle at which the brim extends from the crown, visualizing how it frames the face and contributes to the hat's overall allure. Whether you envision a broad, sweeping brim or a more modest width, each variation imparts a distinct personality to the cowboy hat.
Emphasize the brim's curvature, allowing it to gracefully flow around the crown while maintaining a sense of structural integrity. This stage presents an opportunity to infuse the brim with character, whether through subtle undulations or a smooth, unbroken arc. By delicately shaping the brim, you can evoke a sense of movement and dynamism, enhancing the hat's visual impact.
Consider the play of light and shadow on the brim, envisioning how it casts subtle gradients and highlights. This contemplation will guide your shading approach, enabling you to imbue the brim with depth and dimension. Whether using cross-hatching, stippling, or smooth shading techniques, the interplay of light and shadow will bring the brim to life, accentuating its contours and adding a tactile quality to the illustration.
As the brim takes shape, evaluate its interaction with the crown, ensuring a seamless integration that captures the essence of a classic cowboy hat. With the addition of the brim, the hat begins to exude a distinct Western charm, setting the stage for further embellishments and detailing in the subsequent stages of the drawing process.
By meticulously crafting the brim with attention to detail and proportion, you pave the way for a captivating cowboy hat illustration that embodies the spirit of the Wild West. With the brim artfully integrated, the hat emerges as a compelling symbol of rugged individualism and timeless style, ready to undergo further refinement and detailing in the subsequent stages of the drawing process.
Step 3: Add Details
As the foundational elements of the cowboy hat take shape, the next crucial step involves infusing the illustration with intricate details that elevate its visual impact and narrative depth. Adding details to the cowboy hat not only enhances its authenticity but also allows for personal expression and storytelling within the artwork.
Begin by focusing on the texture and materiality of the hat, considering whether it embodies the rugged resilience of weathered leather or the refined elegance of a felted texture. Through deliberate strokes and shading techniques, impart a tactile quality to the hat, capturing the nuances of its surface. Whether depicting subtle creases, worn-in patterns, or a smooth finish, these details contribute to the hat's character and evoke a sense of history and use.
Pay close attention to the hatband, a distinctive embellishment that encircles the base of the crown, adding a touch of ornamentation and individuality. Whether it features a braided leather band, adorned with conchos, or a simple, understated design, the hatband serves as a focal point for creative expression. Emphasize the interplay of light and shadow on the hatband, accentuating its texture and adding visual interest to the illustration.
Consider incorporating decorative elements such as feathers, beads, or other adornments that reflect the wearer's personality and cultural influences. These embellishments not only enrich the visual narrative but also offer an opportunity to infuse the artwork with symbolism and personal significance. Whether drawing inspiration from traditional Western motifs or contemporary influences, these details contribute to the hat's individuality and evoke a sense of storytelling within the illustration.
Delicately render the hat's stitching and seams, capturing the meticulous craftsmanship that goes into its construction. Whether portraying fine, intricate stitching or broader, rustic seams, these details underscore the hat's artisanal quality and add a layer of authenticity to the illustration. Pay attention to the interaction of light and shadow on the stitching, enhancing its three-dimensional presence and contributing to the overall realism of the artwork.
As you add details to the cowboy hat, consider the interplay of light and shadow across its surface, leveraging shading techniques to create depth and dimension. Whether employing cross-hatching, stippling, or smooth gradients, the careful manipulation of light and shadow brings the hat to life, infusing it with a sense of volume and presence.
By meticulously infusing the cowboy hat with these intricate details, you breathe life into the illustration, transforming it into a captivating homage to Western heritage and individual expression. These details not only enrich the visual composition but also invite viewers to immerse themselves in the narrative woven into the artwork, fostering a deeper appreciation for the timeless allure of the cowboy hat.
Read more: How To Watch The Cowboys Game Live
Step 4: Final Touches
With the foundational elements and intricate details of the cowboy hat meticulously rendered, the stage is set for the final touches that will elevate the illustration to its full potential. This pivotal stage allows for refining the composition, enhancing visual impact, and infusing the artwork with a sense of depth and realism.
Begin by evaluating the overall composition of the cowboy hat, ensuring that the proportions, angles, and relationships between the crown, brim, and detailing align with your artistic vision. Consider the hat's placement within the imaginary space of the illustration, allowing it to harmonize with the surrounding elements or stand as a focal point within the composition.
Refine the contours and edges of the hat, ensuring that each line contributes to the hat's structural integrity and visual appeal. Pay attention to subtle adjustments that can enhance the hat's silhouette, refining curves, and angles to achieve a balanced and aesthetically pleasing form.
Evaluate the interplay of light and shadow across the hat, considering how it interacts with the surrounding environment. Emphasize the hat's three-dimensional presence by strategically enhancing highlights and shading, creating a sense of volume and realism. Whether through subtle tonal variations or pronounced contrasts, the manipulation of light and shadow adds a tactile quality to the illustration, inviting viewers to immerse themselves in its visual richness.
Consider the incorporation of background elements or contextual details that complement the cowboy hat, enriching the narrative and setting. Whether suggesting a sunlit prairie landscape, a weathered barn interior, or a bustling Western town, these background elements can enhance the hat's visual impact and evoke a sense of place and atmosphere.
Refine the hatband, stitching, and decorative elements, ensuring that they harmonize with the overall composition and contribute to the hat's storytelling potential. Pay attention to the intricate nuances of these details, infusing them with character and significance that resonate with the broader narrative of the artwork.
Evaluate the overall tonal balance and contrast within the illustration, ensuring that it captures the desired mood and visual impact. Whether aiming for a dramatic, high-contrast aesthetic or a softer, more nuanced ambiance, the careful manipulation of tonal values adds depth and atmosphere to the artwork, enhancing its emotive resonance.
By meticulously attending to these final touches, you bring the cowboy hat illustration to its full realization, capturing the timeless allure and evocative spirit of this iconic Western symbol. Each stroke and adjustment contributes to the hat's visual narrative, inviting viewers to embark on a journey through the rich tapestry of Western heritage and artistic expression.
Conclusion
In conclusion, the process of drawing a cowboy hat is a captivating artistic endeavor that invites individuals to immerse themselves in the rich heritage and timeless allure of Western culture. From the initial sketch of the crown to the final touches that bring the illustration to life, each stage of the drawing process offers an opportunity for creative exploration and personal expression.
As the crown takes shape, artists have the chance to infuse the hat with character and personality, envisioning the distinctive silhouette that embodies the spirit of the Wild West. The addition of the brim further enhances the hat's visual impact, allowing for creative interpretation in shaping its profile and integrating it seamlessly with the crown.
The meticulous attention to detail in adding intricate elements such as texture, hatbands, stitching, and decorative embellishments enriches the visual narrative, inviting viewers to appreciate the craftsmanship and individuality of each cowboy hat. These details not only contribute to the hat's authenticity but also offer a platform for storytelling and cultural resonance within the artwork.
The final touches bring the cowboy hat illustration to its full realization, infusing it with depth, atmosphere, and emotive resonance. Through the careful manipulation of light, shadow, and tonal balance, the artwork captures the enduring charm and evocative spirit of this iconic Western symbol, inviting viewers to embark on a visual journey through the captivating tapestry of Western heritage and artistic expression.
Drawing a cowboy hat transcends the act of creating a visual representation; it becomes a celebration of tradition, resilience, and individuality. Whether aiming for a realistic portrayal or infusing the artwork with personal flair, the process of drawing a cowboy hat offers a canvas for artistic exploration and a tribute to the enduring legacy of Western culture.
As artists embark on this creative journey, they not only hone their technical skills but also immerse themselves in the narrative potential and emotive resonance of the cowboy hat. Each stroke of the pencil or pen becomes a testament to the enduring allure of this iconic accessory, inviting viewers to appreciate its symbolism and cultural significance.
In essence, the process of drawing a cowboy hat is a testament to the enduring legacy of Western culture, inviting artists to pay homage to its timeless charm and visual poetry. With each illustration, the cowboy hat becomes a conduit for storytelling, artistic expression, and a celebration of the indomitable spirit that has defined the American frontier.