Home>Home and Garden>How To Clean White Hat
Home and Garden
How To Clean White Hat
Published: March 5, 2024
Learn the best techniques for cleaning white hats at home and maintaining their pristine appearance with our expert tips and tricks for home and garden care. Keep your hats looking fresh and clean with our easy-to-follow advice.
(Many of the links in this article redirect to a specific reviewed product. Your purchase of these products through affiliate links helps to generate commission for Noodls.com, at no extra cost. Learn more)
Table of Contents
Introduction
White hats are a timeless fashion staple, adding a touch of elegance and sophistication to any outfit. Whether it's a classic baseball cap, a trendy bucket hat, or a stylish fedora, white hats exude a sense of freshness and versatility. However, maintaining the pristine appearance of white headwear can be a daunting task, especially when faced with inevitable stains and discoloration.
Proper cleaning and maintenance are essential to preserve the crisp, immaculate look of white hats. By following the right cleaning techniques, you can ensure that your favorite white headgear remains a fashion statement for years to come. In this comprehensive guide, we will delve into the step-by-step process of cleaning white hats, providing valuable insights and practical tips to help you keep your headwear looking as good as new.
From pre-treating stubborn stains to choosing the appropriate cleaning method, we will cover everything you need to know to effectively clean and maintain your white hats. Whether you prefer hand washing or utilizing a washing machine, we will explore the best practices to ensure optimal results without compromising the integrity of your beloved headwear.
By the end of this guide, you will be equipped with the knowledge and confidence to tackle the task of cleaning white hats with ease. Say goodbye to the fear of wearing white headgear in fear of stains, as we empower you with the expertise to keep your hats looking pristine and stylish. Let's embark on this journey to discover the art of cleaning white hats and preserving their timeless allure.
Read more: How To Draw A Hat
Step 1: Gather Your Supplies
Before embarking on the journey of cleaning your white hat, it's crucial to gather the necessary supplies to ensure a thorough and effective cleaning process. Having the right tools at your disposal will streamline the cleaning experience and contribute to achieving optimal results. Here's a comprehensive list of supplies you'll need:
1. Mild Detergent:
Select a gentle, mild detergent specifically formulated for delicate fabrics. Avoid using harsh chemicals or bleach, as they can damage the fabric and compromise the color of your white hat.
2. Soft-Bristled Brush or Cloth:
A soft-bristled brush or a clean, lint-free cloth will aid in gently scrubbing and removing surface dirt and stains from the hat. Ensure that the brush or cloth is clean and free from any debris that could potentially transfer onto the hat.
3. Stain Remover (Optional):
For stubborn stains that may require extra attention, consider having a trusted stain remover on hand. Opt for a stain remover that is safe for the fabric of your hat and perform a patch test in an inconspicuous area to ensure compatibility.
Read more: How To Draw A Cowboy Hat
4. White Vinegar:
White vinegar is a versatile and natural cleaning agent that can help brighten and refresh white fabrics. It can be used as a pre-treatment solution for tough stains and as an additive to the washing process to enhance the brightness of your hat.
5. Hat Form or Support:
To maintain the shape of your hat during the cleaning process, consider using a hat form or support to prevent it from losing its structure. This can be especially beneficial for hats with brims that need to retain their original shape.
6. Access to Running Water:
Whether you're planning to hand wash or pre-treat stains, access to running water is essential. Ensure that you have a clean sink or basin with a reliable water supply for the cleaning process.
By gathering these supplies, you'll be well-prepared to embark on the next steps of the white hat cleaning process. With the right tools and a proactive approach, you can effectively address stains and refresh the appearance of your white hat, ensuring that it remains a timeless accessory in your wardrobe.
Step 2: Pre-treat Stains
Pre-treating stains is a crucial step in the process of cleaning white hats, especially when dealing with stubborn or deeply ingrained blemishes. By addressing stains before the actual washing or cleaning process, you can effectively target and eliminate discoloration, ensuring that your white hat emerges spotless and rejuvenated. Here's a detailed guide on pre-treating stains to restore the pristine appearance of your white headwear:
Read more: How To Shrink A Fitted Hat
1. Identify the Stains:
Carefully examine your white hat to identify any visible stains or spots. Common culprits such as sweat, oil, dirt, and food residue may have left their mark on the fabric. By pinpointing the specific stains, you can tailor your pre-treatment approach to effectively tackle each type of blemish.
2. Create a Pre-treatment Solution:
Prepare a gentle pre-treatment solution by combining a small amount of mild detergent with water. Alternatively, you can opt for a natural pre-treatment solution by mixing equal parts of white vinegar and water. Both solutions are effective in breaking down stains without compromising the integrity of the fabric.
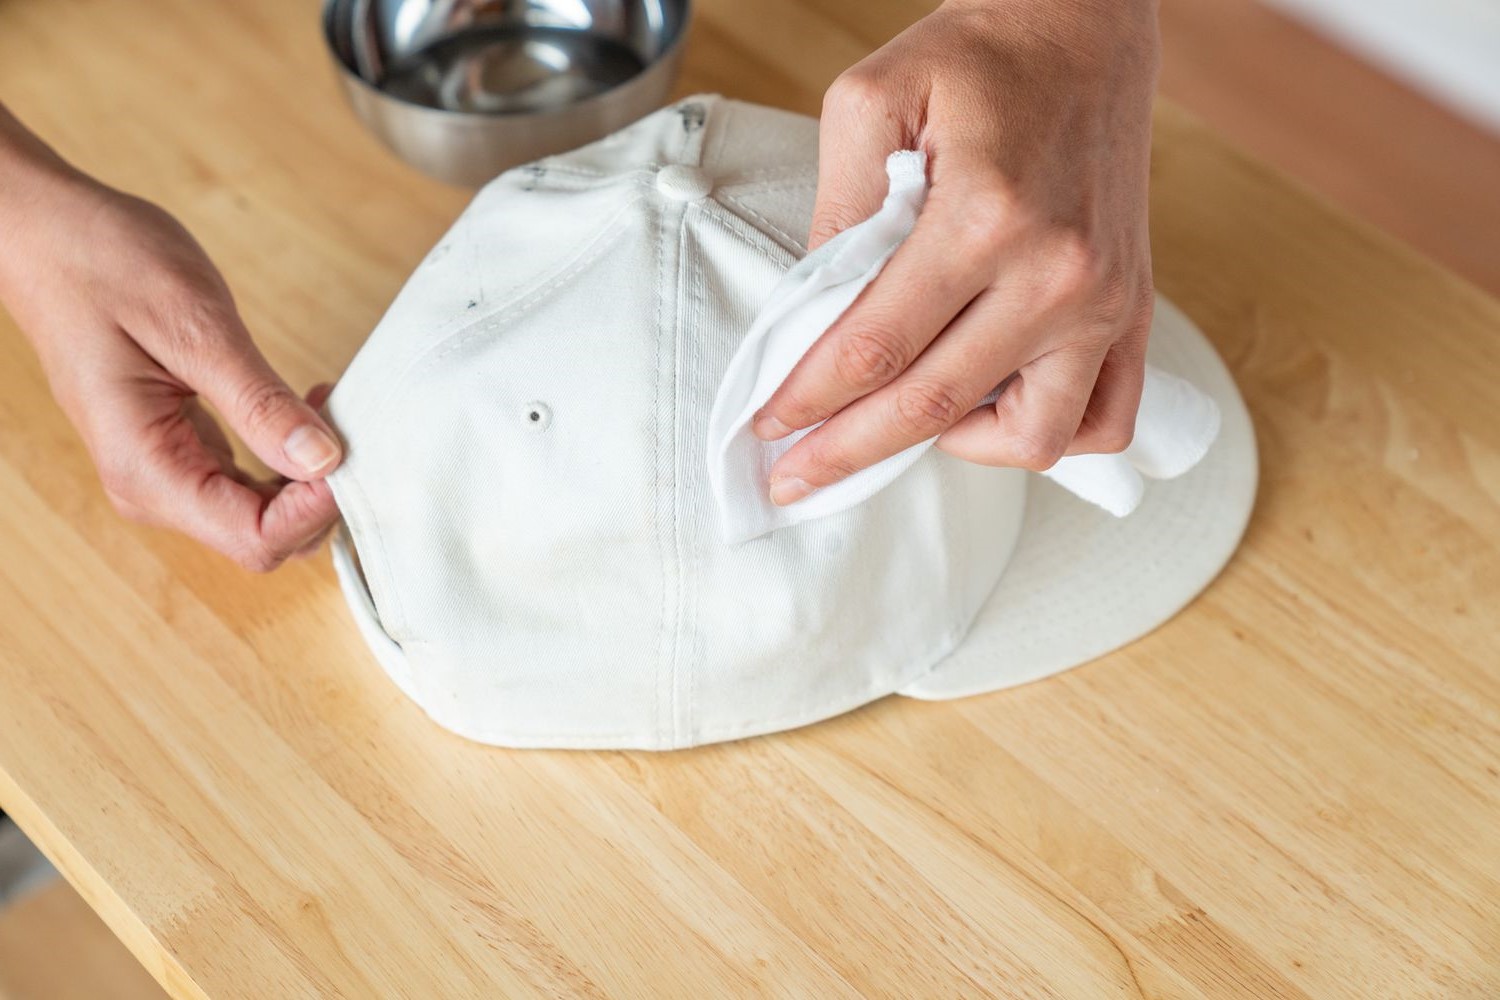
3. Apply the Pre-treatment Solution:
Using a clean, soft-bristled brush or cloth, gently apply the pre-treatment solution to the stained areas of the hat. Take care to avoid excessive scrubbing, as vigorous rubbing can potentially damage the fabric. Instead, use gentle, circular motions to work the solution into the stains, allowing it to penetrate and lift the blemishes.
4. Allow Dwell Time:
After applying the pre-treatment solution, allow it to dwell on the stains for a brief period. This dwell time enables the solution to effectively loosen and dissolve the stains, making them more receptive to the upcoming cleaning process. Depending on the severity of the stains, a dwell time of 10-15 minutes is generally sufficient.
Read more: How To Cook Egg Whites
5. Blot the Stains:
Using a clean, absorbent cloth, gently blot the pre-treated areas to absorb excess moisture and lift the loosened stains from the fabric. Avoid rubbing or pressing too firmly, as this can spread the stains or cause them to set deeper into the fibers. Instead, employ a blotting motion to gradually lift the stains from the hat.
6. Inspect and Repeat if Necessary:
After blotting, inspect the pre-treated areas to assess the effectiveness of the pre-treatment process. If any stubborn stains persist, consider reapplying the pre-treatment solution and allowing for an extended dwell time before proceeding to the next cleaning step. Patience and thoroughness are key to achieving optimal results.
By diligently pre-treating stains using the aforementioned steps, you can effectively address and neutralize blemishes on your white hat, setting the stage for a successful cleaning process. This proactive approach ensures that the subsequent washing or cleaning method can focus on overall freshness and brightness, knowing that individual stains have been diligently targeted and treated.
Step 3: Hand Wash or Machine Wash
After pre-treating stains and preparing the necessary supplies, the next pivotal decision in the white hat cleaning process is choosing between hand washing and machine washing. Both methods have their distinct advantages and considerations, and selecting the most suitable approach is essential to ensure the optimal cleanliness and preservation of your white headwear.
Hand Washing:
Hand washing offers a gentle and hands-on approach to cleaning white hats, allowing for meticulous attention to detail and control over the cleaning process. To hand wash your white hat, follow these steps:
-
Fill a Clean Basin or Sink: Fill a basin or sink with lukewarm water, ensuring that it is an adequate amount to submerge the hat without overcrowding.
-
Add Mild Detergent: Incorporate a small amount of mild detergent into the water, creating a gentle cleaning solution. Avoid using excessive detergent, as this can lead to residue buildup on the hat.
-
Submerge the Hat: Immerse the white hat in the soapy water, gently agitating it to ensure that the cleaning solution permeates the fabric.
-
Gently Clean the Hat: Using a soft-bristled brush or your fingertips, delicately scrub the hat to remove any remaining dirt or stains. Pay special attention to stained areas, employing gentle circular motions to lift the blemishes.
-
Rinse Thoroughly: Once the hat has been cleaned, thoroughly rinse it under running water to remove any traces of detergent. Ensure that all soap residue is eliminated to prevent potential discoloration.
-
Air Dry: After hand washing, reshape the hat to its original form and place it on a clean, dry towel to air dry. Avoid exposing the hat to direct sunlight or heat sources, as this can cause fading or damage to the fabric.
Machine Washing:
Machine washing offers convenience and efficiency, making it a viable option for cleaning white hats, especially when dealing with multiple hats or time constraints. To machine wash your white hat, adhere to the following guidelines:
-
Select a Gentle Cycle: Choose a delicate or gentle cycle on your washing machine to minimize agitation and prevent potential damage to the hat.
-
Use a Laundry Bag: Place the white hat in a mesh laundry bag to protect it from friction and ensure that it retains its shape during the washing process.
-
Add Mild Detergent: Add a small amount of mild detergent to the washing machine, avoiding harsh chemicals or bleach that can compromise the fabric.
-
Wash with Like Colors: If washing multiple items, ensure that they are similar in color to prevent potential color transfer onto the white hat.
-
Air Dry: Once the machine washing cycle is complete, remove the hat from the laundry bag and place it on a clean, dry towel to air dry. Avoid using a dryer, as the heat can shrink or distort the shape of the hat.
By carefully considering the advantages and considerations of hand washing and machine washing, you can make an informed decision that aligns with the specific needs of your white hat. Whether opting for the hands-on precision of hand washing or the efficiency of machine washing, both methods can yield exceptional results when executed with care and attention to detail.
Step 4: Air Dry
After the washing process, whether by hand or machine, the crucial final step in cleaning a white hat is the gentle and thorough air drying. This step is essential to ensure that the hat retains its shape, texture, and overall integrity while achieving optimal cleanliness. Air drying is a natural and effective method that minimizes the risk of damage associated with heat exposure, making it the preferred choice for preserving the pristine condition of white headwear.
To air dry your white hat with precision and care, follow these detailed steps:
-
Gently Remove Excess Water:
After the washing process is complete, gently press the hat between clean, dry towels to absorb excess water. Avoid wringing or twisting the hat, as this can distort its shape and fabric fibers. -
Reshape the Hat:
Prior to air drying, carefully reshape the hat to its original form. Pay special attention to the brim and crown, ensuring that they maintain their intended structure. If the hat has a specific shape, such as a fedora or bucket hat, mold it accordingly to preserve its silhouette. -
Choose a Well-Ventilated Area:
Select a well-ventilated area for air drying the hat. Avoid direct sunlight, as prolonged exposure can lead to fading or discoloration of the white fabric. Additionally, steer clear of heat sources, as excessive heat can cause shrinkage and damage to the hat. -
Utilize a Hat Form or Support (Optional):
To maintain the shape of the hat during the drying process, consider using a hat form or support. This accessory provides internal structure and support, preventing the hat from losing its form as it dries. If a hat form is unavailable, gently stuff the hat with clean, dry towels to retain its shape. -
Patience and Time:
Allow the hat to air dry naturally, exercising patience throughout the process. Depending on the fabric and thickness of the hat, drying times may vary. It's essential to resist the temptation to expedite the drying process using artificial heat sources, as this can compromise the quality of the hat. -
Final Inspection:
Once the hat is completely dry, perform a final inspection to ensure that it has regained its original appearance and freshness. Check for any residual moisture and confirm that the hat has maintained its shape and color integrity.
By meticulously following these air drying steps, you can safeguard the structural and visual integrity of your white hat, ensuring that it emerges from the cleaning process in impeccable condition. The gentle and patient approach to air drying contributes to the longevity and pristine allure of your favorite white headwear, allowing you to confidently showcase it as a timeless fashion statement.
Step 5: Spot Clean as Needed
Even after the thorough cleaning process, occasional spot cleaning may be necessary to address minor blemishes or localized stains that may have escaped the initial cleaning. Spot cleaning offers a targeted and efficient approach to maintaining the impeccable appearance of your white hat between comprehensive cleaning sessions. By promptly addressing small stains and imperfections, you can uphold the pristine allure of your headwear and ensure that it remains a stylish and versatile accessory in your wardrobe.
To effectively spot clean your white hat, follow these detailed steps:
-
Identify the Targeted Stains:
Carefully inspect your white hat to identify any residual stains or spots that may have persisted after the cleaning process. Common culprits such as watermarks, small smudges, or localized discoloration may require spot cleaning to restore the hat's flawless appearance. -
Prepare a Spot Cleaning Solution:
Create a gentle spot cleaning solution by mixing a small amount of mild detergent with water. Alternatively, you can utilize a specialized fabric cleaner or a natural solution such as diluted white vinegar to target the specific stains. -
Apply the Spot Cleaning Solution:
Using a clean, soft-bristled brush or a cotton swab, apply the spot cleaning solution directly to the targeted stains. Exercise caution to avoid oversaturating the fabric, focusing on treating the affected areas with precision and care. -
Gently Blot and Lift the Stains:
After applying the spot cleaning solution, gently blot the treated areas with a clean, absorbent cloth to lift the loosened stains from the fabric. Avoid rubbing or scrubbing vigorously, as this can spread the stains or cause damage to the delicate fibers of the hat. -
Allow for Drying and Inspection:
Once the spot cleaning process is complete, allow the treated areas to air dry naturally. Inspect the hat to ensure that the targeted stains have been effectively lifted, and the fabric has regained its pristine appearance. If necessary, repeat the spot cleaning process to achieve optimal results.
By incorporating spot cleaning into your hat maintenance routine, you can promptly address minor imperfections and maintain the impeccable appearance of your white headwear. This proactive approach ensures that your hat remains a timeless and elegant accessory, free from the distractions of small blemishes or discoloration. With diligence and attention to detail, spot cleaning becomes an essential component of preserving the pristine allure of your white hat.
Conclusion
In conclusion, the art of cleaning white hats encompasses a meticulous and proactive approach to preserving the timeless allure of these fashion essentials. By following the comprehensive steps outlined in this guide, you have gained valuable insights into the effective cleaning and maintenance of white headwear. From gathering the essential supplies to pre-treating stains, choosing between hand washing and machine washing, and executing a thorough air drying process, you have acquired the knowledge and expertise to ensure that your white hats remain immaculate and stylish.
The journey of cleaning white hats is not merely a practical task but a testament to the commitment to preserving the elegance and versatility of these iconic accessories. Through the careful selection of mild detergents, the gentle application of pre-treatment solutions, and the meticulous attention to detail during the washing and drying processes, you have embraced the responsibility of safeguarding the pristine appearance of your white hats.
Furthermore, the incorporation of spot cleaning as a proactive measure underscores your dedication to upholding the impeccable allure of your headwear, ensuring that minor imperfections are promptly addressed to maintain the hat's flawless presentation.
As you embark on the journey of cleaning your white hats, remember that each step is a testament to your appreciation for timeless fashion and meticulous care for your wardrobe essentials. By infusing the cleaning process with patience, precision, and a touch of creativity, you elevate the act of maintenance into an art form, ensuring that your white hats continue to make a bold and sophisticated statement in your attire.
Ultimately, the art of cleaning white hats is a harmonious blend of practicality and reverence for timeless style. By embracing the insights and techniques shared in this guide, you are equipped to embark on a journey of preserving the pristine allure of your white headwear, ensuring that they remain a symbol of elegance and sophistication for years to come.