Home>Technology and Computers>How To Remove Frequently Visited On IPhone
Technology and Computers
How To Remove Frequently Visited On IPhone
Published: February 24, 2024
Learn how to remove frequently visited sites on your iPhone with our easy-to-follow guide. Keep your device organized and clutter-free. Perfect for those interested in technology and computers.
(Many of the links in this article redirect to a specific reviewed product. Your purchase of these products through affiliate links helps to generate commission for Noodls.com, at no extra cost. Learn more)
Table of Contents
Introduction
Have you ever felt a pang of embarrassment when someone glances at your iPhone and sees a list of frequently visited websites that you'd rather keep private? Whether it's a guilty pleasure website or a surprise gift that you're trying to keep under wraps, having your frequently visited sites on display can be a bit uncomfortable. Fortunately, there are several methods to remove these frequently visited sites from your iPhone's Safari browser, ensuring your privacy and peace of mind.
In this article, we'll explore three effective methods to help you clear your browsing history and remove those pesky frequently visited sites from your iPhone. From clearing Safari history and website data to utilizing private browsing mode, we've got you covered. By the time you're done reading, you'll have the knowledge and tools to keep your browsing habits discreet and your frequently visited sites out of sight.
So, if you're ready to take control of your browsing privacy and bid farewell to those unwanted reminders of your online activities, let's dive into the step-by-step methods for removing frequently visited sites from your iPhone.
Read more: How To Reset IPhone
Method 1: Clearing Safari History and Website Data
Clearing your Safari history and website data is a straightforward and effective way to remove frequently visited sites from your iPhone. By following these simple steps, you can ensure that your browsing history remains private and free from any unwanted reminders of your online activities.
-
Open Settings: Begin by opening the "Settings" app on your iPhone. This can be easily located on your home screen and is represented by a gear icon.
-
Navigate to Safari Settings: Scroll down the settings menu until you find "Safari." Tap on this option to access the Safari settings.
-
Clear History and Website Data: Within the Safari settings, locate the "Clear History and Website Data" option. Tap on this to initiate the clearing process.
-
Confirm Clearing: A confirmation prompt will appear, asking if you want to clear your history and website data. Confirm your decision by tapping "Clear History and Data."
-
Wait for Completion: Depending on the amount of data to be cleared, the process may take a few moments. Once completed, your Safari history and website data will be successfully cleared.
By following these steps, you can effectively remove frequently visited sites from your Safari browser, ensuring that your browsing history remains private and free from any unwanted reminders of your online activities. This method provides a quick and reliable way to maintain your privacy and keep your browsing habits discreet.
In addition to clearing your browsing history, this method also removes website data, including cookies and cache, which can contribute to a smoother and more efficient browsing experience. It's a simple yet powerful way to refresh your Safari browser and start anew without the burden of frequently visited sites.
Now that you've mastered the art of clearing Safari history and website data, let's explore additional methods to further enhance your browsing privacy and remove those pesky reminders of your online activities from your iPhone.
Method 2: Resetting Home Screen Layout
Resetting the home screen layout on your iPhone can provide a simple yet effective way to remove frequently visited sites from the Safari browser. By rearranging the icons on your home screen, you can eliminate the visual cues that display your most visited websites, offering a discreet solution to maintain your browsing privacy.
To reset the home screen layout, follow these straightforward steps:
-
Access the Home Screen: Begin by navigating to your iPhone's home screen, where all your app icons are displayed. This is the primary screen that appears when you unlock your device.
-
Enter Jiggle Mode: Press and hold any app icon on the home screen until the icons start to jiggle. This indicates that you've entered the editing or rearranging mode for your home screen layout.
-
Reposition App Icons: While in jiggle mode, start repositioning the app icons on your home screen. You can move the icons around, create new app folders, or even relocate the frequently visited sites' icons to less conspicuous locations.
-
Organize and Reset: Take this opportunity to organize your app icons in a way that removes any visual indicators of frequently visited sites. By rearranging the layout, you can effectively eliminate the prominent display of these sites on your home screen.
-
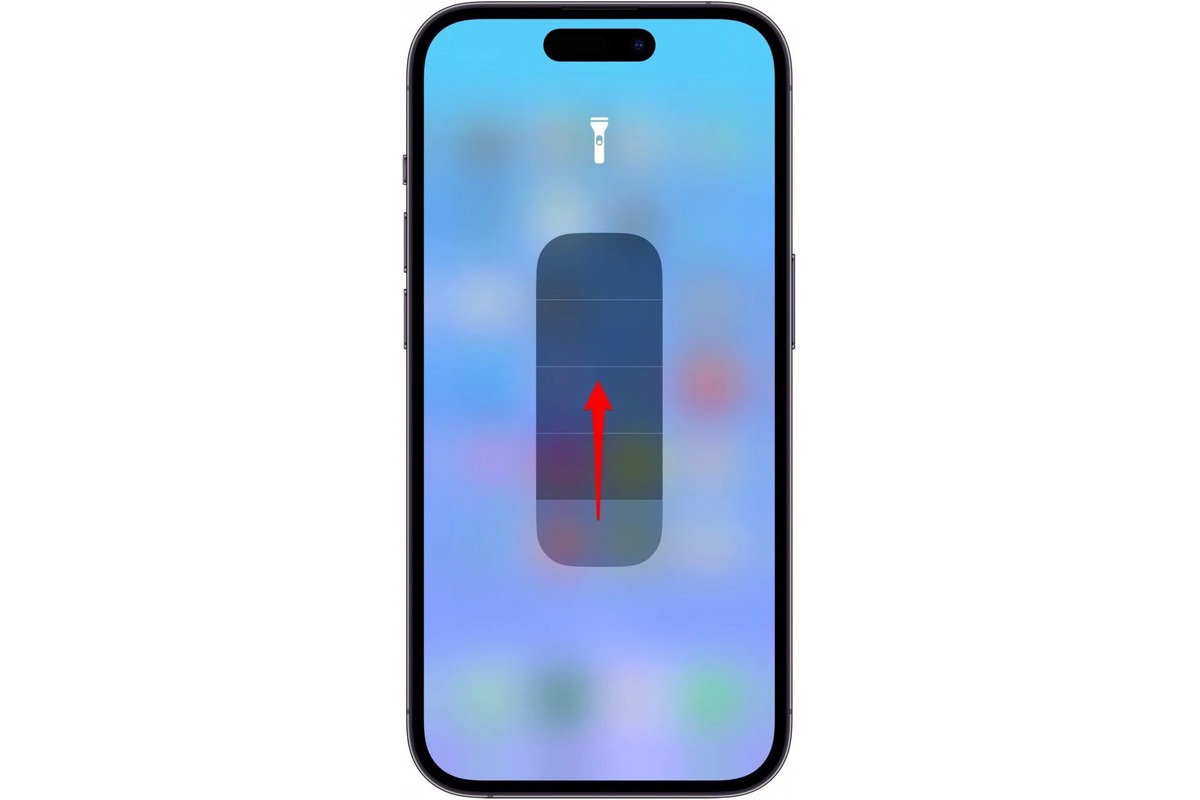
Exit Jiggle Mode: Once you're satisfied with the new arrangement of your app icons, press the home button or swipe up from the bottom of the screen (depending on your iPhone model) to exit jiggle mode and lock in the new home screen layout.
By resetting the home screen layout, you can create a visual environment that no longer prominently showcases your frequently visited sites, offering a discreet and effective way to maintain your browsing privacy. This method complements the clearing of Safari history and website data, providing an additional layer of privacy and discretion.
In addition to removing the visual cues of frequently visited sites, reorganizing your home screen layout allows you to customize the arrangement of your apps, creating a personalized and efficient user experience. It's a simple yet impactful way to refresh the visual presentation of your iPhone's home screen while ensuring that your browsing habits remain private and discreet.
Now that you've mastered the art of resetting the home screen layout, let's explore another method to further enhance your browsing privacy and remove those pesky reminders of your online activities from your iPhone.
Method 3: Using Private Browsing Mode
Utilizing private browsing mode on your iPhone offers a powerful and proactive approach to maintaining your browsing privacy and removing the traces of frequently visited sites. When you engage private browsing mode, your browsing activity is not saved in your browsing history, and any temporary files, cookies, or other website data are not retained after you close the private browsing window. This provides a discreet and secure environment for your online activities, ensuring that your frequently visited sites remain confidential and out of sight.
To activate private browsing mode on your iPhone's Safari browser, follow these simple steps:
-
Open Safari: Begin by launching the Safari browser on your iPhone. This can be done by tapping the Safari icon on your home screen or accessing it from the app library.
-
Initiate Private Browsing: Once Safari is open, tap the tab icon located in the lower-right corner of the screen. This icon resembles two overlapping squares. Next, tap "Private" in the lower-left corner to switch to private browsing mode.
-
Confirmation: A prompt will appear, confirming that you've entered private browsing mode. You'll notice that the interface of Safari has changed to indicate that you are now browsing privately.
-
Browsing in Private Mode: You are now free to browse the web without leaving behind a trail of your online activity. Any websites you visit, searches you perform, or forms you fill out will not be saved in your browsing history or used to autofill suggestions.
-
Exiting Private Browsing: To exit private browsing mode, simply tap the tab icon again and select "Private" to switch back to regular browsing mode.
By utilizing private browsing mode, you can ensure that your frequently visited sites remain confidential and are not displayed in your browsing history. This proactive approach to privacy empowers you to browse the web with confidence, knowing that your online activities are not being recorded or stored on your device.
In addition to removing the traces of frequently visited sites, private browsing mode offers a secure environment for sensitive online tasks, such as online banking or accessing personal accounts. It prevents any potential tracking of your browsing behavior and provides a layer of anonymity while you explore the web.
Now that you've mastered the art of using private browsing mode, you have a powerful tool at your disposal to maintain your browsing privacy and remove those pesky reminders of your online activities from your iPhone. With these three methods in your arsenal, you can confidently take control of your browsing habits and ensure that your frequently visited sites remain discreet and out of sight.
Conclusion
In conclusion, taking control of your browsing privacy and removing frequently visited sites from your iPhone is not only achievable but also essential for maintaining a sense of confidentiality and discretion in your online activities. By exploring the three effective methods outlined in this article, you now have the knowledge and tools to ensure that your browsing history remains private and free from any unwanted reminders of your online activities.
First and foremost, the method of clearing Safari history and website data provides a quick and reliable way to remove frequently visited sites from your Safari browser. By navigating through the settings and initiating the clearing process, you can effectively eliminate any traces of your browsing history, ensuring that your frequently visited sites are no longer prominently displayed.
Additionally, resetting the home screen layout offers a visual and discreet solution to removing the reminders of frequently visited sites. By reorganizing the app icons on your home screen, you can create a personalized and efficient user experience while ensuring that your browsing habits remain private and discreet.
Furthermore, utilizing private browsing mode empowers you to browse the web with confidence, knowing that your frequently visited sites will not be saved in your browsing history. This proactive approach to privacy ensures that your online activities remain confidential and secure, providing a layer of anonymity while you explore the web.
By combining these methods, you can confidently take control of your browsing habits and ensure that your frequently visited sites remain discreet and out of sight. Whether it's for personal privacy, professional discretion, or simply maintaining a clean and organized browsing experience, these methods offer practical and effective solutions for removing the reminders of your online activities from your iPhone.
So, as you navigate the digital landscape and engage with the wealth of online content, remember that you have the power to maintain your browsing privacy and keep your frequently visited sites confidential. With the knowledge and tools at your disposal, you can embrace a sense of control over your online activities and enjoy a discreet and private browsing experience on your iPhone.