Home>Automotive>How To Remove Bumper Stickers

Automotive
How To Remove Bumper Stickers
Published: February 26, 2024
Learn how to remove bumper stickers from your car with these easy automotive tips. Keep your vehicle looking clean and pristine with our expert advice.
(Many of the links in this article redirect to a specific reviewed product. Your purchase of these products through affiliate links helps to generate commission for Noodls.com, at no extra cost. Learn more)
Table of Contents
Introduction
Removing bumper stickers can be a daunting task, especially if they have been affixed to your vehicle for an extended period. Whether you're looking to upgrade the aesthetics of your car or simply want to get rid of an outdated or unsightly sticker, it's essential to approach the removal process with care to avoid damaging the paint or leaving behind sticky residue. Fortunately, with the right tools and techniques, you can effectively eliminate bumper stickers without causing harm to your vehicle's exterior.
In this comprehensive guide, we will walk you through the step-by-step process of removing bumper stickers with ease. From gathering the necessary materials to safely softening the adhesive and cleaning the area, each step is designed to help you achieve a pristine finish. By following these instructions, you can restore your car's appearance and maintain its resale value.
Whether you're a car enthusiast, a meticulous vehicle owner, or someone who simply wants to refresh the look of their car, learning how to remove bumper stickers is a valuable skill. With a bit of patience and the right approach, you can bid farewell to unwanted stickers and give your car a fresh, clean appearance. So, let's dive into the process and equip ourselves with the knowledge and tools needed to tackle this task effectively.
Read more: How To Remove Stickers From Car
Step 1: Gather Necessary Materials
Before embarking on the task of removing bumper stickers, it's crucial to gather the necessary materials to ensure a smooth and efficient process. Having the right tools at your disposal will not only simplify the task but also help prevent any potential damage to your vehicle's paint or finish. Here's a comprehensive list of materials you'll need:
-
Hair Dryer or Heat Gun: A hair dryer or heat gun is essential for softening the adhesive underneath the bumper sticker. The application of heat helps loosen the sticker, making it easier to peel off without leaving residue.
-
Plastic Card or Squeegee: A plastic card, such as an old credit card or a dedicated squeegee, will be used to gently lift the edges of the sticker. This tool is instrumental in avoiding scratches or damage to the car's surface during the removal process.
-
Adhesive Remover or Rubbing Alcohol: To eliminate any sticky residue left behind after peeling off the bumper sticker, you'll need an adhesive remover or rubbing alcohol. This will ensure a clean and smooth finish on the bumper.
-
Microfiber Cloth: A soft microfiber cloth is ideal for wiping and cleaning the area after the sticker and residue have been removed. It helps to ensure that the surface is free from any remaining adhesive or debris.
-
Car Wash Soap: It's important to have car wash soap on hand to thoroughly clean the area after removing the sticker. This will help remove any lingering residue and ensure a spotless finish.
-
Warm Water: Having a supply of warm water available will aid in the cleaning process, especially when combined with the car wash soap and microfiber cloth.
-
Protective Gloves: While not essential, wearing protective gloves can prevent any potential skin irritation from the adhesive remover or rubbing alcohol.
By gathering these essential materials, you'll be well-prepared to tackle the task of removing bumper stickers from your vehicle. With the right tools and a methodical approach, you can effectively restore your car's appearance and maintain its pristine condition. Now that we have our materials ready, let's move on to the next step in the bumper sticker removal process.
Step 2: Soften the Adhesive
Softening the adhesive is a crucial step in the process of removing bumper stickers effectively. The adhesive used in bumper stickers is designed to adhere firmly to the vehicle's surface, making it challenging to remove without the proper technique. By softening the adhesive, you can loosen the grip of the sticker, making it easier to peel off without causing damage to the paint or leaving behind residue.
To begin, you'll need a hair dryer or heat gun. Hold the hair dryer or heat gun a few inches away from the bumper sticker and turn it on to the highest heat setting. Move the heat source back and forth over the sticker, ensuring that the entire surface is evenly heated. The heat works to soften the adhesive, making it more pliable and easier to manipulate.
As you apply the heat, you'll notice the edges of the sticker beginning to lift slightly. This indicates that the adhesive is loosening, and the sticker is ready to be peeled off. It's essential to exercise caution during this process, as excessive heat or prolonged exposure can potentially damage the paint. Keep the heat source in constant motion and avoid concentrating it in one area for too long.
Once the sticker has been heated thoroughly, use a plastic card or squeegee to gently lift the edges of the sticker. Start from one corner and work your way across, gradually peeling the sticker off the surface. If you encounter resistance or the sticker doesn't lift easily, apply more heat to further soften the adhesive before attempting to peel it off.
It's important to approach this step patiently, as rushing the process can lead to tearing the sticker or leaving behind stubborn residue. By taking your time and ensuring that the adhesive is adequately softened, you can minimize the effort required to remove the sticker and reduce the likelihood of damaging the paint.
By effectively softening the adhesive, you've successfully completed a critical phase in the bumper sticker removal process. With the sticker now loosened and ready to be peeled off, you're one step closer to achieving a clean and pristine finish on your vehicle's bumper. Now, let's proceed to the next step and continue the journey toward restoring your car's appearance.
Step 3: Peel Off the Sticker
With the bumper sticker adhesive adequately softened, it's time to carefully peel off the sticker from the vehicle's surface. This step requires patience and precision to ensure that the sticker is removed without leaving behind any residue or causing damage to the paint.
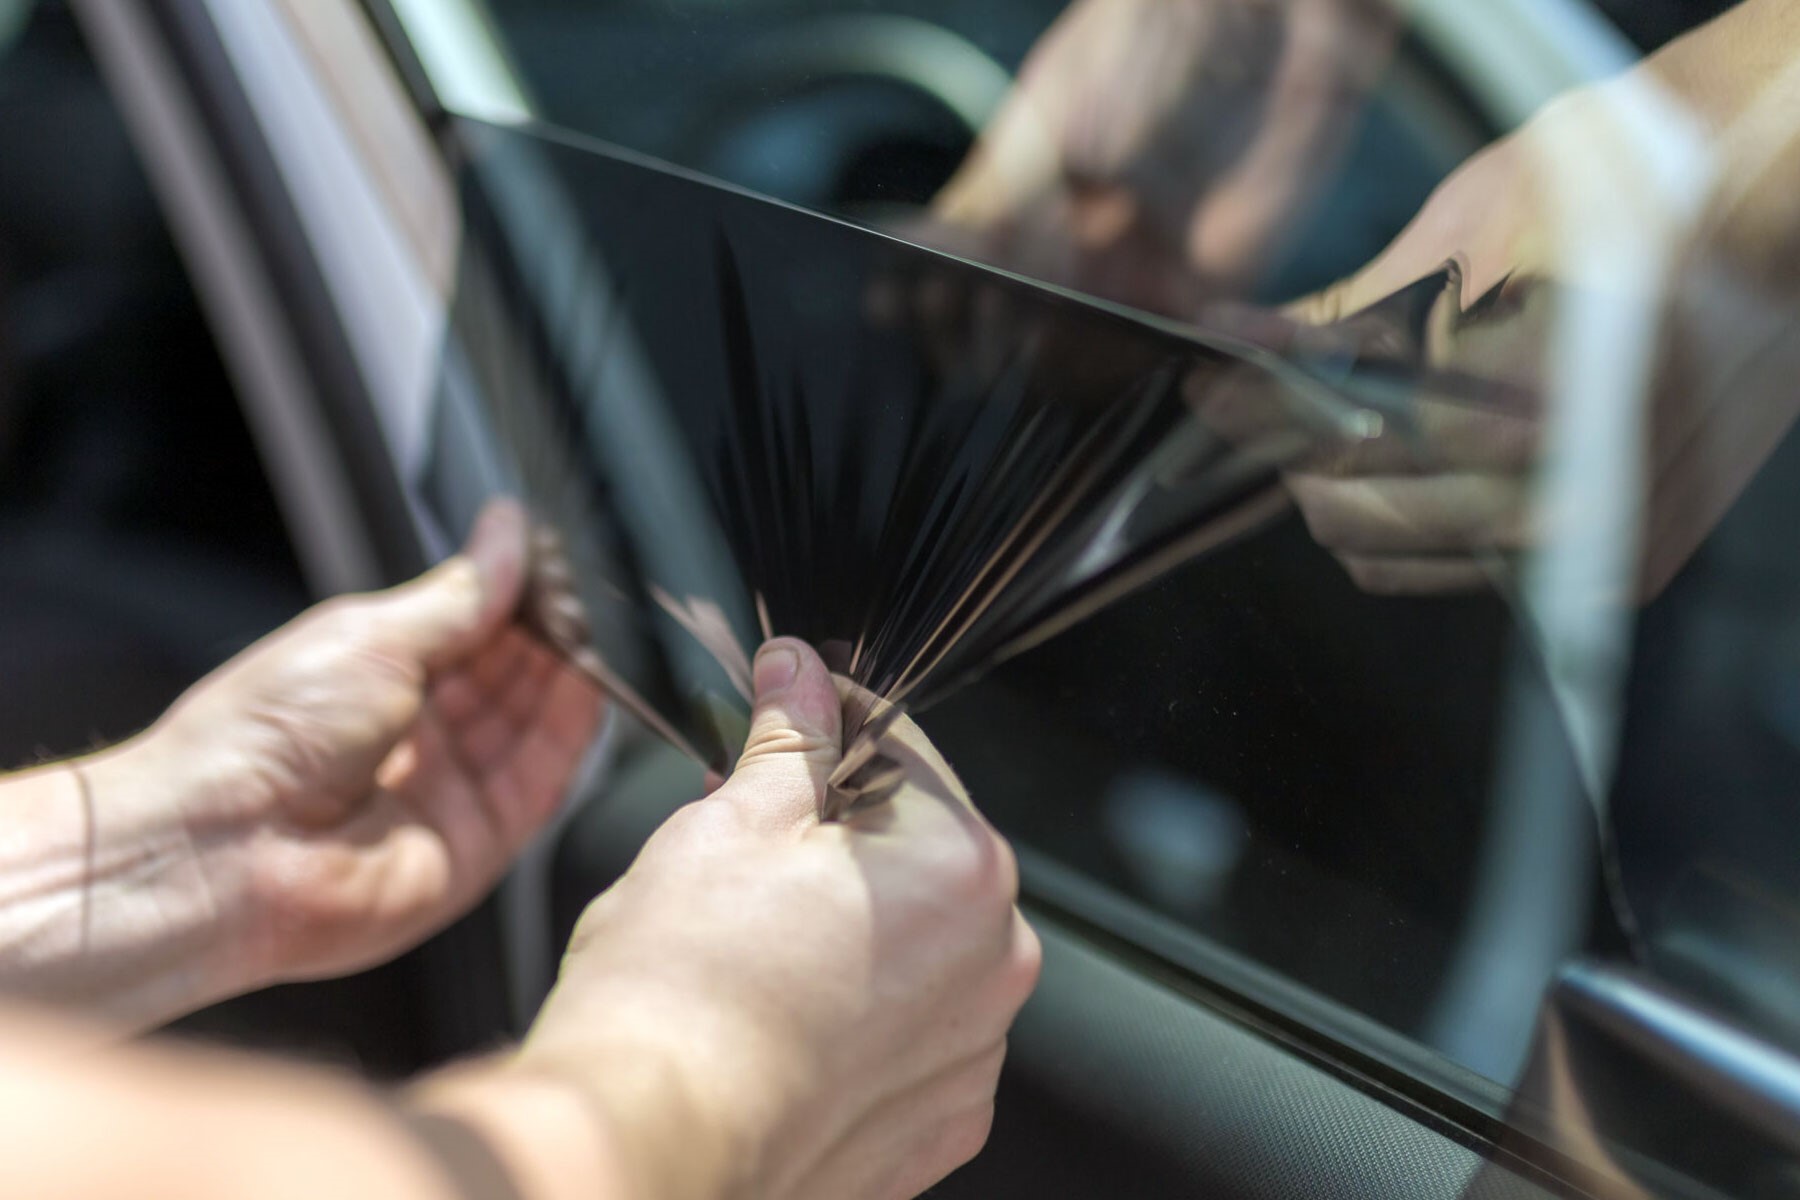
Starting from one corner of the sticker, use the plastic card or squeegee to gently lift the edge. It's essential to approach this process gradually, avoiding any abrupt or forceful movements that could potentially damage the paint. As the edge lifts, continue to apply heat from the hair dryer or heat gun to further soften the adhesive underneath.
Once the initial edge is lifted, slowly and steadily peel the sticker off the surface, maintaining a consistent angle to minimize the risk of tearing. If you encounter resistance or the sticker seems to be sticking firmly in certain areas, apply additional heat to those spots to further loosen the adhesive.
As you progress with the peeling process, be mindful of the pressure applied to the sticker. Using a gentle and controlled motion, continue to lift and peel the sticker, ensuring that it comes off smoothly without leaving any remnants behind. If the sticker begins to tear or break during the peeling process, apply more heat to the affected area and adjust the angle of the plastic card to navigate around any potential obstacles.
Throughout this step, it's important to maintain a methodical approach, taking your time to ensure that the sticker is removed cleanly and evenly. By exercising patience and precision, you can effectively peel off the bumper sticker without leaving behind any unsightly residue or causing damage to the vehicle's paint.
As the sticker is lifted and removed, take care to inspect the area for any remaining adhesive or stubborn remnants. If any residue is left behind, it will be addressed in the next step of the process. With the sticker successfully peeled off, you've made significant progress in restoring your vehicle's appearance to its original state.
By following these careful steps and approaching the peeling process with diligence, you can achieve a clean and pristine finish on your car's bumper. With the sticker removed, the next phase of the process will focus on addressing any remaining residue and ensuring that the area is thoroughly cleaned and restored.
Step 4: Remove Residue
After successfully peeling off the bumper sticker, it's common to encounter residual adhesive or stubborn remnants left on the vehicle's surface. Addressing this residue is crucial to achieve a pristine finish and restore the bumper to its original condition. Fortunately, with the right approach and materials, you can effectively eliminate any remaining residue and ensure a clean, smooth surface.
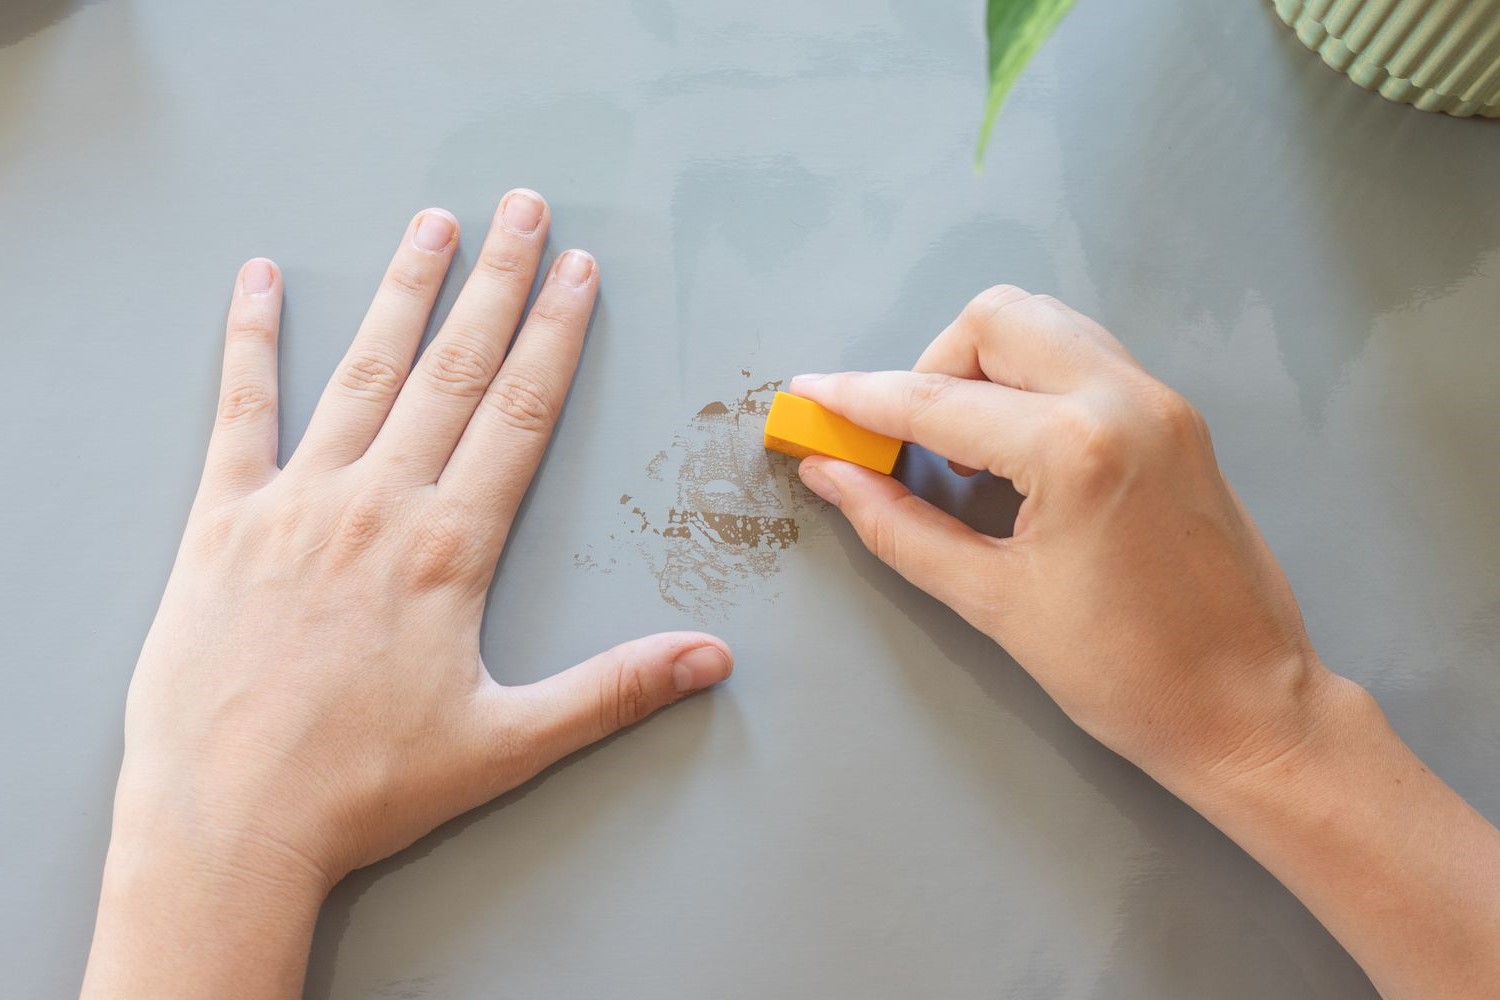
To begin the residue removal process, you'll need an adhesive remover or rubbing alcohol, along with a soft microfiber cloth. Apply a small amount of the adhesive remover or rubbing alcohol to the microfiber cloth, ensuring that it is sufficiently damp but not dripping. Gently dab the cloth onto the areas where residue remains, allowing the solution to penetrate the adhesive and begin loosening its grip on the surface.
As you work the adhesive remover or rubbing alcohol into the residue, you may notice it starting to dissolve and lift from the bumper. Use a gentle rubbing motion to coax the residue off the surface, taking care not to apply excessive pressure that could potentially damage the paint. Continue this process, periodically reapplying the adhesive remover or rubbing alcohol to the cloth as needed, until the residue is completely removed.
In cases where the residue proves to be particularly stubborn or resistant, you can utilize the plastic card or squeegee to gently scrape the remnants off the surface. Exercise caution and use a light touch to avoid scratching or damaging the paint. The combination of the adhesive remover or rubbing alcohol and the scraping action will effectively eliminate any persistent residue, leaving the bumper clean and free from any remnants of the removed sticker.
Once the residue has been successfully removed, inspect the area carefully to ensure that the surface is smooth and free from any lingering adhesive or debris. If any traces of residue persist, repeat the process of applying the adhesive remover or rubbing alcohol and gently rubbing the affected areas until the surface is entirely clean.
By diligently addressing the residue left behind after removing the bumper sticker, you can achieve a flawless finish and restore the bumper to its original state. With the residue effectively eliminated, the final step of the process will focus on thoroughly cleaning the area and ensuring that the bumper is left looking pristine and refreshed.
Read more: How To Remove Stickers From Glass
Step 5: Clean the Area
After successfully removing the bumper sticker and addressing any residual adhesive, it's essential to thoroughly clean the area to ensure a pristine finish on your vehicle's bumper. This step is crucial in restoring the appearance of the bumper and leaving it looking refreshed and free from any lingering debris or cleaning agents.
To begin the cleaning process, prepare a solution of warm water and car wash soap in a bucket. Ensure that the soap is thoroughly mixed with the water to create a sudsy solution. Dip a clean microfiber cloth into the soapy water, allowing it to absorb the solution without becoming overly saturated.
Gently wipe the soapy cloth across the entire area where the bumper sticker was previously affixed. Use light, circular motions to lift any remaining residue, dirt, or cleaning agents from the surface. This method ensures that the bumper is thoroughly cleaned without causing any damage to the paint or finish.
Once the area has been cleaned with the soapy water solution, rinse the microfiber cloth with clean, warm water. Wipe the area once again, this time using the damp cloth to remove any traces of soap or residue, ensuring that the surface is left clean and free from any lingering suds.
After the area has been rinsed, use a separate dry microfiber cloth to gently pat the surface, absorbing any remaining moisture and leaving the bumper dry and spotless. This final step helps to ensure that the area is left with a clean, polished appearance, free from any streaks or watermarks.
Inspect the cleaned area carefully, ensuring that it is free from any remaining debris or residue. If necessary, repeat the cleaning process to achieve a flawless finish, taking care to remove any lingering traces of soap or dirt.
By diligently cleaning the area, you can achieve a pristine and refreshed appearance on your vehicle's bumper. With the bumper now free from the removed sticker and thoroughly cleaned, you have successfully completed the process of removing bumper stickers and restoring your car's exterior to its original, immaculate state.
Conclusion
In conclusion, the process of removing bumper stickers from your vehicle is a task that requires patience, precision, and the right tools. By following the step-by-step guide outlined in this comprehensive article, you can effectively restore your car's appearance and maintain its pristine condition. From gathering the necessary materials to softening the adhesive, peeling off the sticker, removing residue, and thoroughly cleaning the area, each step is designed to ensure a seamless and efficient bumper sticker removal process.
Successfully removing bumper stickers not only enhances the visual appeal of your vehicle but also contributes to maintaining its resale value. By equipping yourself with the knowledge and tools needed to tackle this task, you can approach the process with confidence and achieve a clean, refreshed look for your car's bumper.
It's important to emphasize the significance of approaching each step with care and attention to detail. Softening the adhesive with a hair dryer or heat gun, peeling off the sticker gradually, and diligently addressing any residual adhesive are essential aspects of the process. Additionally, thorough cleaning of the area ensures that the bumper is left looking spotless and rejuvenated.
By investing the time and effort into removing bumper stickers using the methods outlined in this guide, you can take pride in maintaining the appearance of your vehicle. Whether you're a car enthusiast, a meticulous vehicle owner, or someone looking to refresh the look of their car, mastering the art of bumper sticker removal is a valuable skill that can be applied to various automotive maintenance tasks.
As you embark on the journey of removing bumper stickers from your vehicle, remember to approach the process with patience and a methodical mindset. With the right approach and attention to detail, you can achieve a pristine finish and restore your car's bumper to its original, immaculate state. So, armed with the knowledge and techniques shared in this guide, go ahead and give your vehicle the refreshed, sticker-free look it deserves.
